
Are you tired of fumbling with messy soap bottles every time you wash your hands or dishes? Installing a soap dispenser right in your kitchen sink can change that.
It’s a simple upgrade that saves you time, keeps your space tidy, and adds a touch of convenience to your daily routine. In this guide, you’ll learn exactly how to install a soap dispenser step-by-step, even if you’ve never done any plumbing work before.
Keep reading, and by the end, you’ll have a sleek, functional soap dispenser that makes your kitchen experience smoother and more enjoyable.
Tools And Materials Needed
Installing a soap dispenser in your kitchen sink needs specific tools and materials. Having everything ready makes the process smooth. This section covers what you need before starting. The right tools and dispenser choice ensure a neat, lasting setup.
List Of Essential Tools
- Adjustable wrench for tightening fittings
- Screwdriver (flathead or Phillips)
- Measuring tape to check space and fit
- Drill with a suitable drill bit (if no existing hole)
- Plumber's putty or silicone sealant
- Bucket to catch water during installation
- Towels or rags for cleanup
- Flashlight for better visibility under the sink
Choosing The Right Soap Dispenser
Select a dispenser matching your sink’s style and hole size. Check if the dispenser fits the existing hole or if drilling is needed. Pick a soap container size that suits your usage. Choose a pump that works smoothly and resists clogging. Consider materials like stainless steel for durability. A dispenser with easy refill access saves time. Think about the color and finish to blend with your kitchen decor.
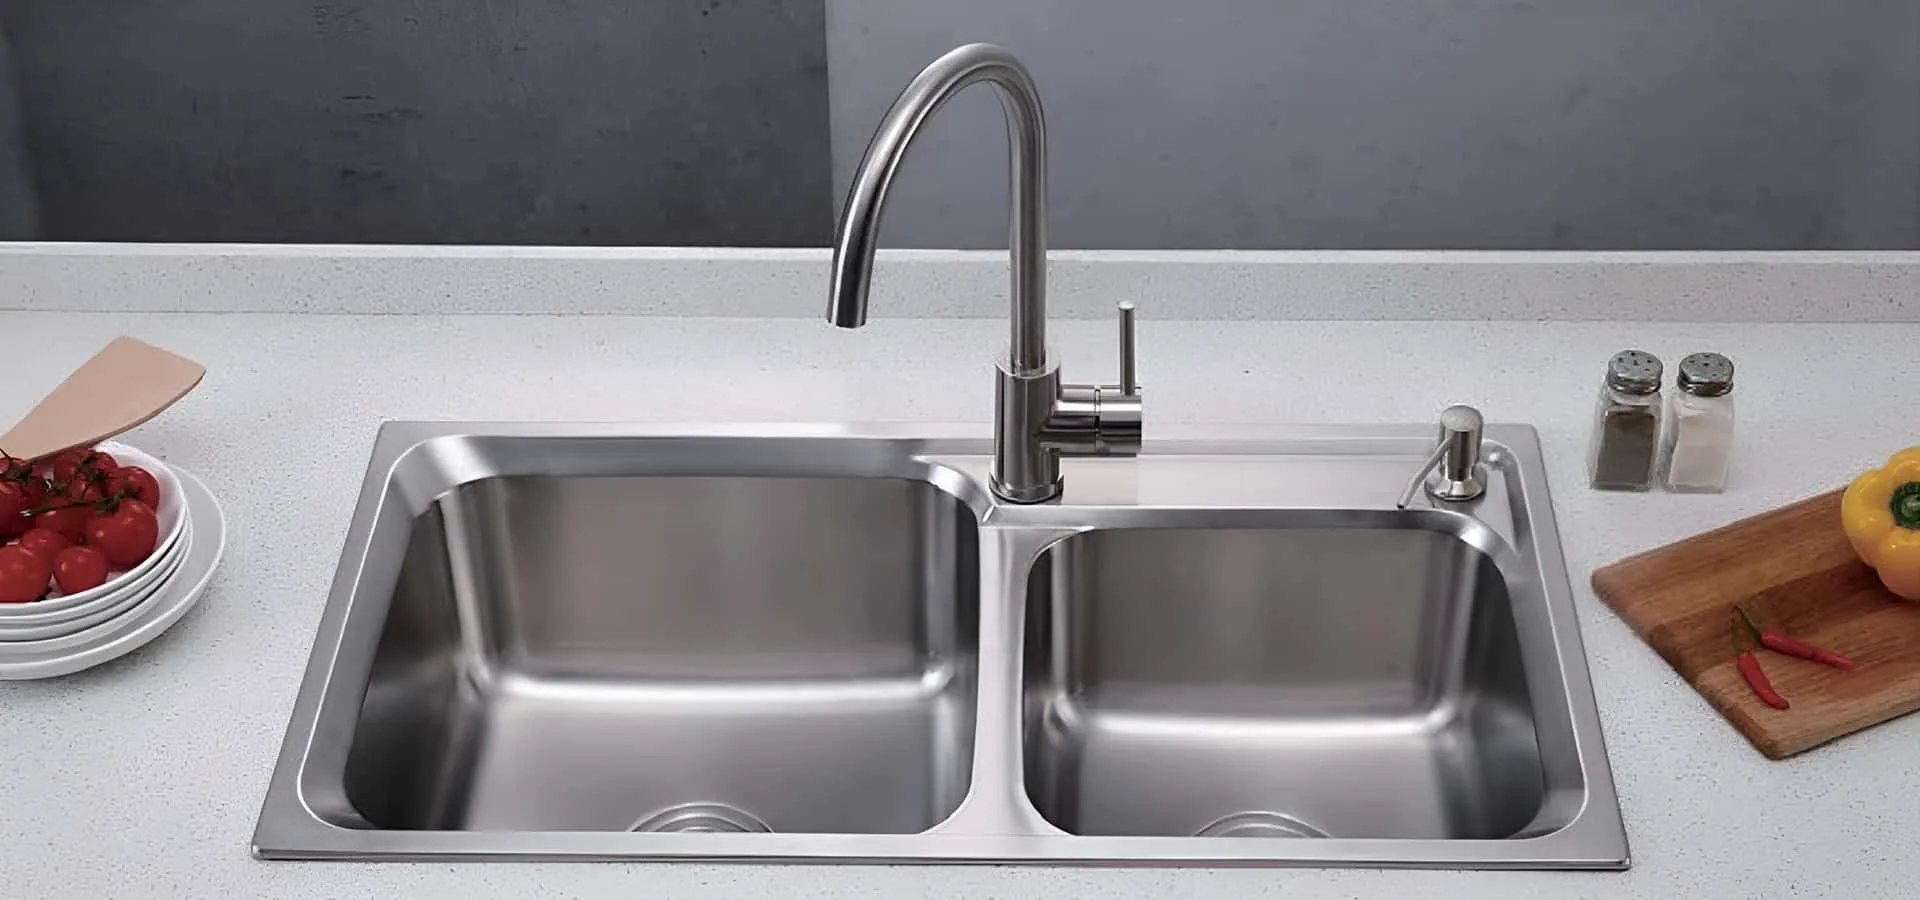
Preparing The Sink Area
Clear the sink area and remove any items nearby. Check for an existing hole or prepare to drill one for the dispenser. Wipe the surface clean to ensure a smooth installation.
Preparing your kitchen sink area for a new soap dispenser might seem like a mundane task, but it's a crucial step to ensuring a smooth installation process. A cluttered sink can turn a simple job into a frustrating ordeal. By taking the time to properly prepare, you can make the installation not just easier, but also more enjoyable.
Clearing The Workspace
Begin by removing any items around your sink area. Dishes, soap bottles, or cleaning supplies can get in the way. A clear space allows you to move freely and reduces the risk of accidentally knocking things over. Consider laying down a towel or cloth to catch any drips or debris. This small step can save you from unnecessary cleanup. Plus, it adds a layer of protection for your countertops.
Checking For Existing Holes
Before you grab a drill, take a moment to inspect your sink for existing holes. Many sinks come pre-drilled with extra holes for accessories like soap dispensers. Finding one can save you time and effort. If you discover a hole, measure it to ensure it's the correct size for your new dispenser. This simple check can prevent installation headaches. But what if there are no existing holes? Don’t worry. Creating a new one is straightforward, and we'll guide you through it in the next steps. By preparing your sink area thoughtfully, you set yourself up for a seamless installation. Have you ever tackled a home project only to realize you missed a key step? Preparing your workspace is that key step for installing a soap dispenser.
Removing Old Components
Removing old components is essential before installing a new soap dispenser. It ensures a clean and smooth surface for the new unit. Taking time to remove every part carefully prevents damage to your sink and plumbing.
Detaching The Old Soap Dispenser
Start by turning off the water supply under the sink. Locate the mounting nut holding the soap dispenser in place. Use a wrench or pliers to loosen and remove the nut. Gently pull the dispenser from the sink hole. Disconnect the soap bottle and any attached tubes. Check for any leftover adhesive or sealant and remove it with a putty knife.
Cleaning The Sink Surface
After removing the old dispenser, clean the sink surface thoroughly. Use warm soapy water and a soft cloth to wipe the area. Remove any soap residue, dirt, or grime stuck around the hole. Dry the surface completely to ensure the new dispenser seals well. This step helps prevent leaks and keeps the sink looking fresh.
Installing The New Dispenser
Installing the new soap dispenser is a simple task that adds convenience to your kitchen. Start by placing the dispenser correctly in the sink hole. Then secure it firmly from underneath. These steps ensure your dispenser stays stable and works well.
Inserting The Dispenser Into The Hole
First, remove any old dispenser or cover from the sink hole. Clean the area around the hole to help the new dispenser sit flat. Take the soap dispenser's pump and insert it through the hole from above the sink.
Make sure the dispenser fits snugly. Adjust it so the pump is centered. Avoid forcing it, as this can damage the sink or dispenser.
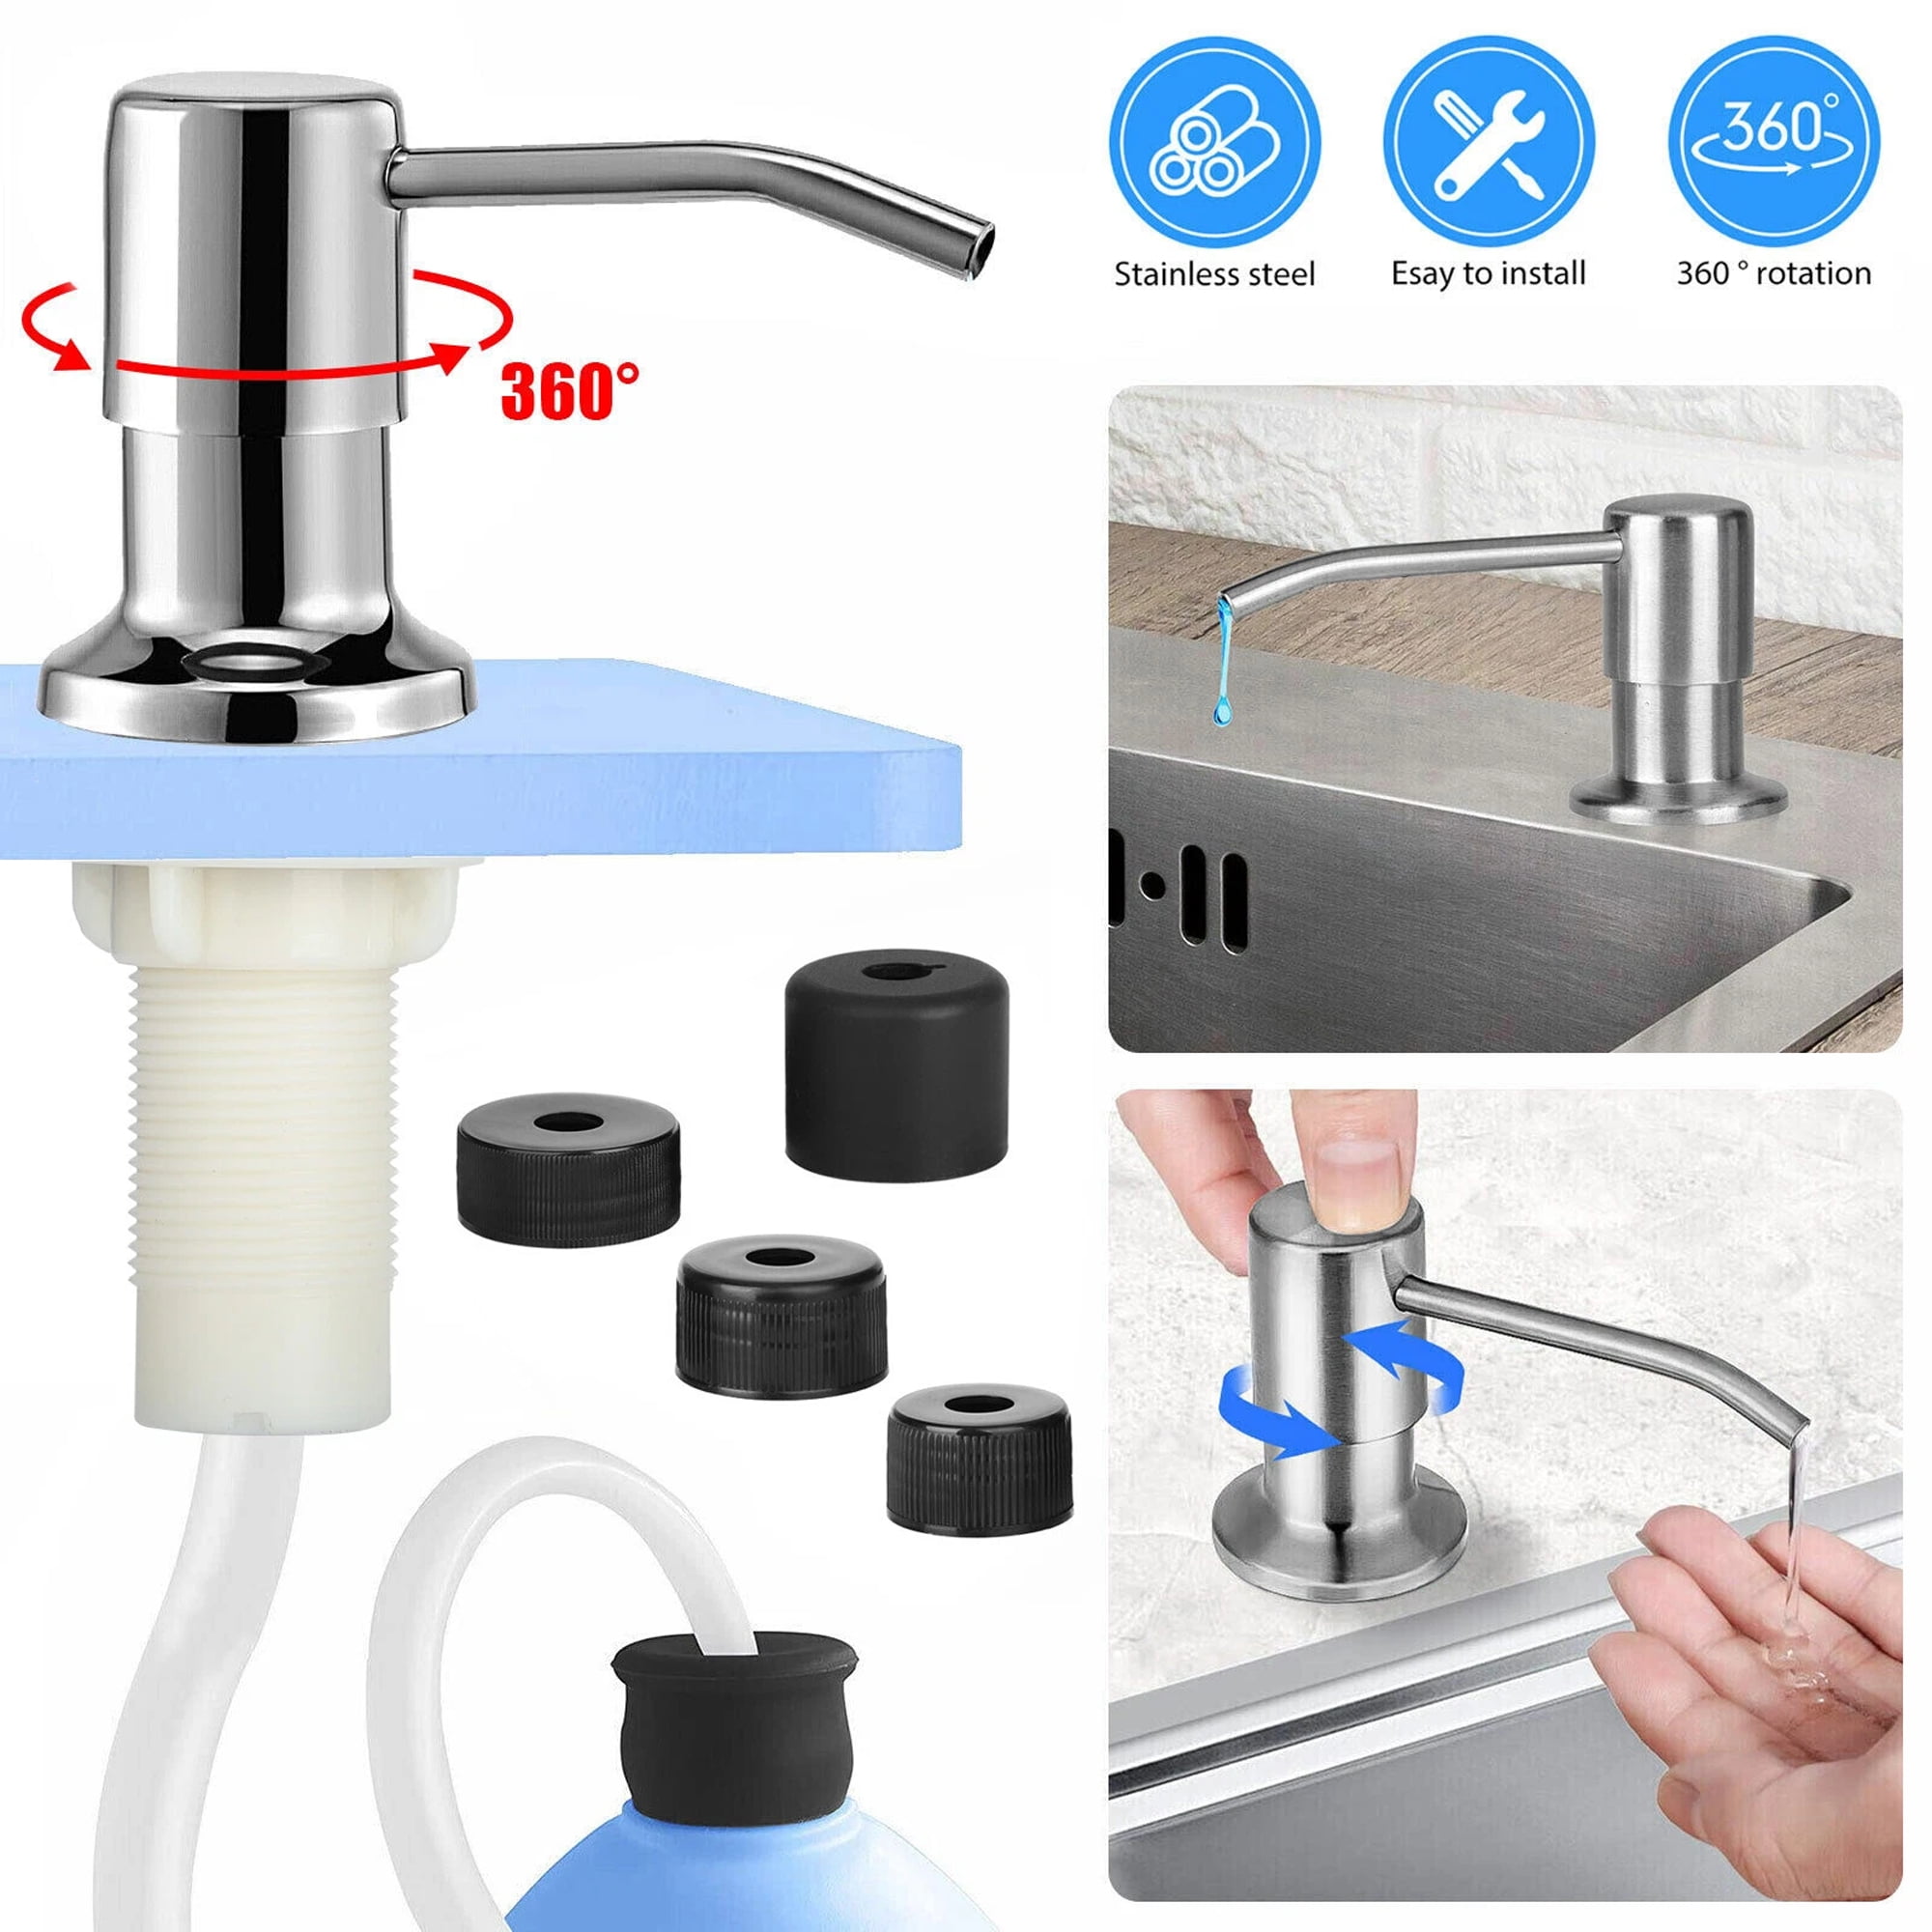
Securing The Dispenser Under The Sink
Look under the sink for the mounting hardware included with your dispenser. Usually, this includes a rubber gasket, a metal washer, and a mounting nut.
- Place the rubber gasket around the dispenser’s stem below the sink.
- Slide the metal washer next.
- Thread the mounting nut onto the stem and tighten it by hand.
Use a wrench to tighten the nut more, but do not over-tighten. Over-tightening can crack the sink or damage parts. Check that the dispenser does not move when you push the pump.
Connecting The Soap Bottle
Connecting the soap bottle to your kitchen sink soap dispenser is a simple yet crucial step. It ensures that soap flows smoothly every time you press the pump. Let’s look at how to attach the soap container securely and fill it properly so your dispenser works without any hiccups.
Attaching The Soap Container
Start by locating the soap container that usually hangs under the sink. Align the neck of the bottle with the dispenser pump tube. Gently push or screw the bottle onto the tube until it fits snugly.
If your dispenser uses a twist-lock system, make sure to turn the bottle clockwise until it locks. You want to avoid any loose connections that could cause leaks or prevent soap from flowing. Have you ever struggled with a dispenser that leaks? Securing the container properly solves that problem instantly.
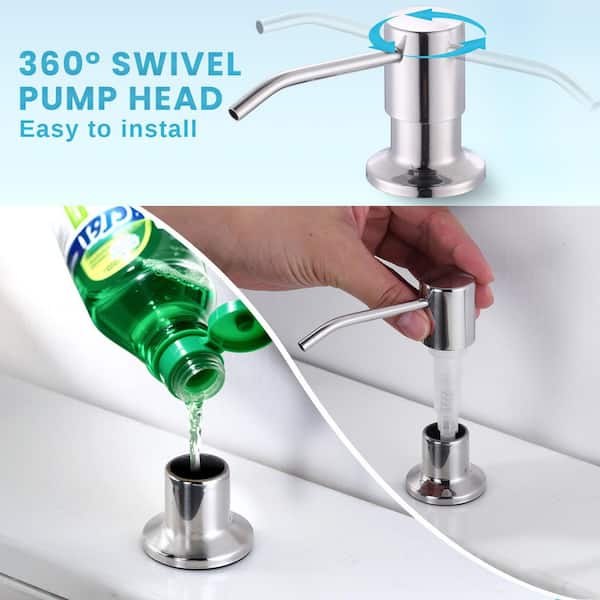
Filling The Bottle With Soap
Choose a liquid soap that matches your dispenser’s size and purpose. Open the container’s cap and pour the soap carefully to avoid spills. Leave some space at the top to prevent overflow when you reattach the bottle.
Consider using a funnel if the soap bottle’s opening is narrow—it makes filling easier and cleaner. If you have kids, pick a mild soap to keep their hands soft after every wash. What kind of soap do you prefer in your kitchen?

Credit: poormankitchen.com
Testing The Dispenser
After installing your soap dispenser, testing it is essential to make sure everything works perfectly. This step helps you spot any issues before regular use, saving you from potential messes and frustration later. Let’s look at how to check your dispenser thoroughly.
Checking For Leaks
Leaks are the most common problem after installation. Start by filling the soap reservoir and watch closely around the base and connections under the sink.
If you see any dripping or pooling, tighten the connections gently. Sometimes, a small shift in the hose or an overlooked washer can cause leaks.
Don’t forget to check the pump mechanism itself. Pump the dispenser a few times and observe if soap leaks out anywhere except the nozzle.
Ensuring Smooth Operation
Next, test the dispenser’s functionality by pumping the soap several times. It should deliver soap smoothly without sticking or requiring excessive force.
If the pump feels stiff or doesn't release soap consistently, air might be trapped in the tube. Try pumping a few more times or gently loosening and retightening the hose.
Ask yourself: Does the dispenser return to its original position quickly after each pump? If not, the spring mechanism might need adjustment or replacement.
Remember, a well-functioning dispenser should make your daily kitchen tasks easier, not harder. Taking a few minutes to test it thoroughly ensures you get that convenience right from the start.
Maintenance Tips
Keeping your kitchen sink soap dispenser in top shape doesn’t end after installation. Regular maintenance ensures it works smoothly and lasts longer. You’ll save time and avoid frustration by staying on top of simple upkeep tasks.
Regular Cleaning
Soap dispensers can get clogged if soap residue builds up. Clean the nozzle weekly by wiping it with a damp cloth to prevent soap from drying and blocking the flow. If you notice slower dispensing, soak the nozzle in warm water for a few minutes to loosen any hardened soap.
Take a moment to rinse the pump mechanism occasionally. Remove it from the sink and rinse under warm water to clear out any buildup inside. This quick step keeps the dispenser pumping efficiently and stops sticky soap from causing jams.
Refilling And Troubleshooting
Use the right type of soap to avoid clogs—liquid soaps with a thinner consistency work best. When refilling, avoid overfilling the reservoir; leave some space for air to help the pump work properly. Have you ever struggled with a dispenser that just won’t pump? Often, a quick prime by pressing the pump several times fixes the issue.
If the dispenser still doesn’t work, check for air bubbles trapped in the pump tube. Gently pull the pump out and push the tube to release any trapped air. Regularly inspect for cracks or leaks in the container and replace parts as needed to keep everything leak-free and functional.
Credit: www.walmart.com
Credit: www.homedepot.com
Frequently Asked Questions
How Do I Install A Soap Dispenser In My Kitchen Sink?
Start by choosing a suitable soap dispenser kit. Drill a hole if needed, insert the dispenser, and tighten it underneath. Connect the soap bottle securely. Fill it with soap and test the pump for smooth operation.
What Tools Are Needed For Soap Dispenser Installation?
You need a drill, adjustable wrench, screwdriver, and plumber’s putty or sealant. These tools help create a hole, secure parts, and prevent leaks. Having these ready makes the installation process quick and efficient.
Can I Install A Soap Dispenser Without Drilling?
Yes, if your sink already has an extra hole, use it. Otherwise, drilling is necessary for a secure fit. Always check your sink’s design before installation to avoid damage.
How Do I Maintain A Kitchen Sink Soap Dispenser?
Regularly clean the pump and refill the soap bottle. Avoid thick soaps that can clog the dispenser. Rinse with warm water occasionally to keep it functioning smoothly.
Conclusion
Installing a soap dispenser in your kitchen sink is simple and quick. Follow each step carefully for best results. Having a soap dispenser helps keep your sink neat and clean. It saves space and makes washing easier. You do not need special tools or skills to install one.
Once done, enjoy the convenience every time you wash your hands or dishes. A small change can make daily chores smoother and more pleasant. Try it yourself and see the difference it brings.