
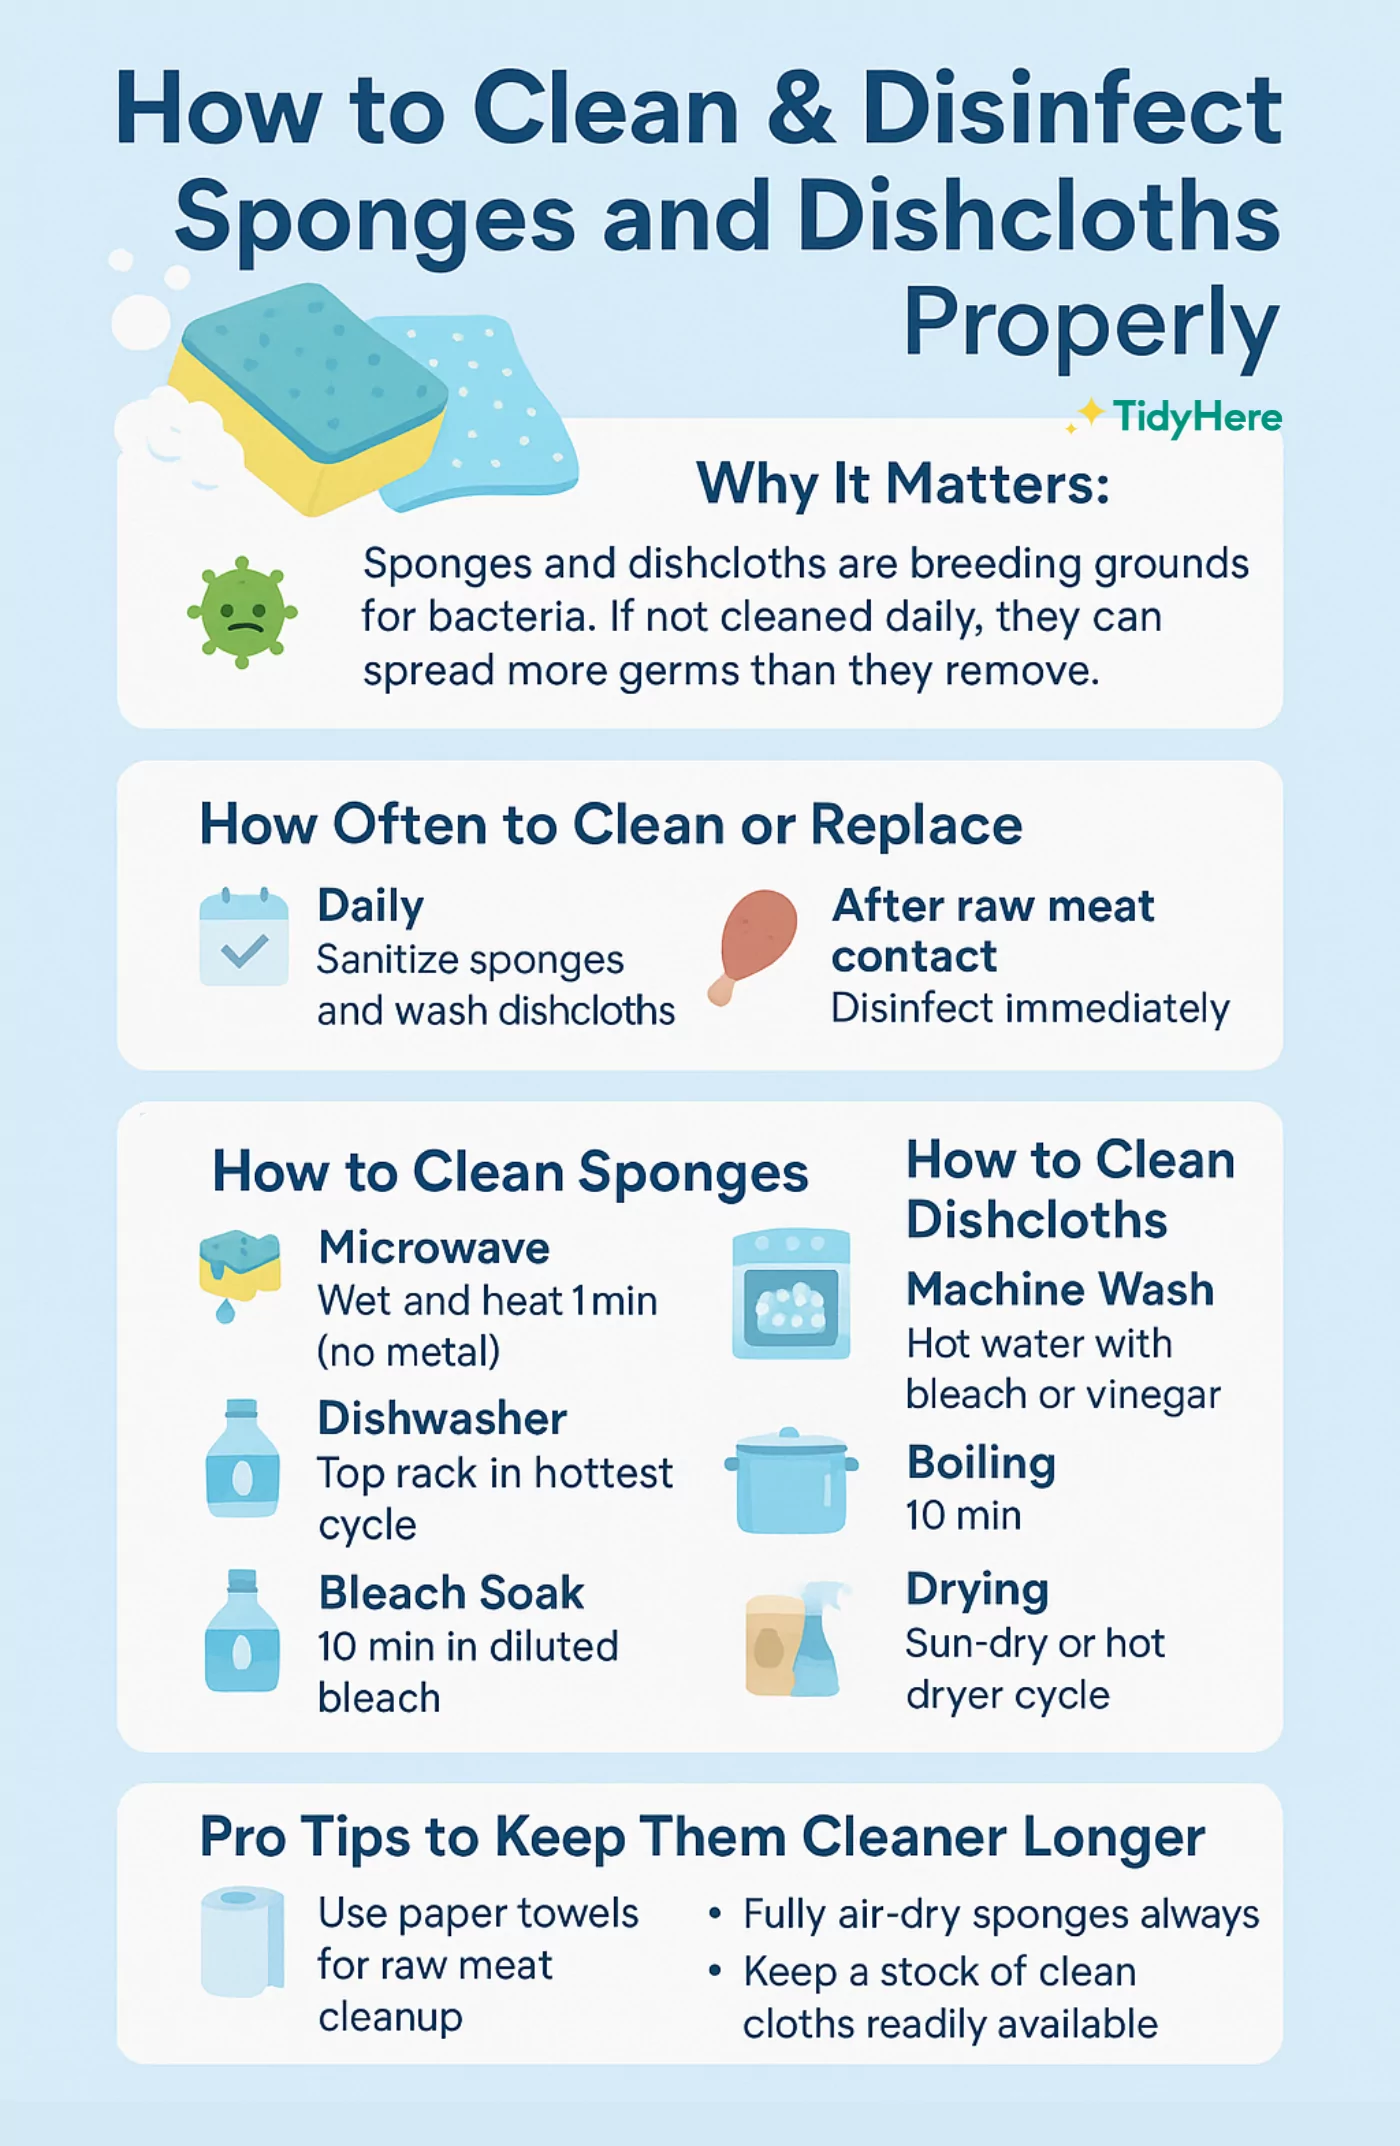
Your kitchen sponge is one of the busiest tools in your home, but it’s also one of the dirtiest. If you don’t disinfect it properly, you could be spreading harmful bacteria every time you clean.
So, how do you disinfect a kitchen sponge effectively and keep your kitchen safe? You’ll discover simple, proven methods to kill germs and extend the life of your sponge. Keep reading to protect your health and maintain a cleaner kitchen with just a few easy steps.
Why Clean Kitchen Sponges Matter
Kitchen sponges are used daily for cleaning dishes and surfaces. They soak up food particles and liquids. This makes them a perfect place for germs to grow. Cleaning sponges is important to keep your kitchen safe and healthy. Dirty sponges can spread bacteria instead of removing it.
Health Risks Of Dirty Sponges
Dirty sponges can cause health problems. They carry bacteria that can lead to food poisoning. Germs from sponges can spread to your hands and kitchen tools. This increases the risk of illness for you and your family. Keeping sponges clean helps reduce these dangers.
Bacteria And Germs In Sponges
Sponges are warm and moist, ideal for bacteria growth. They can hold millions of germs from raw food and dirty dishes. Common bacteria include E. coli and Salmonella. These germs multiply quickly if sponges are not cleaned. Regular disinfecting stops germs from spreading in your kitchen.
Daily Sponge Care Tips
Keeping your kitchen sponge clean every day helps stop germs from spreading. Simple care habits keep the sponge fresh and ready to use. These small steps improve hygiene and extend the sponge’s life.
Rinsing And Squeezing After Use
Rinse the sponge under hot water after every use. This removes food bits and soap residues. Squeeze the sponge firmly to push out water and dirt. Avoid leaving the sponge soaking in water. This prevents bacteria growth and bad smells.
Proper Drying Techniques
Dry the sponge completely between uses. Place it in a well-ventilated area or on a rack. Avoid leaving it on wet surfaces. Change the sponge often if it stays damp too long. Dry sponges stay cleaner and last longer.
Microwave Method For Disinfection
Microwaving a damp kitchen sponge kills most germs quickly and easily. Place the wet sponge in the microwave for about two minutes on high. This method helps keep your sponge clean and safe to use.
Disinfecting your kitchen sponge is crucial for maintaining a hygienic kitchen environment. The microwave method is a quick and effective way to eliminate bacteria and germs lurking in your sponge. But how exactly can you do this safely and efficiently? Let's dive in and discover how this method can be your go-to solution.
Preparing The Sponge
Before you start, ensure your sponge is free from any metal or plastic elements that could cause sparks or melting. Wet the sponge thoroughly, as a dry sponge can catch fire in the microwave. You can soak it under running water or in a bowl, ensuring it's completely saturated.
Microwaving Steps And Safety
Place your wet sponge on a microwave-safe plate. Set your microwave to high and heat the sponge for about one to two minutes. Keep an eye on it to ensure it doesn't dry out or start smoking. Once done, let the sponge cool for a minute before handling it. Remember, it will be extremely hot. Consider using tongs or a utensil to remove it safely. Disinfecting a sponge using a microwave is both practical and efficient. Have you tried this method before? If not, give it a shot and notice the difference in your kitchen cleanliness.
Using Vinegar And Bleach Solutions
Using vinegar and bleach solutions to disinfect your kitchen sponge is a practical way to kill bacteria and keep your kitchen hygienic. Both of these common household items have strong antimicrobial properties, but they must be used carefully to avoid damage to the sponge and ensure safety. Here’s how you can effectively use these solutions to sanitize your sponges.
Vinegar Soak Instructions
Vinegar is a natural disinfectant that can break down grime and eliminate many germs. To disinfect your sponge with vinegar, fill a bowl or container with white distilled vinegar.
- Submerge the sponge completely in the vinegar.
- Let it soak for at least 5 minutes. For tougher odors and bacteria, soak up to 30 minutes.
- After soaking, rinse the sponge thoroughly with hot water to remove vinegar smell.
I once soaked a sponge overnight in vinegar and noticed it smelled fresh and looked cleaner the next day. Have you tried soaking a sponge longer than usual? It might surprise you how much grime it loosens.
Bleach Dilution And Soaking
Bleach is highly effective at killing germs but must be diluted correctly to avoid damaging your sponge or causing skin irritation. Use a well-ventilated area and wear gloves for safety.
| Bleach | Water |
|---|---|
| 1 tablespoon (15 ml) | 1 quart (4 cups or 1 liter) |
Mix the bleach and water in a container and soak the sponge for 1 to 5 minutes. Avoid soaking longer, as bleach can weaken the sponge material.
Once soaked, rinse the sponge thoroughly under running water until the bleach smell disappears. This method can kill almost all bacteria, but do you remember to replace your sponge regularly even if you disinfect it?
Dishwasher Cleaning Approach
The dishwasher cleaning approach offers a simple way to disinfect kitchen sponges. Dishwashers use high heat and strong water jets to kill bacteria effectively. This method requires minimal effort and fits easily into your cleaning routine.
Running the sponge through a dishwasher cycle can remove dirt and germs. It is a practical option for keeping sponges sanitary without harsh chemicals. Follow these steps to ensure the best results.
Loading The Sponge
Place the sponge on the top rack of the dishwasher. Avoid placing it near sharp utensils or items that may damage it. Use a mesh bag if available to keep the sponge secure during the wash cycle.
Recommended Dishwasher Settings
- Choose the hottest water setting available.
- Select a heavy-duty or sanitize cycle for deep cleaning.
- Avoid using extra rinse to maintain heat exposure.
- Run the dishwasher empty except for the sponge to ensure thorough cleaning.
:max_bytes(150000):strip_icc()/hydrogen-peroxide-uses-home-4174809-05-3c126f03778d46f4858d75c2780429a9.jpg)
Credit: www.thespruce.com
Replacing Sponges Regularly
Replacing kitchen sponges regularly is essential for a clean and safe cooking space. Sponges absorb food particles and moisture, creating a perfect environment for bacteria. Over time, they lose their ability to clean effectively and can spread germs instead. Changing sponges often helps keep your kitchen hygienic and reduces the risk of illness.
Signs Your Sponge Needs Replacement
- Sponges develop a bad odor that won’t go away.
- Visible mold or dark spots appear on the surface.
- The sponge feels slimy or breaks apart easily.
- It no longer cleans dishes or surfaces well.
- It has been used for more than two weeks.
Choosing Long-lasting Sponges
Select sponges made from durable materials like cellulose or synthetic fibers. These hold up better against daily wear and tear. Look for sponges labeled as antimicrobial or antibacterial to reduce bacteria growth. Consider sponges with scrubber sides for tougher cleaning jobs. Buying quality sponges saves money and keeps your kitchen cleaner for longer.
Alternative Cleaning Tools
Cleaning your kitchen sponge regularly is essential, but have you thought about switching to alternative cleaning tools? These options can save you time, reduce bacteria buildup, and even last longer. Choosing the right tool for your kitchen tasks might change how you approach daily cleaning.
Silicone Scrubbers
Silicone scrubbers offer a durable and hygienic alternative to traditional sponges. Their non-porous surface prevents bacteria from hiding, making them easier to keep clean. After use, you can simply rinse and air dry them, or even toss them in the dishwasher for a quick sanitize.
Many people find silicone scrubbers more comfortable to hold, and their flexible bristles can reach into corners and crevices effectively. Have you noticed how much quicker your cleaning routine can become when your tools dry fast and don’t smell? This little switch might just reduce the effort you put into disinfecting.
Reusable Cloths
Reusable cloths are another smart choice for kitchen cleaning. Made from microfiber or cotton, they can be washed repeatedly in hot water, helping to eliminate germs and odors. You can use them wet or dry, depending on the surface and task.
One practical tip is to keep several cloths on hand and rotate them daily. This prevents cross-contamination and ensures you always have a fresh cloth ready. Have you tried using different cloths for different cleaning jobs? It might improve your kitchen hygiene more than you expect.
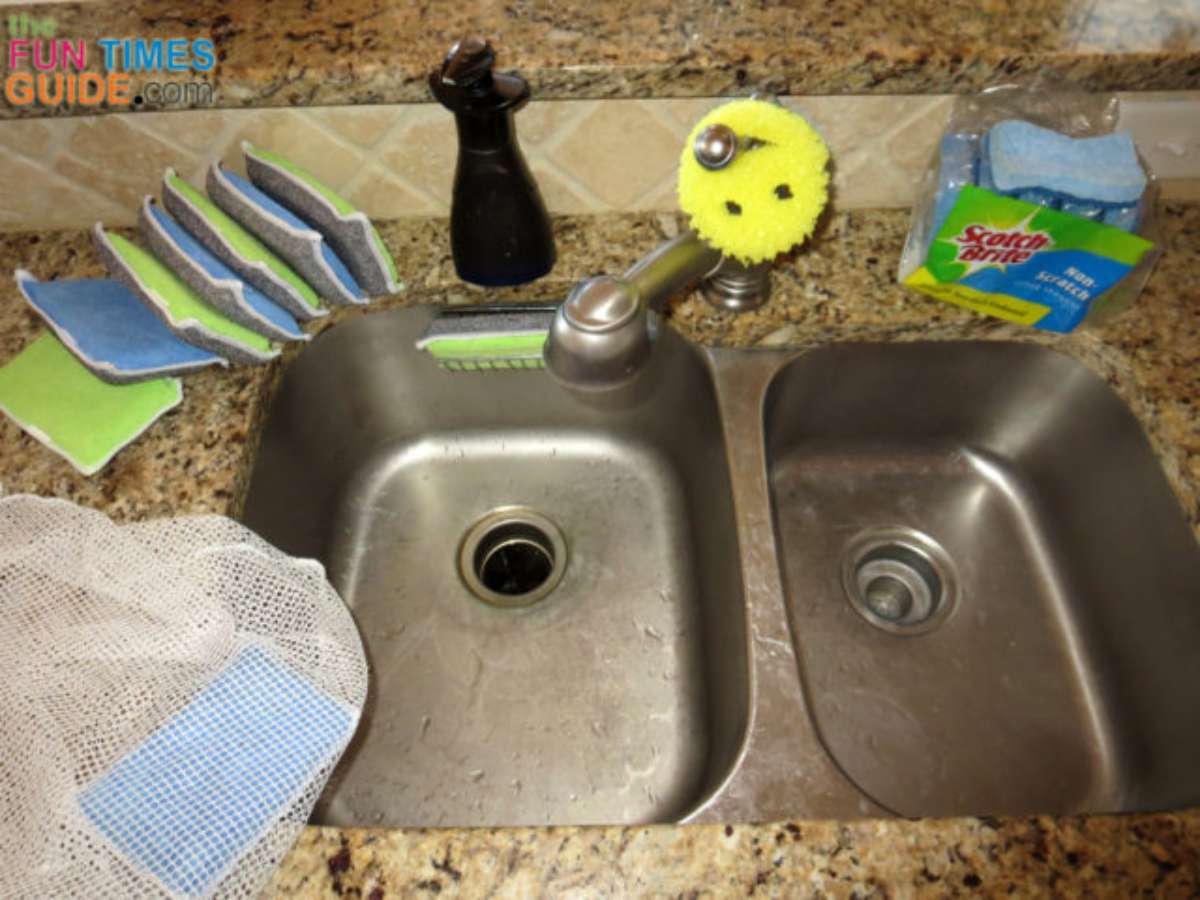
Credit: household-tips.thefuntimesguide.com

Credit: tidyhere.com
Frequently Asked Questions
How Often Should You Disinfect A Kitchen Sponge?
Disinfect your kitchen sponge at least once a week. Frequent cleaning helps kill bacteria and prevents odors. Replace sponges every two to four weeks for best hygiene and safety.
What Is The Best Way To Disinfect A Kitchen Sponge?
Microwaving a damp sponge for two minutes effectively kills most bacteria. Alternatively, soak it in a bleach solution for five minutes. Both methods ensure thorough disinfection and keep your sponge safe to use.
Can You Disinfect A Kitchen Sponge In The Dishwasher?
Yes, placing your sponge on the top rack of the dishwasher during a hot cycle disinfects it. The heat and detergent eliminate bacteria and grime efficiently.
Is Boiling A Kitchen Sponge An Effective Disinfecting Method?
Boiling a kitchen sponge for five minutes kills most germs and bacteria. This simple method is effective and chemical-free but may reduce the sponge's lifespan over time.
Conclusion
A clean kitchen sponge helps keep your kitchen safe. Disinfect it often to stop germs from growing. Use simple methods like microwaving or soaking in bleach. Always rinse the sponge well after cleaning. Replace sponges regularly to avoid bad smells and bacteria.
A little care can make your sponge last longer. Keep your kitchen fresh and healthy every day. Small steps make a big difference in hygiene. Stay safe by cleaning your sponge the right way.