
Are you ready to bring your kitchen ideas to life without lifting a hammer? Making a kitchen in Blender lets you design every detail exactly how you want it.
Whether you’re dreaming of a sleek modern space or a cozy, rustic feel, this guide will help you create it step-by-step. You don’t need prior experience—just a bit of curiosity and the willingness to learn. By the end, you’ll have the skills to build your very own virtual kitchen that looks amazing and feels real.
Keep reading, and watch your creativity turn into a stunning 3D design!

Credit: www.youtube.com
Setting Up Blender For Kitchen Design
Setting up Blender correctly is crucial before you dive into designing your kitchen. A well-prepared environment helps you focus on creativity rather than technical hiccups. Let’s look at how to get Blender ready for your kitchen project, so every tool and setting supports your workflow smoothly.
Installing Blender And Initial Setup
Start by downloading Blender from the official website to ensure you get the latest stable version. The installation is straightforward, but choosing the right version for your operating system is key. After installation, open Blender and take a moment to explore the splash screen options.
One thing I learned early on is to set Blender to launch with a new General project, which is perfect for kitchen design as it includes the default cube to start modeling. Don’t rush through this step—setting the right project template saves time later.
Configuring Workspace And Preferences
Your workspace should feel intuitive. Blender lets you customize layouts, so arrange panels like the 3D Viewport, Outliner, and Properties Editor to what feels natural for kitchen modeling. You might want the Shader Editor easily accessible for material tweaks on countertops or cabinets.
In Preferences, focus on input settings to match your mouse or tablet. Enabling “Emulate 3 Button Mouse” can help if you don’t have a middle mouse button, which is often used for navigation. Also, set your viewport shading to “Material Preview” by default—this gives you immediate feedback on colors and textures.
Think about which add-ons could speed up your kitchen design. For example, enabling the Archimesh add-on can provide ready-made architectural elements like cabinets and doors. Have you tried customizing shortcuts? A few tweaks there can save you lots of clicks and keep your design flow uninterrupted.
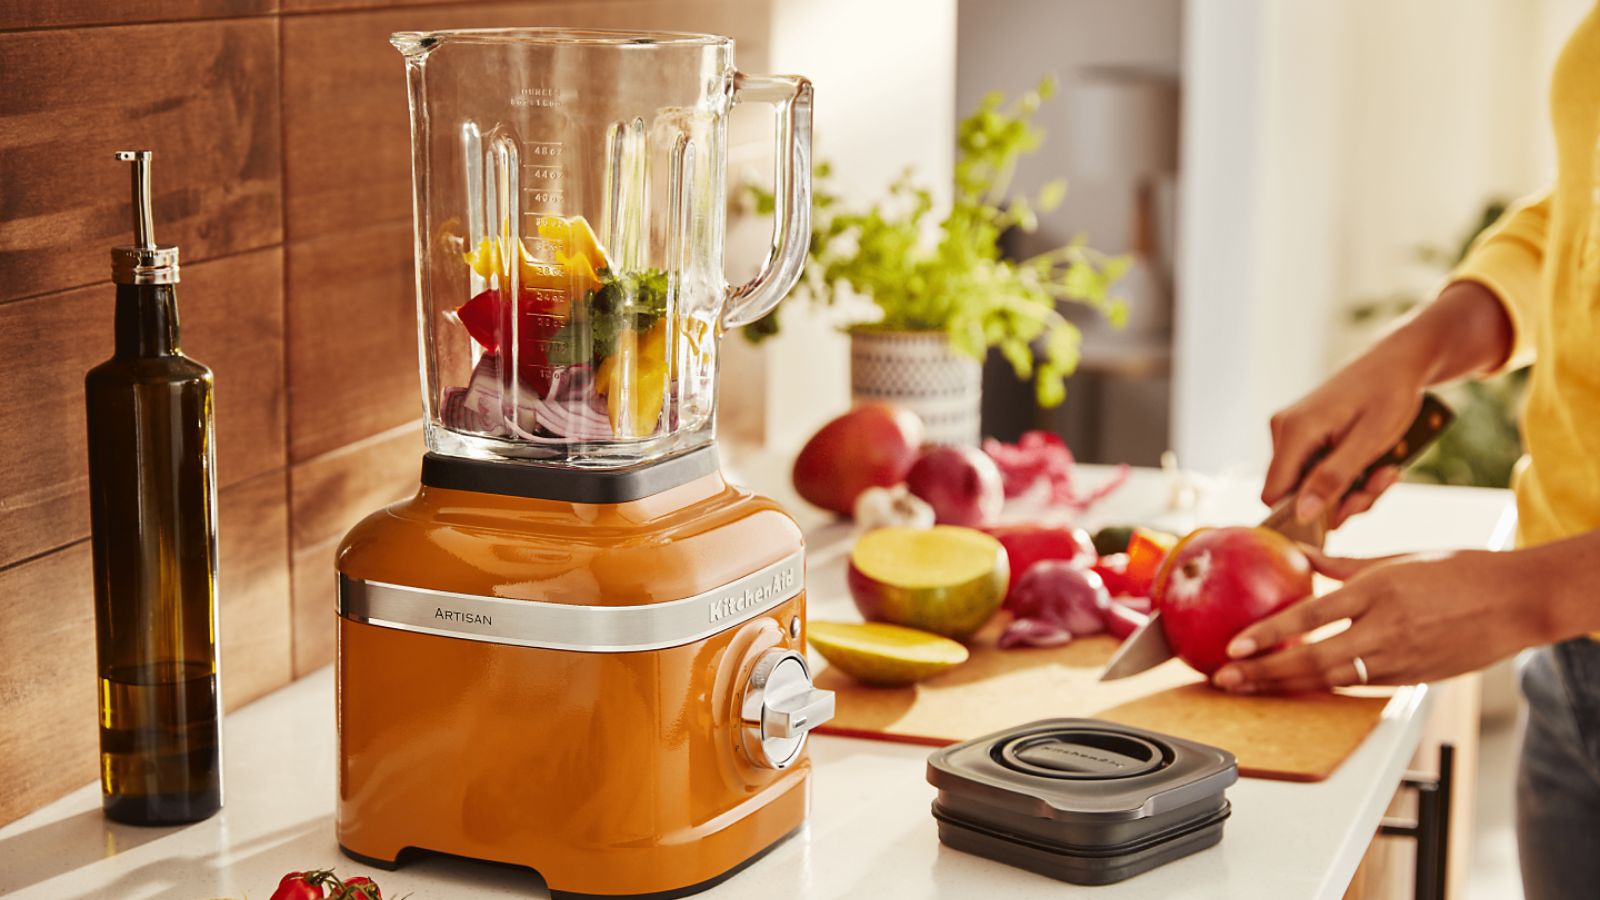
Credit: www.homesandgardens.com
Modeling Basic Kitchen Layout
Modeling a basic kitchen layout in Blender lays the foundation for your entire scene. It creates the space where you will place furniture, appliances, and decorations. A well-built layout makes the kitchen look realistic and organized.
Start by shaping the main room, then add key architectural features. Focus on walls, floors, doors, and windows for an accurate kitchen space. These elements help define the area and set the stage for further detailing.
Creating Walls And Floor
Begin with a simple cube to form the walls. Scale it to the size of your kitchen space. Use Blender’s edit mode to cut out openings for doors and windows later.
Create the floor by adding a plane beneath the walls. Adjust its size to match the room’s dimensions. Apply materials to the floor for texture and realism, like tiles or wood.
Adding Doors And Windows
Insert door and window frames into the wall openings. Use separate objects for better control and detail. Position them accurately to fit the kitchen layout.
Model doors and windows with simple shapes. Extrude and scale edges to create frames and panels. Add glass materials to windows for transparency and shine.
Use snapping tools to align doors and windows perfectly. This step improves the kitchen’s overall appearance and realism. Check proportions to ensure everything fits well within the walls.
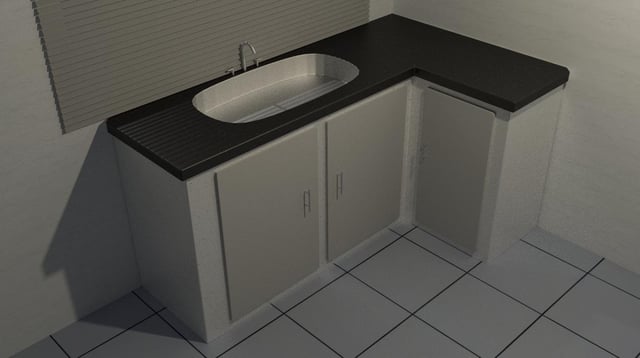
Designing Kitchen Cabinets And Countertops
Design kitchen cabinets and countertops in Blender by creating simple shapes and adding textures. Use basic tools to model and customize each part easily. Adjust colors and materials to make your kitchen look realistic and neat.
Designing a kitchen in Blender can be exciting. Kitchen cabinets and countertops are key elements. They define the kitchen's look and functionality. In this section, we'll explore how to create these vital components. Creating detailed cabinets and countertops can transform your digital kitchen. It sets the stage for a realistic and appealing design. Let's dive into the steps to build frames and shape countertops.
Building Cabinet Frames
Start by selecting the cube in Blender. Scale it to match the cabinet's size. Use the "Edit Mode" to adjust the shape. Create doors by adding more cubes. Position them on the cabinet's front. Use the "Loop Cut" tool to add details. This tool helps create realistic panels. Add handles to the doors for extra detail. Use small cylinders for handles. Attach them to the cabinet doors. Ensure proportions are accurate for realism. Adjust the colors and textures. Use wood or laminate materials for a natural look.
Shaping Countertops
Begin with a flat plane. Scale it to fit the kitchen layout. Use "Edit Mode" to adjust the thickness. This creates a realistic countertop depth. Add edges and corners for a polished look. The "Bevel" tool helps smooth edges. Select materials for the countertop. Granite, marble, or wood textures add realism. Adjust the surface finish. Glossy or matte effects change the appearance. Add details like a backsplash. Use small cubes or planes for this feature. Ensure the countertop aligns with the cabinets. Check dimensions and proportions. Adjust as needed for a seamless fit.
Adding Appliances And Fixtures
Adding appliances and fixtures brings life to your Blender kitchen scene. These elements make the space feel real and practical. Focus on simple shapes first, then add details gradually. Proper placement creates a natural flow in the kitchen layout.
Modeling Refrigerator And Oven
Start with basic cubes to form the refrigerator and oven bodies. Adjust proportions to match typical appliance sizes. Use edge loops to add doors and handles.
- Extrude door panels slightly for depth.
- Inset faces to create control panels or vents.
- Apply smooth shading for rounded edges.
Textures can simulate metal or plastic surfaces. Add subtle reflections for realism. Group parts to keep the model organized.
Inserting Sink And Faucet
Create a rectangular or oval shape for the sink basin. Use the Boolean modifier to carve out the basin from a countertop mesh. Model the faucet using cylinders for the spout and handles.
- Use a curve for smooth faucet bends.
- Join faucet parts for easy movement.
- Position the sink and faucet realistically within the countertop.
Materials with slight gloss add a wet, metallic look. Small details like drains or water knobs improve authenticity.
Applying Materials And Textures
Applying materials and textures is where your kitchen model truly comes to life. This step adds depth, realism, and character to every surface, from shiny countertops to rough wooden cabinets. Without careful attention to materials and textures, even the best models can look flat and uninviting.
Choosing Materials For Surfaces
Start by thinking about the type of kitchen you want to create. Are the surfaces sleek and modern with stainless steel and glass, or warm and rustic with wood and stone? Selecting the right material helps set the mood and makes your kitchen believable.
Blender’s material library offers a great starting point, but tweaking settings like roughness, metallic, and specular values lets you customize the look. Don’t hesitate to mix materials on a single object — a countertop can have a glossy finish while its edges are matte.
Ask yourself: What texture would make this surface feel real to you? Experimenting with different materials can reveal unexpected results that enhance your design.
Uv Unwrapping And Texture Mapping
Applying textures correctly depends heavily on UV unwrapping. This process unwraps your 3D model into a 2D plane, allowing textures to fit perfectly without stretching or distortion. It’s like laying out fabric to cut patterns that fit just right.
In Blender, use the UV Editing workspace to mark seams and unwrap your kitchen components. It’s easier than it sounds — try simple unwrap methods first and refine as you go.
Texture mapping lets you place images onto your surfaces, whether it’s a tiled backsplash or wood grain on cabinets. High-quality textures make a big difference, so look for detailed images or create your own.
Have you ever seen a model with textures that look warped or blurry? UV unwrapping is the key to avoiding that. Taking time here ensures your kitchen looks polished and professional.
Lighting And Rendering The Scene
Lighting and rendering bring your Blender kitchen to life. They set the mood and show off details. Good lighting makes the scene look real and inviting. Rendering captures all the work into a stunning image. This part is key to making your kitchen design shine.
Setting Up Lights
Start by adding different light types. Use point lights for small light sources. Area lights work well for soft, even lighting. Spotlights highlight specific parts of the kitchen. Place lights near windows to simulate sunlight. Adjust brightness to avoid harsh shadows. Use warm colors for a cozy feel. Cool lights fit modern kitchens better.
Adjusting Camera Angles
Choose angles that show the best features. Low angles can make the kitchen look larger. High angles give a full view of the layout. Move the camera around to test views. Focus on the main elements like countertops and appliances. Use the rule of thirds to balance the shot. Zoom in slightly for more detail.
Rendering Final Image
Select the render engine suitable for your needs. Cycles gives realistic lighting and shadows. Eevee is faster and good for quick previews. Set resolution high for clear images. Check samples to reduce noise in the render. Save the image in a popular format like PNG. Review the final image and make tweaks if needed.
Tips For Optimizing Workflow
Optimizing your workflow in Blender is key to building a kitchen scene without losing momentum. Small adjustments can save you hours and keep your creative energy high. Let’s look at some practical tips that make your modeling process smoother and more enjoyable.
Using Modifiers Efficiently
Modifiers are powerful tools that let you change your mesh without permanently altering it. Use the Mirror modifier to quickly create symmetrical kitchen elements like cabinets or countertops. This way, you only model half and Blender generates the other side automatically.
The Array modifier is another time-saver. It helps you create repetitive items such as tiles, chairs, or shelves with just a few clicks. Remember to apply modifiers only when you’re sure the shape is final—otherwise, keep them live to tweak later.
Have you tried stacking modifiers? For example, combine a Subdivision Surface with a Bevel modifier to add smoothness and detail. This approach keeps your mesh clean and flexible throughout the project.
Organizing Objects And Collections
Keeping your Blender file organized is a game-changer. Use Collections to group related objects like appliances, furniture, and lighting. This lets you hide, select, or move entire groups quickly.
Name your objects clearly—“Kitchen_Cabinet_Left” is easier to find than “Cube.001.” You’ll thank yourself when the scene grows complex. Utilize color tags and custom icons to visually separate different types of assets.
Try isolating parts of your kitchen while working on them. Hiding everything else reduces clutter and helps you focus. How often do you lose time searching for that one misplaced object? Proper organization solves that.

Credit: www.reddit.com
Frequently Asked Questions
How Do I Start Modeling A Kitchen In Blender?
Begin by blocking out the kitchen layout using simple shapes. Use cubes and planes to form walls, cabinets, and counters. This helps establish scale and composition before adding details.
What Are Essential Blender Tools For Kitchen Design?
Use modeling tools like Extrude, Loop Cut, and Bevel to shape objects. The Snap tool helps align elements. Use materials and textures to add realism to kitchen surfaces.
How Can I Add Realistic Textures To Kitchen Objects?
Apply high-quality textures through the Shader Editor. Use image textures for wood, tile, and metal surfaces. Adjust roughness and bump maps for a natural look.
What Lighting Setup Works Best For Kitchen Scenes?
Use a combination of area lights and HDRI environment lighting. This creates soft shadows and realistic reflections. Proper lighting enhances the kitchen’s materials and overall ambiance.
Conclusion
Creating a kitchen in Blender takes practice and patience. Start with simple shapes and build step by step. Use textures and lighting to make it look real. Don’t rush; take your time to add details. Keep experimenting with tools to improve your skills.
Soon, you will feel more confident and enjoy the process. This guide helps you begin your 3D kitchen design journey. Have fun bringing your ideas to life in Blender!