
Is your stainless steel kitchen sink looking dull or covered in water spots? You don’t have to live with a sink that looks tired and worn out.
Polishing your stainless steel sink can bring back its shine and make your entire kitchen look fresher and cleaner. You’ll learn simple, effective steps to polish your sink like a pro. Whether you want to impress guests or just enjoy a sparkling clean space, these easy tips will help you get the job done quickly and safely.
Keep reading to discover how to make your stainless steel sink shine like new again!
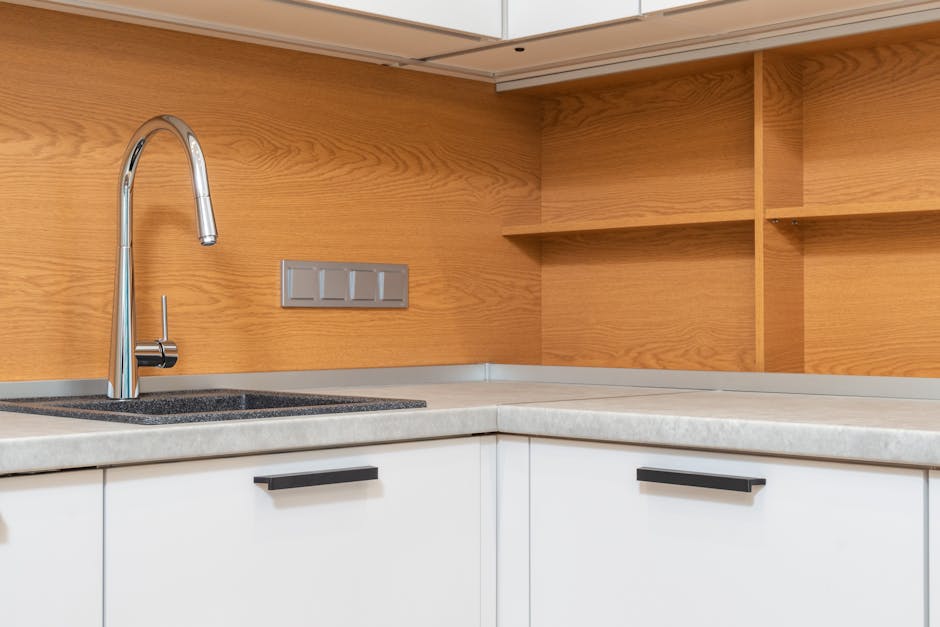
Credit: www.dkhardware.com
Choosing The Right Polish
Choosing the right polish is key to keeping your stainless steel sink shiny and new. The wrong product can cause streaks or dullness. Picking the right polish depends on your sink’s finish and your cleaning habits. Knowing what options exist helps you make the best choice. Let’s explore the types of polishes and how natural and commercial choices compare.
Types Of Stainless Steel Polishes
- Paste Polishes:Thick and creamy, ideal for heavy cleaning and removing scratches.
- Liquid Polishes:Easy to apply, good for regular maintenance and restoring shine.
- Spray Polishes:Convenient and fast, perfect for quick touch-ups and light polishing.
- Wipes:Pre-soaked cloths that clean and polish in one step, great for busy kitchens.
Natural Vs Commercial Options
Natural polishes use ingredients like baking soda, vinegar, or lemon juice. They are gentle and safe but may need more effort to get a bright shine. Natural options avoid harsh chemicals and are eco-friendly. Commercial polishes are made with special formulas designed for stainless steel. They work fast and give a lasting shine. Some contain chemicals, so read labels to avoid damage. Choose what fits your needs and preferences best.
Credit: modern-maids.com
Preparing The Sink
Preparing your stainless steel kitchen sink properly sets the stage for a brilliant polish. Skipping this crucial step means dirt and grime can get sealed under the polish, dulling the shine instead of enhancing it. Let’s focus on getting your sink spotless and smooth before you begin polishing.
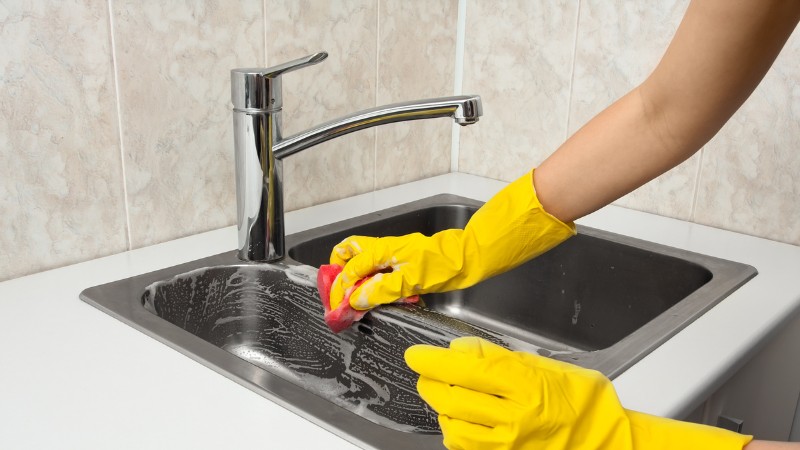
Cleaning Before Polishing
Start by clearing out the sink completely. Remove any dishes, soap, or debris that might be hiding in the corners or drain area. Use warm water and a gentle dish soap to wash the entire surface thoroughly.
Grab a soft sponge or cloth—avoid anything abrasive that could scratch the steel. Scrub in the direction of the metal’s grain to maintain the smooth texture. Rinse well with clean water to ensure no soap residue is left behind.
Have you ever noticed how even a tiny spot of leftover soap can cause streaks after polishing? Taking the time to rinse carefully makes a big difference in the final look.
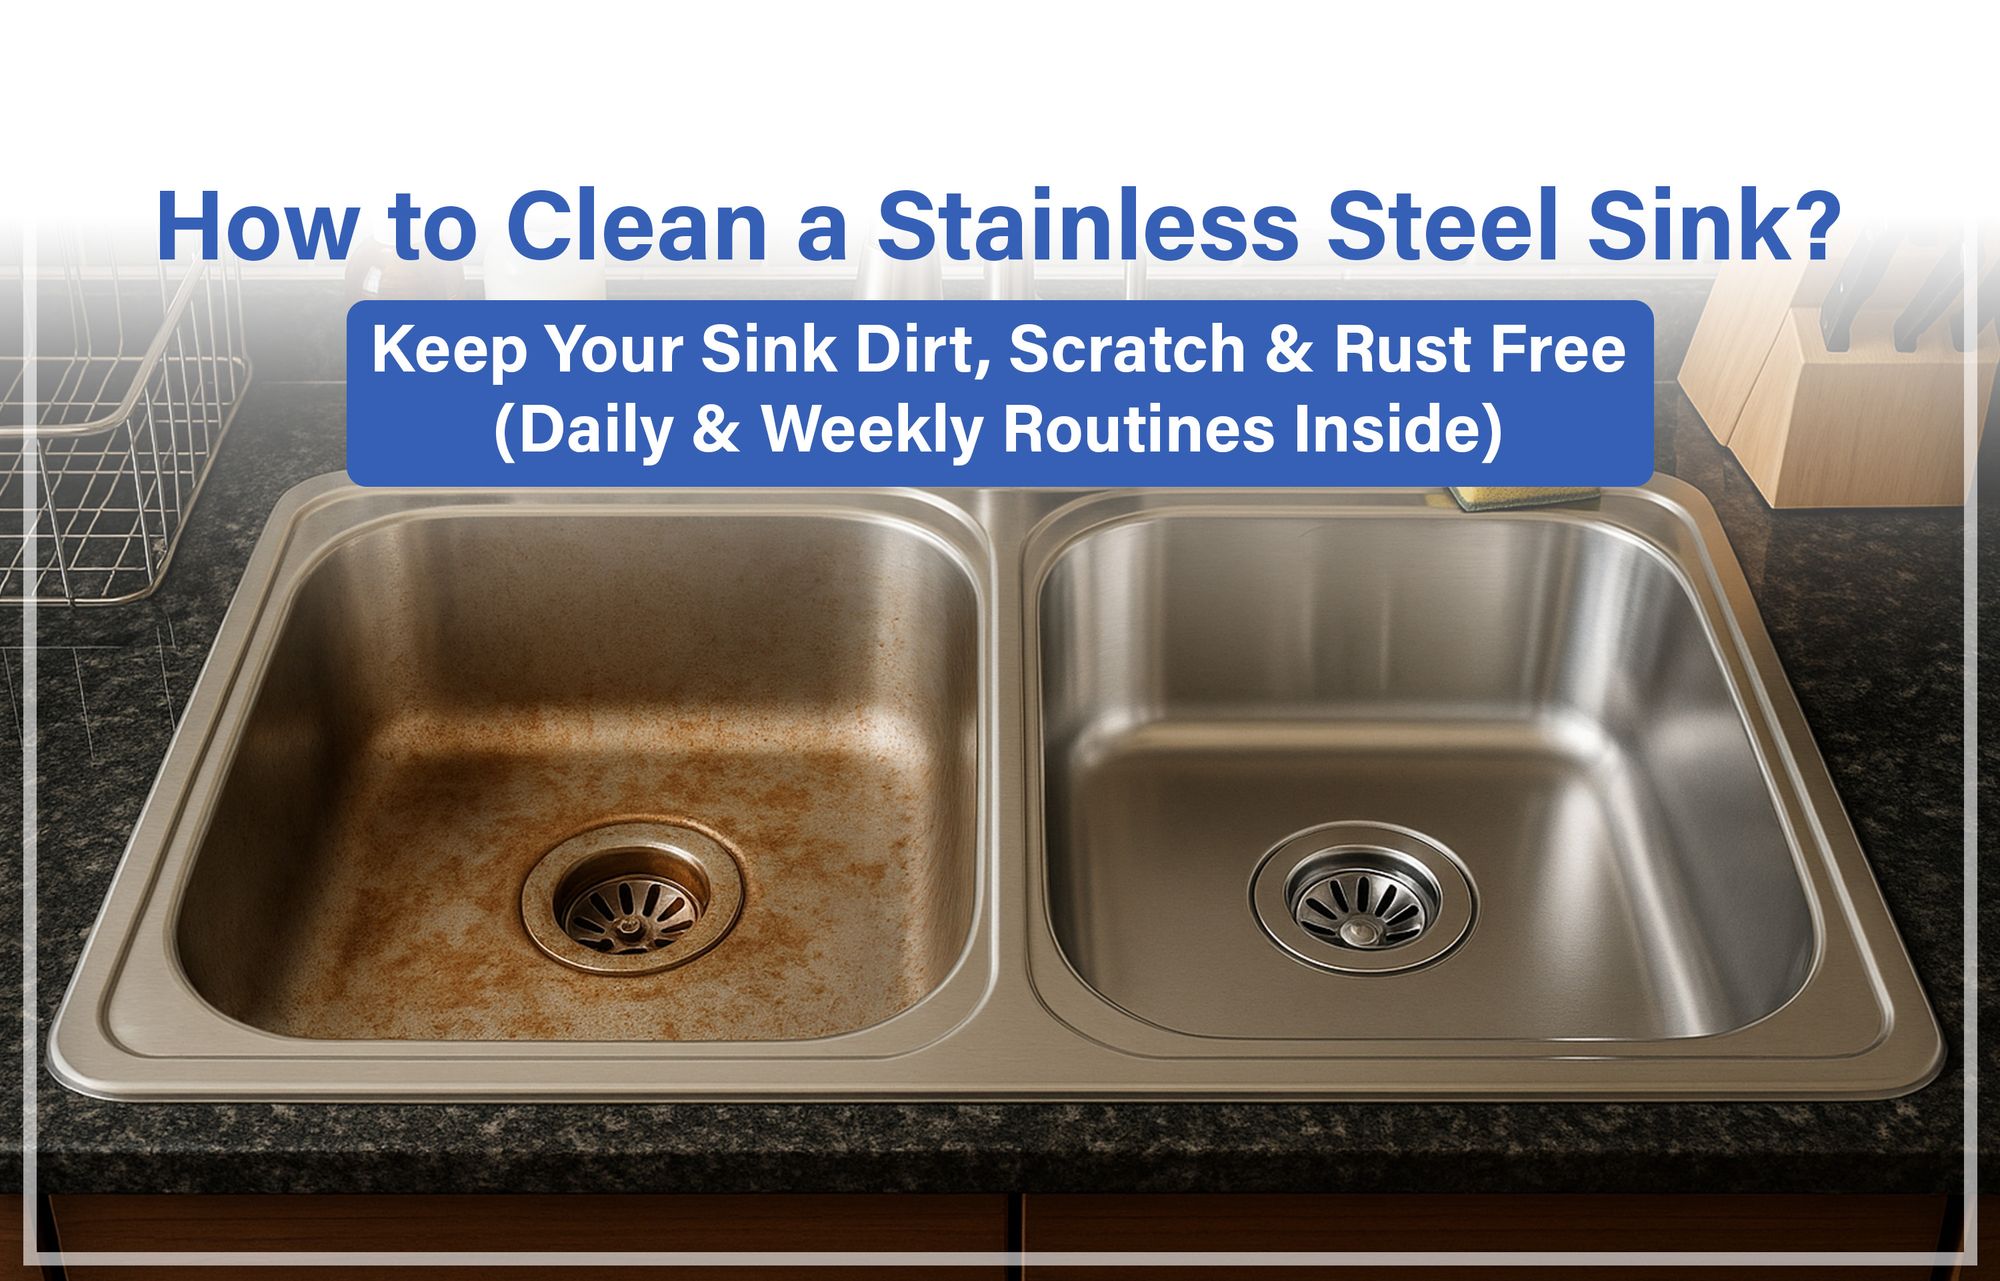
Removing Stains And Rust
Stainless steel is resistant but not immune to stains or rust, especially around the drain or faucet bases. Identify any discolored patches or spots that look rough or rusty. These need special attention before polishing.
Use a paste made from baking soda and water, applying it directly onto the stains with a soft cloth. Rub gently but firmly along the grain of the steel. For tougher rust spots, a small amount of white vinegar on a cloth can help break down the mineral buildup.
Remember, aggressive scrubbing or harsh chemicals can damage your sink’s surface. Take your time and treat these areas carefully. Have you tried this simple baking soda trick before? Many underestimate how effective it can be for restoring shine.
Once the stains and rust are gone, rinse thoroughly and dry the sink with a clean microfiber cloth. This ensures no moisture remains to cause future spots, leaving your sink perfectly prepped for polishing.
Polishing Techniques
Polishing a stainless steel kitchen sink involves specific techniques. It's crucial for maintaining its shine and durability. Understanding the right methods makes the process efficient and rewarding. Let's dive into the effective ways of polishing your sink.
Hand Polishing Methods
Hand polishing is simple and requires minimal tools. Start with a soft cloth. Ensure it's clean and dry. Apply a small amount of non-abrasive cleaner. Rub gently in the direction of the grain. This prevents scratches. Use circular motions for stubborn spots. Rinse with warm water. Dry with a microfiber cloth to prevent water spots.
Using Polishing Machines
Polishing machines are efficient for larger sinks. They save time and effort. Begin by choosing a suitable polishing pad. Attach it securely to the machine. Apply a stainless steel polish on the pad. Turn the machine on a low setting. Move it steadily along the sink's surface. Follow the grain direction to avoid marks. After polishing, wipe the sink with a clean cloth. This removes any residue and enhances the shine.
Dealing With Scratches
Scratches on your stainless steel kitchen sink can be frustrating, but they don't have to ruin its look. Addressing these marks quickly helps maintain a sleek, shiny surface. Whether the scratches are light or deep, there are ways you can restore your sink’s polished finish right at home.
Minor Scratch Repairs
Minor scratches often appear as faint lines and can be fixed without special tools. Start by cleaning the sink thoroughly with warm, soapy water to remove any dirt or grease.
Next, use a non-abrasive pad or a soft cloth with a small amount of stainless steel cleaner or baking soda paste. Rub gently along the grain of the steel in circular motions—this helps blend the scratch into the surrounding surface.
Have you noticed how rubbing against the grain can make scratches worse? Always match your movements to the steel's grain direction for the best results.
After polishing, rinse the area well and dry it with a microfiber cloth to prevent water spots. This simple step can make minor scratches nearly invisible.
Deep Scratch Solutions
Deep scratches require a bit more effort and the right materials. You’ll need fine-grit sandpaper (around 400 to 600 grit) or a specialized stainless steel scratch repair kit.
Begin by wetting the sandpaper and the scratched area. Then, sand gently in the direction of the grain, checking your progress frequently. Avoid sanding across the grain—it can cause more damage.
Once the scratch fades, switch to a finer grit sandpaper (800 to 1000 grit) to smooth the surface further. Finish by polishing with a stainless steel cleaner or polish to restore shine.
If you feel unsure about sanding yourself, some professionals offer affordable scratch repair services that can save time and avoid mistakes. What’s your sink’s story? Sometimes, a little patience and care can make a big difference in bringing back that new-sink look.
Maintaining The Shine
Keeping your stainless steel kitchen sink gleaming isn't just about polishing it once. It requires consistent care and a few smart habits. You’ll find that maintaining the shine is easier than you think, especially when you know the right daily practices and protective steps to take.
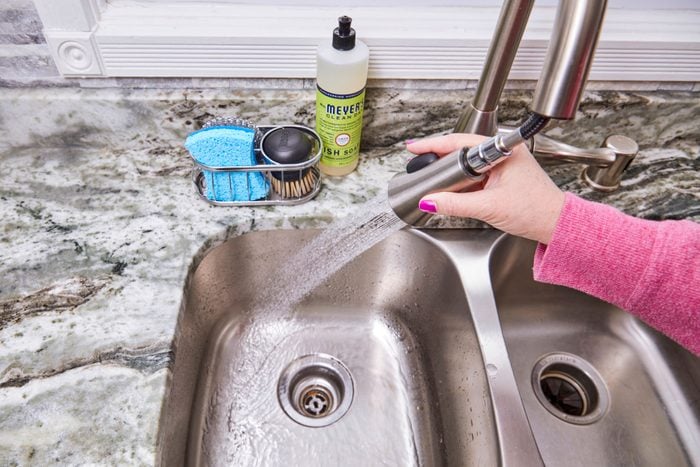
Daily Care Tips
Rinse your sink thoroughly after each use to prevent water spots and soap buildup. Wiping it dry with a soft cloth keeps those annoying streaks away and preserves the shine.
Try using a mild dish soap and a non-abrasive sponge for quick cleanups. Harsh cleaners or steel wool can scratch the surface, dulling the finish.
Have you noticed fingerprints or smudges? A small dab of olive oil on a microfiber cloth can buff them out quickly, restoring that polished look without extra effort.
Protective Coatings
Applying a thin layer of protective coating can extend the life of your sink’s shine. You can use specialized stainless steel polishes or even a small amount of car wax designed for metal surfaces.
These coatings create a barrier that repels water and stains, reducing the need for frequent deep cleaning. Remember to follow the product instructions carefully to avoid buildup or discoloration.
Consider reapplying the coating every few weeks, especially if your sink gets heavy use. Would you rather spend a few minutes now or scrub for hours later? A little prevention goes a long way.
Common Mistakes To Avoid
Polishing a stainless steel kitchen sink can make it shine like new, but there are some common mistakes that can ruin your efforts. Avoiding these errors will save you time, frustration, and even damage to your sink. Let’s take a closer look at what to watch out for so your polishing job stays smooth and effective.
Using Abrasive Materials
Abrasion can sound helpful when you want to remove stains, but using rough materials like steel wool or harsh scouring pads can scratch your sink’s surface. These scratches don’t just look bad—they can also trap dirt and cause rust spots over time.
Instead, opt for soft cloths or non-abrasive sponges. I once tried a steel wool pad on my sink and ended up with tiny scratches that took weeks to buff out. Was it worth the risk? Definitely not.
Ignoring Manufacturer Guidelines
Every stainless steel sink is different, and manufacturers often provide specific care instructions. Skipping these guidelines can lead to using the wrong cleaners or techniques that might void your warranty or damage the finish.
Have you checked your sink’s manual lately? Following the recommended products and methods ensures you don’t accidentally cause harm while trying to make your sink shine. It’s a small step that makes a big difference.
Credit: www.rd.com
Frequently Asked Questions
How Often Should I Polish A Stainless Steel Sink?
Polish your stainless steel sink every 1-2 weeks to maintain its shine. Regular polishing prevents stains and water spots. This keeps your sink looking clean and new longer.
What Materials Are Best For Polishing Stainless Steel?
Use a soft microfiber cloth and a non-abrasive stainless steel polish. Avoid steel wool or harsh cleaners, as they can scratch the surface. Gentle products protect the sink's finish while enhancing its shine.
Can Natural Ingredients Polish Stainless Steel Sinks Effectively?
Yes, natural ingredients like baking soda and vinegar work well. Baking soda removes stains gently, while vinegar adds shine and disinfects. These eco-friendly options are safe and affordable for regular polishing.
How Do I Remove Water Spots From Stainless Steel Sinks?
Wipe water spots with a cloth soaked in white vinegar. Let it sit for a few minutes, then rinse with water. This simple method dissolves mineral deposits, restoring your sink's smooth, shiny surface.
Conclusion
Polishing your stainless steel sink keeps it shiny and clean. Regular care stops stains and scratches from building up. Use gentle cleaners and soft cloths to avoid damage. Small efforts make a big difference over time. A bright sink makes your kitchen look fresh and neat.
Keep polishing often for the best results. Your sink will stay beautiful and last longer. Simple steps, great shine.