
Have you ever wondered if you can fire clay right in your kitchen oven? If you’re working on a clay project and don’t have access to a traditional kiln, this question might be on your mind.
Imagine finishing your pottery or craft without the hassle of special equipment. But is it really possible to fire clay safely and effectively at home? Keep reading to find out what you need to know before you try, so you don’t risk ruining your work—or your oven.
Your next creative step starts here!
Types Of Clay Suitable For Kitchen Ovens
Choosing the right type of clay is crucial if you want to fire it safely in your kitchen oven. Not all clays can handle the heat or will cure properly without a professional kiln. Understanding which clays work well with kitchen ovens can save you time, effort, and frustration.
Air-dry Clay
Air-dry clay is a popular choice for beginners because it doesn’t require any firing at all. Instead, it hardens naturally when exposed to air over time. Since it doesn’t need to go into the oven, it’s perfect if you want to avoid heat altogether.
However, air-dry clay won’t reach the hardness or durability of kiln-fired clay. It’s best suited for decorative pieces or light-use items. Have you ever tried drying your clay creations on a sunny windowsill? It’s a simple way to make your project come alive without any oven.
Polymer Clay
Polymer clay is designed specifically to cure in a home oven at relatively low temperatures, usually between 265°F to 275°F (130°C). This clay type is versatile and comes in many colors, making it ideal for small sculptures, jewelry, and crafts.
Its baking process is straightforward, but you must follow the manufacturer’s temperature and timing guidelines carefully. Overheating polymer clay can cause burning or discoloration. Ever tried crafting tiny charms or figures? Polymer clay lets you bake your art safely right in your kitchen oven.
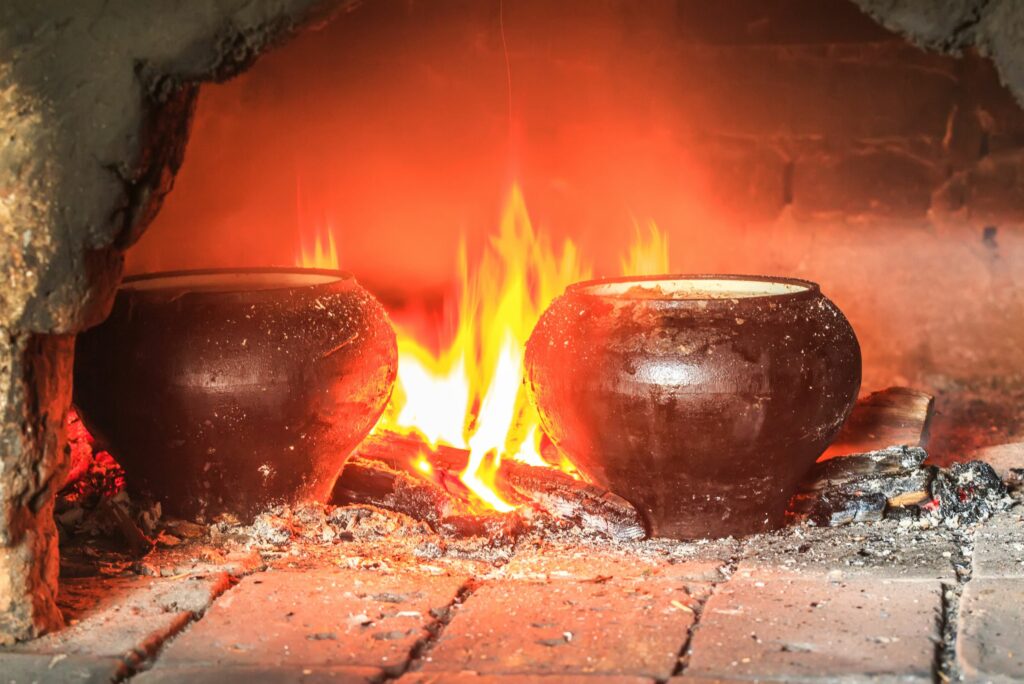
Earthenware And Stoneware Clay
Earthenware and stoneware clays usually require high temperatures to fire properly, often well beyond what a kitchen oven can reach. These clays need a kiln firing at temperatures typically between 1,800°F and 2,400°F (982°C to 1,315°C).
If you attempt to bake these clays in a kitchen oven, they will not harden correctly and will likely crack or remain fragile. If your heart is set on pottery or functional ceramics, renting kiln time or using a community studio might be your best bet. Are you ready to explore beyond your kitchen to achieve professional results?

Credit: www.soulceramics.com
Temperature Limits Of Kitchen Ovens
Understanding the temperature limits of kitchen ovens is essential for firing clay safely. Most home ovens are designed for cooking food, not ceramics. This creates a challenge for anyone wanting to fire clay at home. The oven’s maximum temperature affects the type of clay you can use and the results you get.
Maximum Oven Temperatures
Most kitchen ovens reach between 450°F and 550°F (232°C and 288°C). Some newer models may go slightly higher, but rarely above 600°F (315°C). This temperature range is suitable for baking food but too low for most clay firing needs. Exceeding the oven’s limit risks damage or malfunction. It also creates safety hazards like smoke or fire.
Clay Firing Temperature Requirements
Clay usually needs much higher heat to fire properly. Earthenware clay fires between 1,800°F and 2,100°F (982°C and 1,150°C). Stoneware and porcelain require even hotter temperatures, often above 2,200°F (1,204°C). These temperatures are well beyond kitchen oven limits. Clay needs this heat to harden, become durable, and develop glaze.
Low-fire clays can sometimes be cured in home ovens but only at low temperatures. This process is more like drying or hardening, not full firing. It works for air-dry or polymer clays, but not true ceramic clay. Understanding these temperature differences helps set realistic expectations for kitchen oven firing.
Preparing Clay For Oven Firing
Preparing clay for oven firing requires careful attention to detail. The process ensures your clay pieces hold their shape and avoid damage during firing. Your success depends on how well you shape, dry, and handle the clay before placing it in the oven.
Shaping And Drying
Start by shaping your clay evenly to avoid cracks and uneven baking. Thicker parts dry slower, which can cause problems during firing. Try to keep your piece uniform in thickness.
Dry your clay completely before firing. Moisture can turn to steam and cause the clay to crack or even explode in the oven. I once skipped drying thoroughly, and my project shattered halfway through baking—don’t make the same mistake.
Avoiding Air Bubbles
Air trapped inside your clay can expand and cause bubbles or cracks. To prevent this, knead your clay well before shaping. This pushes out air pockets and creates a stronger piece.
If your clay has hollow sections, poke small holes to let air escape during firing. This simple step can save your work from unexpected damage.
Using Oven-safe Tools
Use tools that can withstand oven temperatures to shape and support your clay. Wooden or plastic tools might warp or melt, ruining your piece or oven. Metal or ceramic tools work best for shaping and smoothing.
Also, place your clay on oven-safe surfaces like ceramic tiles or glass baking dishes. Avoid direct contact with metal racks to prevent uneven heating. Protecting your clay with the right tools makes a big difference in the final outcome.
Step-by-step Oven Firing Process
Firing clay in a kitchen oven requires a careful process to ensure your creations harden without cracking or burning. Unlike professional kilns, home ovens have temperature limits and heating patterns that need close attention. Understanding each stage of firing helps you avoid common mistakes and get the best results from your clay projects.
Setting The Right Temperature
Most polymer clays cure well between 230°F and 275°F (110°C to 135°C). Check the clay package for the exact temperature recommended by the manufacturer. Setting your oven to the correct temperature is crucial—too low and the clay won’t harden properly; too high and it can burn or discolor.
Use an oven thermometer for accuracy, as many kitchen ovens run hotter or cooler than their dials indicate. Preheat your oven fully before placing the clay inside to ensure consistent heat. Avoid placing clay too close to heating elements to prevent uneven firing.
Baking Time Guidelines
Generally, bake polymer clay for 15 to 30 minutes per 1/4 inch (6 mm) of thickness. Thicker pieces need longer baking times but be cautious not to exceed the recommended time on the clay package. Overbaking can cause brittleness or darkening.
Place your clay on a ceramic tile or a baking sheet lined with parchment paper to distribute heat evenly. Keep an eye on your project—if you notice any smoke or strong odors, pull it out immediately. Have you ever had a piece warp or crack after baking? Adjusting baking times can prevent that.
Cooling Down Safely
After baking, don’t rush to handle your clay. Let it cool in the oven with the door slightly open or on a heatproof surface at room temperature. Sudden temperature changes may cause cracks or breakage.
Once cool, your clay should feel firm and solid but not brittle. If it still feels soft, a short additional bake at the correct temperature might help. How you cool your clay can be just as important as how you bake it.
Safety Tips For Oven Firing Clay
Firing clay in a kitchen oven can be tempting for hobbyists and beginners, but safety should always be your top priority. You need to understand how heat and materials interact in a domestic setting to avoid damage or health risks. Here are some essential safety tips to keep in mind before you start oven firing your clay projects.
Ventilation And Fumes
Clay releases fumes when heated, which might be harmful if your kitchen isn’t well ventilated. Always open windows or use a fan to keep fresh air moving during the firing process. Have you noticed any unusual smells when baking clay? That’s a sign your space needs better airflow.
Some clays contain chemicals or glazes that emit stronger fumes. Check the labels or product details to know what you’re working with. If you’re unsure, consider wearing a mask designed to filter out fumes for extra protection.
Protecting Your Oven
Your kitchen oven wasn’t built for firing clay, so taking precautions is crucial to keep it safe. Place your clay pieces on a heat-safe surface like a ceramic tile or a dedicated kiln shelf inside the oven. Avoid direct contact with oven racks to prevent residue buildup or damage.
Consider using an old oven or one you don’t mind risking, especially if you fire clay often. Clay dust and glaze particles can linger in your oven and affect food later. Would you want your next meal tasting like your art project? Probably not.
Handling Hot Items
After firing, clay pieces and surfaces in the oven remain extremely hot for a long time. Use thick oven mitts or heat-resistant gloves to handle them safely. Don’t rush to touch or move your creations right after the firing cycle ends.
Allow your pieces to cool gradually inside the oven with the door slightly open to avoid sudden temperature changes that might crack the clay. Have you ever dropped a hot dish because it felt lighter than expected? This happens because heat affects how we perceive weight, so stay cautious.
Common Mistakes To Avoid
Firing clay in a kitchen oven can be tricky. Many make common mistakes that lead to unsatisfactory results. Knowing these pitfalls helps in avoiding them.
Overheating Clay
One frequent mistake is overheating clay. Kitchen ovens usually can't handle high temperatures needed for clay. This leads to cracking or poor finishing. Always monitor the temperature closely. Use an oven thermometer for accuracy.
Using Incompatible Clays
Not all clays are suitable for kitchen ovens. Some require higher firing temperatures than ovens can provide. Research the type of clay you're using. Make sure it's compatible with lower temperatures.
Ignoring Manufacturer Instructions
Each clay type comes with specific instructions. Ignoring these can result in damaged pieces. Follow the guidelines for best results. Pay attention to temperature and time settings.
Alternative Methods For Firing Clay At Home
Firing clay without a traditional kiln can feel like a challenge, but there are several creative alternatives you can try at home. These methods allow you to harden your clay projects effectively without investing in expensive equipment. Let’s look at some practical options that might fit your space and budget.
Microwave Clay Firing
Microwaving clay is a quick way to harden small pieces, especially air-dry or specially formulated microwave clays. You’ll need to use microwave-safe clay, as regular clay may crack or even explode due to moisture content.
Start by placing the clay on a microwave-safe plate, then heat it in short bursts of 30 seconds, checking frequently. This method can save time, but it’s essential to be cautious—uneven heating can cause cracks or soft spots.
Using A Toaster Oven
A toaster oven can serve as a mini kiln for small clay projects. It’s especially useful for polymer clay, which cures at lower temperatures around 265–275°F (130–135°C).
Set your toaster oven to the recommended temperature and bake the clay on a ceramic tile or baking sheet. Keep a close eye on the process to avoid burning. This method provides more even heat than a microwave but is limited by the oven’s maximum temperature.
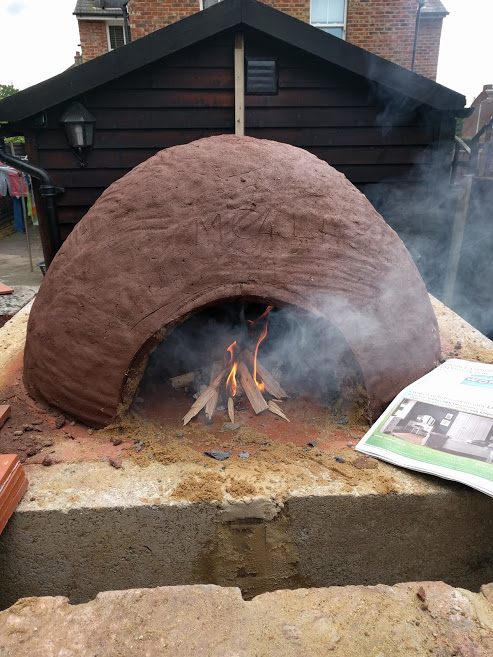
Diy Kiln Options
If you’re ready to take it up a notch, building a DIY kiln could be a rewarding project. Materials like fire bricks and a temperature controller can help you create a small, functional kiln suitable for firing traditional clay.
Some hobbyists use old electric ovens with added insulation and temperature sensors to reach higher firing temperatures safely. It’s a more hands-on approach, but it opens the door to firing stoneware or porcelain at home.
Have you tried any of these methods yet? Which one matches your project size and budget? Experimenting with alternative firing options can teach you a lot about your clay and expand what you can create at home.

Credit: www.dreamstime.com
Credit: medium.com
Frequently Asked Questions
Can You Fire Pottery Clay In A Kitchen Oven?
No, standard kitchen ovens cannot reach the high temperatures needed to fire pottery clay. Kilns reach 1,800°F or more, while kitchen ovens max at about 500°F. Using a kitchen oven will not properly harden or vitrify the clay.
What Happens If You Fire Clay In A Home Oven?
Firing clay in a home oven will only dry it, not harden it. The clay remains fragile and can easily break. Proper firing requires high heat to solidify the clay and make it durable, which home ovens cannot provide.
Is Low-fire Clay Suitable For Kitchen Oven Use?
Low-fire clay still requires kiln temperatures above what kitchen ovens offer. Even low-fire clay needs around 1,830°F to mature. Kitchen ovens lack the heat capacity to properly fire any type of pottery clay.
Can Polymer Clay Be Cured In A Kitchen Oven?
Yes, polymer clay can be cured in a kitchen oven at lower temperatures (around 265°F-275°F). It is not the same as firing pottery clay. Follow manufacturer instructions for proper baking times and temperatures for polymer clay projects.
Conclusion
Firing clay in a kitchen oven is not ideal. Home ovens cannot reach the high temperatures needed for proper firing. Clay may dry but won’t harden enough to last. This can cause cracking or breakage later. Use a kiln for strong, finished pieces instead.
For small craft projects, air-dry clay or oven-bake clay works better. Safety matters, so avoid using food ovens for firing pottery. Choose the right method for your clay type and project goals. This keeps your work safe and durable.