
Is your kitchen sink clogged and slowing you down? You don’t have to wait for a plumber or spend money on harsh chemicals.
Using a plunger is one of the quickest and easiest ways to clear that stubborn blockage yourself. But if you’ve never tried it before, you might wonder how to get it right without making a bigger mess. In this guide, you’ll learn simple, step-by-step tips to use a plunger effectively on your kitchen sink.
Keep reading, and you’ll be able to fix your sink fast and get back to your daily routine with confidence.

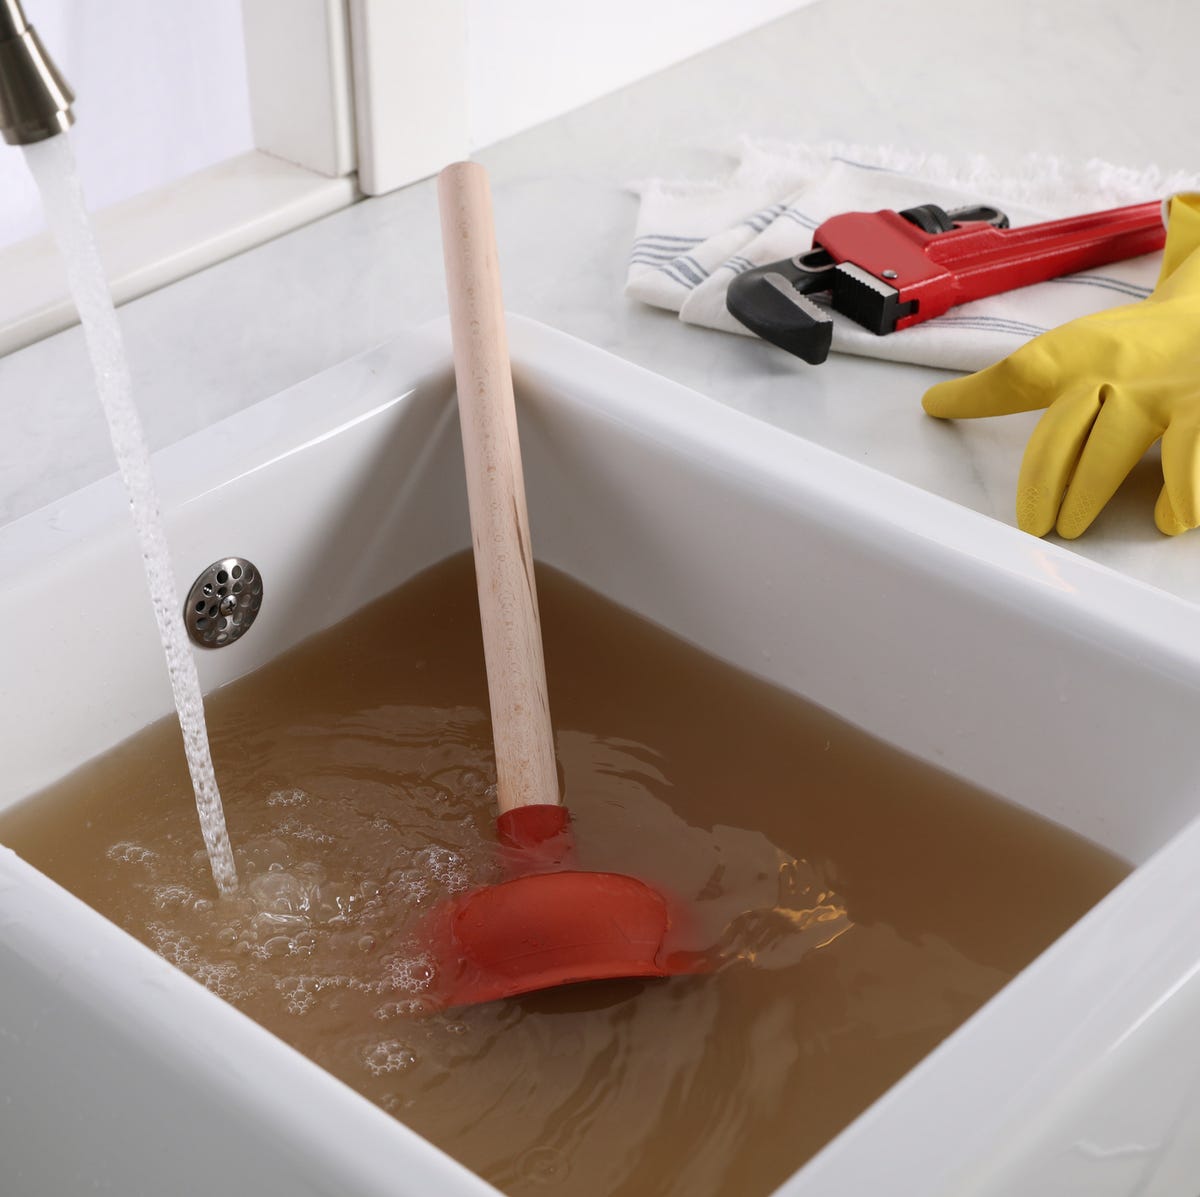
Credit: www.drano.com
Tools You Need
Having the right tools makes using a plunger on a kitchen sink easier. You need more than just the plunger itself. The right equipment helps clear clogs faster and keeps your hands clean. Prepare everything before you start to avoid interruptions and mess.
Choosing The Right Plunger
Not all plungers work well on kitchen sinks. A cup plunger with a flat bottom fits best. It creates a tight seal on the sink drain. Avoid toilet plungers with a flange; they don’t seal well on flat surfaces. Check the plunger’s rubber to ensure it is soft and flexible. This helps form a strong vacuum.
Additional Supplies
Gather a few extra items for safety and efficiency. Use a bucket to catch any spilled water. Rubber gloves protect your hands from dirty water. Keep a rag or old towel nearby to clean up drips. A flashlight helps you see inside the drain if needed. Have a drain snake ready if plunging does not clear the clog.
Preparing The Sink
Preparing the kitchen sink before using a plunger is key to clearing a clog. A clean and ready sink helps the plunger work better. Taking time to prepare prevents mess and makes plunging easier. Focus on two main tasks: clearing the area and removing excess water.
Clearing The Area
Remove dishes, soap bottles, and other items from around the sink. This creates space to work comfortably. Wipe down the sink edges to avoid slipping. Clear the area under the sink to access the pipes if needed. Keeping the space tidy helps prevent accidents and keeps tools handy.
Removing Excess Water
Check how much water is in the sink basin. Too much water can spill during plunging. Use a small container or cup to scoop out extra water. Leave enough water to cover the plunger cup for a good seal. Removing excess water controls splashing and helps focus pressure on the clog.
Using The Plunger
Place the plunger over the sink drain to create a tight seal. Push and pull the handle quickly to build pressure. Repeat until water drains smoothly.
Using a plunger on your kitchen sink might seem straightforward, but a few nuanced techniques can make a significant difference in resolving that stubborn clog. A plunger is your first line of defense, and employing it effectively can save you the hassle of calling a plumber. Let’s explore the right way to wield this humble tool and tackle your kitchen sink woes.
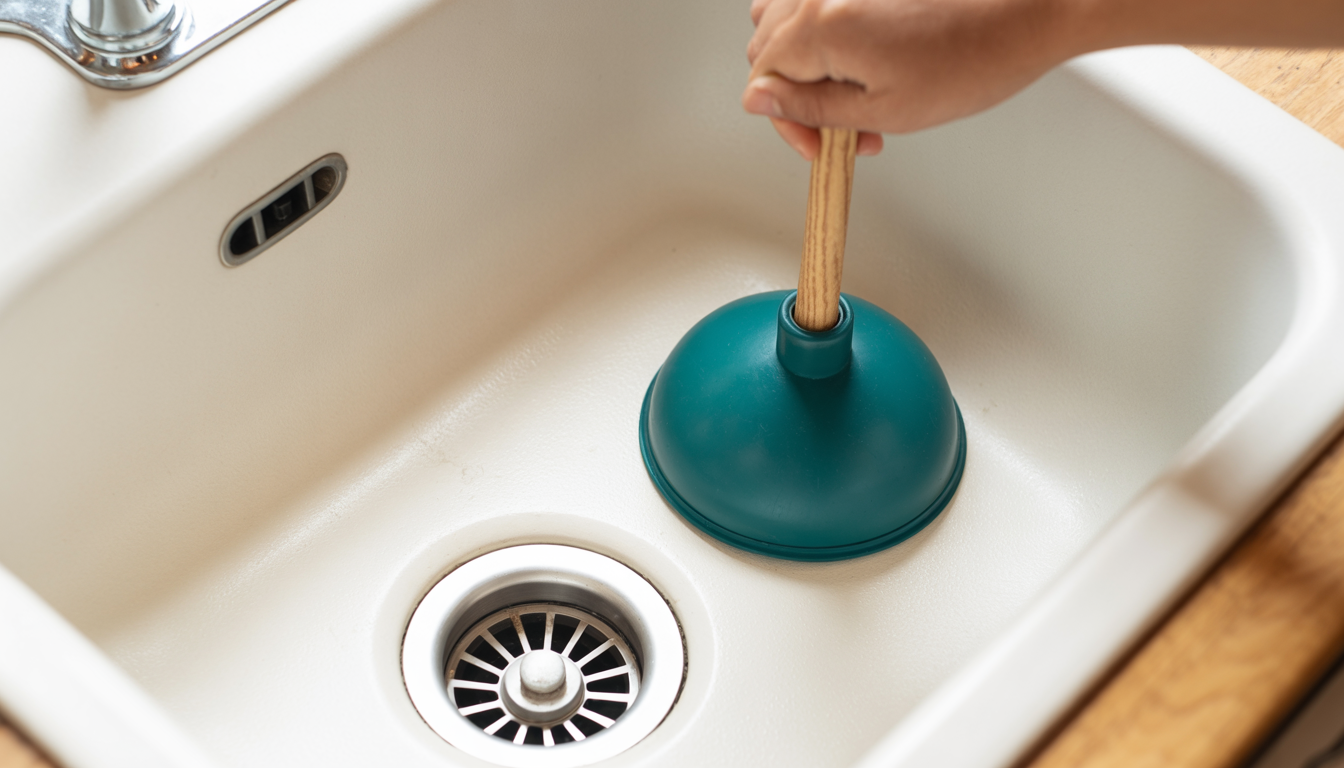
Positioning The Plunger Correctly
Start by making sure the sink contains enough water to cover the base of the plunger. This helps in creating a good seal. Place the plunger directly over the drain, ensuring the rubber edge is snug against the sink. A slight tilt might help you achieve a perfect fit. This positioning is crucial for the suction effect. Have you ever tried using a plunger and wondered why it wasn't effective? It might have been a poor seal.
Applying Pressure And Creating Suction
With the plunger in place, press down firmly and then pull up sharply, maintaining that seal. The push-pull motion is key. The goal is to create a vacuum that dislodges the clog. If you push too lightly, the obstruction might not budge. Remember, consistency in pressure application is more effective than sheer force.
Repeating The Process
Clogs can be stubborn. If the first attempt doesn’t work, don’t be discouraged. Repeat the plunge several times, allowing water to flow back in between attempts. Each repetition increases the chance of the blockage breaking free. Have you ever felt like giving up after a few tries? Persistence pays off here. By mastering these simple yet effective techniques, you will be more equipped to handle minor kitchen sink clogs confidently.
Credit: qualitycool.com
When To Use Other Methods
Knowing when to switch from a plunger to other methods can save you time and prevent further damage to your kitchen sink. Sometimes, the plunger might not clear the clog effectively, and continuing to use it can lead to frustration or even worsen the blockage. Recognizing these moments helps you act smarter and keep your sink flowing smoothly.
Signs The Plunger Isn’t Working
You’ve tried plunging several times, but the water level barely drops or stays the same. This is a clear sign the clog might be too stubborn or located deeper in the pipes.
Listen closely—if you hear gurgling sounds or the water backs up into other drains, it means the blockage is more complicated than a simple surface clog. Also, if the plunger creates air bubbles but no change in water flow, it’s time to consider other options.
Alternative Solutions
Before calling a plumber, you can try a few effective alternatives that often work better than plunging alone:
- Use a drain snake:This tool reaches deeper into the pipes to break up or pull out stubborn clogs.
- Apply baking soda and vinegar:Pour half a cup of baking soda followed by half a cup of vinegar down the drain, then flush with hot water after 15 minutes. It’s a natural way to loosen minor blockages.
- Try a wet/dry vacuum:Set it to liquid mode to suck out the clog if it’s near the drain opening.
If these don’t work, consider dismantling the P-trap under the sink to manually remove the obstruction. Have you ever faced a clog that just wouldn’t budge no matter how many times you plunged? Trying these methods might finally give you relief without the wait or expense of professional help.
Preventing Future Clogs
Preventing future clogs in your kitchen sink keeps water flowing smoothly. It saves time and avoids messy backups. Simple habits and careful use of your sink make a big difference. Follow these tips to keep your pipes clear and your sink draining fast.
Regular Maintenance Tips
- Run hot water for a few seconds after each use to clear residue.
- Use a sink strainer to catch food scraps and prevent them from entering the drain.
- Clean the sink drain weekly by pouring a mixture of baking soda and vinegar down it.
- Flush the drain with boiling water once a week to dissolve grease buildup.
- Remove and clean the sink stopper regularly to avoid trapped debris.
Avoiding Common Mistakes
- Do not pour grease or oil down the drain; it hardens and blocks pipes.
- Avoid putting fibrous foods like celery or onion skins into the sink.
- Never flush large food particles or coffee grounds into the drain.
- Don’t use chemical drain cleaners often; they can damage pipes.
- Resist the urge to force water through a clogged sink; use a plunger gently instead.
Credit: shopping.yahoo.com
Frequently Asked Questions
How Do I Properly Use A Plunger On A Kitchen Sink?
First, fill the sink with enough water to cover the plunger’s cup. Place the plunger over the drain and push down firmly. Pump the plunger rapidly up and down to create suction. Repeat until the clog clears and water drains freely.
Can A Plunger Fix A Completely Clogged Kitchen Sink?
Yes, a plunger can often clear minor to moderate clogs. For severe blockages, multiple attempts or additional tools may be needed. If plunging doesn’t work, consider using a drain snake or calling a professional plumber.
Should I Use Water While Plunging A Kitchen Sink?
Yes, water helps create a seal around the plunger’s cup. Water coverage improves suction power for effective clog removal. Ensure the water level covers the plunger’s cup before plunging.
What Type Of Plunger Works Best On Kitchen Sinks?
A cup plunger with a flat rim works best for kitchen sinks. Avoid flange plungers, which are designed for toilets. The flat cup creates an effective seal over the sink drain.
Conclusion
Using a plunger on your kitchen sink can clear clogs fast. Make sure to create a good seal around the drain. Pump the plunger up and down with steady pressure. Repeat until water drains smoothly. Avoid harsh chemicals that may damage pipes.
Regular plunging helps keep your sink working well. Small problems can turn big without quick action. A simple tool and a little effort save time and money. Try this method next time your sink slows down. Easy, effective, and safe for most sinks.