
Are you tired of seeing brush strokes ruin the smooth finish of your kitchen cabinets? Painting cabinets can transform your entire kitchen, but those annoying streaks can make your work look unprofessional.
What if you could achieve a flawless, sleek look that makes your cabinets look brand new without the hassle? You’ll discover simple, effective techniques to paint your kitchen cabinets without brush strokes. By the time you finish reading, you’ll have the confidence to tackle this project yourself and enjoy a stunning, smooth finish that lasts.
Keep reading to learn how to make your cabinets the highlight of your kitchen!
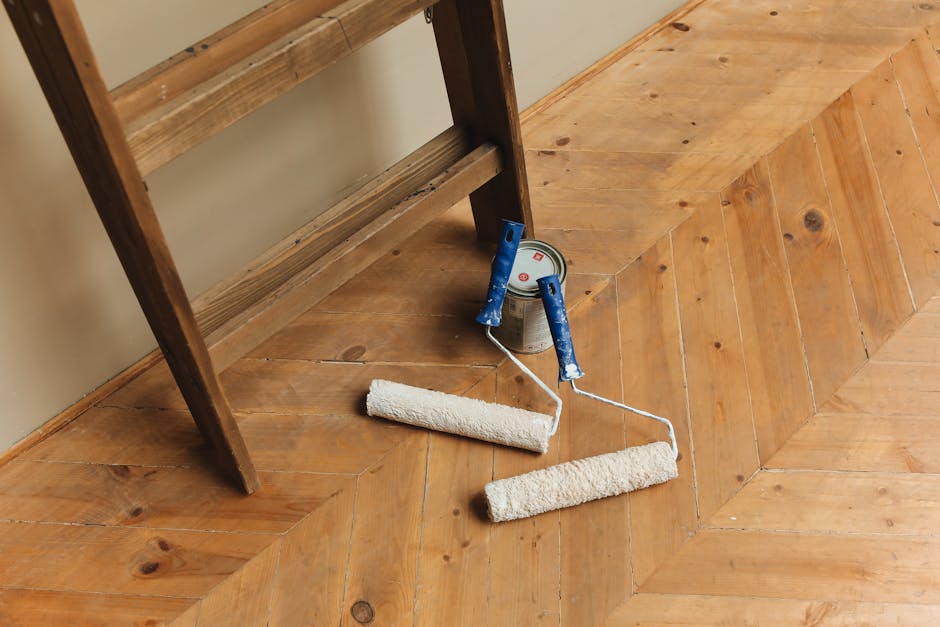
Credit: graceinmyspace.com
Choosing The Right Paint
Choosing the right paint is crucial when you want to paint kitchen cabinets without brush strokes. The paint you select affects not only the final look but also the durability and ease of application. Understanding the types, finishes, and colors can save you time and frustration during your project.
Best Paint Types For Cabinets
Cabinet surfaces need paint that can handle frequent use and cleaning. Acrylic latex paints are a great choice because they dry quickly and resist yellowing over time. Alkyd (oil-based) paints offer a smooth, hard finish but take longer to dry and require proper ventilation.
Consider using cabinet-specific paints or enamels designed for trim and furniture. These paints tend to level out as they dry, reducing brush marks. Have you tried a paint sprayer? It can work wonders with these paint types, giving you a smooth, professional finish.
Selecting Paint Finish
The paint finish impacts how brush strokes show up on your cabinets. Satin and semi-gloss finishes are popular because they balance durability and appearance. They hide minor imperfections better than flat or matte paints, which can show brush strokes more easily.
High-gloss finishes reflect more light, making imperfections stand out, so use them only if you’re confident in your technique. Think about how much wear your cabinets will get—glossier finishes are easier to wipe clean but reveal flaws. What level of sheen suits your kitchen’s style and practical needs?
Color Considerations
Color choice affects how smooth or textured the surface appears. Darker colors can show brush strokes and surface flaws more clearly, while lighter colors tend to mask them. If you want a flawless look, a soft pastel or neutral shade might be your best bet.
Don’t forget lighting—natural and artificial light will change how your paint color looks on the cabinets. Test samples on a cabinet door and observe them at different times of the day. Are you ready to pick a color that not only looks great but also helps hide any painting imperfections?
Preparing Cabinets Properly
Preparing your kitchen cabinets properly is the key to achieving a smooth, brush-stroke-free finish. Skipping or rushing this stage often leads to uneven paint and frustration. Taking the time to clean, sand, and remove hardware carefully sets you up for a flawless paint job.
Cleaning And Degreasing
Kitchen cabinets collect grease and dirt that paint won't stick to well. Use a strong degreaser or a mixture of warm water and dish soap to wipe down every surface. Don’t forget edges and corners where grime hides; a clean surface ensures paint adheres evenly.
Have you noticed how some spots still feel slippery even after cleaning? That’s a sign to clean again. A thorough clean makes your paint job last longer and look better.
Sanding Techniques
Sanding smooths out old finishes and rough patches that can create brush strokes. Start with medium-grit sandpaper (120-150 grit) to remove the gloss, then finish with fine-grit (220 grit) for a silky surface. Sand lightly and evenly to avoid gouges or uneven spots.
Try sanding by hand or with a sanding block to control pressure better than a power sander. This helps prevent over-sanding and keeps the cabinet surface consistent. Have you ever felt your paint peel or bubble? That’s often due to poor sanding.
Removing Hardware
Taking off knobs, handles, and hinges before painting saves you from messy edges and uneven coats. Keep screws and hardware organized in labeled containers so you don’t lose anything. This step might seem tedious, but it pays off with a professional-looking finish.
If you skip this, you’ll struggle to paint cleanly around hardware, leading to drips and brush marks. Do you want a quick fix or a long-lasting, neat result? Removing hardware is your best bet.
Priming For Smooth Results
Applying a smooth primer creates an even base that hides imperfections and helps paint stick better. This step reduces brush marks and makes the finish look clean and smooth. Proper priming sets the stage for flawless kitchen cabinets.
Priming your kitchen cabinets is a crucial step to achieve a flawless, brush-stroke-free finish. It's the secret behind smooth surfaces that look professionally done. Without a good primer, even the best paint can end up looking uneven and unattractive.
Selecting Primer
Choosing the right primer is your first step toward success. Opt for a high-quality bonding primer, as it adheres well to surfaces and provides a solid base for paint. If you're unsure, ask for recommendations at your local hardware store or check online reviews for tried-and-tested options.
Applying Primer Evenly
Application is key to avoiding brush strokes. Use a foam roller instead of a brush to apply an even coat across the surface. A foam roller reduces streaks and provides a smooth finish, unlike traditional brushes which can leave marks.
Drying Times
Patience is your best friend when it comes to drying. Allow the primer to dry completely before applying paint. Rushing this step can result in a tacky surface that won't hold paint well, leading to imperfections. Always check the manufacturer's instructions for specific drying times to ensure optimal results. Taking the time to properly prime your cabinets can make all the difference. Have you ever rushed through a project only to regret it later? Don't let impatience ruin your hard work.
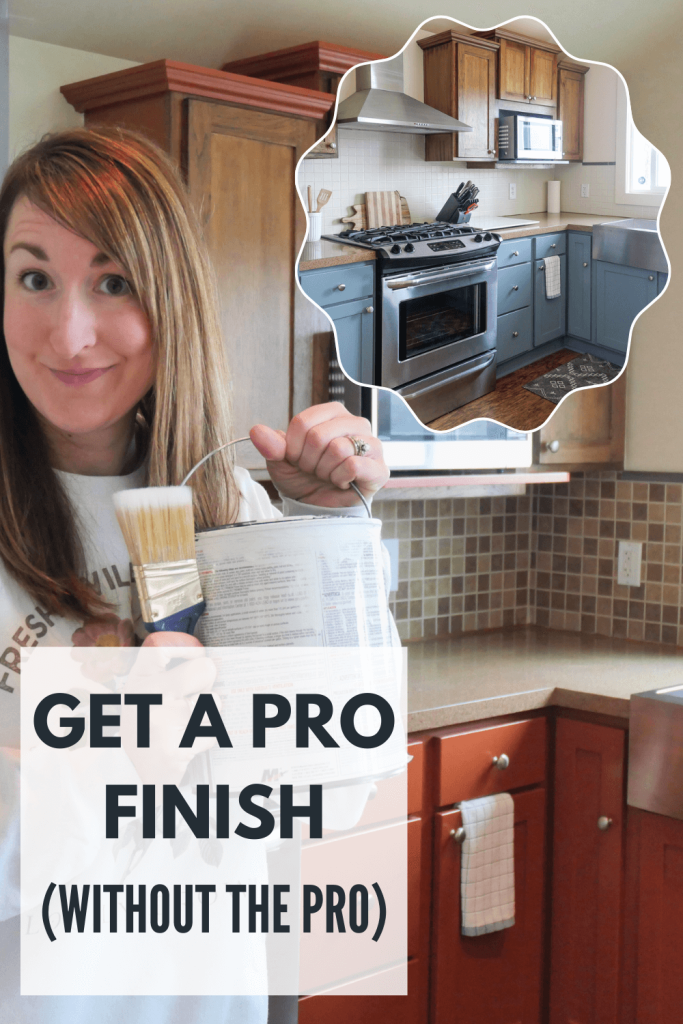
Credit: graceinmyspace.com
Tools For Brush Stroke-free Painting
Choosing the right tools is key to painting kitchen cabinets without brush strokes. The quality and type of your painting tools affect the smoothness of the finish. Using proper tools helps you avoid streaks and uneven surfaces. This section covers the best brushes, rollers, and spray options for a flawless look.
Using High-quality Brushes
High-quality brushes hold paint evenly and release it smoothly. Look for brushes with fine, synthetic bristles. They create a smooth finish without leaving marks. Clean brushes properly after use to keep them in good shape. Avoid cheap brushes that shed bristles and cause streaks.
Rollers And Foam Applicators
Rollers and foam applicators spread paint evenly on flat surfaces. Use small, smooth rollers for cabinet doors and drawers. Foam applicators help reach tight corners without leaving texture. Choose fine foam to avoid bubbles and marks. Roll lightly and consistently for the best finish.
Spray Painting Options
Spray painting offers the smoothest, brush stroke-free finish. Use an airless sprayer or HVLP (High Volume Low Pressure) sprayer for control. Practice on scrap wood before spraying cabinets. Wear protective gear and cover nearby areas to avoid overspray. Spraying requires patience but gives a very professional look.
Painting Techniques To Avoid Strokes
Painting kitchen cabinets without leaving brush strokes can be tricky, but mastering the right techniques makes all the difference. The key lies in how you handle your tools and the way you apply paint. Small changes in your approach can lead to a smooth, professional finish that impresses every time.
Proper Brush Handling
Hold your brush like a pencil to get better control over your strokes. Avoid pressing too hard; gentle, even strokes help paint settle smoothly on the surface.
Try to paint in the direction of the wood grain. This simple habit reduces visible lines and creates a natural look.
Applying Thin Coats
Thick paint layers are the main cause of brush strokes. Apply thin coats instead—this helps the paint dry evenly and reduces texture.
After the first coat dries, lightly sand the surface with fine-grit sandpaper. This step smooths out any imperfections before the next layer.
Maintaining A Wet Edge
Keep a wet edge by working quickly and overlapping each stroke before the paint dries. This avoids lap marks and helps the finish blend seamlessly.
Plan your painting in sections small enough to manage the wet edge. Ask yourself: can I finish this area before it starts to dry?
Drying And Curing Tips
Proper drying and curing are crucial for smooth kitchen cabinets without brush marks. This stage affects the paint’s final look and durability. Follow these simple tips to ensure the best results.
Optimal Drying Environment
Keep the room temperature steady between 65°F and 75°F. Avoid high humidity which slows drying. Use a fan to improve air circulation but not directly on the cabinets. Close windows to prevent dust from entering. A clean, dry space works best for even drying.
Time Between Coats
Wait at least 4 to 6 hours before applying the next coat. Check the paint surface; it should feel dry but not hard. Rushing causes uneven layers and brush strokes. Follow the paint manufacturer's instructions for exact drying times. Patience helps achieve a smooth finish.
Avoiding Dust And Debris
Dust and debris ruin a smooth surface. Clean the area before painting and drying. Cover the cabinets with a dust cloth or plastic sheet if needed. Avoid walking nearby while paint dries. Use tack cloths to remove any dust before applying another coat.
Finishing Touches
Finishing touches can make or break the look of your freshly painted kitchen cabinets. Paying close attention to the final steps ensures a smooth, professional finish without brush strokes. These last actions help protect your work and bring everything together perfectly.
Sanding Between Coats
After each coat of paint dries, gently sanding with a fine-grit sandpaper smooths out any imperfections. This step removes tiny bumps and helps the next layer stick better. Use light pressure—too much can wear down your paint.
Have you noticed how skipping sanding can leave your cabinets feeling rough or uneven? Taking a few extra minutes here creates a flawless surface that feels as good as it looks.
Applying A Protective Topcoat
Adding a clear protective topcoat shields your paint from scratches, moisture, and daily wear. Choose a water-based polyurethane for easy cleanup and durability.
Apply thin, even layers with a high-quality brush or foam applicator, avoiding drips that can cause texture. This final coat extends your cabinets’ life and keeps them looking fresh longer.
Reinstalling Hardware
Before putting hardware back, check each piece for damage or wear. Clean knobs and hinges to prevent dirt from scratching your new paint.
Attach screws carefully to avoid chipping the surface—if needed, drill pilot holes to keep everything aligned. Your cabinets will look complete and polished once the hardware is back in place.

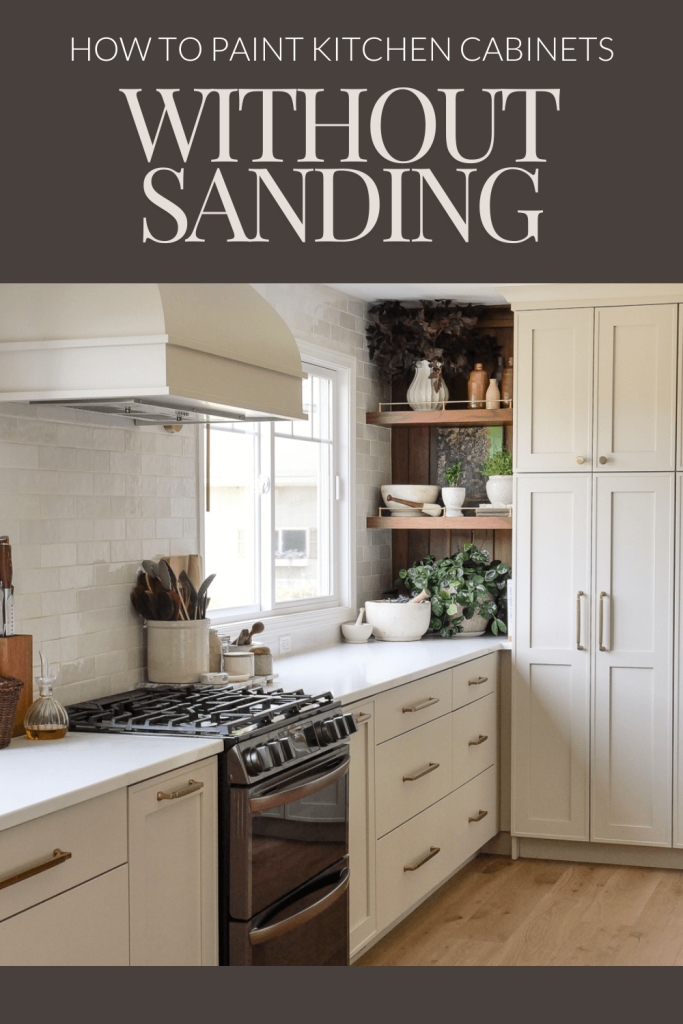
Credit: graceinmyspace.com
Common Mistakes To Avoid
Painting kitchen cabinets without brush strokes requires attention to detail and avoiding certain pitfalls. Many people rush into painting without realizing that some common mistakes can ruin the smooth finish you want. Understanding these errors will save you time, effort, and frustration.
Skipping Preparation Steps
Preparation is the foundation of a flawless paint job. Skipping sanding or cleaning your cabinets can leave the surface uneven and cause the paint to peel or streak. I once tried painting without sanding first, and the brush strokes were impossible to fix later.
Take time to clean off grease and dust, then sand the cabinets to create a smooth base. Filling holes and fixing imperfections before painting helps the finish look professional.
Using Incorrect Tools
The tools you use directly impact the smoothness of your paint. Using a cheap brush or one with stiff bristles often leaves visible strokes behind. Instead, opt for a high-quality synthetic brush designed for the type of paint you’re using.
Rollers can help with flat surfaces but may not reach corners well. A foam brush or a paint sprayer can also reduce brush marks if used correctly. Have you checked if your brush leaves streaks on a test surface before starting?
Rushing The Process
Speeding through painting increases the chances of uneven strokes and drips. Paint in thin, even coats and allow ample drying time between each layer. Trying to finish quickly can trap air bubbles or cause the paint to clump.
Patience pays off. I’ve found that waiting an extra hour between coats drastically improves the smoothness of the finish. How often do you find yourself rushing through a project only to redo it later?
Frequently Asked Questions
How Do I Avoid Brush Strokes When Painting Cabinets?
Use a high-quality foam roller or paint sprayer for smooth application. Sand lightly between coats. Thin your paint slightly for better flow and apply thin, even layers to prevent brush marks.
What Type Of Paint Is Best For Kitchen Cabinets?
Choose a durable, water-based acrylic or latex paint. Satin or semi-gloss finishes are ideal as they resist stains and clean easily. These paints dry smoothly, reducing visible brush strokes.
Should I Sand Cabinets Before Painting?
Yes, sanding removes old finish and smooths the surface. Use fine-grit sandpaper for a smooth base. Proper sanding helps paint adhere better and reduces uneven textures or brush strokes.
How Many Coats Of Paint Are Needed For Cabinets?
Typically, two to three thin coats ensure full coverage. Allow each coat to dry completely before applying the next. Multiple thin layers prevent brush marks and create a durable finish.
Conclusion
Painting kitchen cabinets without brush strokes takes patience and the right tools. Use smooth, even strokes and good quality paint. Sand between coats for a flat finish. A foam roller or sprayer can help reduce marks. Take your time and follow each step carefully.
The result will look clean and fresh. Enjoy your beautifully painted kitchen cabinets that feel like new. Keep practicing to improve your technique with each project.