
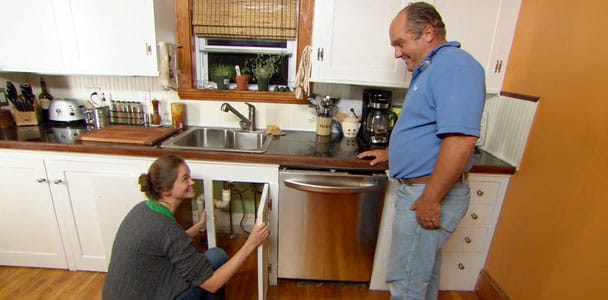
Are you tired of washing dishes by hand after every meal? Adding a dishwasher to your existing kitchen can save you time and make cleanup a breeze.
But how do you do it without tearing apart your whole kitchen? You’ll discover simple, practical steps to install a dishwasher smoothly, even if your kitchen wasn’t originally designed for one. Keep reading, and you’ll learn how to upgrade your space effortlessly and enjoy the convenience of a dishwasher every day.
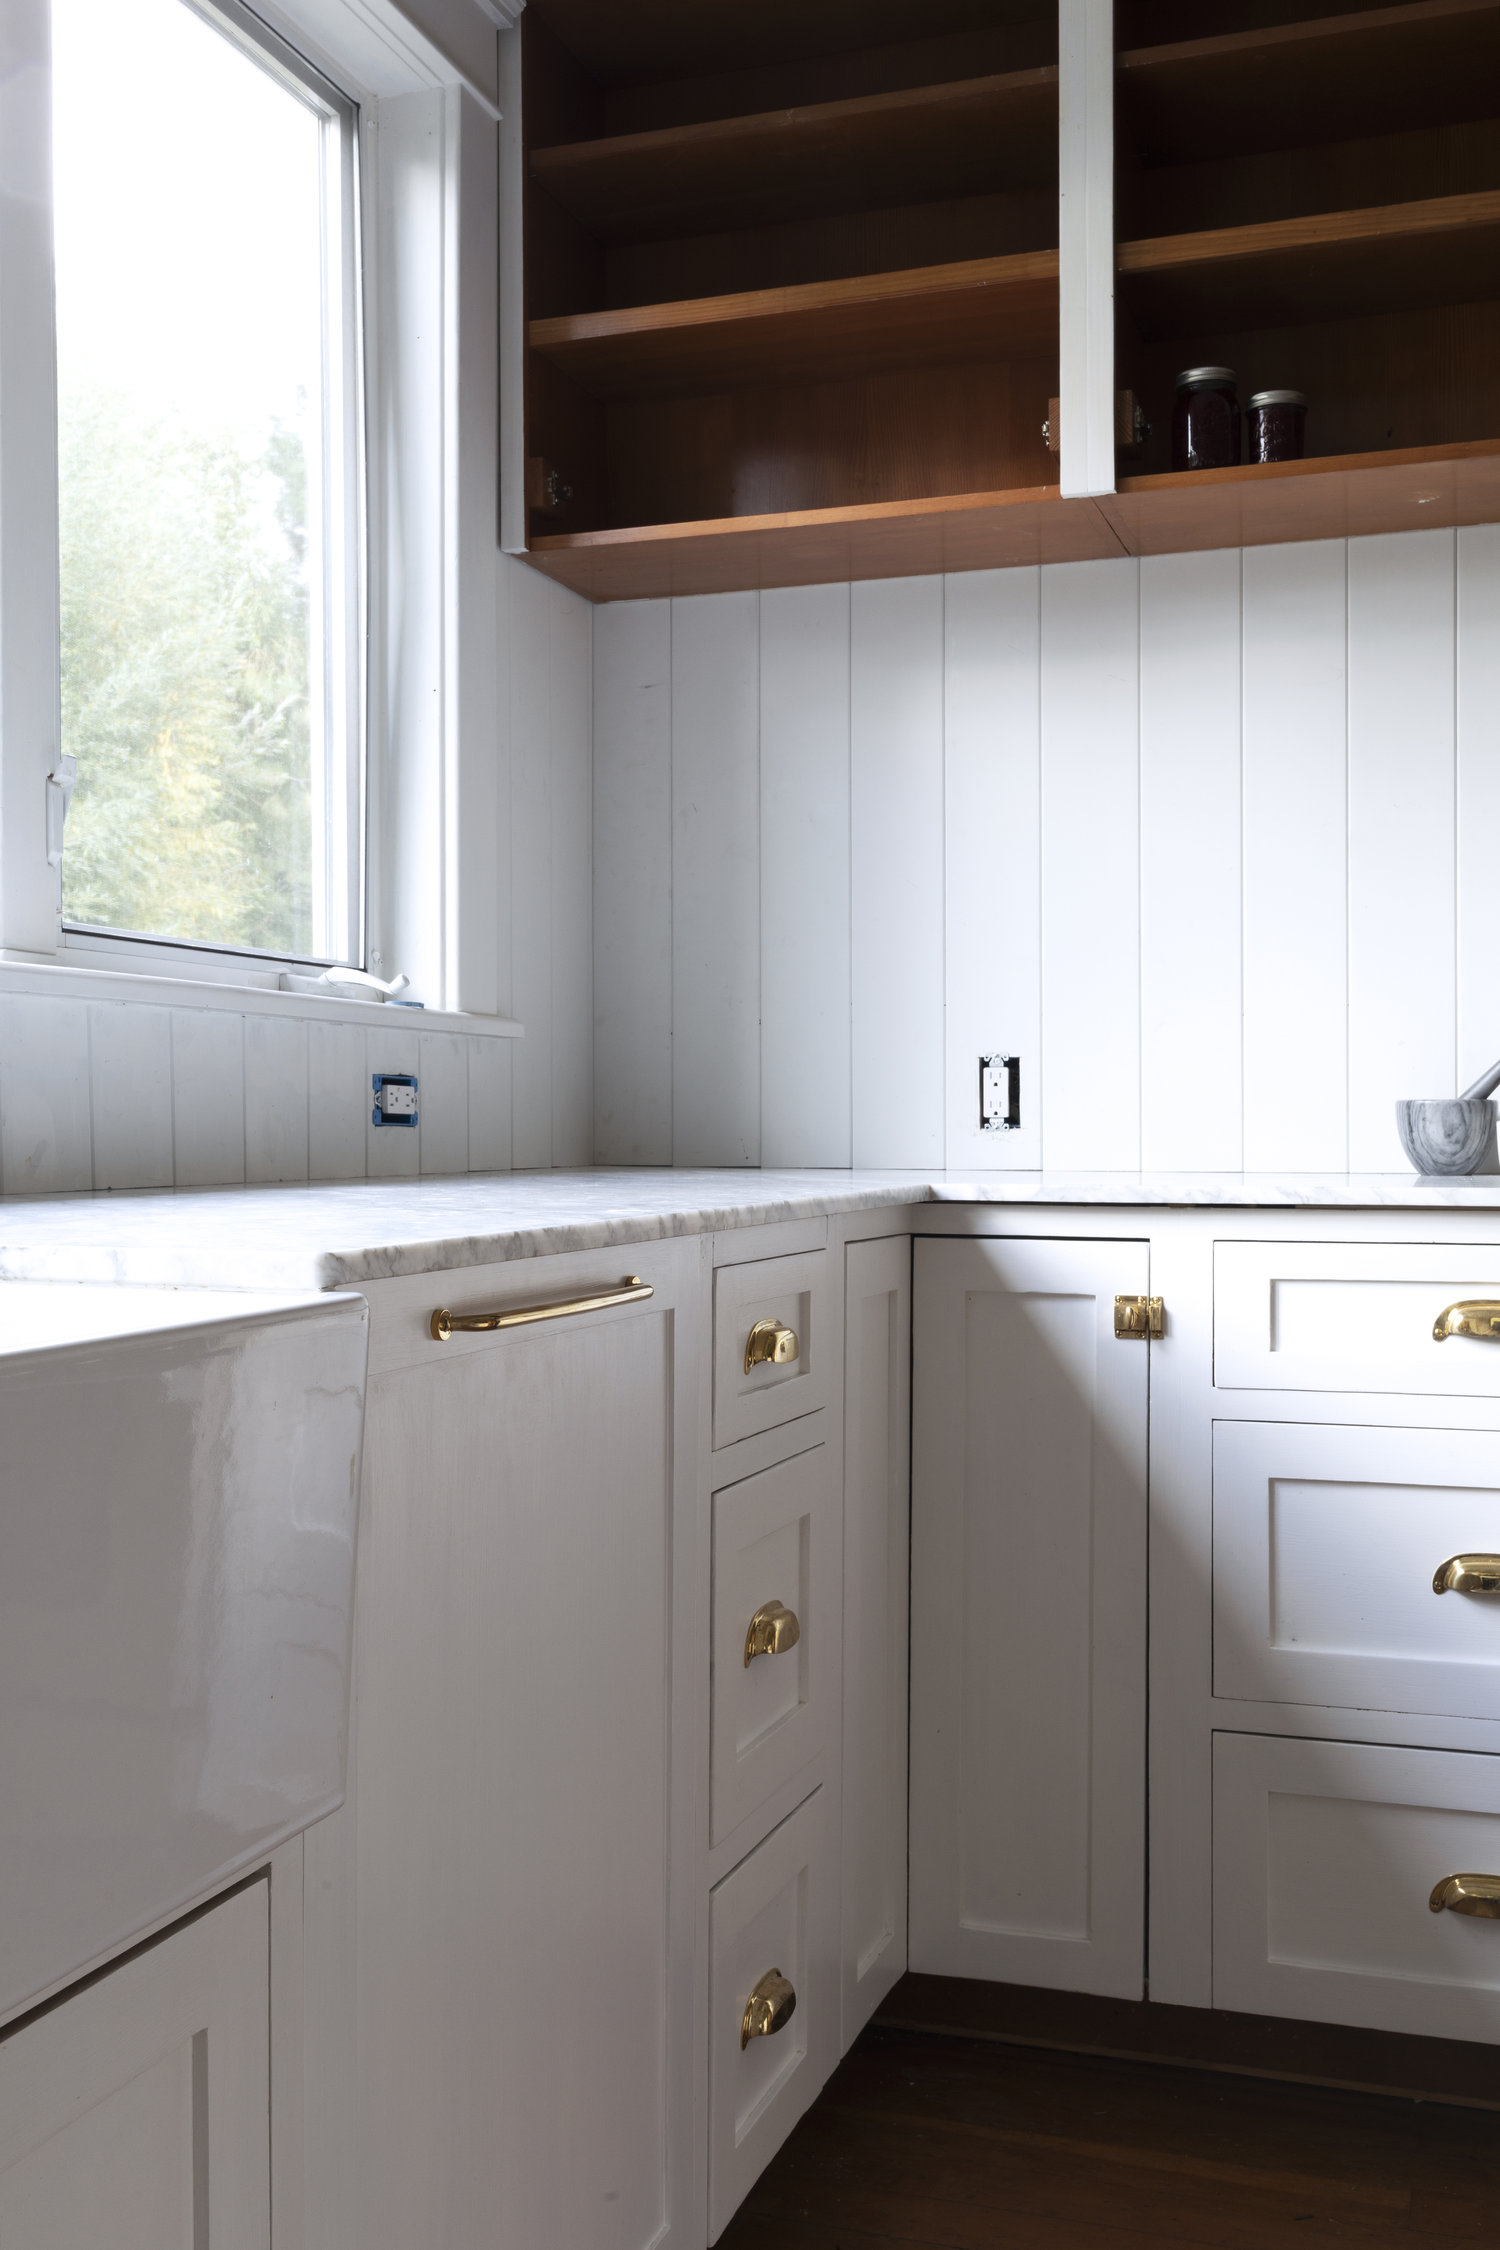
Credit: www.thegritandpolish.com
Planning Your Dishwasher Installation
Planning your dishwasher installation is key to a smooth project. It helps avoid costly mistakes and saves time. Careful planning ensures the dishwasher fits well and works properly with your kitchen setup.
Start by choosing the right dishwasher for your needs. Next, measure your kitchen space accurately. Finally, check the plumbing and electrical requirements before installation. Each step is important to create a functional and efficient kitchen.
Choosing The Right Dishwasher
Pick a dishwasher that matches your kitchen size and style. Consider how many place settings you need. Think about energy efficiency to save on bills. Look for quiet models if noise is a concern. Choose a finish that blends with your cabinets and appliances.
Measuring Your Kitchen Space
Measure the width, height, and depth of the spot where the dishwasher will go. Leave space for door clearance and ventilation. Check if there is enough room for installation tools. Measure nearby cabinets and countertops for a perfect fit. Accurate measurements prevent surprises during installation.
Checking Plumbing And Electrical Requirements
Dishwashers need a water supply and a drain connection. Verify if your kitchen has a hot water line nearby. Check the drain for easy wastewater disposal. Ensure there is a grounded electrical outlet within reach. Confirm the power supply matches the dishwasher’s voltage and amperage needs. Proper connections keep the dishwasher running safely and efficiently.
Gathering Tools And Materials
Gathering the right tools and materials is key to a smooth dishwasher installation. Proper preparation saves time and avoids frustration. Before starting, make sure you have everything ready. This ensures the process goes fast and easy.
Essential Tools Needed
- Adjustable wrench for tightening fittings
- Screwdrivers (Phillips and flathead)
- Drill with various drill bits
- Measuring tape to check space and pipe length
- Level to keep the dishwasher even
- Pliers for gripping and bending
- Utility knife for cutting hoses or packaging
- Bucket to catch water during plumbing
- Flashlight for working in dark spaces
Materials And Parts Checklist
- Dishwasher unit suitable for your kitchen space
- Water supply line (usually 3/8 inch braided stainless steel)
- Drain hose compatible with your sink drain
- Power cord or hardwire kit (check local codes)
- Dishwasher mounting brackets and screws
- Pipe thread seal tape to prevent leaks
- Wire nuts for electrical connections
- Protective gloves for safe handling
Preparing The Installation Area
Preparing the installation area requires clearing space under the counter for the dishwasher. Ensure water and electrical connections are accessible. Adjust cabinetry if needed to fit the appliance securely.
Preparing the installation area for your new dishwasher is crucial to ensure a smooth and efficient setup. This step not only involves clearing space but also making necessary adjustments to accommodate the dishwasher comfortably. By taking the time to properly prepare the area, you can avoid potential headaches and ensure your appliance functions optimally.
Clearing The Space
The first step in preparing your installation area is to clear the space where the dishwasher will reside. Remove any items that might be stored in the intended spot, such as cleaning supplies or extra kitchen tools. This is also a good moment to organize and declutter your kitchen, making the space more efficient overall. Consider the dimensions of your chosen dishwasher. Ensure there's enough room for the appliance to fit comfortably. Double-checking measurements can save you from unnecessary adjustments later on.
Removing Old Cabinets Or Fixtures
If your kitchen layout includes old cabinets or fixtures where the dishwasher will be installed, it's necessary to remove them. This might seem daunting, but it's a straightforward process. Carefully unscrew or detach any fixtures, keeping the surrounding area intact. Remember to handle the removal process gently to avoid damaging adjacent cabinets or countertops. If you're unsure about this step, seeking professional help is a wise choice to prevent any mishaps.
Ensuring Proper Ventilation
Ventilation is a vital aspect often overlooked during kitchen renovations. A dishwasher generates heat and moisture, which need to be properly vented to prevent damage. Make sure the area has adequate airflow to handle the appliance's output. Consider installing a small vent or ensuring there's enough space for air circulation. This will not only protect your kitchen but also extend the lifespan of your dishwasher. Have you ever faced issues with appliance ventilation before? Ensuring proper airflow now can save you from similar troubles down the line.
Connecting Water Supply
Connecting the water supply is a crucial part of adding a dishwasher to your existing kitchen. It ensures your dishwasher receives the right amount of water to clean dishes effectively without causing leaks or damage. Paying attention to each step will save you from costly repairs and give you peace of mind.
Locating Water Lines
First, you need to find the nearest water line to your dishwasher's spot. Typically, the cold water supply line under the kitchen sink is the easiest to access. Check behind the cabinet doors below your sink for a small copper or plastic pipe with a shut-off valve.
Not all kitchens have a conveniently placed water line. If you don't see one, think about other possible sources like a nearby refrigerator water line or a nearby plumbing fixture. Have you ever looked behind your cabinets and found unexpected plumbing you didn’t know existed? It happens more often than you’d think.
Installing The Water Inlet Valve
The water inlet valve controls how water enters your dishwasher. Usually, you can connect it directly to the cold water supply line with a dishwasher branch kit. These kits include a saddle valve or T-valve that attaches without cutting pipes.
Make sure to turn off the main water supply before installation. Attach the valve securely to prevent leaks, and connect the dishwasher’s water hose to the valve. Using plumber's tape on threaded connections adds an extra layer of leak protection.
Testing For Leaks
Once the water supply is connected, it’s time to check for leaks. Turn the water back on slowly and watch all connection points carefully. Even a small drip can cause water damage over time.
Run the dishwasher on a short cycle and observe under the sink during the process. If you spot any leaks, tighten the fittings or reapply plumber’s tape. Have you ever ignored a tiny drip only to find a soaked cabinet weeks later? Catching leaks early saves hassle and money.
Setting Up Drainage
Setting up drainage is a key part of installing a dishwasher in your kitchen. Proper drainage ensures water flows out smoothly without leaks or clogs. It also prevents bad smells and water damage under your sink.
Connecting the dishwasher’s drain system to your kitchen’s plumbing needs care. Use the right tools and materials to avoid future problems. Follow these steps to set up drainage correctly.
Attaching The Drain Hose
Start by connecting the dishwasher’s drain hose to its drain outlet. Check that the hose fits tightly over the outlet pipe. Use a hose clamp to secure it firmly in place.
The hose should not kink or bend sharply. Keep it as straight as possible for good water flow. Measure the hose length to make sure it reaches the sink drain without stretching.
Connecting To Existing Drain Pipes
Locate the kitchen sink’s drain pipe or garbage disposal. Attach the dishwasher’s drain hose to the drain pipe’s inlet or dishwasher tailpiece.
- Remove the plug from the dishwasher inlet on the drain pipe.
- Insert the drain hose end into this inlet.
- Tighten the hose clamp to seal the connection.
Ensure the connection is secure to prevent leaks. The hose should have a high loop or air gap to stop dirty water from flowing back into the dishwasher.
Securing And Testing Drainage
Use zip ties or clips to fasten the drain hose along the cabinet wall. This keeps it stable and prevents movement when the dishwasher runs.
Turn on the dishwasher and run a short cycle to check for leaks. Watch under the sink and around hose connections carefully.
Fix any leaks by tightening clamps or adjusting hose positions. Proper drainage setup protects your kitchen from water damage.
Electrical Hookup
Adding a dishwasher to your existing kitchen involves more than just plumbing; the electrical hookup plays a crucial role in ensuring your new appliance works safely and efficiently. Understanding the electrical requirements and correctly connecting your dishwasher can save you from costly repairs and hazards down the line.
Assessing Power Source
Start by locating the nearest power source that can handle your dishwasher's electrical needs. Most dishwashers require a dedicated 120-volt circuit, typically rated at 15 or 20 amps.
Check your home's electrical panel to see if there’s an available breaker slot. If your kitchen circuits are already fully used, you might need to install a new breaker. Don’t overlook the distance between the power source and the dishwasher’s spot—longer distances might need thicker wiring to maintain safety.
Wiring The Dishwasher
Before connecting, always turn off the power at the breaker to avoid any accidents. Dishwashers usually come with a power cord, but some models require hardwiring directly to the electrical box.
Use a junction box to make secure connections, following the dishwasher’s wiring diagram carefully. Match the wire colors properly—black to black (hot), white to white (neutral), and green or bare copper to ground. If you’re unsure about wire types or connections, consulting a licensed electrician is a smart move.
Safety Checks And Testing
Once wired, restore power and test the dishwasher’s operation. Listen for any unusual sounds and check if it powers on correctly. Use a voltage tester to ensure there are no live wires exposed or short circuits.
Check the circuit breaker to confirm it doesn’t trip during operation. A properly wired dishwasher will run smoothly without causing electrical issues. Remember, your safety depends on double-checking every connection before sealing up walls or cabinets.
Installing The Dishwasher Unit
Installing the dishwasher unit is a crucial phase in adding this handy appliance to your kitchen. Getting it right ensures smooth operation and a seamless fit with your existing cabinetry. Let’s look at how to position the dishwasher, level and secure it, and attach the door panel properly for a professional finish.
Positioning The Dishwasher
Start by sliding the dishwasher into the designated space. Make sure the unit is close enough to the plumbing and electrical hookups to connect without strain.
Check that the dishwasher door can open fully without hitting cabinets or appliances. This space planning saves you from headaches later.
Think about accessibility—will you be able to load and unload dishes comfortably? Positioning affects everyday convenience more than you might expect.
Leveling And Securing In Place
Use a level tool to check that the dishwasher sits evenly on the floor. Uneven placement can cause leaks or damage over time.
Adjust the dishwasher’s feet by turning them clockwise or counterclockwise until the unit is perfectly level. This small step prevents vibration and noise during cycles.
Once level, secure the dishwasher to your cabinetry or countertop according to the manufacturer’s instructions. This keeps it stable when you open and close the door.
Attaching The Door Panel
If your dishwasher requires a custom door panel to match your kitchen cabinets, now is the time to attach it. Align the panel carefully with the dishwasher door.
Use the screws or clips provided to fasten the panel securely. Test the door’s movement to ensure it opens and closes smoothly without catching.
Adding the panel yourself gives your kitchen a built-in look that elevates the entire space. Have you ever considered how small details like this change the feel of a room?
Final Testing And Troubleshooting
After installing your dishwasher, the final testing and troubleshooting phase is crucial to ensure everything works smoothly. This step helps catch any issues early before they become bigger problems. Taking time here can save you frustration and protect your kitchen from potential water damage or electrical hazards.
Running Initial Wash Cycle
Start by running an empty wash cycle to check the dishwasher’s performance. Listen carefully for unusual noises like banging or grinding, which could indicate improper installation or loose parts. Pay attention to how the water fills and drains—any delays or leaks mean a problem that needs fixing.
Make sure the dishwasher completes the cycle without stopping unexpectedly. If it does, try resetting the machine and running the cycle again. This initial run gives you a clear idea if the appliance is ready for regular use.
Checking For Water And Electrical Issues
Inspect all water connections for leaks after the wash cycle finishes. Even small drips can cause damage over time. Check the supply hose, drain hose, and fittings under the sink—tighten any loose connections carefully.
Next, verify the electrical setup. Ensure the dishwasher is properly grounded and the power outlet is functioning correctly. A multimeter can help you test the outlet voltage, confirming it meets the dishwasher’s requirements.
Resolving Common Problems
If your dishwasher doesn’t start, first check if the door latch is fully closed; many models won’t run otherwise. If it fills with water but doesn’t drain, clear the drain hose or filter from any blockages. Persistent odors often come from food debris trapped in the filter—clean it regularly to avoid this.
Have you ever dealt with a dishwasher that leaves dishes dirty? Adjusting the spray arms or choosing a more powerful cycle can improve results. Don’t hesitate to consult your user manual for specific error codes or symptoms. Troubleshooting is easier when you know your dishwasher’s quirks.
Maintenance Tips For Longevity
Maintaining your dishwasher properly keeps it working well for many years. Simple habits protect its parts and avoid costly repairs. Regular care also helps it clean dishes better and saves water and energy.
Regular Cleaning Routines
Clean the dishwasher's filter every week. A dirty filter blocks water flow and reduces cleaning power. Wipe the door edges and seals to stop mold and grime. Run an empty cycle with dishwasher cleaner once a month. This removes grease and odors inside the machine.
Preventing Clogs And Build-up
Rinse dishes before loading to remove large food bits. Avoid washing greasy pans or sticky foods frequently. Use the right amount of detergent to prevent soap residue. Check spray arms for clogs and clear holes with a toothpick. Keep the drain hose free from bends or kinks to maintain water flow.
When To Call A Professional
Strange noises or leaks need expert help quickly. If the dishwasher won’t drain or fill, call a technician. Persistent bad smells or poor cleaning may signal hidden problems. Regular professional checks can extend your dishwasher’s life and prevent major breakdowns.

Credit: www.reddit.com

Credit: www.familyhandyman.com
Frequently Asked Questions
How Do I Connect A Dishwasher To Existing Plumbing?
To connect a dishwasher, locate the hot water supply under the sink. Attach the dishwasher's water inlet to this line using a suitable valve. Ensure proper sealing to avoid leaks. Connect the drain hose to the sink drain or garbage disposal for effective wastewater removal.
What Electrical Requirements Does A Dishwasher Need?
Dishwashers require a dedicated 120-volt circuit with a grounded outlet. Check your home's electrical panel for availability. If needed, hire a licensed electrician to install the required circuit. Proper wiring ensures safe and efficient dishwasher operation.
Can I Install A Dishwasher Without Professional Help?
Yes, if you have basic plumbing and electrical skills. Follow manufacturer instructions carefully. Turn off water and power before starting. However, complex setups or code compliance may require professional assistance to avoid damage or safety issues.
Where Is The Best Location For Dishwasher Installation?
Install the dishwasher near the kitchen sink for easy plumbing connections. Ensure enough space for door clearance and countertop alignment. Accessibility for loading and unloading dishes also improves kitchen workflow and convenience.
Conclusion
Adding a dishwasher to your kitchen saves time and effort. It fits well with existing cabinets and plumbing. Planning the space and connections is important for success. A few tools and steps make the job easier. You can enjoy cleaner dishes with less work.
This upgrade brings convenience to daily life. Start your project with confidence and care. Your kitchen will feel fresh and more useful. Simple changes can make a big difference.