
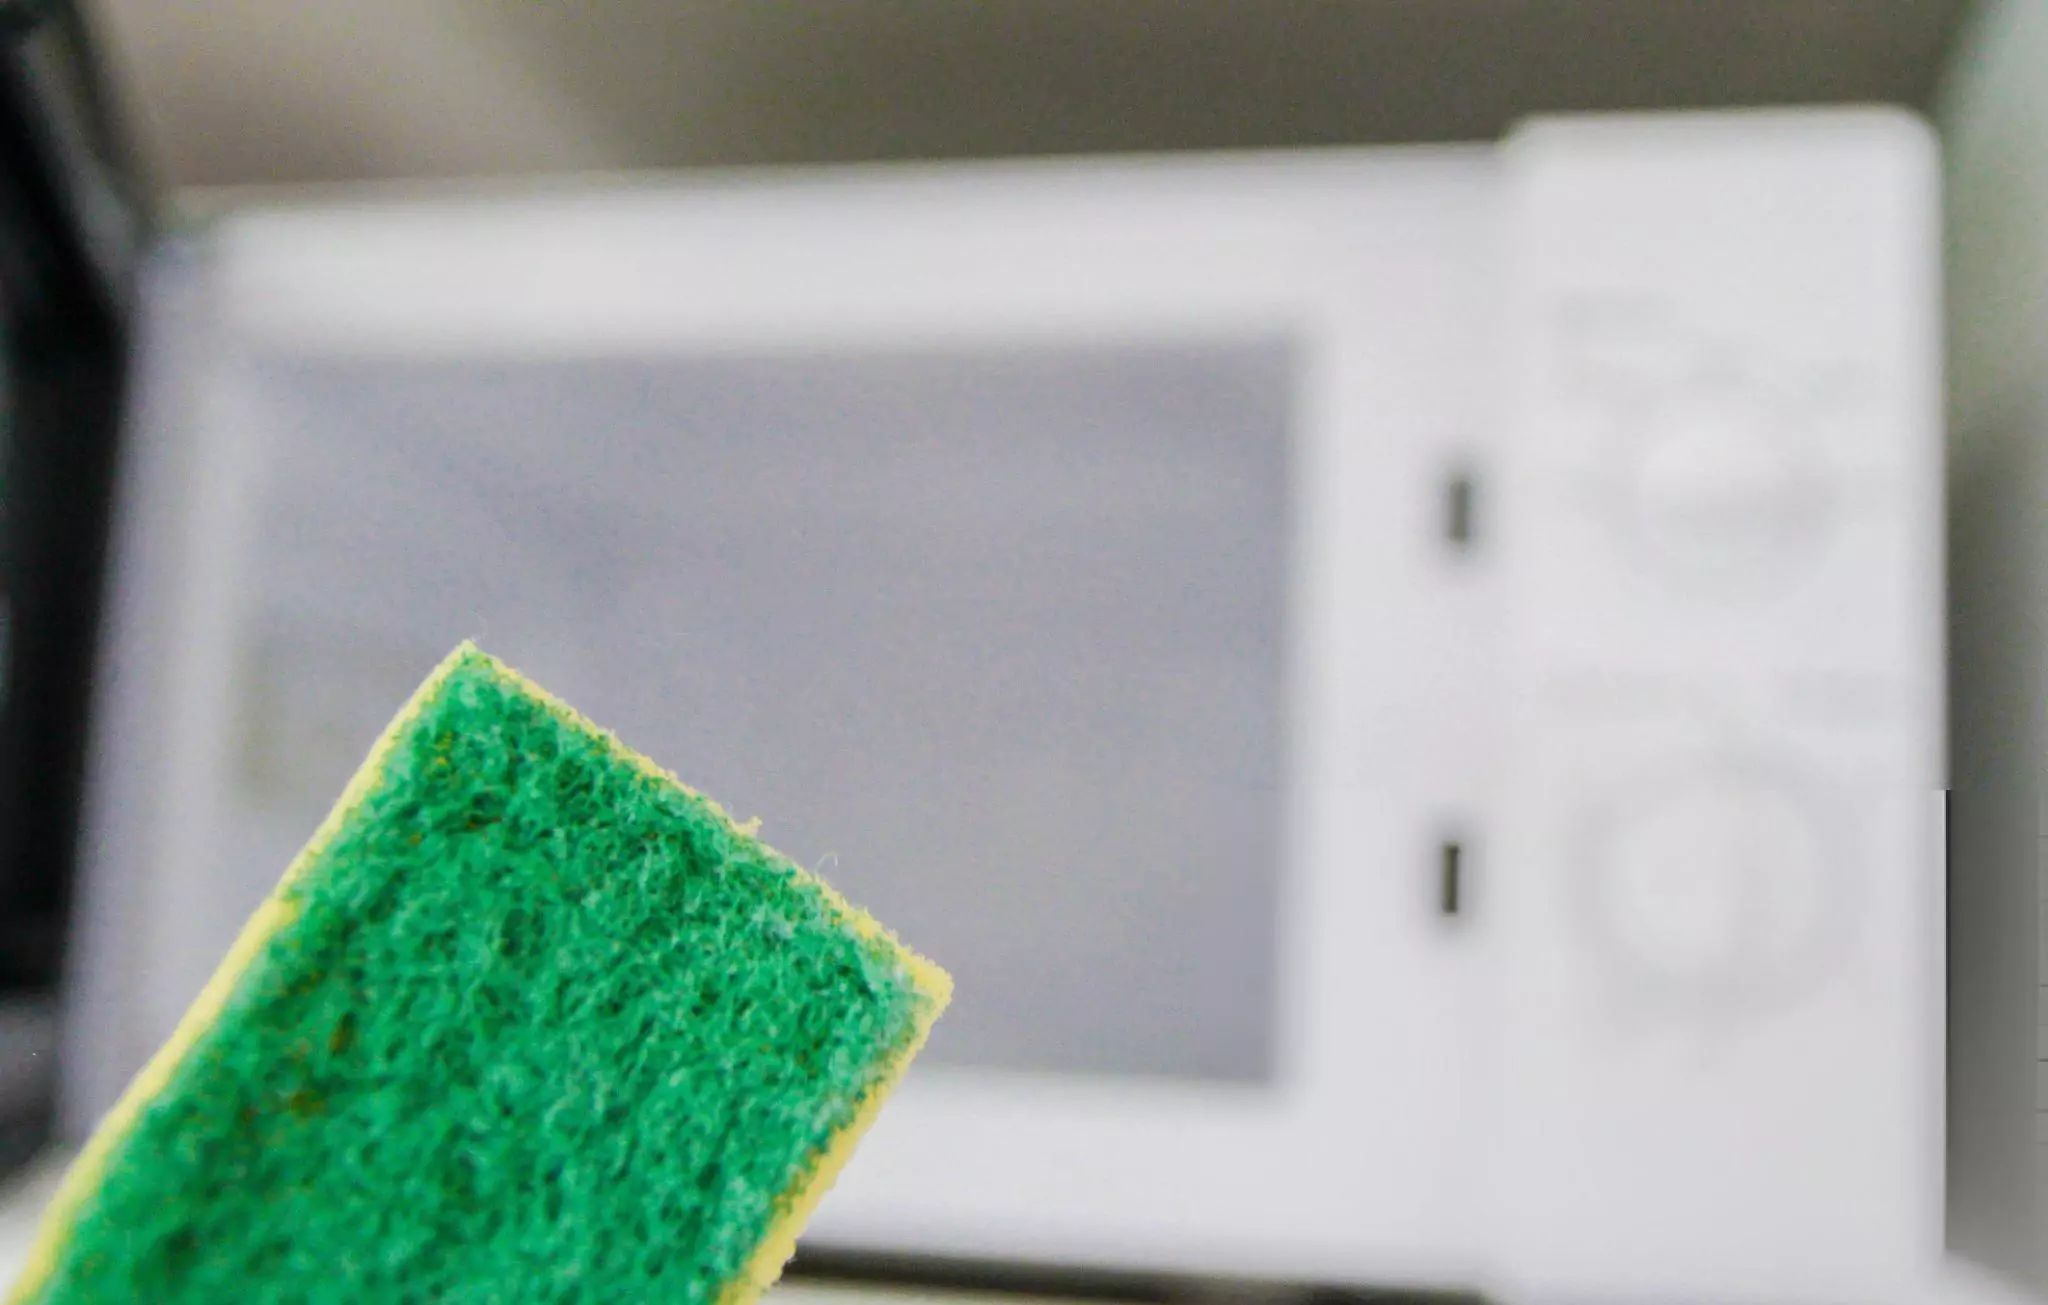
Your kitchen sponge is one of the busiest tools in your home, but did you know it can also be one of the dirtiest? If you’re like most people, you probably use your sponge every day without thinking about how clean it really is.
This can lead to germs spreading on your dishes and countertops without you even realizing it. But don’t worry—cleaning your kitchen sponge is easier than you think. Keep reading, and you’ll discover simple, effective ways to keep your sponge fresh and safe for your kitchen.
Your health and the cleanliness of your home depend on it!

Credit: sqwishful.com
Why Clean Kitchen Sponges
Kitchen sponges are a daily essential in your home, but they often get overlooked when it comes to cleaning. You might think rinsing them after use is enough, but sponges can harbor a surprising amount of bacteria. Keeping your kitchen sponge clean is crucial not just for hygiene but for your family's health.
Common Germs On Sponges
Sponges are damp and filled with tiny food particles, making them a perfect breeding ground for germs. Some common bacteria found on sponges include:
- Salmonella:Often from raw meat residues, it can cause severe food poisoning.
- E. coli:Originates from fecal contamination and can lead to stomach cramps and diarrhea.
- Staphylococcus aureus:Can cause skin infections and other illnesses.
- Campylobacter:Another cause of foodborne illness linked to poultry.
Have you ever noticed a bad smell coming from your sponge? That’s a sign these germs are multiplying rapidly.
Health Risks Of Dirty Sponges
Using a dirty sponge spreads these harmful bacteria onto your dishes, countertops, and hands. This increases your risk of foodborne illnesses, especially if you have young children or elderly family members at home.
Imagine wiping your counter with a sponge filled with Salmonella – it’s like inviting illness into your kitchen. Even if you don’t see visible dirt, bacteria can still be lurking and multiplying.
Ask yourself: is it worth risking your health by ignoring your sponge’s cleanliness? Taking a few minutes to clean or replace your sponge can protect you from unexpected health problems.
Signs Your Sponge Needs Cleaning
Knowing when your kitchen sponge needs cleaning is key to keeping your kitchen hygienic and odor-free. A sponge might look fine at first glance, but certain signs tell you it's time to give it a thorough wash or even replace it. Paying attention to these clues helps you avoid spreading bacteria and keeps your cleaning routine effective.
Unpleasant Odors
Have you ever picked up your sponge and noticed a sour or musty smell? That’s a clear sign bacteria and food particles are building up inside. Even if the sponge looks dry, odors mean it’s harboring germs that can transfer to your dishes and countertops.
Try this quick test: smell your sponge before and after use. If the smell worsens or stays strong, it’s time for a deep clean. Don’t ignore this—your nose is often the first warning system.
Visible Stains And Wear
Stains or discoloration on your sponge show that dirt and grime have soaked in over time. This buildup makes cleaning less effective and can even cause cross-contamination.
Check for holes, torn edges, or a slimy texture. These signs mean your sponge is breaking down and trapping bacteria inside. If your sponge looks worn out, cleaning might not be enough—you may need a fresh one to maintain proper hygiene.
Quick Methods To Clean Sponges
Kitchen sponges get dirty fast and need quick cleaning to stay fresh. Regularly cleaning stops germs and bad smells. These fast methods use tools you already have at home. They save time and keep your sponge ready for the next use.
Microwave Technique
This method uses heat to kill bacteria in the sponge. First, wet the sponge fully. Place it in the microwave on a microwave-safe plate. Heat on high for about 1-2 minutes. Be careful when removing the sponge; it will be hot. Let it cool before using. This kills most germs and refreshes the sponge quickly.
Dishwasher Cleaning
Put the sponge in the dishwasher’s top rack. Use the heated dry option if available. The dishwasher’s hot water and steam clean the sponge well. This method is easy and cleans multiple sponges at once. Make sure the sponge is dishwasher safe before using this method.

Credit: www.amazon.ca
Deep Cleaning Techniques
Kitchen sponges are breeding grounds for bacteria. Regular cleaning is essential. Deep cleaning can extend their life and keep them safe. Here are effective deep cleaning techniques to sanitize kitchen sponges.
Soaking In Bleach Solution
Bleach is a powerful disinfectant. It effectively kills germs on sponges. To start, mix 3/4 cup of bleach in a gallon of water. Submerge the sponge completely in the solution. Let it soak for five minutes. After soaking, rinse the sponge thoroughly with water. This removes any bleach residue. Ensure the sponge is fully dry before using it again. This method is effective for eliminating bacteria.
Using Vinegar And Baking Soda
Vinegar and baking soda are natural cleaners. They work well for deep cleaning sponges. First, soak the sponge in white vinegar for five minutes. Vinegar helps break down grime and bacteria. Next, sprinkle baking soda over the sponge. Scrub gently to create a foamy reaction. This reaction lifts dirt and kills germs. Rinse the sponge under warm water until clean. Allow the sponge to air dry completely. This technique is gentle yet powerful.
Tips To Extend Sponge Life
Extending the life of kitchen sponges saves money and reduces waste. Simple habits help keep sponges cleaner and last longer. Follow easy tips to maintain freshness and hygiene.
Regular Cleaning Schedule
Clean your sponge often to stop germs from growing. Daily rinsing with hot water removes food bits. Use a mild soap or vinegar for a deeper clean. Microwave damp sponges for one minute to kill bacteria. Replace sponges every two to four weeks for best results.
Proper Drying Practices
Sponges must dry quickly to avoid mold and smells. Squeeze out all water after each use. Store sponges in a well-ventilated area. Avoid leaving sponges in the sink or wet surfaces. Use a sponge holder that allows air flow. Dry sponges prevent bacteria growth and keep them fresh longer.
Alternatives To Traditional Sponges
Traditional kitchen sponges can harbor bacteria quickly, making it essential to consider safer and more durable alternatives. Switching to different cleaning tools not only improves hygiene but can also reduce waste and save money over time. Let’s look at some popular options you might want to try in your kitchen.
Silicone Sponges
Silicone sponges are a game-changer for many home cooks. They don’t absorb water or food particles, which means they dry fast and resist bacteria buildup.
These sponges are easy to clean—just toss them in the dishwasher or boil them to sanitize. Their durability means they last much longer than traditional sponges, reducing the need for frequent replacements.
Have you noticed how your regular sponge starts smelling after a few days? Silicone sponges avoid this problem completely, keeping your kitchen fresher.
Reusable Cloths
Reusable cloths are another excellent choice that many people overlook. Made from microfiber or cotton, these cloths can handle tough messes and are gentle on surfaces.
You can wash them in the machine after use, which keeps them clean and ready for the next task. Plus, they come in various sizes and textures to suit different cleaning needs.
Using reusable cloths can cut down on plastic waste from disposable sponges. Have you thought about how much trash your kitchen cleaning produces each month?

Credit: www.youtube.com
Frequently Asked Questions
How Often Should I Clean Kitchen Sponges?
Clean kitchen sponges at least once a week to prevent bacteria buildup. Frequent cleaning ensures they remain hygienic and safe for use. Replace sponges every 2-4 weeks for optimal cleanliness and effectiveness.
What Is The Best Method To Clean Kitchen Sponges?
Microwaving a damp sponge for 1-2 minutes kills most bacteria. Alternatively, soak sponges in a bleach solution or run them through the dishwasher. These methods effectively sanitize and extend sponge life.
Can I Use Vinegar To Clean Kitchen Sponges?
Yes, soaking sponges in white vinegar for 5 minutes disinfects them. Vinegar kills many bacteria and removes odors naturally. It’s a safe, eco-friendly cleaning option.
How Do I Dry Kitchen Sponges Properly?
Squeeze out excess water and place sponges in a well-ventilated area. Avoid leaving sponges in damp sinks or closed containers. Proper drying reduces bacterial growth and keeps sponges fresh.
Conclusion
Cleaning kitchen sponges helps keep your kitchen safe and fresh. Regularly washing sponges stops germs from growing. Use simple methods like microwaving or soaking in vinegar. Replace sponges often to avoid bad smells and bacteria. Clean sponges last longer and work better.
Taking a few minutes to clean sponges protects your health. Keep your kitchen clean by caring for your sponges well. Small habits make a big difference in kitchen hygiene. Try these easy tips today for a healthier home.