
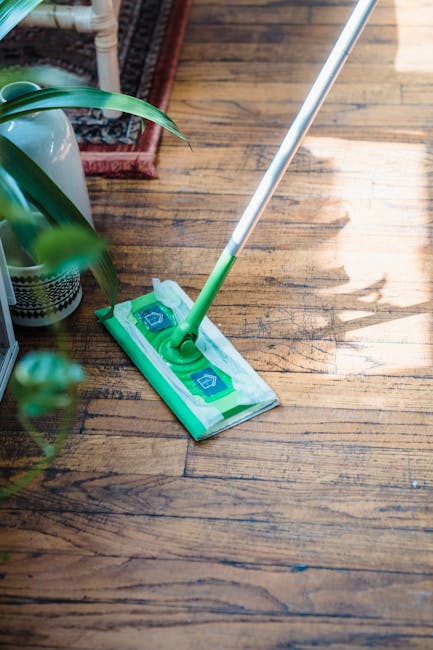
Your kitchen floor is the heart of your home’s cleanliness. But mopping it the right way can be tricky.
If you don’t clean it properly, dirt and grime will stick around longer than you want. Imagine stepping into your kitchen and seeing a spotless, shiny floor that feels fresh under your feet. Sounds great, right? You’ll discover simple steps to mop your kitchen floor efficiently and keep it looking its best.
Ready to make your kitchen floor shine like new? Let’s get started!
:max_bytes(150000):strip_icc()/SPR-should-you-mop-with-hot-or-cold-water-11785902-8034a4fa718143caa9fb087a9d1cf7f7.jpg)
Credit: www.thespruce.com
Gather Your Supplies
Before you start mopping your kitchen floor, gathering the right supplies sets the foundation for an effective clean. Having everything ready saves time and keeps you focused on the task. Let’s look at what you need and how to choose each item carefully.
Choose The Right Mop
Your choice of mop can make a big difference in how well you clean and how easy the job feels. Consider the type of flooring you have—tile, hardwood, or laminate—to pick a mop that won’t damage the surface.
Microfiber mops work well on most surfaces and trap dirt efficiently. If your kitchen floor has grout lines or stubborn spots, a sponge mop or a mop with a scrubbing feature can be helpful. Ask yourself, do you prefer a mop that’s easy to wring by hand or one with a bucket wringer?
Select A Suitable Cleaner
The cleaner you choose affects both the cleanliness and the longevity of your floor. Avoid harsh chemicals if you have delicate flooring like hardwood or natural stone.
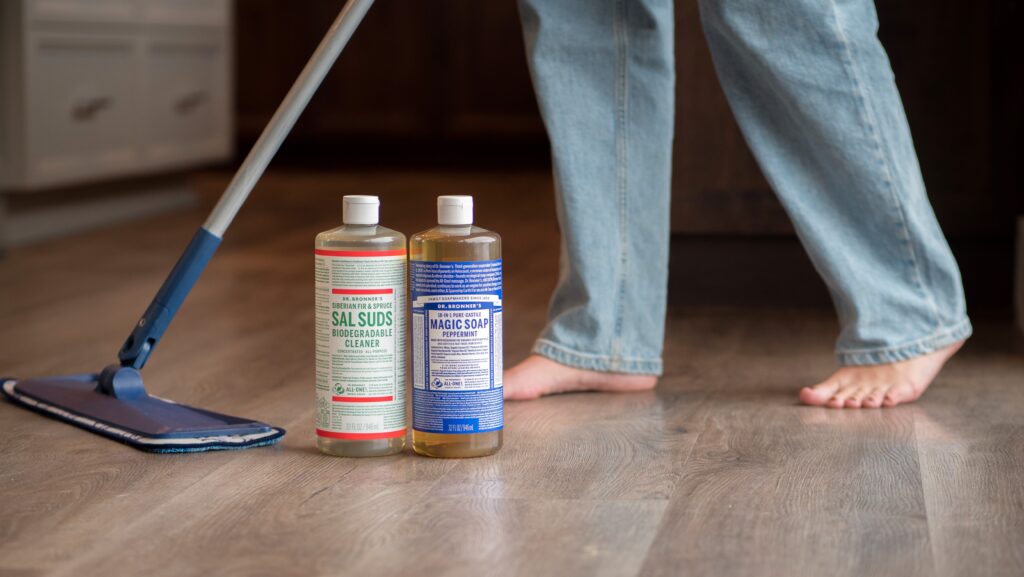
Look for pH-neutral cleaners or ones specifically made for your floor type. Sometimes, simple solutions like diluted vinegar or mild dish soap do the trick without leaving residues. What cleaner have you found works best for your kitchen floor?
Prepare Cleaning Bucket
Setting up your cleaning bucket properly makes mopping more efficient and less messy. Use warm water to help dissolve dirt and cleaner better, but not so hot that it damages your floor or mop.
Fill the bucket with the recommended amount of cleaner to avoid wasting product or leaving slippery residues. Having a separate bucket or container for rinsing your mop can also keep your water cleaner longer. Do you have a system that helps you keep your mop water fresh throughout the job?
Clear And Sweep The Floor
Before you mop your kitchen floor, it's essential to clear and sweep the area thoroughly. This step ensures you don’t just push dirt around but actually remove debris that could scratch your floor or make mopping less effective. Taking time here saves effort later and leaves your kitchen looking its best.
Remove Furniture And Rugs
Start by moving chairs, stools, and any small tables out of the way. Rugs and mats should also be picked up and shaken outside or vacuumed separately. Clearing these items gives you full access to the floor, so you don’t miss any spots or trap dirt underneath.
Have you ever mopped around a rug only to find dirt trails when you put it back? Removing rugs prevents this and keeps your cleaning thorough.
Sweep Or Vacuum Thoroughly
Next, use a broom or vacuum cleaner to pick up crumbs, dust, and pet hair. Pay special attention to corners and under cabinets where dirt tends to collect. Sweeping well stops grit from mixing with water during mopping, which can turn into a muddy mess.
Try sweeping in one direction to gather all dirt efficiently, then collect it with a dustpan. If you prefer vacuuming, use a hard floor setting to avoid scratches. Does your broom or vacuum reach tight spaces? If not, a handheld tool can help capture hidden dust.
Prepare The Cleaning Solution
Before mopping the kitchen floor, prepare the cleaning solution. A well-prepared solution ensures effective cleaning and protects the floor's surface. Follow these steps to create an efficient cleaning mix.
Dilute Cleaner Properly
Read the instructions on the cleaner's label. This tells you how much cleaner to use. Use a measuring cup for accuracy. Pour the cleaner into a bucket. Ensure the cleaner is not too strong. A strong cleaner can damage the floor. Diluting properly helps avoid residue. This step is crucial for safe cleaning.
Fill Bucket With Warm Water
Use warm water, not hot. Hot water can harm some floors. Fill the bucket halfway with water. This allows room for the cleaner. Stir the mixture gently with a mop. Ensure the solution is well-mixed. This step ensures even cleaning. The warm water helps dissolve dirt. It also helps the cleaner work effectively.

Credit: www.dreametech.com
Start Mopping The Floor
Starting to mop your kitchen floor the right way sets the tone for a thorough clean. It's not just about wetting the mop and pushing it around. How you begin affects how much dirt you lift and how quickly your floor dries.
Dip And Wring Mop
Dip your mop into the bucket filled with cleaning solution, but don’t soak it completely. Excess water can leave puddles that take forever to dry or even damage certain floor types.
Wring the mop firmly to remove most of the liquid. You want it damp enough to clean but not dripping. This balance keeps your kitchen floor from becoming a slippery mess.
Use A Figure-eight Motion
Move your mop in a figure-eight pattern across the floor. This motion covers more surface area and helps pick up dirt more effectively than straight lines.
Think about your kitchen’s layout—focus on overlapping your strokes to avoid missing spots. Does your current mopping technique cover every inch or leave streaks?
Focus On Stubborn Spots
Some areas, like near the stove or under the fridge, tend to accumulate more grime. When you spot these tough patches, pause and give them extra attention.
Apply gentle pressure with the mop or use a scrub brush if needed. Taking a little extra time here saves you from having to mop again later.
Rinse And Dry The Floor
Rinsing and drying your kitchen floor properly is the key to a spotless finish that feels clean and looks fresh. Skipping or rushing this stage can leave streaks, sticky residue, or even damage your floor over time. Taking a few extra moments here ensures your effort pays off with a floor you’ll actually enjoy walking on.
Rinse Mop Frequently
Keep your mop clean by rinsing it often during the process. Dirty mop heads just spread grime around instead of picking it up. After each pass, dip your mop into a bucket of clean water and wring it out thoroughly to avoid smearing dirt back onto the floor.
Use Clean Water For Final Pass
Never use the same dirty water throughout your mopping session—especially for the last wipe. Switch to fresh, clean water when you’re ready for the final pass. This step removes leftover soap and grime, leaving your floor shiny and residue-free.
Allow Floor To Air Dry
Let your floor dry naturally to prevent streaks and water spots. Avoid walking on it immediately after mopping; fresh footprints can undo your hard work. Opening a window or turning on a fan can speed up drying, making your kitchen ready to use again sooner.
Maintain Your Kitchen Floor
Keeping your kitchen floor spotless doesn’t end with mopping. Maintaining it daily is key to preventing dirt buildup and prolonging the life of your flooring. Small habits can save you a lot of effort later and keep your kitchen inviting.
Regular Sweeping Tips
Sweeping your kitchen floor every day or every other day helps stop dirt and crumbs from turning into stubborn stains. Use a broom with soft, synthetic bristles to avoid scratching delicate surfaces.
Try this: Sweep in a pattern that covers the entire floor systematically—start from one corner and move toward the exit. It’s quicker and ensures no spot is missed.
Don’t forget to check under appliances and cabinets where dust loves to hide. A handheld vacuum can be handy for those tight spots, making your sweeping more effective.
Spot Cleaning Between Mops
Have you ever noticed sticky spots or spills that dry before you mop? Spot cleaning those immediately prevents grime from setting in and keeps your floor looking fresh longer.
Keep a small spray bottle with a gentle floor cleaner and a microfiber cloth nearby. When you see a spill, spray and wipe it up right away—this simple action saves time and effort in the long run.
For tough spots like dried-on food or grease, dampen the cloth with warm water and add a bit of dish soap. Gently scrub, rinse with clean water, and dry the area to avoid streaks.
Credit: www.lisabronner.com
Frequently Asked Questions
How Often Should I Mop My Kitchen Floor?
Mop your kitchen floor at least once a week. Increase frequency if spills or dirt build up quickly. Regular mopping keeps your floor clean and hygienic, preventing stains and grime buildup.
What Is The Best Mop For Kitchen Floors?
A microfiber mop works best for kitchen floors. It picks up dirt effectively and is gentle on surfaces. Avoid abrasive mops to prevent floor damage and ensure thorough cleaning.
Can I Use Vinegar To Mop Kitchen Floors?
Yes, vinegar is a natural, effective cleaner for kitchen floors. Mix one cup of vinegar with a gallon of warm water. Avoid vinegar on natural stone floors as it can damage them.
How Do I Prepare My Kitchen Floor Before Mopping?
Sweep or vacuum the floor to remove loose dirt and debris. This prevents scratching and ensures the mop cleans effectively. Spot-clean sticky areas before mopping for better results.
Conclusion
Mopping your kitchen floor keeps it clean and fresh. Use the right mop and cleaner for best results. Regular mopping stops dirt and germs from building up. Take your time and follow simple steps carefully. Clean floors make your kitchen safer and nicer to use.
Keep practicing, and mopping will become quick and easy. A clean kitchen floor feels good every day.