
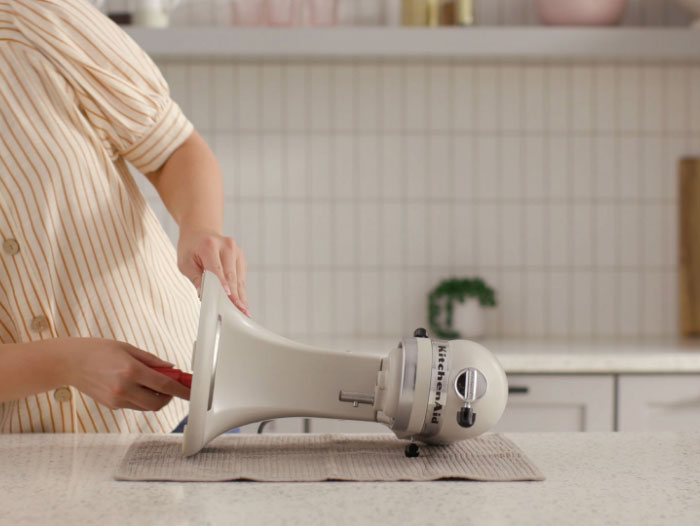
If you own a KitchenAid stand mixer, you know how much it can simplify your cooking and baking. But sometimes, your mixer might need a little adjustment to work perfectly.
Maybe the attachments aren’t fitting right, or the bowl isn’t locking in place. Don’t worry—you can fix these issues quickly with a few simple steps. In this guide, you’ll learn exactly how to adjust your KitchenAid stand mixer so it runs smoothly every time.
Keep reading, and you’ll be mixing like a pro in no time!

Credit: www.cakesandmore.in
Mixer Parts To Know
Getting to know the parts of your Kitchen Aid stand mixer is essential before making any adjustments. Each component plays a role in how the mixer functions and how you can tweak it for better performance. Understanding these parts will save you time and help you avoid mistakes.
Identifying Key Components
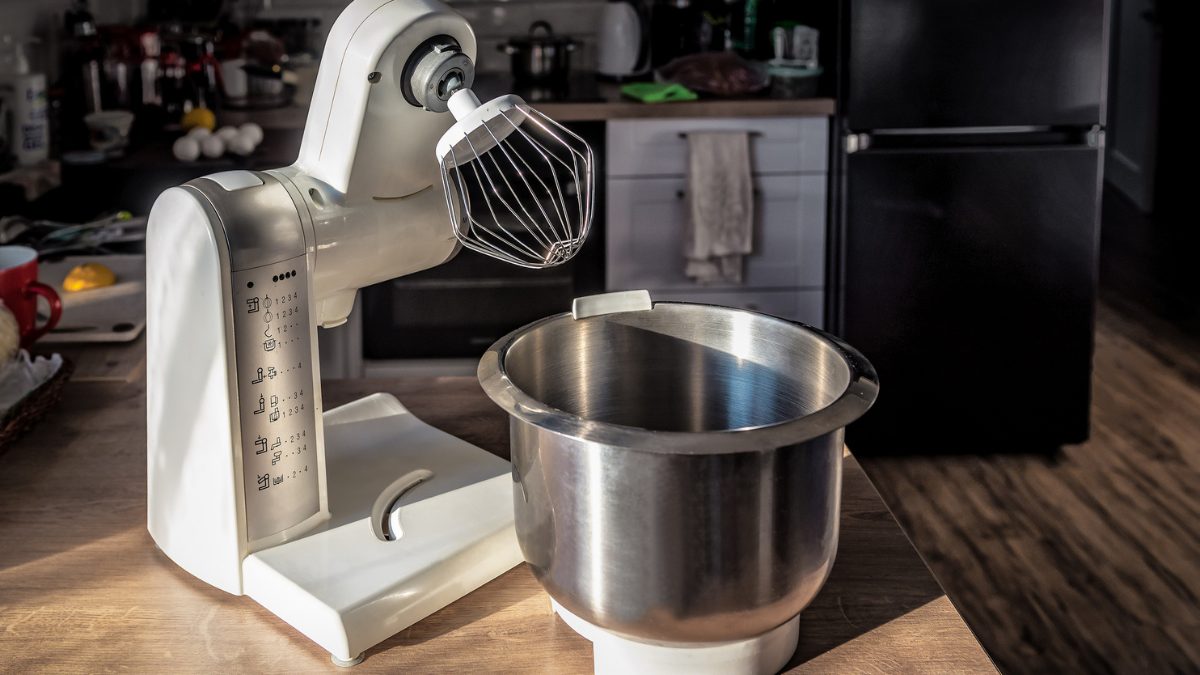
Your mixer has several important parts you should recognize. The head houses the motor and tilt mechanism, allowing you to raise or lower the bowl. The mixing bowl itself locks into the base, keeping it stable during operation.
Don't overlook the speed control lever, which adjusts how fast the beaters spin. The attachment hub is another critical part—it’s where you connect various tools for different tasks. Knowing where each part is will make adjustments easier and more precise.
Understanding Attachment Types
Attachments can change how your mixer works and what it can do. The most common are the flat beater, dough hook, and wire whip. Each serves a specific purpose: the flat beater is great for general mixing, the dough hook kneads bread dough, and the wire whip aerates ingredients like egg whites.
Did you know that some attachments require different speeds to work best? Using the wrong speed with the wrong attachment can affect your recipe’s outcome. Make sure you match your attachment type with the correct speed for the best results.
Preparing Your Mixer
Preparing your Kitchen Aid stand mixer ensures smooth operation and better results. Taking time to get your mixer ready avoids problems during mixing. It also helps keep your machine in good condition for years.
Cleaning And Inspecting
Start by wiping down the mixer’s exterior with a soft cloth. Remove any dust or residue from previous use. Check the power cord for any damage or fraying. Look inside the attachment hub for leftover food or debris. Clean these areas gently to avoid damage.
Inspect the mixer bowl and attachments carefully. Look for cracks, chips, or rust. Make sure the attachments move freely without sticking. Proper cleaning and inspection keep your mixer safe and efficient.
Choosing The Right Bowl And Attachments
Select the bowl that fits your recipe size. Kitchen Aid offers different bowl sizes like 4.5, 5, and 6 quarts. Use the bowl that matches your mixer model for best fit. Larger bowls allow mixing bigger batches without spills.
Pick the attachment that suits your task. The flat beater works well for batters and dough. The wire whip is perfect for whipping cream or egg whites. The dough hook kneads bread or pizza dough. Using the correct attachment improves mixing quality and saves time.
Adjusting The Bowl Height
Adjusting the bowl height ensures the mixer’s beaters touch ingredients properly for even mixing. Turn the adjustment knob to raise or lower the bowl until it fits snugly. This helps improve mixing performance and prevents splashing.
Adjusting the bowl height on a KitchenAid stand mixer is crucial. It ensures smooth operation and even mixing. Over time, the mixer bowl may shift slightly. This can affect the quality of your recipes. Luckily, adjusting the bowl height is simple and quick. You’ll experience better results and longer mixer life. Let’s dive into the details.
When To Adjust
The mixer may need adjustment if ingredients are not mixing well. Uneven mixing or ingredients sticking to the bowl’s sides are signs. The mixer head should just skim the bowl. If the beater hits the bowl, an adjustment is necessary.
Step-by-step Height Adjustment
Follow these steps to adjust the bowl height: 1. Unplug the mixer for safety. 2. Tilt the mixer head back. 3. Locate the adjustment screw near the hinge. 4. Use a flathead screwdriver to turn the screw. 5. Turn clockwise to raise the bowl, counterclockwise to lower it. 6. Lower the head and test the clearance. 7. Adjust until the beater almost touches the bowl. These steps ensure your mixer performs optimally. Keep your baked goods perfectly mixed every time.

Credit: www.kitchenaid.ca
Setting The Speed Correctly
Setting the speed correctly on your Kitchen Aid stand mixer is key for great results. The right speed helps mix ingredients evenly and prevents messes. Understanding the speed settings lets you adjust easily for different recipes.
Speed Options Explained
Kitchen Aid mixers usually have 10 speed settings. Each speed serves a special purpose in mixing tasks.
- Speed 1-2:Stir and mix soft ingredients gently.
- Speed 3-4:Beat eggs and cream softly.
- Speed 5-6:Mix cake batters and cookie doughs.
- Speed 7-8:Whip cream and egg whites quickly.
- Speed 9-10:Beat heavy mixtures fast for fluffiness.
Start slow to avoid splashing. Increase speed as needed.
Matching Speed To Recipes
Different recipes call for different speeds. Use low speeds for dry or delicate ingredients.
Medium speeds work well for batters and doughs. High speeds help whip and aerate mixtures fast.
Follow recipe instructions for best results. Adjust slightly if your ingredients are unusual.
Securing Attachments Properly
Securing attachments properly is essential for safe and efficient mixer use. Loose attachments can cause splatters or damage. Correctly fitting each tool ensures smooth mixing and prevents accidents. Take time to check each connection before turning on the mixer.
Attaching And Removing Tools
Start by turning off the mixer and unplugging it. Hold the attachment firmly and align it with the mixer’s hub. Push the tool up and twist slightly to lock it in place. To remove, twist the attachment in the opposite direction and pull it down gently.
Avoid forcing the tools in or out. Forcing can break the attachment or the mixer’s hub. Always handle tools with care to maintain their function and safety.
Ensuring A Tight Fit
After attaching, give the tool a slight wiggle to check its firmness. A properly secured attachment should not move or wobble. If it feels loose, remove and reattach it correctly.
Listen for a click or feel resistance when locking the tool. These signs show the attachment is secure. A tight fit prevents the tool from detaching during mixing, keeping your kitchen clean and safe.
Troubleshooting Common Issues
Troubleshooting common issues with your Kitchen Aid stand mixer helps keep it running smoothly. Problems like uneven mixing or strange noises can affect your baking results. Quick fixes often solve these issues without needing professional help. Understanding these common problems saves time and effort in the kitchen.
Fixing Uneven Mixing
Uneven mixing happens when ingredients stick to the bowl's sides or bottom. This usually means the mixer attachment is not adjusted correctly. Check the height of the beater. It should be close to the bowl but not touching it. Adjust the beater tilt using the adjustment screw on the mixer’s head. Turn it slowly until the beater moves evenly through the ingredients.
Another cause is overloading the bowl. Add ingredients in smaller amounts for better mixing. Stop the mixer occasionally to scrape down the bowl sides with a spatula. This ensures all ingredients get mixed evenly.
Handling Mixer Noise And Vibrations
Excess noise or vibrations often come from loose parts. Check if the bowl is locked securely in place. A loose bowl can cause shaking and noise. Tighten the attachment hub and make sure the beater is attached properly.
Place the mixer on a flat, sturdy surface to reduce movement. Soft or uneven surfaces increase vibrations. If noise continues, clean the mixer’s gears and motor housing. Dust and debris can cause grinding sounds. Use a soft brush or cloth to keep the mixer clean.
Maintenance Tips For Longevity
Keeping your Kitchen Aid stand mixer in top shape means more than just using it gently. Regular maintenance helps prevent unexpected breakdowns and keeps every ingredient mixing smoothly. Let's look at some practical tips that can extend the life of your trusty kitchen companion.
Regular Cleaning Routine
After each use, wipe down your mixer with a damp cloth to remove flour, sugar, or batter splatters. Avoid using harsh chemicals; mild soap and water work well without damaging the finish.
Don’t forget to clean the attachments too. Soak them briefly in warm, soapy water and dry thoroughly before storing to prevent rust.
Have you ever noticed a strange smell or residue around the beater hub? That’s a sign you should clean inside the attachment hub regularly. Use a small brush or toothpick to clear out crumbs or dried batter that might cause clogs or damage.
Lubrication And Parts Replacement
Your mixer’s motor and gears need occasional lubrication to keep running smoothly. Check your user manual for recommended oiling points and intervals to avoid over-lubrication.
Pay attention to any unusual noises or stiffness during operation. These can signal worn-out gears or bearings that need replacement before they cause bigger issues.
Keep spare parts like seals, belts, and attachments handy if you use your mixer frequently. Replacing small worn components early can save you from costly repairs down the line.
How often do you inspect your mixer’s moving parts? A quick monthly check can reveal minor problems before they turn into major headaches.
;)
Credit: www.cookist.com
Frequently Asked Questions
How Do I Adjust The Tilt-head On My Kitchen Aid Mixer?
To adjust the tilt-head, unlock the lever on the mixer's side. Tilt the head back gently, then lock it in place. This allows easier access to the bowl and attachments.
How To Change The Speed Setting On A Kitchen Aid Mixer?
Turn the speed control lever to your desired setting. Start at low speed to avoid splashing, then increase gradually. Always refer to your recipe for the best speed.
Can I Adjust The Bowl Height On A Kitchen Aid Mixer?
Yes, most models feature a bowl lift lever. Raise or lower the bowl for proper attachment contact. This ensures efficient mixing and prevents ingredient spillage.
How To Replace Or Adjust The Beater On The Mixer?
Unplug the mixer, tilt the head back, and remove the beater by pulling it down. Attach the new or adjusted beater by aligning and pushing it up until it clicks.
Conclusion
Adjusting your Kitchen Aid stand mixer is simple with these clear steps. Proper adjustment keeps your mixer working well for years. Check the settings often to avoid problems. Small tweaks can improve mixing performance a lot. Take time to learn your mixer's parts and functions.
This care helps you bake and cook with ease. Enjoy making your favorite recipes with confidence and ease. Keep your mixer ready for any kitchen task.