
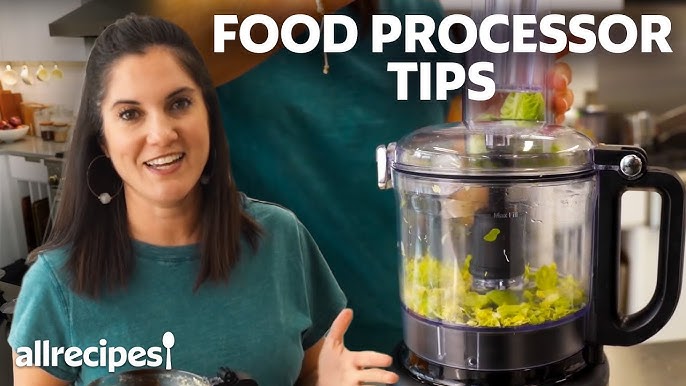
Are you ready to make your cooking faster and easier? Your Kitchen Aid Food Processor can be a game-changer in the kitchen, but only if you set it up correctly.
Putting it together might seem tricky at first, but don’t worry—you’re just a few simple steps away from mastering it. In this guide, you’ll learn exactly how to assemble your Kitchen Aid Food Processor quickly and safely, so you can start chopping, slicing, and mixing like a pro.
Keep reading, and soon you’ll wonder how you ever cooked without it!
Unbox Your Food Processor
Unboxing your KitchenAid food processor is the first exciting step toward making meal prep easier and more enjoyable. Taking a moment to carefully unpack each item helps you avoid missing parts and ensures a smooth setup. Let’s break down what you should look for and how to get familiar with your new kitchen companion.
Check All Parts
Start by opening the box on a clean surface. Take out each component slowly and place them where you can see everything clearly. Your package should include the main base unit, the work bowl, the lid, and the feed tube.
Look closely for any signs of damage during shipping. If you spot a cracked bowl or a loose cord, it’s best to contact customer service right away rather than discovering the issue later. Have you ever started assembling something only to find a crucial piece missing? Avoid that frustration now by double-checking everything.
Identify Accessories
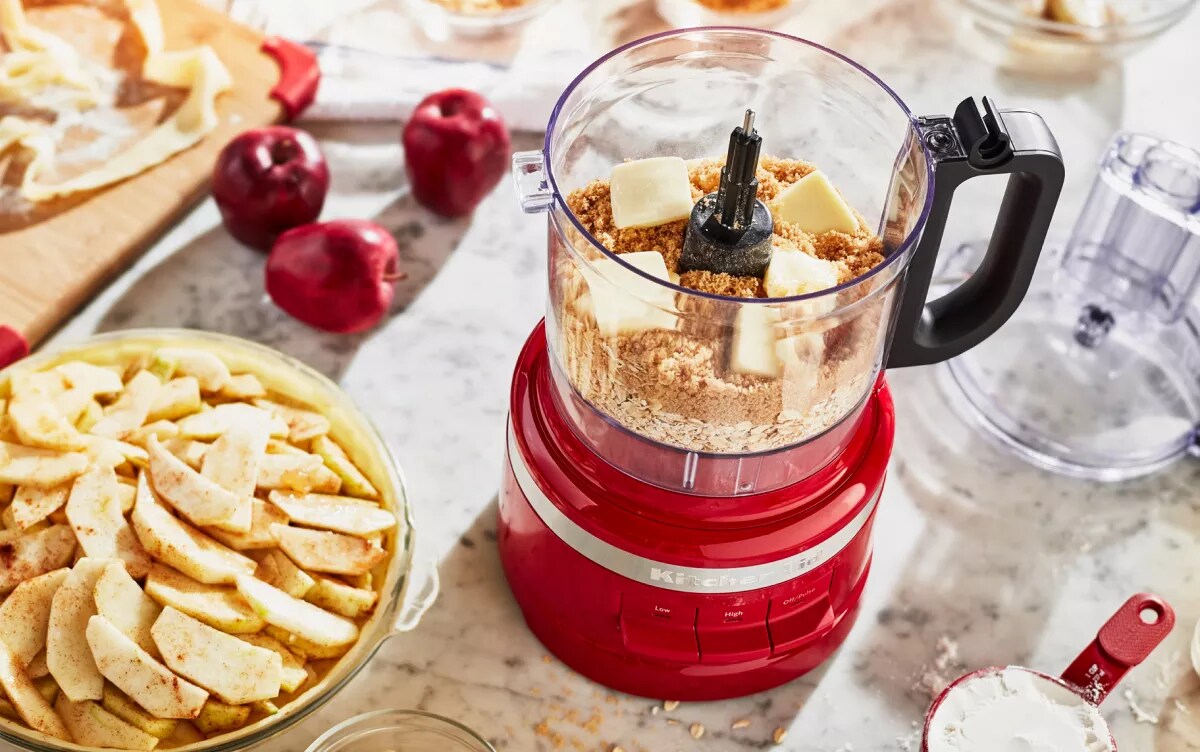
Next, sort through the smaller items that come with your food processor. These often include blades, discs, and sometimes a spatula. Each accessory has a specific role, whether it’s slicing, shredding, or chopping.
Knowing which tool does what saves you time and keeps your cooking on track. For instance, the multi-purpose blade is perfect for chopping vegetables, while the slicing disc helps create uniform cuts. Don’t forget to check for any instruction manuals or recipe booklets tucked inside the box—they can offer great tips on using your new gear.
Credit: www.kitchenaid.com
Set Up The Base
Setting up the base of your KitchenAid food processor is the first crucial step to ensure smooth operation. It might seem simple, but a stable and properly connected base can prevent accidents and extend the life of your appliance. Let’s focus on how to correctly place and power your food processor so it’s ready to handle any recipe.
Place On Stable Surface
Start by finding a flat, sturdy surface to place your food processor. A countertop that doesn’t wobble is ideal to keep the machine steady while running.
Have you ever noticed how a shaky base makes chopping uneven or even causes the processor to move? Avoid that by choosing a solid spot.
Also, clear the area of any clutter that might interfere with the processor’s movement or your workflow. This simple step saves frustration later.
Plug In The Unit
Once your food processor is positioned, plug it into a nearby electrical outlet. Make sure the cord isn’t stretched tight or near any water source.
Testing the power at this stage is smart. Try turning it on briefly to check if everything runs smoothly before adding any ingredients.
Have you ever had to unplug and replug devices because of a loose connection? Avoid that hassle by ensuring a firm, safe connection from the start.
Attach The Bowl
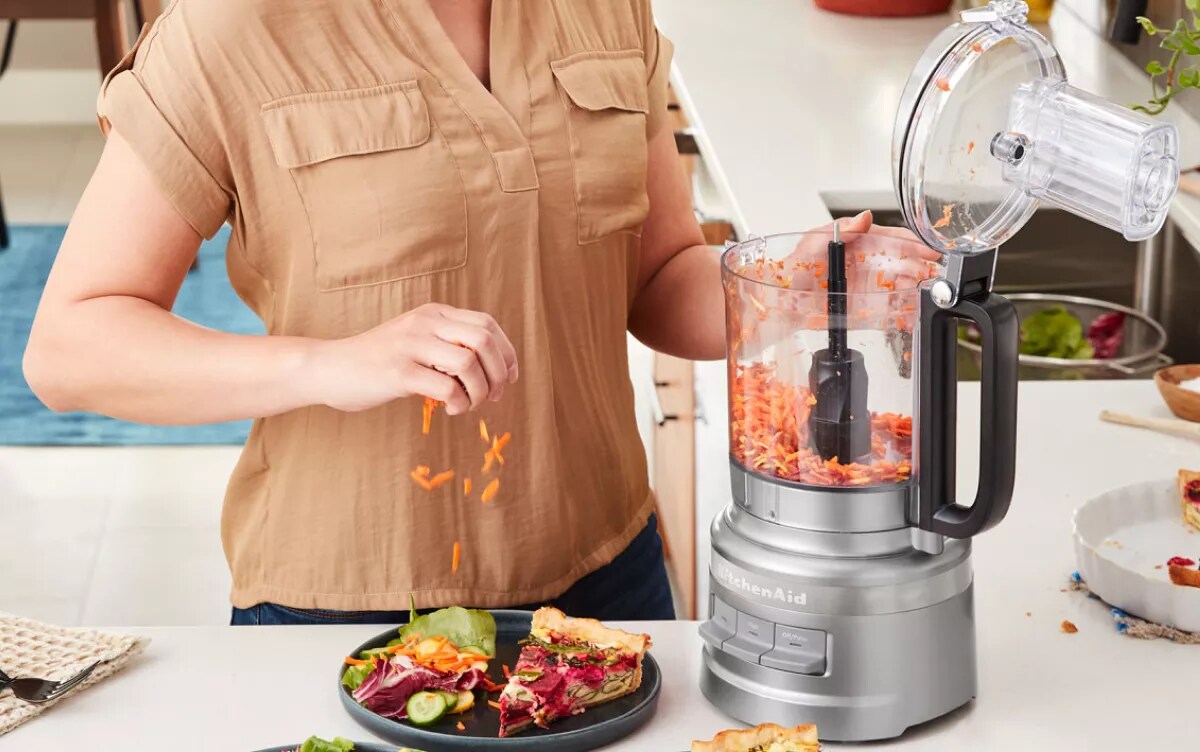
Attach the bowl by aligning it with the base and twisting it until it locks securely. Ensure the handle faces forward, making it easy to access. This helps in stabilizing the processor for smooth operation.
Attaching the bowl to your KitchenAid Food Processor is a straightforward but crucial step in ensuring the appliance works correctly. Before diving into culinary creations, it's important to make sure this foundation is solid. If the bowl isn't properly attached, it can lead to frustration and a mess. Let’s guide you through the process of securing that bowl with confidence.
Align Bowl With Base
To start, align the bowl with the base of the food processor. Look for the small notches on the bottom of the bowl; these are your guides. Gently place the bowl onto the base, ensuring that these notches match up with the corresponding grooves. Take a moment to double-check the alignment. It can be tempting to rush through this step, but precision is key here. Misalignment might mean the bowl won't lock in place, leading to poor performance.
Lock The Bowl Securely
Once aligned, it's time to lock the bowl securely. Twist the bowl clockwise until you hear a click. This sound is your assurance that the bowl is firmly in place. Feeling the bowl snap into position can be quite satisfying—like a small victory before you even start cooking. Give the bowl a gentle tug to make sure it's locked. If it’s not budging, you’re all set to continue with your food processing tasks. Isn’t it amazing how such a small step can make a big difference in your cooking experience? Each time you attach the bowl successfully, you’re one step closer to creating a delicious meal.
Credit: www.kitchenaid.com
Install The Blade
Installing the blade in your Kitchen Aid food processor is a crucial step that affects both the performance and safety of your appliance. Getting this right ensures your food is chopped, sliced, or shredded perfectly every time. Let’s focus on how to handle the blade carefully, choose the right one, and secure it properly in the bowl.
Choose The Right Blade
Your Kitchen Aid food processor comes with multiple blades designed for different tasks. Using the right blade is key to achieving the texture you want. For example, a slicing blade works best for vegetables, while a shredding blade is ideal for cheese or carrots.
Check the manual or the blade markings to identify each type. If you’re unsure, think about the outcome you want: Are you chopping nuts or making dough? Choosing correctly saves time and prevents damage to the blade or motor.
Handle Blades Safely
Blades are extremely sharp, so always handle them with care. Hold the blade by its plastic center or the designated handle area to avoid cuts. Never touch the cutting edges directly.
Before installing or removing the blade, make sure your hands are dry to prevent slipping. Keeping a clean workspace free from distractions can also reduce accidents while handling these sharp parts.
Secure Blade In Bowl
Place the blade carefully onto the central spindle inside the food processor bowl. It should fit snugly without forcing it. If you feel resistance, double-check that the blade matches your model and is aligned correctly.
Once the blade is seated properly, give it a gentle twist or press to lock it in place. A loose blade can cause uneven processing or damage your machine. Always confirm the blade is secure before adding ingredients or starting the processor.
Add The Lid
Adding the lid to your Kitchen Aid food processor might seem simple, but doing it right ensures safety and efficient operation. The lid not only keeps ingredients contained but also activates the processor’s safety lock. Paying attention to how you position and lock the lid can save you from messy spills and potential damage.
Position Lid Correctly
First, align the lid with the bowl’s rim so the feed tube fits snugly over the opening. The lid usually has a notch or handle that matches the bowl’s shape—look for these guides to position it properly.
Make sure the lid sits evenly around the bowl’s edge before trying to lock it. If the lid isn’t aligned correctly, the processor won’t start, which can be frustrating if you’re in a hurry.
Lock Lid In Place
Once the lid is positioned, rotate or press it down until you hear a click or feel resistance. This locking mechanism secures the lid and ensures the processor won’t run unless everything is safely sealed.
Test the lock by gently trying to lift the lid; it shouldn’t move if locked properly. If it does, reposition and try again—this step is crucial for safe operation.
Use The Feed Tube
The feed tube is an essential part of the KitchenAid food processor. It allows you to add ingredients safely while the machine runs. Using the feed tube helps keep your hands away from the blades. It also controls the flow of food into the processor. This makes processing faster and cleaner. Proper use of the feed tube improves your cooking experience.
Attach The Pusher
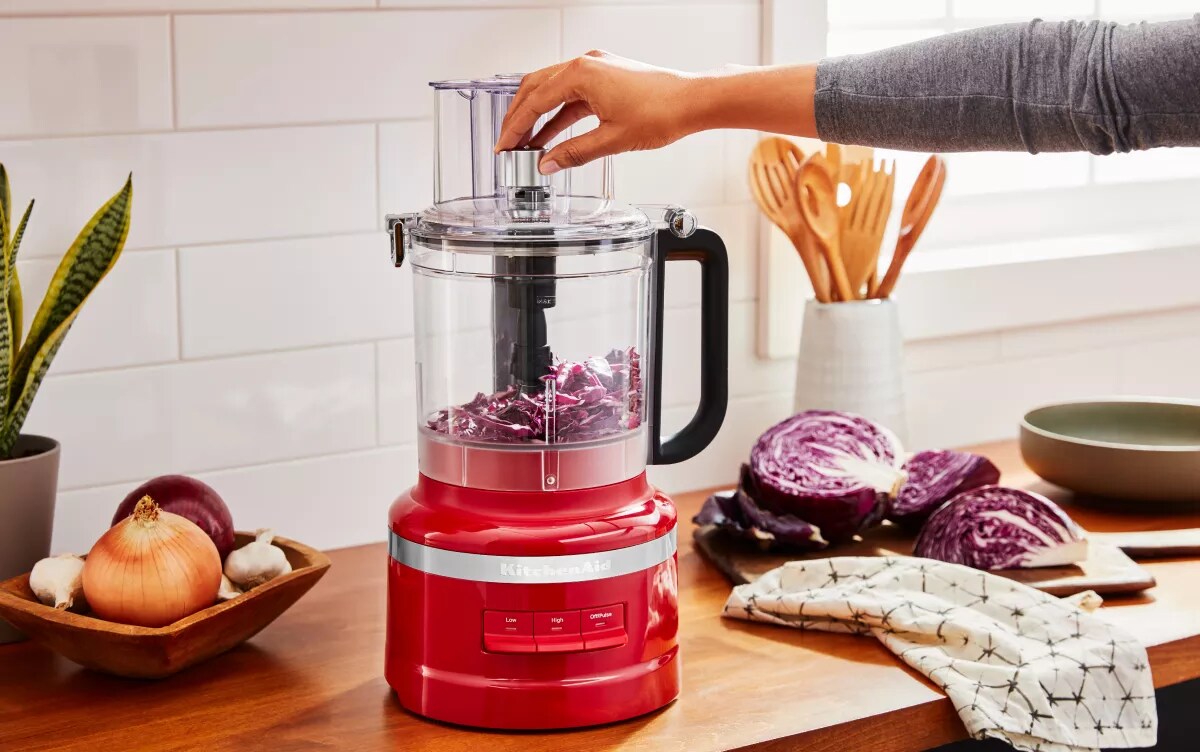
The pusher fits inside the feed tube. It guides ingredients down to the blades. Align the pusher with the feed tube opening. Slide it in gently until it fits snugly. The pusher should move smoothly but not fall out. Use it to press food into the processor. Never force the pusher if it feels stuck.
Prepare Ingredients
Cut ingredients into sizes that fit the feed tube. Large pieces can jam the processor or cause uneven chopping. Remove any pits or hard stems before processing. Wash and dry ingredients to avoid extra moisture. Place items in the feed tube one at a time. Use the pusher to guide food gently toward the blades.
Test The Processor
Testing the Kitchen Aid food processor ensures it works safely and correctly. This step checks the motor and speed functions before actual use. Confirming its operation prevents damage and improves your cooking experience. Follow simple actions to test your new appliance confidently.
Select Speed Settings
Choose the speed setting using the control dial or buttons. Kitchen Aid processors usually offer low, medium, and high speeds. Start with the lowest speed to check the motor’s response. Listen for smooth running and no unusual noises. Increase speed gradually to ensure the machine handles each level well.
Run A Quick Test
Secure the bowl and lid properly before turning on the processor. Run it empty for 10 to 15 seconds to observe its function. Watch for steady blade movement and stable operation. Stop the processor and check for any vibrations or overheating. This quick test confirms the processor is ready for food preparation.
Clean Up After Assembly
Cleaning up after assembling your KitchenAid food processor is just as important as putting it together. Proper cleanup ensures your appliance lasts longer and stays safe to use. Plus, a tidy kitchen makes the next cooking session more enjoyable.
Remove Parts Carefully
Take your time when detaching the food processor parts. Rushing can lead to broken clips or bent blades, which are costly to replace. Always unlock or press release buttons gently to avoid damaging the mechanism.
Consider placing a towel or cloth on your countertop before removing sharp blades. This extra step protects both your hands and the surface. Have you noticed how careful handling saves you from unexpected injuries?
Wash And Dry Components
Wash each removable part in warm, soapy water right after assembly. Avoid using abrasive sponges that can scratch plastic surfaces or dull the blades. If your parts are dishwasher-safe, place them securely to prevent movement during the wash cycle.
Dry everything thoroughly with a clean towel or let air dry before reassembling or storing. Moisture left on blades or inside parts can cause rust or mold. Do you check for hidden moisture spots that might lead to problems later?
Troubleshoot Common Issues
Troubleshooting common issues with your Kitchen Aid food processor helps save time. Many problems occur due to simple mistakes. Knowing how to fix these issues gets your processor working fast again. It improves your cooking experience and avoids frustration.
Bowl Not Locking
The bowl must lock securely for the processor to start. Check if the bowl sits correctly on the base. Align the bowl with the locking tabs and turn it gently. Dirt or food debris can block the locking mechanism. Clean the edges of the bowl and base with a damp cloth. Avoid forcing the bowl to lock, as it can cause damage.
Processor Not Starting
Check if the food processor is plugged in properly. The power outlet should work and be switched on. Ensure the bowl and lid are locked in place; the processor won’t start otherwise. Some models have safety switches. Make sure all parts fit tightly to activate these switches. If it still does not start, try resetting the motor by unplugging and plugging the processor again after a few minutes.
Credit: www.kitchenaid.com
Frequently Asked Questions
How Do I Assemble A Kitchenaid Food Processor?
Start by attaching the work bowl to the base. Insert the blade carefully. Lock the lid securely before use.
What Safety Tips Should I Follow When Assembling?
Always unplug the processor first. Handle blades carefully to avoid cuts. Ensure all parts click into place.
Can I Use Different Attachments For The Kitchenaid Processor?
Yes, KitchenAid offers various blades and discs. Choose the right attachment based on your food processing needs.
How Do I Clean The Assembled Parts Safely?
Disassemble the unit before cleaning. Wash parts with warm, soapy water. Avoid immersing the motor base in water.
Conclusion
Putting together your Kitchen Aid food processor is simple and quick. Follow the steps carefully for safe and proper assembly. Check each part fits snugly before use. This ensures the machine works well and lasts longer. Practice assembling a few times to feel confident.
Soon, you will enjoy preparing meals with ease. A well-assembled food processor saves time and effort daily. Keep the instruction manual handy for reference. Enjoy cooking with your Kitchen Aid food processor every day!