
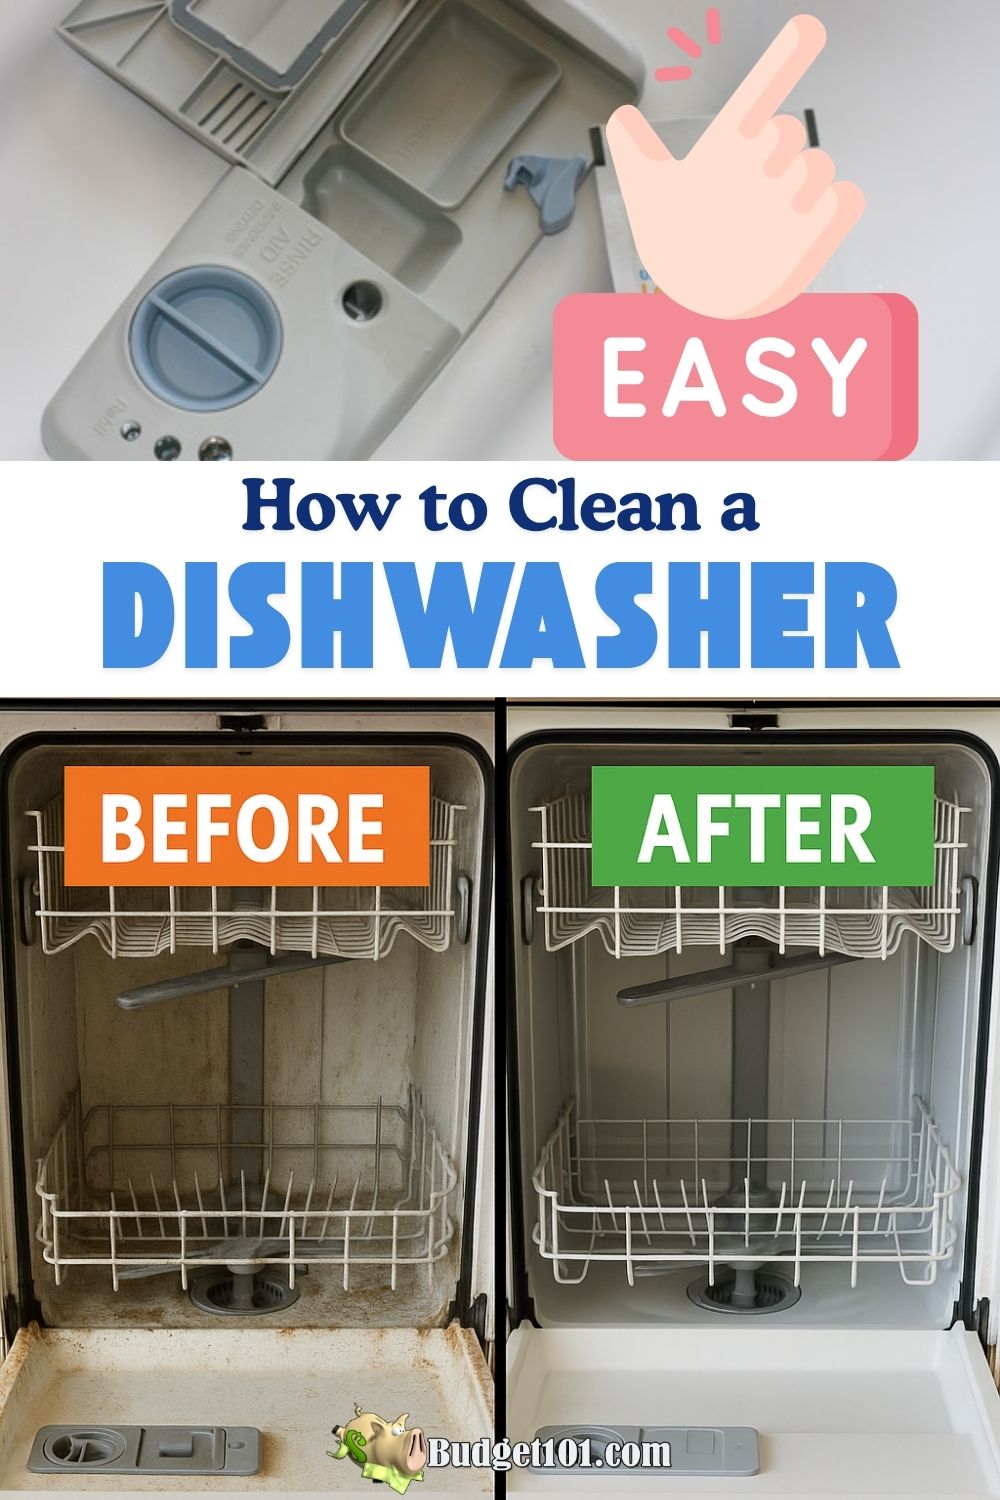
Is your Kitchen Aid dishwasher not cleaning dishes as well as it used to? You might be surprised how a simple cleaning routine can bring back its sparkle and efficiency.
Keeping your dishwasher clean doesn’t just improve its performance—it saves you time, money, and frustration. In this guide, you’ll learn easy, step-by-step tips to make your dishwasher shine like new. Ready to get those dishes spotless again? Let’s dive in and discover how to clean your Kitchen Aid dishwasher the right way.
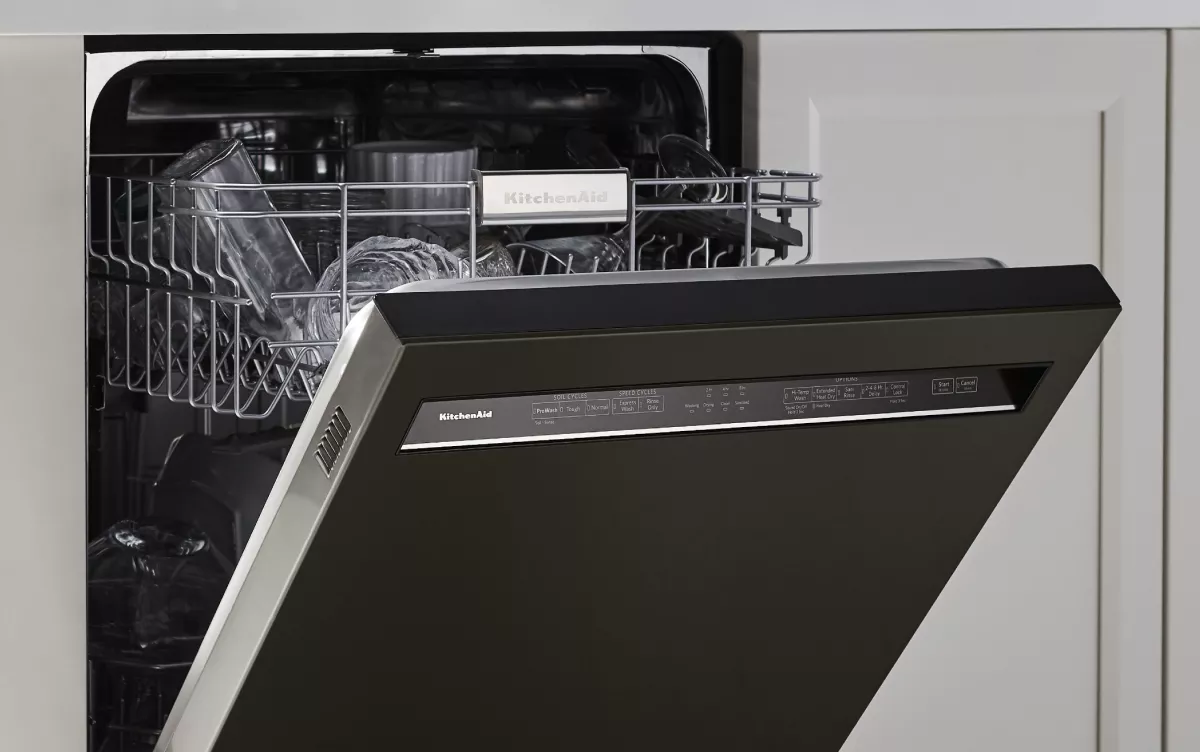
Credit: www.kitchenaid.com
Preparing The Dishwasher
Preparing your Kitchen Aid dishwasher for cleaning is an essential first step that sets the stage for a thorough refresh. Skipping this part can leave dirt and grime trapped in places you can’t reach. Taking the time to properly prepare ensures every corner of your dishwasher gets the attention it deserves.
Emptying The Dishwasher
Start by completely emptying your dishwasher. Remove all dishes, utensils, and any small debris you notice. This clears the way for you to access all parts of the dishwasher and prevents leftover food from interfering with the cleaning process.
Have you ever tried cleaning a dishwasher only to find bits of food stuck inside afterward? Emptying it fully avoids that hassle. It also makes it easier to spot any damaged parts or buildup that needs special attention.
Removing And Cleaning Racks
Next, carefully slide out the racks. Most Kitchen Aid models have racks that easily pull out, giving you full access for cleaning. Take a moment to inspect the racks for stuck-on food or mineral deposits.
Cleaning the racks separately makes a big difference. Use warm soapy water and a soft brush to scrub away grime and buildup. If you skip this step, grime can redeposit inside the dishwasher during your cleaning cycle.
Have you noticed rust spots or peeling coatings on your racks? Removing and cleaning them allows you to catch issues early and extend the life of your dishwasher. Plus, a clean rack means cleaner dishes every time.
Cleaning The Filter
Cleaning the filter of your Kitchen Aid dishwasher is a crucial part of maintenance that keeps your appliance running smoothly. The filter traps food particles and debris, preventing clogs and ensuring your dishes come out spotless. Neglecting this step can lead to unpleasant odors and poor cleaning performance.
Locating The Filter
Before you start cleaning, you need to find the filter. It's usually located at the bottom of the dishwasher, beneath the lower spray arm. Removing the bottom rack will give you clear access to it.
Look for a circular or rectangular mesh screen. Sometimes it might be covered with a small plastic cap that twists off easily. If you’re unsure, check your dishwasher’s manual or search online for a quick diagram.
Removing Debris
Once you locate the filter, gently lift it out. Be careful not to damage the mesh. You’ll likely find bits of food, grease, or small particles trapped inside.
Remove all visible debris by hand or with a soft brush. This step is essential because even tiny bits can block water flow and affect cleaning. Have you ever noticed leftover food on your dishes after a cycle? A clogged filter might be the reason.
Washing The Filter
After clearing the debris, rinse the filter under warm running water. Use a soft brush or an old toothbrush to scrub away stubborn grease or grime. Avoid harsh scrubbing tools that can damage the mesh.
Make sure to clean both the mesh and the plastic frame thoroughly. Once rinsed, let the filter air dry before placing it back. Regular cleaning of the filter, about once a month, can save you from costly repairs and keep your dishwasher performing at its best.
Cleaning Spray Arms
Spray arms in a Kitchen Aid dishwasher can get clogged with food and debris. Removing and rinsing them under warm water helps clear blockages. Use a toothpick or small brush to clean spray holes for better water flow.
Cleaning the spray arms of your KitchenAid dishwasher is vital. It ensures optimal performance and spotless dishes. Over time, food particles can clog these spray arms, reducing efficiency. Regular maintenance can prevent this. Follow these steps to clean the spray arms effectively.
Detaching Spray Arms
First, carefully remove the lower dish rack. This provides access to the spray arms. Gently twist the spray arm counterclockwise. Once loose, lift it off the support. For the upper spray arm, repeat the process. Ensure you handle them with care to avoid damage.
Clearing Clogs
Inspect the spray arms for blockages. Use a toothpick or a small brush to clear holes. Rinse the arms under warm running water. This removes any loose debris. For stubborn clogs, soak the arms in warm, soapy water. This helps dissolve grease and grime.
Reattaching Spray Arms
Place the cleaned spray arm back onto its support. Rotate it clockwise until it is secure. Ensure it moves freely without obstruction. Reinstall the lower dish rack. Test the dishwasher to ensure everything works smoothly. Regular checks keep your dishwasher in top shape.
Wiping Interior Surfaces
Keeping the interior surfaces of your Kitchen Aid dishwasher clean is essential for maintaining its efficiency and preventing unpleasant odors. Dirt, food particles, and detergent residue can build up over time, affecting your dishwasher’s performance. Taking the time to wipe down these surfaces regularly ensures your appliance stays fresh and functions smoothly.
Using A Soft Cloth
Choose a soft, damp cloth to wipe down the interior surfaces gently. Avoid abrasive materials that can scratch the dishwasher’s finish or damage sensitive parts. A microfiber cloth works well to lift grime without leaving streaks.
Focus on areas like the walls, racks, and the bottom of the dishwasher. You might be surprised how much residue collects in these spots after just a few washes. If you notice stubborn stains, dampen the cloth with a little white vinegar for added cleaning power.
Cleaning Seals And Edges
The rubber seals and edges inside your dishwasher often trap moisture and debris, creating a breeding ground for mold and mildew. Use a soft cloth or a soft-bristled toothbrush to carefully clean these areas.
Pay close attention to the door gasket, as it plays a crucial role in keeping water inside. Removing buildup here not only improves cleanliness but also helps maintain a tight seal, preventing leaks.
Have you checked your dishwasher’s seals recently? A quick wipe can make a big difference in how your dishwasher smells and operates.
Running A Cleaning Cycle
Running a cleaning cycle on your Kitchen Aid dishwasher keeps it fresh and efficient. This process removes grease, food residue, and odors. Regular cleaning extends the dishwasher’s life and improves cleaning results. Follow these tips to run a successful cleaning cycle.
Choosing The Right Cleaner
Select a cleaner made for dishwashers. Look for products that remove limescale and buildup. Avoid harsh chemicals that can damage your appliance. You can find dishwasher-specific cleaners at most stores. These cleaners help keep your machine running smoothly and smelling clean.
Selecting The Cycle
Use the dishwasher’s cleaning or heavy wash cycle. These cycles use higher temperatures and longer run times. They break down tough grease and buildup effectively. Some models have a dedicated self-clean option. Check your user manual for the best cycle for cleaning.
Adding Vinegar Or Baking Soda
Natural cleaners like vinegar or baking soda work well. Pour one cup of white vinegar into a dishwasher-safe container. Place it on the top rack and run a hot cycle without detergent. For extra freshness, sprinkle baking soda on the bottom. Run a short hot cycle to remove stains and odors.

Credit: vancouverapplianceservice.ca
Maintaining Your Dishwasher
Maintaining your Kitchen Aid dishwasher is key to keeping it running smoothly and efficiently. Regular upkeep not only extends the lifespan of your appliance but also ensures your dishes come out spotless every time. A well-maintained dishwasher saves you time, energy, and the frustration of unexpected breakdowns.
Regular Cleaning Tips
Cleaning your dishwasher regularly prevents buildup of grease, food particles, and hard water deposits. Start by wiping down the door seals and edges with a damp cloth to remove any trapped debris.
Run an empty cycle with a dishwasher cleaner or a cup of white vinegar placed on the top rack. This helps dissolve mineral buildup inside the machine. Don’t forget to clean the filter at the bottom; a clogged filter reduces water flow and cleaning power.
Check the spray arms for clogs by removing and rinsing them under running water. Keeping these parts clean ensures water reaches all your dishes effectively.
Avoiding Common Issues
Are you noticing your dishes aren’t drying properly or spots appearing after the wash? These are common signs of minor issues that you can prevent.
One simple tip is to avoid overloading your dishwasher. Overcrowding blocks water flow and reduces cleaning efficiency. Also, use the correct amount and type of detergent to prevent residue buildup.
Keep an eye on the drain; leftover food or debris can cause blockages leading to unpleasant odors or poor drainage. Regularly inspect and clean the drain area to avoid these problems.
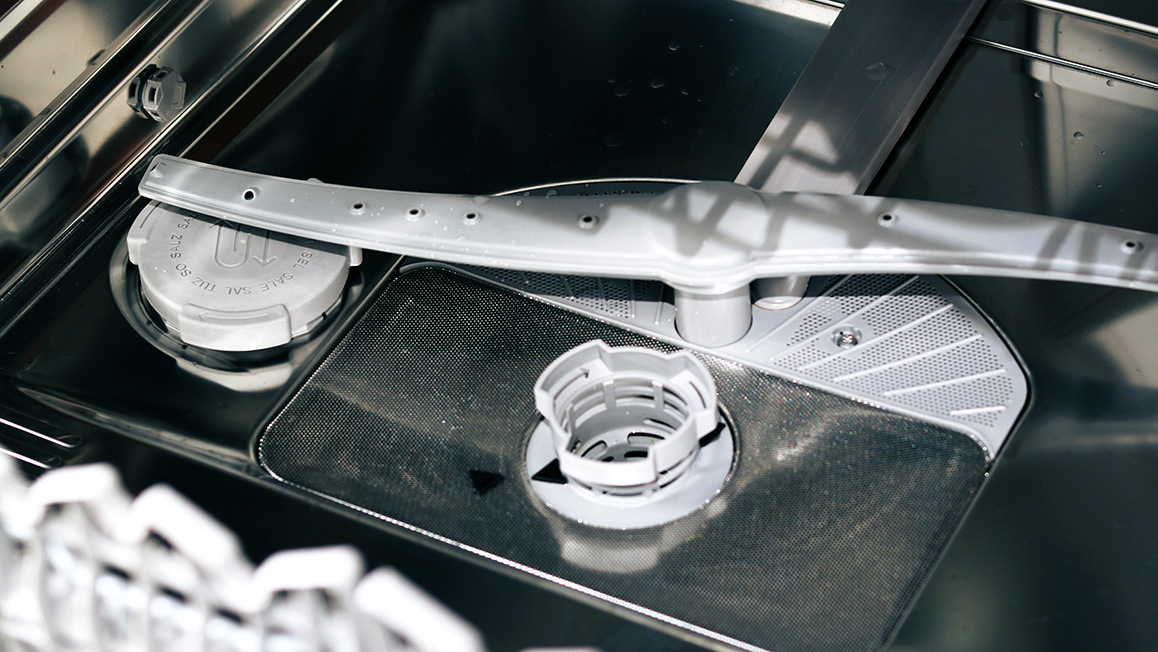
Credit: www.finishdishwashing.ca
Frequently Asked Questions
How Often Should I Clean My Kitchen Aid Dishwasher?
Clean your Kitchen Aid dishwasher every 1 to 3 months. Regular cleaning prevents odor, residue buildup, and ensures optimal performance.
What Is The Best Cleaner For Kitchen Aid Dishwashers?
Use a dishwasher-safe cleaner like white vinegar or specialized dishwasher cleaner. Avoid harsh chemicals to protect internal parts and maintain efficiency.
How Do I Clean The Dishwasher Filter Properly?
Remove the filter, rinse it under warm water, and scrub gently with a soft brush. Clean monthly to prevent clogs and odors.
Can I Use Bleach To Clean My Kitchen Aid Dishwasher?
No, avoid bleach as it can damage the dishwasher’s rubber seals and interior. Use vinegar or baking soda for safe cleaning.
Conclusion
Cleaning your Kitchen Aid dishwasher keeps it working well and lasts longer. Regular care stops bad smells and food build-up. Use simple steps like wiping seals and running cleaning cycles. This saves you time and avoids costly repairs. A clean dishwasher means cleaner dishes every time.
Try these tips today for a fresh, efficient kitchen helper. Your dishwasher will thank you!