
Are you tired of your old tile backsplash but worried about the hassle and cost of a full renovation? You’re not alone.
Many homeowners want a fresh kitchen look without tearing everything apart. The good news is, you can cover your tile backsplash quickly and affordably, transforming your space with minimal effort. In this guide, you’ll discover simple, effective ways to update your kitchen backsplash that anyone can do.
Keep reading to find out how to refresh your kitchen and make it feel brand new—without breaking the bank or spending weeks on the project.
Prepare The Area
Preparing the area is a key part of covering your kitchen tile backsplash. It sets the stage for a smooth and clean project. Taking time to get everything ready helps avoid mistakes and mess. The right preparation makes the process faster and easier.
Clear The Countertop
Start by removing all items from the countertop. Move appliances, utensils, and decorations to another place. This frees up space and protects your belongings from dust and damage. A clear countertop gives you room to work comfortably.
Clean The Tiles
Clean the tile surface thoroughly before covering it. Use a mild cleaner and a soft cloth to remove grease and dirt. Make sure the tiles are dry before you continue. Clean tiles help new materials stick better and last longer.
Gather Necessary Tools
Collect all tools and supplies needed for the job. Common tools include:
- Measuring tape
- Painter’s tape
- Utility knife
- Adhesive or primer
- Protective gloves
- Cleaning cloths
Having everything ready saves time and keeps the work organized. Check tools before starting to avoid interruptions.
Choose Your Covering Method
Choosing the right way to cover your tile backsplash can transform your kitchen without a full remodel. The key is picking a method that fits your style, budget, and the time you want to invest. Let’s look at some practical options that can refresh your space quickly and with minimal hassle.
Paint Over Tiles
Painting your tile backsplash is one of the fastest ways to change its look. Use a high-quality primer and paint designed for tiles to ensure the finish lasts. You can pick bold colors or soft tones to match your kitchen’s vibe.
One tip from my own kitchen update: sanding the tiles lightly before painting helped the paint stick better and prevented peeling. It’s a small step that makes a big difference in durability.
Peel-and-stick tiles are perfect if you want a quick, mess-free upgrade. They come in various patterns and textures, including faux stone and metallic finishes, giving you plenty of design freedom. You don’t need special tools—just peel off the backing and press them onto clean tiles.
Think about your kitchen’s humidity; some peel-and-stick options handle moisture better than others. Choosing water-resistant varieties will keep your backsplash looking fresh longer.
Install Beadboard Panels
Beadboard panels add a charming, classic look to your kitchen backsplash. These panels are easy to cut and install, making them a good choice for DIYers. Plus, they can be painted any color to suit your style.
Consider sealing the beadboard with a clear waterproof finish if your backsplash area is near a sink. This extra step protects the wood and keeps it looking great over time.
Use Wallpaper Or Vinyl
Wallpaper or vinyl designed for kitchens offers endless design possibilities, from bold prints to subtle textures. Choose washable, moisture-resistant options to handle kitchen splashes and steam. Applying these coverings over tiles can be tricky, so make sure your tile surface is smooth and clean.
Have you thought about how often you cook and the type of splashes your backsplash faces? That can help you decide if wallpaper is practical for your kitchen or if another covering method suits you better.
Paint Tiles For A Fresh Look
Painting tiles offers an easy way to refresh your kitchen backsplash. Choose the right paint and prepare the surface well for lasting results. This simple update can brighten your space without a full renovation.
Transforming your kitchen can be as simple as a fresh coat of paint on your tile backsplash. Not only does this approach save money, but it also allows you to customize your kitchen’s style to reflect your personality. Are you ready to breathe new life into your kitchen? Let's dive into the steps of painting your tile backsplash for a vibrant new look.
Sand The Surface
Start by sanding the tiles to remove any gloss. This will help the paint adhere better. Use fine-grit sandpaper and ensure you cover every nook and cranny. Don't skip this step, as it ensures a smoother finish and longer-lasting results.
Prime The Tiles
Apply a high-quality primer specifically designed for tiles. This creates a strong base for the paint to stick to. Ensure you cover all areas evenly, and let it dry completely before moving to the next step. A primer not only enhances paint adhesion but also helps in achieving a consistent color.
Apply Tile Paint
Choose a tile paint in the color that suits your kitchen style. Apply it using a brush or roller, depending on the texture of your tiles. Apply multiple thin coats for best results, allowing each coat to dry before applying the next. This method prevents drips and ensures a smooth finish. What color will you choose to liven up your kitchen?
Seal The Paint
Once the paint is dry, apply a clear sealer to protect it from moisture and stains. A sealer ensures your new backsplash withstands the test of time. Apply it evenly, and let it cure for the recommended time before using your kitchen as usual. This final step is crucial in maintaining your kitchen's fresh look. Have you considered how a sealed finish can simplify cleaning and maintenance?
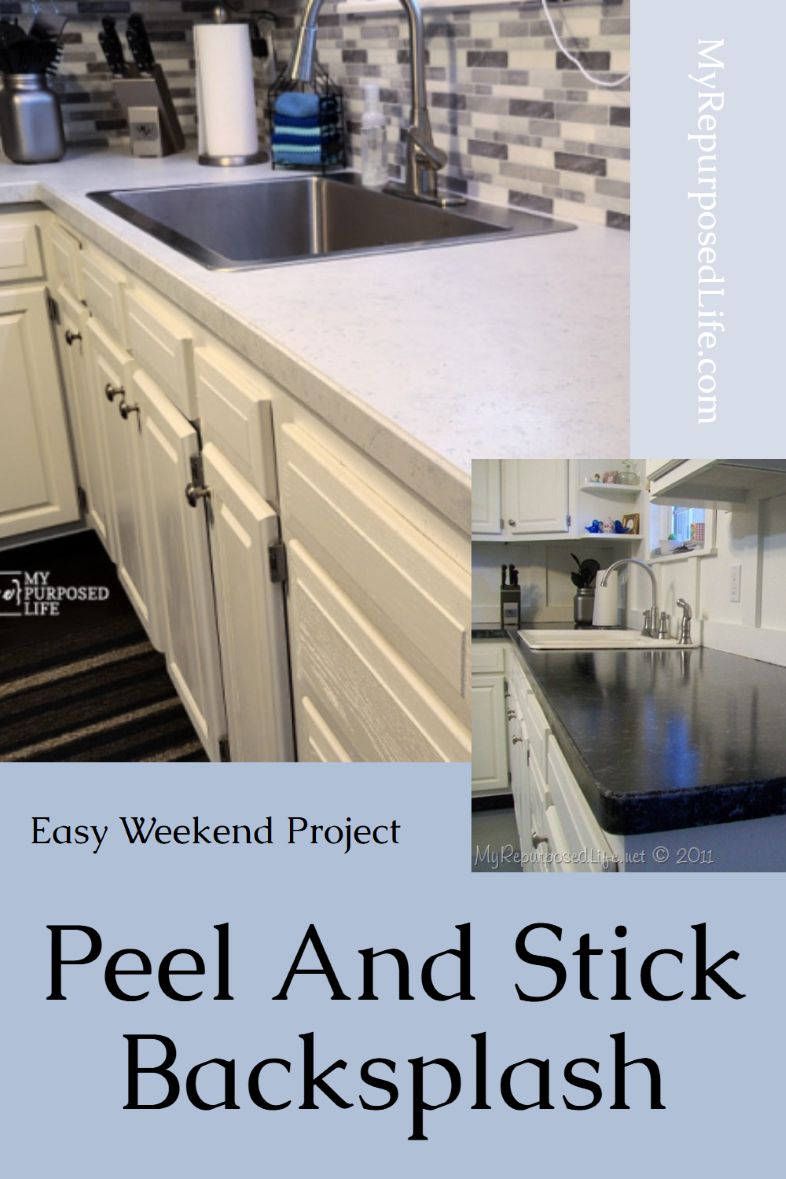
Credit: www.myrepurposedlife.com
Apply Peel-and-stick Tiles
Applying peel-and-stick tiles is one of the quickest and most budget-friendly ways to update your kitchen backsplash. These tiles come with an adhesive backing, making installation straightforward without the need for grout or special tools. You can refresh your kitchen look in just a few hours by following some simple steps.
Measure And Cut Tiles
Start by measuring the area where you want to apply the peel-and-stick tiles. Accurate measurements prevent wasting tiles and ensure a neat finish. Use a ruler and pencil to mark the tiles before cutting them with a utility knife or scissors for a precise fit around outlets and corners.
Clean And Dry Surface
Your backsplash surface must be clean and completely dry before sticking the tiles. Wipe down the area with a mild cleaner to remove grease, dust, or residue that could prevent adhesion. If the surface is damp or dirty, the tiles might peel off prematurely.
Stick Tiles Carefully
Peel the backing off the tile slowly and align it carefully with your measured area. Press the tile firmly onto the wall, starting from one edge and smoothing it out to avoid misplacement. Take your time—once the tile sticks, repositioning can be difficult without damage.
Smooth Out Air Bubbles
After applying each tile, use a flat tool or your hand to press out any air bubbles trapped underneath. Smooth, even pressure helps the tile adhere better and gives a professional look. If you notice bubbles after a while, gently lift and reapply the tile to fix the issue.
Install Beadboard Or Panels
Installing beadboard or panels is a smart way to cover a tile backsplash. It gives your kitchen a fresh, clean look. Beadboard adds texture and charm, while panels create a smooth, modern finish. This update is affordable and simple. You don’t need special tools or skills. Follow these steps to install beadboard or panels easily.
Measure And Cut Panels
Start by measuring the backsplash area carefully. Use a tape measure for accuracy. Write down the width and height. Transfer these measurements to your beadboard or panel sheets. Use a pencil to mark the cut lines clearly. Cut the panels with a saw or utility knife. Cut slowly to keep edges straight and neat. Check each panel fits well before moving on.
Attach Panels To Wall
Place the panels against the wall to check alignment. Use a level to keep them straight. Attach the panels using adhesive or nails. For adhesive, apply it evenly on the back of the panel. Press the panel firmly onto the wall. For nails, use a hammer and finish nails. Space nails about every 12 inches for strong hold. Make sure panels are secure and flush with the wall.
Caulk And Paint Panels
Fill gaps between panels and wall with caulk. Use a paintable caulk for best results. Smooth the caulk with your finger or a tool. Let the caulk dry completely. Paint the panels with your chosen color. Use a brush or roller for even coverage. Apply two coats if needed for full coverage. Paint freshens the look and protects the panels.
Add Wallpaper Or Vinyl
Adding wallpaper or vinyl is an excellent way to cover a tile backsplash in your kitchen. This option brings fresh colors and patterns without removing the tiles. It also offers a quick makeover that fits many budgets. Choose materials designed to handle moisture and heat for the best results.
Select Durable Wallpaper
Choose wallpaper made for kitchens and bathrooms. Look for vinyl-coated or washable types. These resist water, stains, and grease. Avoid regular paper wallpaper, as it can peel or get damaged quickly. Pick a design that matches your kitchen style and colors.
Prepare The Surface
Clean the tile surface thoroughly. Remove all dirt, grease, and dust with soap and water. Let it dry completely before applying wallpaper. Smooth out any rough or uneven spots. Use a primer if recommended by the wallpaper manufacturer. This helps the wallpaper stick better.
Apply Wallpaper Smoothly
Cut wallpaper pieces to fit your backsplash area. Use a smoothing tool to apply each piece without bubbles. Start from the top and press down evenly. Overlap edges slightly or trim precisely for a neat finish. Wipe away excess adhesive with a damp cloth. Allow wallpaper to dry fully before using the kitchen.
Maintain Your New Backsplash
Maintaining your new tile backsplash keeps your kitchen fresh and inviting. Regular care protects the tiles and grout from stains and damage. Simple habits extend the life of your backsplash and preserve its beauty.
Clean Gently
Use a soft cloth or sponge to wipe the backsplash. Avoid scrubbing hard to prevent scratches. Warm water with mild soap works well for daily cleaning. Rinse with clean water and dry with a towel to avoid water spots.
Avoid Harsh Chemicals
Stay away from bleach, ammonia, or acidic cleaners. These can damage tile surfaces and grout. Use cleaners made for tile or natural solutions like vinegar diluted with water. Test any cleaner on a small spot first to ensure it is safe.
Touch Up When Needed
Check the grout and tiles regularly for cracks or chips. Small repairs prevent bigger problems later. Use grout filler or tile repair kits available at hardware stores. Keep your backsplash looking new with quick touch-ups.

Credit: www.create-enjoy.com
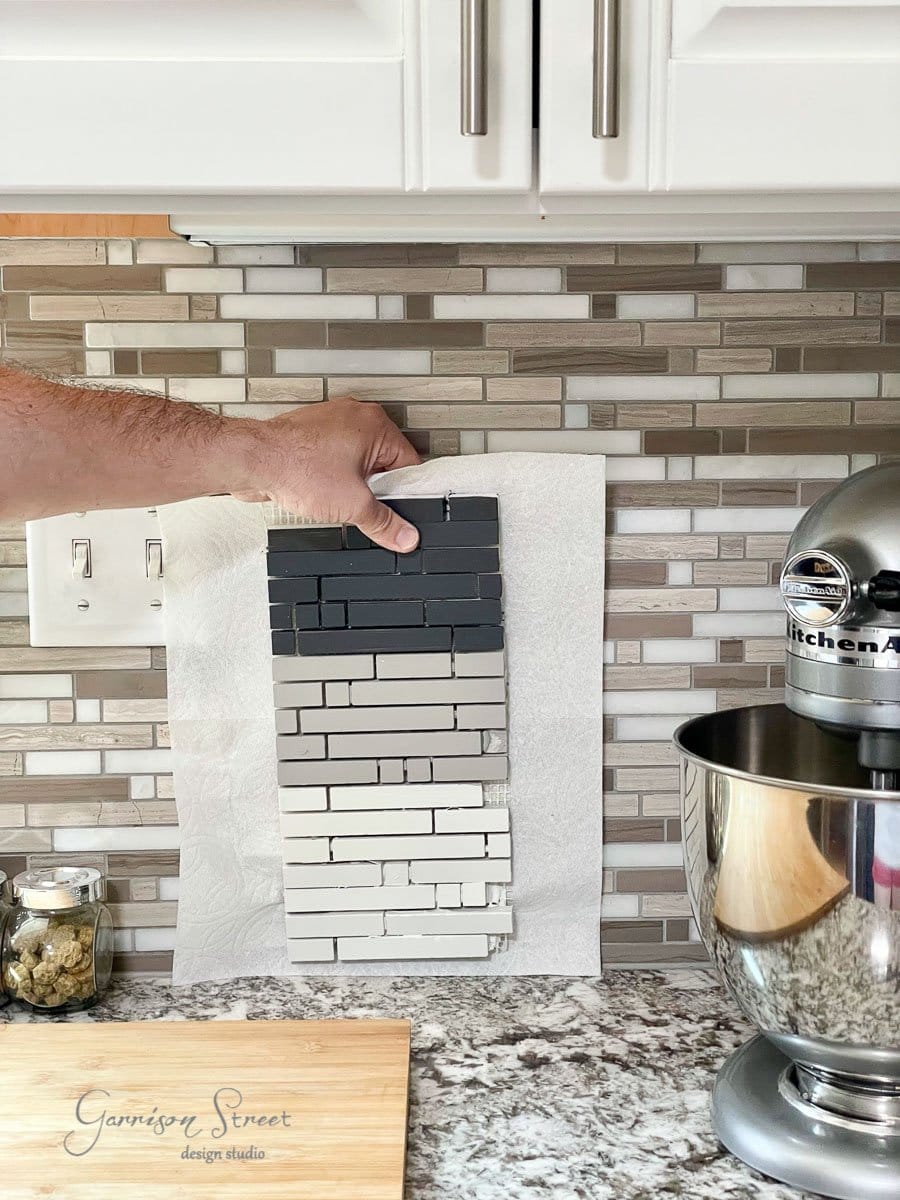
Credit: garrisonstreetdesignstudio.com
Frequently Asked Questions
How Do I Cover A Tile Backsplash Without Removing Tiles?
You can cover tile backsplash using peel-and-stick panels, beadboard, or paint. These methods are quick, cost-effective, and avoid tile removal. Proper surface cleaning and priming ensure better adhesion and durability of the covering material.
What Materials Work Best For Covering Kitchen Tile Backsplashes?
Popular materials include peel-and-stick vinyl, beadboard panels, shiplap, and tempered glass. These options are easy to install and maintain. Choose materials that complement your kitchen style and can withstand heat and moisture.
Can I Paint Over A Tile Backsplash In The Kitchen?
Yes, you can paint tile backsplashes using special tile primer and high-quality paint. Clean tiles thoroughly and sand lightly for better paint adhesion. Painted backsplashes offer a budget-friendly way to refresh your kitchen look.
How Long Does It Take To Cover A Tile Backsplash?
Covering a tile backsplash typically takes a few hours to a day, depending on the method. Peel-and-stick panels are fastest, while painting requires drying time. Planning and preparation help ensure a smooth, efficient process.
Conclusion
Covering a tile backsplash can quickly change your kitchen’s look. Choose materials that fit your style and budget. Clean the surface well before starting. Measure carefully to avoid mistakes. Take your time and work step-by-step. Small efforts bring big changes.
Enjoy your refreshed kitchen space every day. Simple updates can make a room feel new. Try this project to give your kitchen a fresh touch.