
Are the bottoms of your kitchen cabinets looking worn out or unfinished? You’re not alone.
Many people overlook this small detail, but it can make a big difference in the overall look and feel of your kitchen. Imagine transforming that hidden, neglected space into a clean, polished surface that complements your entire kitchen. You’ll discover simple, effective ways to cover the bottom of your kitchen cabinets.
Whether you want a quick fix or a lasting upgrade, these tips will help you boost your kitchen’s style and protect your cabinets from damage. Keep reading to find out how easy it is to give your cabinets a fresh, professional finish you’ll love.
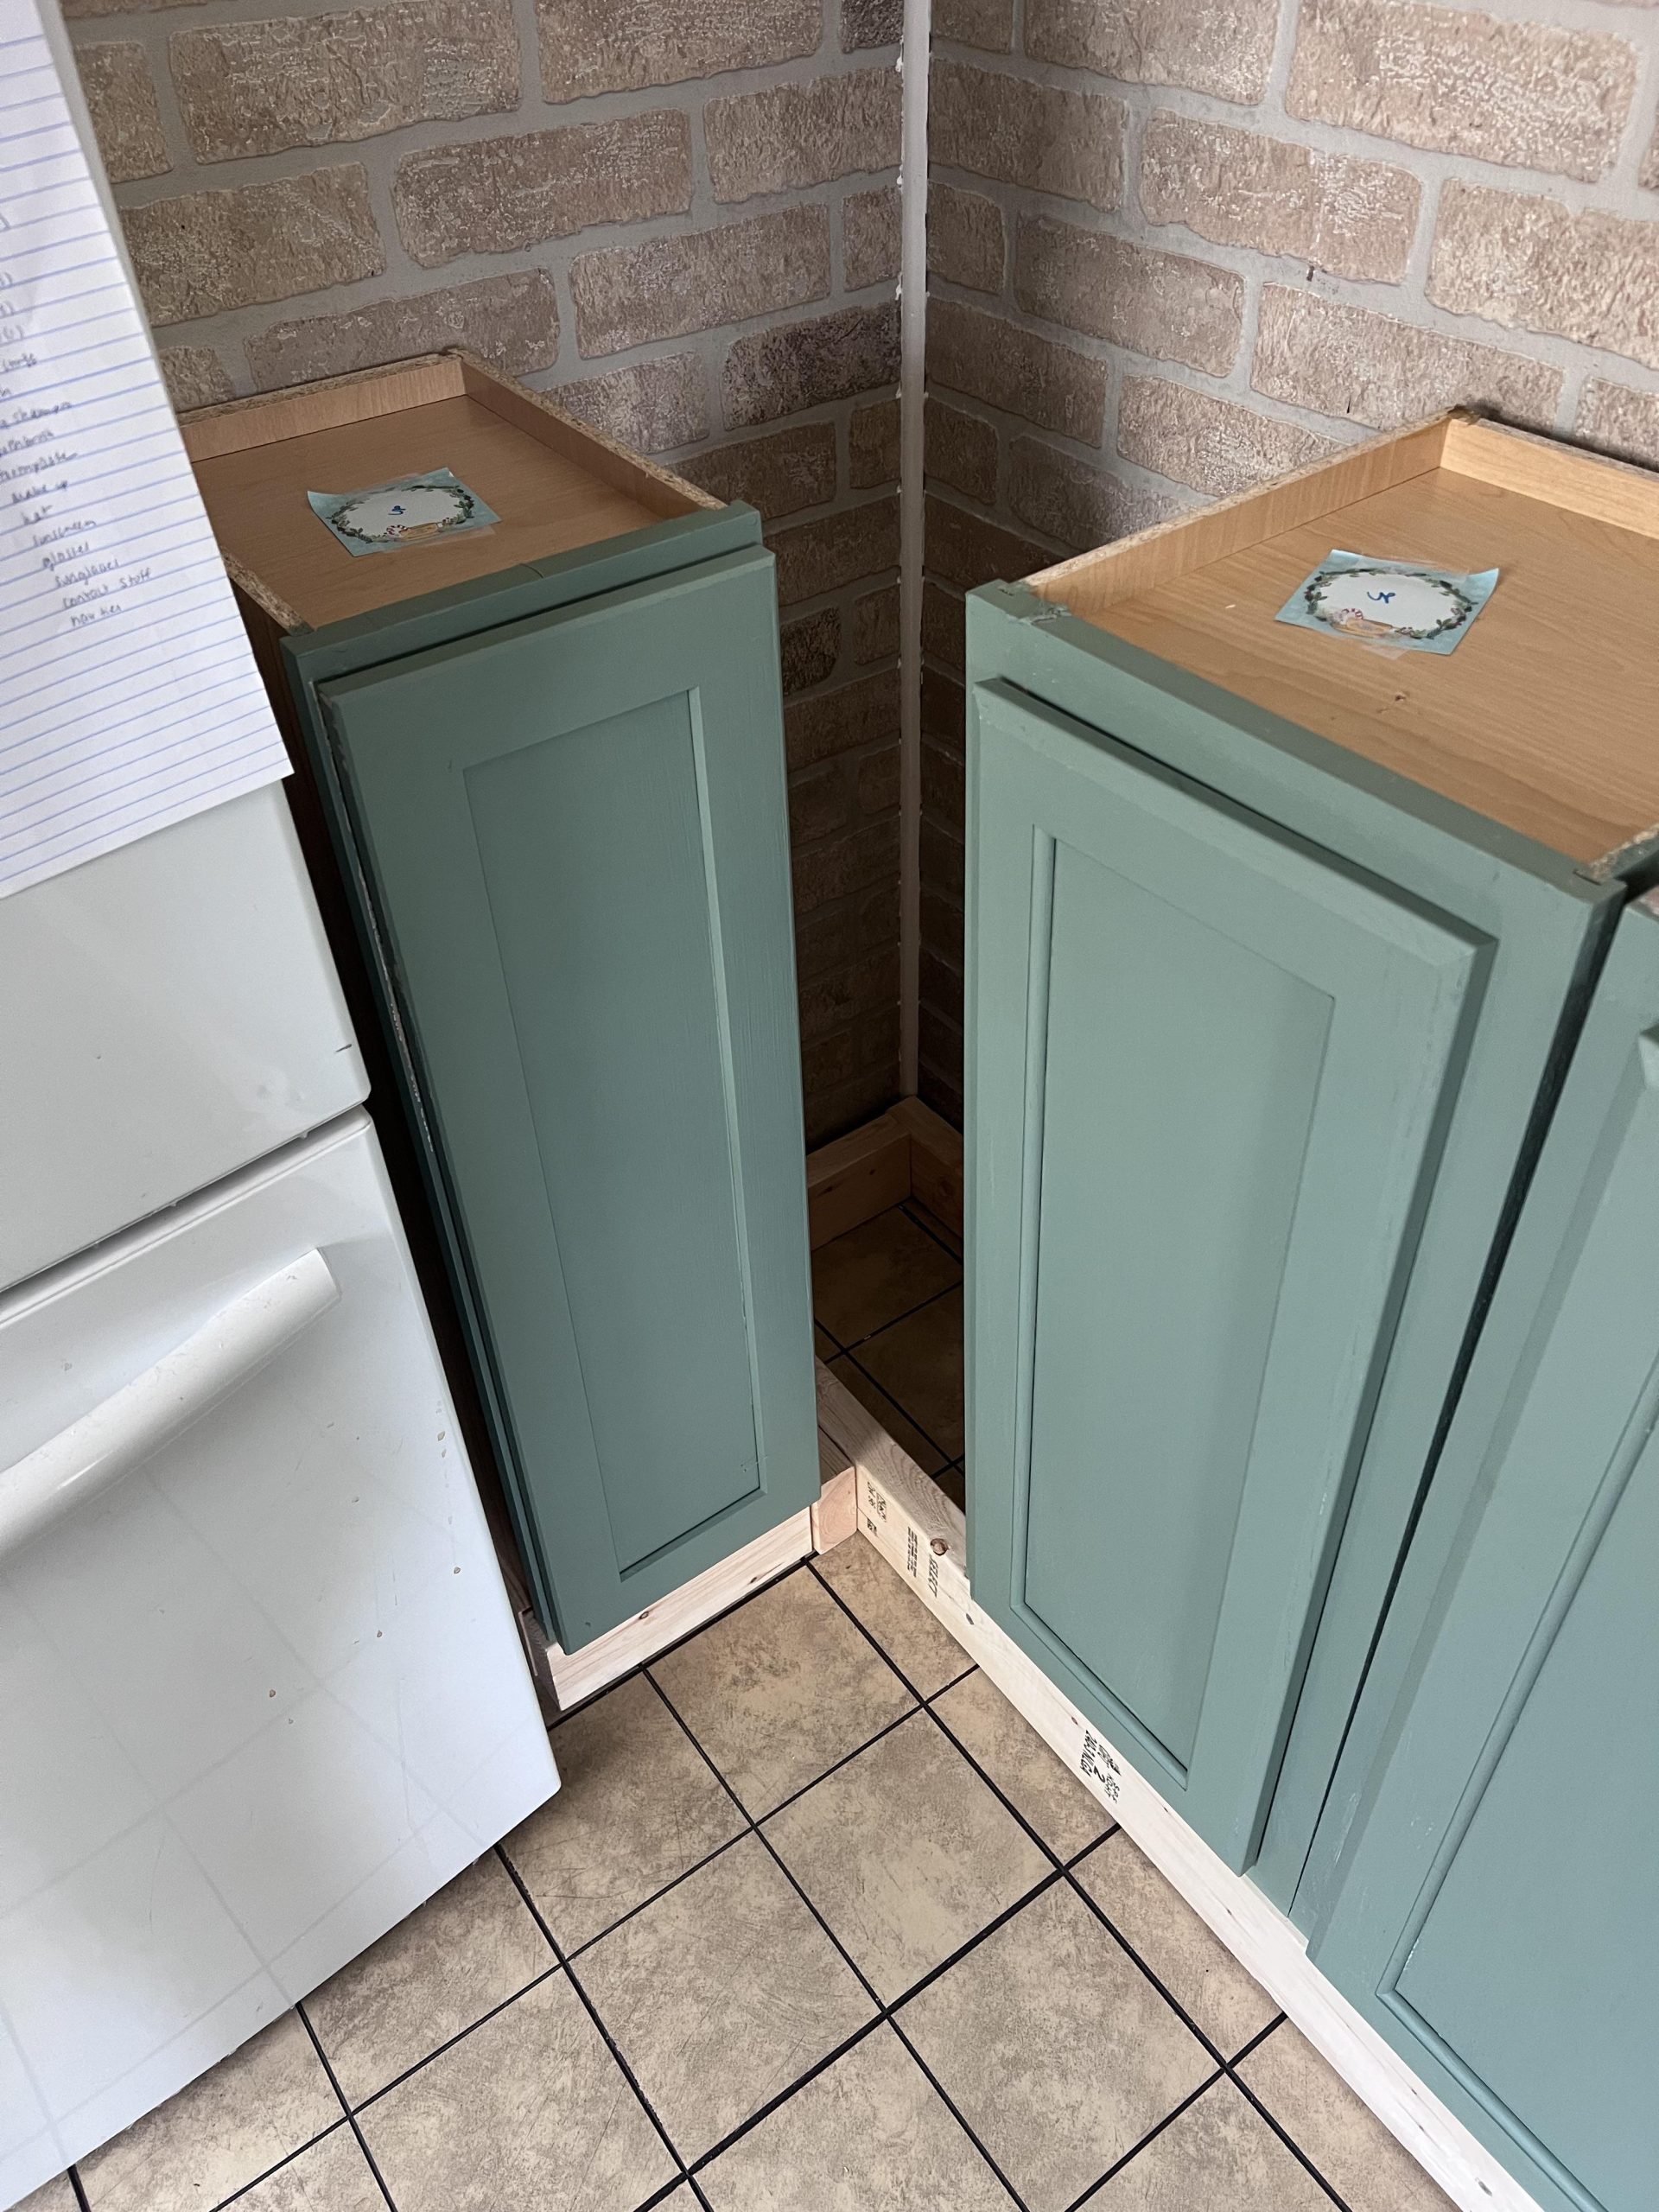
Credit: www.woodshopdiaries.com
Reasons To Cover Cabinet Bottoms
Covering the bottom of kitchen cabinets is an important step in kitchen care. It adds value by protecting and improving your kitchen space. The bottom of cabinets often faces damage from spills, moisture, and wear. Covering this area keeps cabinets safe and looking good for longer.
Besides protection, covering cabinet bottoms can improve the kitchen’s overall look. It hides any imperfections and makes the space feel more finished. These reasons make covering cabinet bottoms a smart choice for any kitchen.
Protecting From Moisture And Damage
The kitchen is full of water and spills. Cabinet bottoms can absorb moisture, causing warping or mold. Covering them stops water from reaching the wood or material.
Covers also protect from scratches and dents caused by daily use. They act as a barrier against damage from cleaning tools or dropped objects.
Enhancing Kitchen Aesthetics
Covering cabinet bottoms creates a neat, clean look. It hides the raw edges and unfinished parts of cabinets. This small detail helps the kitchen look more polished and new.
You can choose covers in colors and materials that match your kitchen style. This adds a fresh touch and improves the room’s design.
Hiding Imperfections
Cabinet bottoms often have chips, stains, or uneven edges. Covers hide these flaws easily. It makes old cabinets appear well-maintained without expensive repairs.
Even new cabinets can have small defects. Covering the bottom hides these small issues and gives a smooth finish.
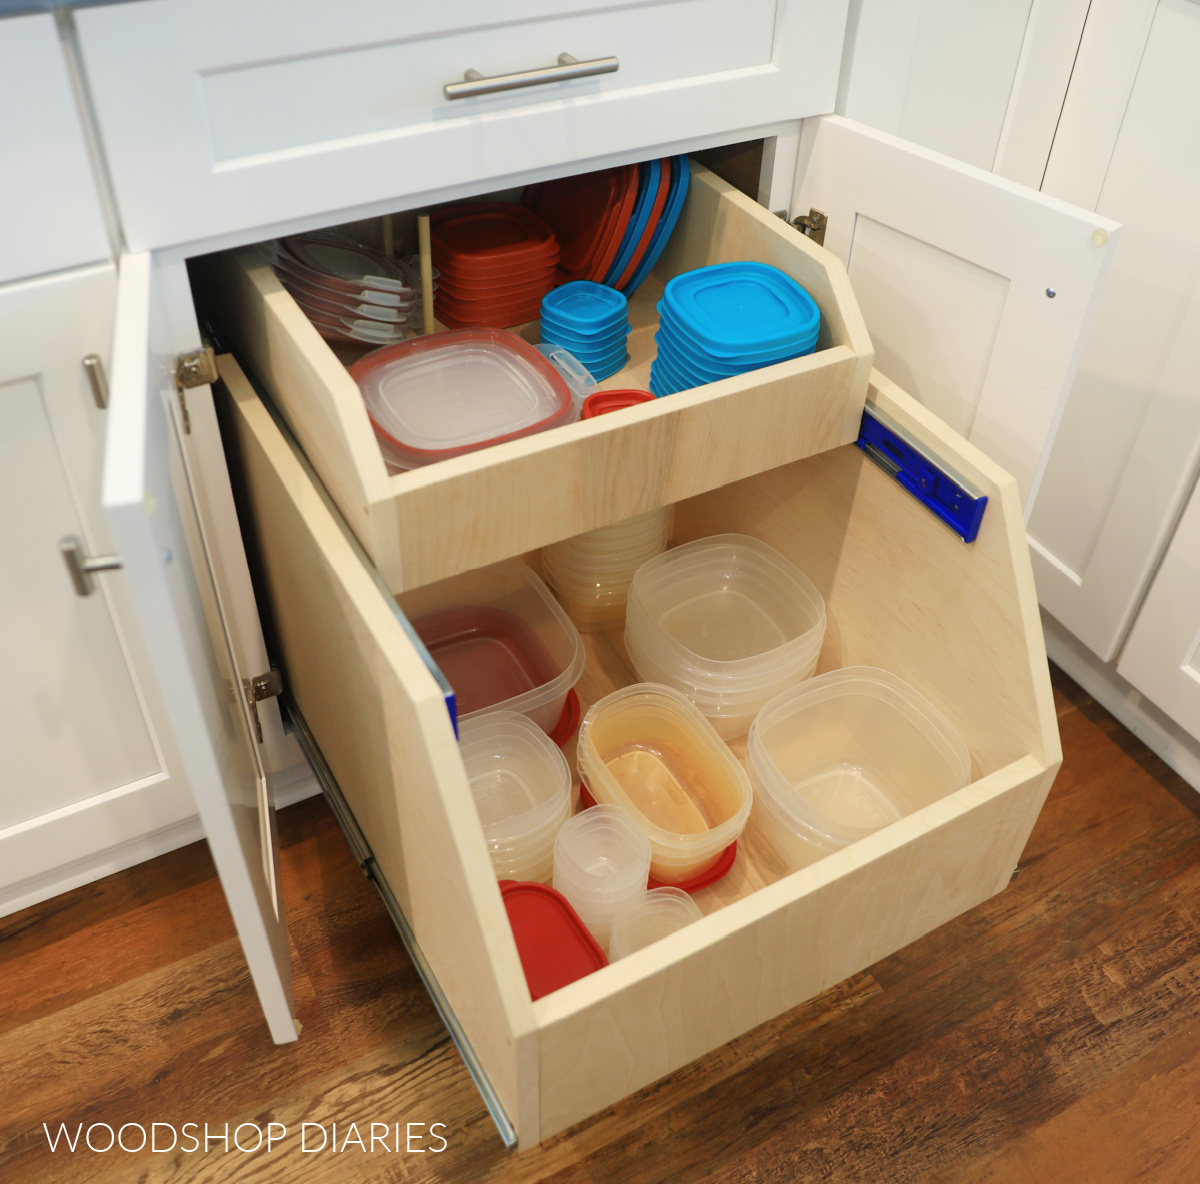
Credit: www.cabinetjoint.com
Popular Materials For Cabinet Bases
Choosing the right material for the bottom of your kitchen cabinets can make a big difference in durability, appearance, and ease of cleaning. You want something that holds up well against spills, moisture, and everyday wear. Let’s take a closer look at popular materials that can protect and enhance your cabinet bases.
Wood And Laminate Options
Wood offers a classic, warm look that many homeowners love. Solid wood or plywood bases provide sturdy support and can be painted or stained to match your kitchen’s style.
Laminate is a budget-friendly alternative. It comes in many colors and patterns, mimicking wood or stone finishes. Plus, it's easy to wipe clean, making it practical for kitchen use.
Have you thought about how easily you want to update your cabinet bases? Laminate might be the best if you prefer a quick style change, while wood offers long-lasting beauty.
Metal And Aluminum Choices
Metal bases, especially aluminum, bring a sleek, modern look to your kitchen. They resist moisture and stains, which helps keep the cabinet bottoms looking fresh over time.
Aluminum is lightweight yet strong, making it easy to install. It also stands up well to scrapes and knocks, which are common in busy kitchens.
If you want a material that adds an industrial edge while protecting your cabinets, metal could be the perfect fit. Would you consider metal if you want low maintenance and durability?
Vinyl And Plastic Alternatives
Vinyl and plastic are excellent choices if you need something waterproof and easy to clean. These materials come in various colors and textures, so you don’t have to sacrifice style.
They resist mold and mildew, making them ideal for kitchens where spills happen often. Vinyl bases also tend to be softer underfoot, which adds comfort when you stand at your counters.
Think about your daily kitchen routine—could a vinyl or plastic base make cleanup simpler and keep your space looking neat?
Creative Covering Ideas
Creative covering ideas can transform the look of kitchen cabinet bottoms. They hide wear and add style. These options suit different tastes and skill levels. Each choice offers a fresh, easy way to update your kitchen’s look.
Painting And Staining Techniques
Painting or staining cabinet bottoms refreshes their appearance quickly. Choose colors that match or contrast with your cabinets. Use smooth brush strokes for a clean finish. Staining highlights natural wood grain, adding warmth and depth. Seal with a clear coat to protect against moisture and stains. This method is budget-friendly and allows endless customization.
Using Decorative Moldings
Decorative moldings add charm and detail to cabinet bottoms. Select from crown, rope, or bead moldings. Cut moldings to fit precisely along the base edges. Attach with wood glue or small nails for a secure hold. Sand and paint or stain moldings to blend with cabinets. This option creates a polished, custom-built look with minimal effort.
Applying Peel-and-stick Covers
Peel-and-stick covers offer a fast, mess-free solution. They come in many patterns, colors, and textures. Choose vinyl or wallpaper styles that resist moisture and stains. Clean surfaces before applying for better adhesion. Smooth out air bubbles with a soft cloth or squeegee. Peel-and-stick covers are ideal for renters or quick makeovers.
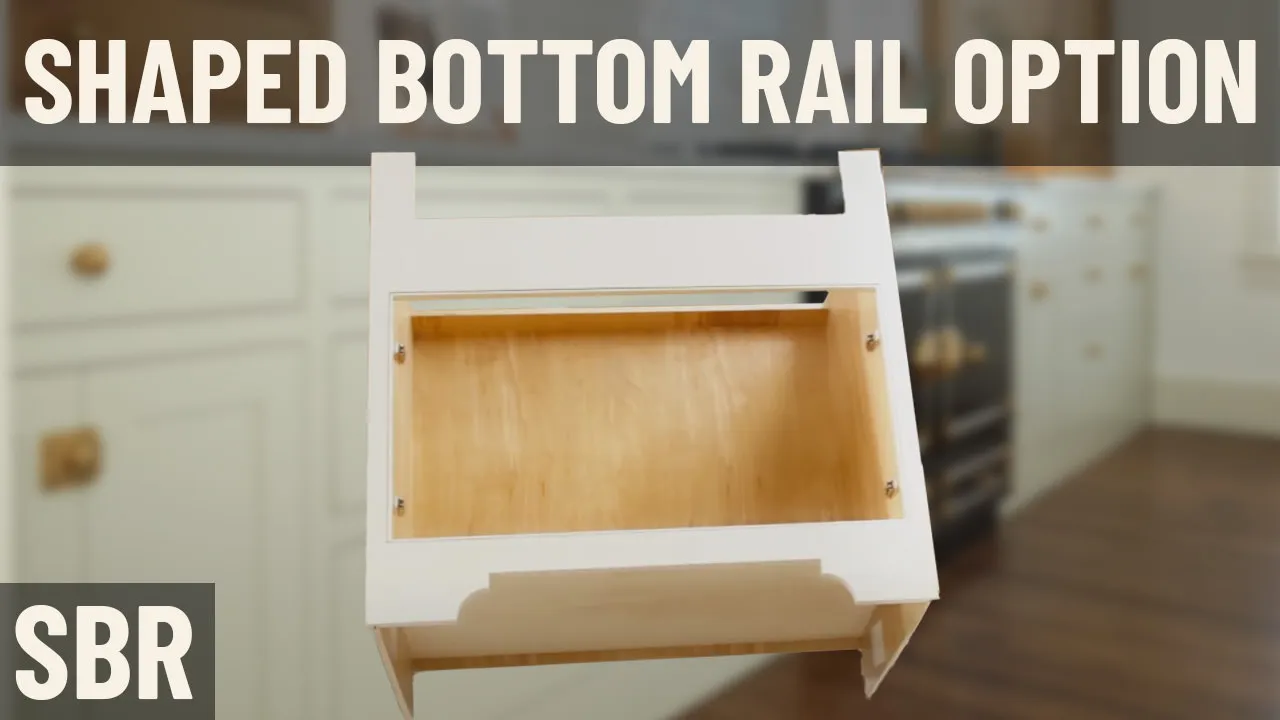
Credit: www.woodshopdiaries.com
Step-by-step Installation Tips
Begin by cleaning the cabinet bottoms thoroughly to ensure proper adhesion. Measure and cut the covering material to fit precisely. Use strong adhesive or nails to secure the cover evenly and neatly.
Are you tired of staring at the unfinished bottom of your kitchen cabinets? Transforming this overlooked area can elevate your kitchen's aesthetics and functionality. By following these step-by-step installation tips, you can achieve a polished, cohesive look that is both attractive and practical. Let's dive into the details and get your cabinets looking fabulous!
Measuring And Preparing Surfaces
Begin by measuring the length and width of the cabinet bottom accurately. Use a tape measure and jot down each dimension to avoid confusion later. Next, ensure the surfaces are clean and free of dust. A clean surface allows for better adhesion of materials, ensuring a smoother installation process. Don't forget to double-check your measurements before moving on. An accurate measurement is key to a flawless fit and finish.
Cutting And Fitting Materials
Choose your desired covering material, whether it's wood veneer, decorative panels, or vinyl. Use a sharp utility knife or a saw to cut the material according to your measurements. Before securing, fit the cut pieces to ensure they align perfectly with the cabinet bottom. It may help to label each piece to avoid mix-ups during the installation. Consider using a T-square for straight cuts and edges. This ensures your cuts are precise and reduces the chance of errors.
Securing Covers Properly
Attach your chosen material using an appropriate adhesive or fasteners like screws or nails. Make sure to follow the manufacturer's instructions for the best results. Press the material firmly against the cabinet surface, holding it in place until the adhesive sets. This might take a few minutes, but it's crucial for a secure attachment. Finally, take a step back and admire your handiwork. A well-secured cover not only looks great but also stands the test of time. By focusing on these tips, you're not just enhancing the appearance of your kitchen; you're adding a personal touch that reflects your style. What unique materials have you considered for this project?
Maintenance And Upkeep
Maintaining the bottom of kitchen cabinets keeps your kitchen looking fresh and clean. Proper upkeep prevents damage and extends the life of the covers. Regular care avoids costly repairs and replacements. Simple steps can protect different materials and fix minor issues quickly.
Cleaning Different Materials
Each cabinet bottom material needs specific cleaning care. Wood covers require gentle wiping with a damp cloth. Avoid harsh chemicals that can strip finishes or cause stains.
Plastic or vinyl covers clean well with mild soap and water. Use a soft sponge to remove dirt without scratching. Metal covers need a non-abrasive cleaner to avoid rust and dullness.
Always dry surfaces after cleaning to prevent moisture damage. Regular dusting also keeps covers free from grime buildup.
Repairing Minor Damages
Small scratches and dents can be fixed easily at home. Wood covers can be touched up with matching wood filler or stain. Sand lightly before applying filler for a smooth finish.
For plastic or vinyl, use repair kits designed for those materials. These kits fill cracks and blend colors to hide damage.
Metal covers with small rust spots benefit from sanding and applying rust-resistant paint. Prompt repairs stop damage from spreading further.
When To Replace Covers
Replace covers if damage is extensive or cleaning no longer restores appearance. Warped, cracked, or heavily stained covers reduce kitchen appeal.
Frequent repairs signal it is time for new covers. Choose durable materials suited to your kitchen’s environment for longer life.
Replacing covers refreshes the kitchen look and protects cabinet structure underneath.
Budget-friendly Solutions
Covering the bottom of kitchen cabinets can improve your kitchen’s look without spending much. Budget-friendly solutions let you refresh your space while saving money. Simple ideas and materials can make a big difference. These options work well for any kitchen style and skill level.
Diy Projects For Beginners
Simple DIY projects help cover cabinet bottoms quickly. Use basic tools like a saw, hammer, or screwdriver. Paint or stain wooden boards to match your cabinets. Attach boards with nails or strong adhesive. This creates a clean, finished edge that hides wear and tear. Adding trim or molding gives a professional touch. No advanced skills needed, just patience and care.
Affordable Material Choices
Choose low-cost materials that look good and last long. Plywood and MDF are budget-friendly and easy to cut. Vinyl or contact paper adds color and protects surfaces. Thin beadboard panels bring texture at a low price. Use water-resistant paint to protect materials from moisture. These options keep costs down and improve your kitchen’s style.
Repurposing Household Items
Reuse items from around your home to cover cabinet bottoms. Old wooden crates or planks can be cut to size. Scrap tiles or linoleum pieces add unique patterns. Fabric scraps with glue create soft, decorative panels. Repurposed items save money and reduce waste. This approach adds character and charm to your kitchen.
Frequently Asked Questions
What Materials Work Best To Cover Cabinet Bottoms?
Wood trim, vinyl molding, and metal strips are popular choices. They protect cabinets from moisture and damage. Choose materials that match your kitchen style and budget for a seamless look.
How Do I Install A Bottom Cover On Kitchen Cabinets?
Measure the cabinet base, cut the cover material to size, and attach it with adhesive or nails. Ensure a snug fit to prevent dirt buildup and improve durability.
Can Covering Cabinet Bottoms Prevent Pest Infestations?
Yes, sealing cabinet bottoms blocks entry points for pests like ants and cockroaches. It reduces gaps and crevices where pests hide, keeping your kitchen cleaner and safer.
How Much Does It Cost To Cover Kitchen Cabinet Bottoms?
Costs vary by material and labor. DIY projects with wood or vinyl trim typically cost $20-$50. Professional installation can increase expenses depending on complexity and material choice.
Conclusion
Covering the bottom of kitchen cabinets improves both look and function. It protects against dirt, water, and damage. Choose materials that match your style and budget. Simple steps make the job easy and fast. A neat finish adds value to your kitchen space.
Try it yourself for a fresh, clean feel. Small changes create big differences in your home. Keep cabinets safe and beautiful with proper care. Your kitchen will look tidy and last longer. Ready to start? It’s worth the effort!