
Is your kitchen exhaust vent cover looking worn out or damaged? Replacing it might seem tricky, but you can do it yourself with a few simple steps.
A well-maintained vent cover keeps your kitchen fresh and free from smoke and odors. In this guide, you’ll discover how to replace your kitchen exhaust vent cover quickly and easily. By the end, you’ll feel confident handling this task on your own, saving time and money.
Ready to give your kitchen a cleaner, fresher look? Let’s get started!

Credit: www.familyhandyman.com
Tools And Materials Needed
Before diving into replacing your kitchen exhaust vent cover, it's important to gather the right tools and materials. Having everything ready will save you time and prevent frustration during the process. You might be surprised how a few simple tools can make this task straightforward and even enjoyable.
Essential Tools
- Screwdriver:Most vent covers are held in place with screws. A Phillips head screwdriver usually does the job, but sometimes a flathead is needed.
- Drill (optional):If screws are stuck or you want to speed up the process, a power drill with screwdriver bits can help.
- Putty Knife:Useful for gently prying off the old vent cover without damaging the surrounding wall or ceiling.
- Measuring Tape:To measure the existing vent cover and ensure the new one fits perfectly.
- Step Ladder or Stool:Depending on your vent’s location, you may need a safe way to reach it comfortably.
Materials Needed
- Replacement Vent Cover:Choose a cover that matches your kitchen’s style and fits the existing vent opening.
- New Screws:Sometimes the old screws are rusty or stripped; having fresh screws makes installation easier.
- Cleaning Supplies:A damp cloth and mild cleaner help remove dust and grease from the vent area before installing the new cover.
- Sealant or Caulk (optional):If your vent cover requires sealing to prevent air leaks, have a tube of caulk on hand.
Why Prepare Properly?
Have you ever started a home project only to find you're missing a crucial tool halfway through? That moment of frustration is avoidable. When I first replaced my kitchen vent cover, I realized a screwdriver alone wasn’t enough—having a putty knife ready made removing the old cover much easier and saved me from damaging the ceiling paint.
Think about your kitchen setup. Is the vent cover dusty or greasy? Cleaning before installing the new cover ensures better adhesion if you use sealant and improves air quality. What’s one tool or material you never thought you’d need but found essential during a home repair? Share your thoughts below!

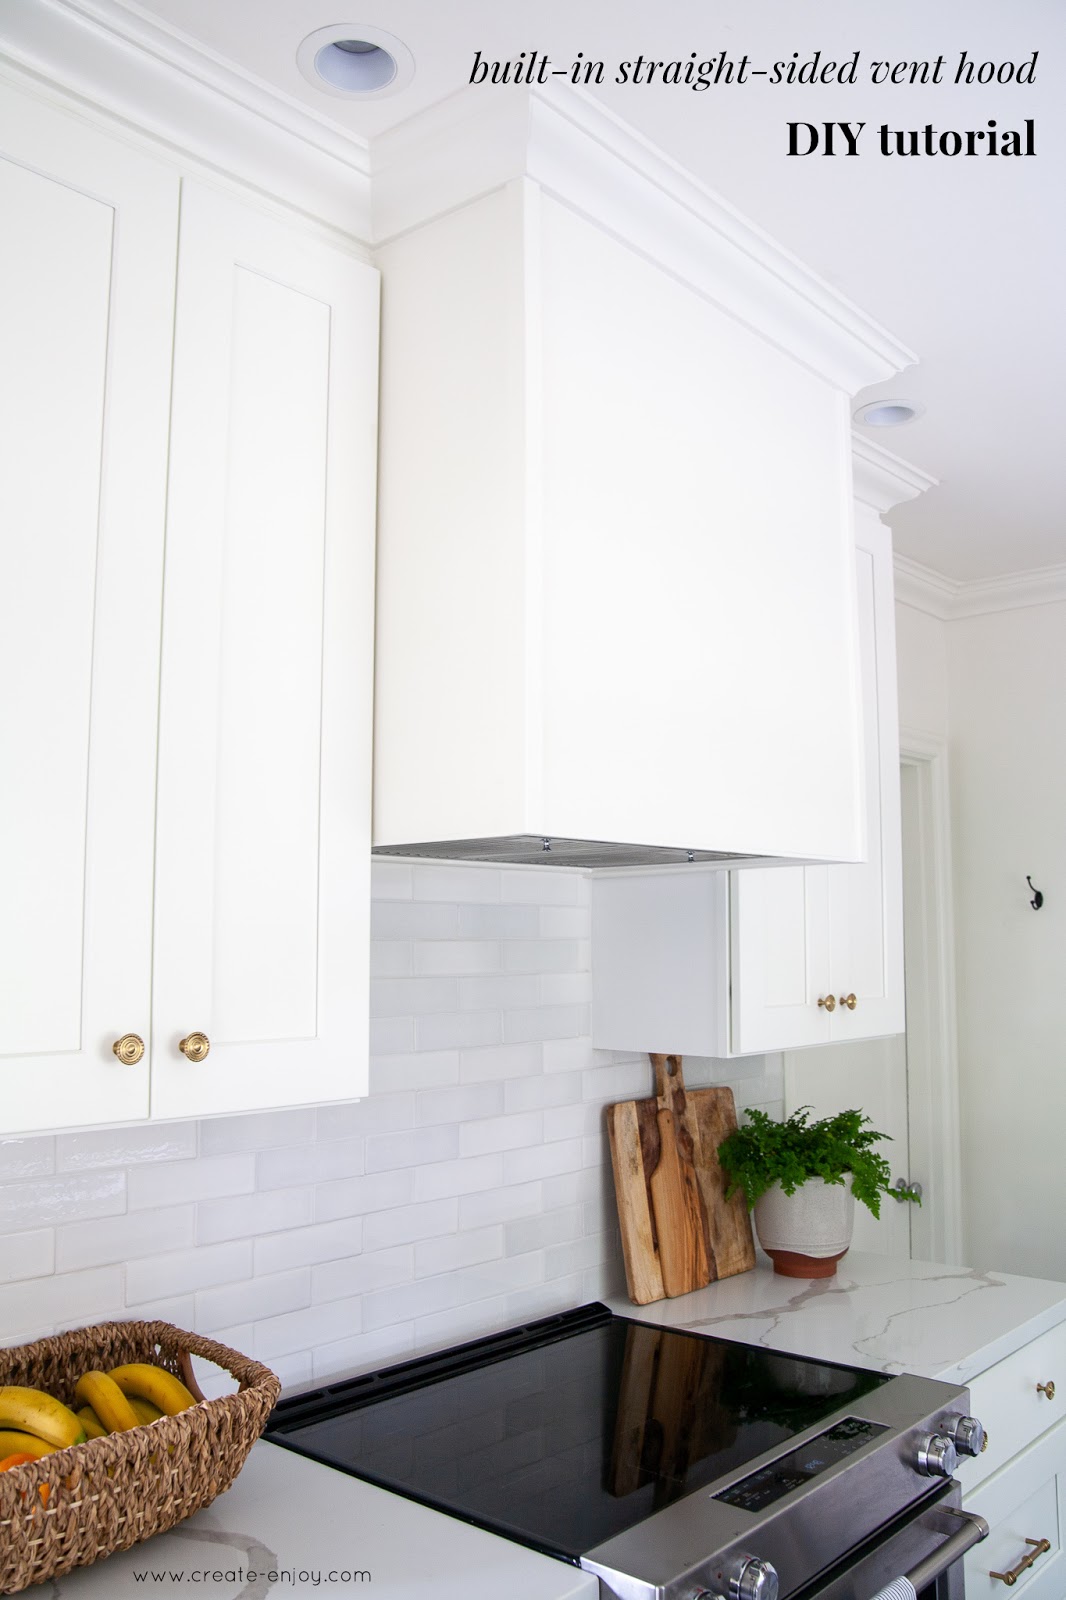
Credit: www.create-enjoy.com
Safety Precautions
Replacing your kitchen exhaust vent cover might seem straightforward, but safety should be your top priority. Neglecting precautions can lead to accidents or damage to your ventilation system. Taking a few simple steps can protect you and ensure the job goes smoothly.
Turn Off The Power Supply
Before you start, make sure the power to the exhaust fan is completely off. This prevents any risk of electric shock while you handle the vent cover. Double-check by trying to turn the fan on after switching off the circuit breaker.
Use Proper Tools And Equipment
Using the right tools makes the job easier and safer. A sturdy ladder, screwdrivers that fit your screws, and gloves to protect your hands are must-haves. Avoid makeshift tools that could slip or damage the vent.
Wear Protective Gear
Dust and debris often collect inside the vent cover. Wearing a mask and safety goggles will protect your lungs and eyes. Gloves will also keep your hands safe from sharp edges or dirt.
Check For Structural Stability
Before removing the vent cover, test if it’s firmly attached. A loose cover might fall unexpectedly and cause injury. Gently wiggle it to see if it moves—if it does, proceed carefully or get help.
Have A Helper Nearby
Working alone can be risky, especially when you’re on a ladder or handling awkward parts. Having someone nearby can assist you if anything goes wrong or if you need an extra hand. Wouldn’t you prefer a safety net during such tasks?
Remove The Old Vent Cover
Begin by gently pulling the old vent cover away from the wall or ceiling. Unscrew any fasteners holding it in place to avoid damage. Carefully remove the cover to prepare for the new installation.
Removing the old vent cover is a crucial first step when replacing your kitchen exhaust vent cover. This task might seem simple, but it's essential to approach it with care to avoid damaging your kitchen walls or the ventilation system. Handling this part of the process with precision ensures a smooth transition to installing a new, efficient cover.
Turn Off The Ventilation System
Begin by ensuring the ventilation system is turned off. This might seem obvious, but you’d be surprised how many people skip this step. Cutting power to the system is crucial for safety and prevents any accidental activation while you’re working. Locate the switch or unplug the unit if necessary. Taking this precaution helps avoid dust and debris being blown around as you work.
Unscrew The Cover
With the system off, you’re ready to unscrew the old vent cover. Use a screwdriver that fits snugly into the screws to prevent stripping. Keep a small container nearby to store the screws safely. This not only prevents you from losing them but also makes reassembly easier if you need to pause your project. Have you ever tried finding a missing screw in a cluttered kitchen? It’s not fun!
Clean The Vent Area
Once the cover is removed, take a moment to clean the vent area. Dust, grease, and grime often build up around the edges, so a thorough cleaning will help your new cover fit snugly. Use a damp cloth or a gentle cleaner to wipe away residue. This not only ensures a better fit for your new cover but also enhances the overall function of your ventilation system. A clean surface can be a game-changer in the long run. Taking these steps thoughtfully will set a solid foundation for replacing your kitchen exhaust vent cover efficiently. Are you ready to move on to the next stage of your kitchen upgrade?
Choose The Right Replacement Cover
Choosing the right replacement cover for your kitchen exhaust vent is important. The cover must fit perfectly and match your kitchen’s style. A good fit ensures proper ventilation and prevents pests and debris from entering. Style and material affect durability and appearance.
Measure The Vent Opening
Start by measuring the vent opening carefully. Use a tape measure for accuracy. Measure both width and height. Measure inside the frame where the cover will fit. Note down the exact dimensions to avoid buying the wrong size. Double-check measurements before purchasing the cover.
Select Material And Style
Choose a material that suits your kitchen environment. Common materials include aluminum, stainless steel, and plastic. Aluminum is lightweight and rust-resistant. Stainless steel is durable and easy to clean. Plastic is affordable but less durable.
Consider the style of the cover. Some covers have simple flat designs. Others feature decorative patterns or louvers. Pick a style that matches your kitchen decor. Also, check if the cover allows proper airflow.
Install The New Vent Cover
Installing the new kitchen exhaust vent cover is a key step to ensure your ventilation works effectively and looks neat. Taking your time during this process can prevent future issues like rattling or improper airflow. Let’s break down how to get it right.
Align The Cover Properly
Start by holding the new vent cover against the exhaust opening. Make sure the screw holes on the cover line up exactly with the holes on the vent frame. Misalignment can cause gaps that let grease and dust sneak in, reducing efficiency.
Take a moment to adjust the cover slightly before securing it. Have you ever tried to fix something only to realize it was crooked after tightening? Avoid that frustration by double-checking the fit first.
Secure With Screws
Once aligned, grab a screwdriver and insert the screws into the holes. Tighten them evenly to avoid warping the cover. If your vent cover came with extra screws, keep them handy for future replacements.
Use moderate pressure; overtightening can crack plastic covers, while loose screws may cause rattling noises when the fan runs. Think about how a well-secured cover gives you peace of mind knowing it won’t fall off unexpectedly.
Check For Proper Fit
After securing the cover, inspect it closely from different angles. Look for any gaps or uneven edges that might let air or grease escape. A snug fit not only improves ventilation but also keeps your kitchen cleaner.
Try turning on your exhaust fan to listen for unusual noises or vibrations. Does the cover stay firmly in place, or does it wobble? Addressing these issues now saves you from annoying repairs later.
Test The Ventilation System
Testing the ventilation system ensures your kitchen exhaust vent cover works correctly. It helps confirm proper airflow and reduces unwanted noise. This step keeps your kitchen fresh and safe from smoke or odors.
Turn On The System
Start by switching on the kitchen exhaust fan. Use the control panel or wall switch to power it up. Let the system run for a few minutes to stabilize airflow. This allows you to check the vent’s performance under normal conditions.
Inspect For Airflow And Noise
Stand near the vent cover to feel the airflow. It should be steady and strong. Listen carefully for unusual sounds like rattling or buzzing. These noises may indicate loose parts or blockages. If airflow is weak, the vent might need cleaning or repair. Proper airflow and quiet operation mean your vent cover fits well and works efficiently.
Maintenance Tips
Keeping your kitchen exhaust vent cover in good shape requires regular attention. Proper maintenance not only extends the life of the vent cover but also keeps your kitchen air cleaner and safer. Here are some straightforward tips to help you maintain your vent cover effectively.
Regular Cleaning
Dust, grease, and grime can quickly build up on your vent cover, reducing its efficiency. Make it a habit to wipe down the cover at least once a month using a mild detergent and warm water. Avoid harsh chemicals that might damage the surface.
Removing the cover for a deeper clean every few months helps too. You can soak it in soapy water and scrub gently with a soft brush. This simple routine prevents blockages and keeps your kitchen smelling fresh.
Inspect For Damage
Look closely at your vent cover during each cleaning session. Check for cracks, warping, or rust spots that could affect performance. Even small damage can let grease and smoke escape into your kitchen.
Have you noticed your vent cover rattling or not fitting snugly? That’s a sign to replace or repair it before bigger problems arise. Catching these issues early saves money and effort later on.
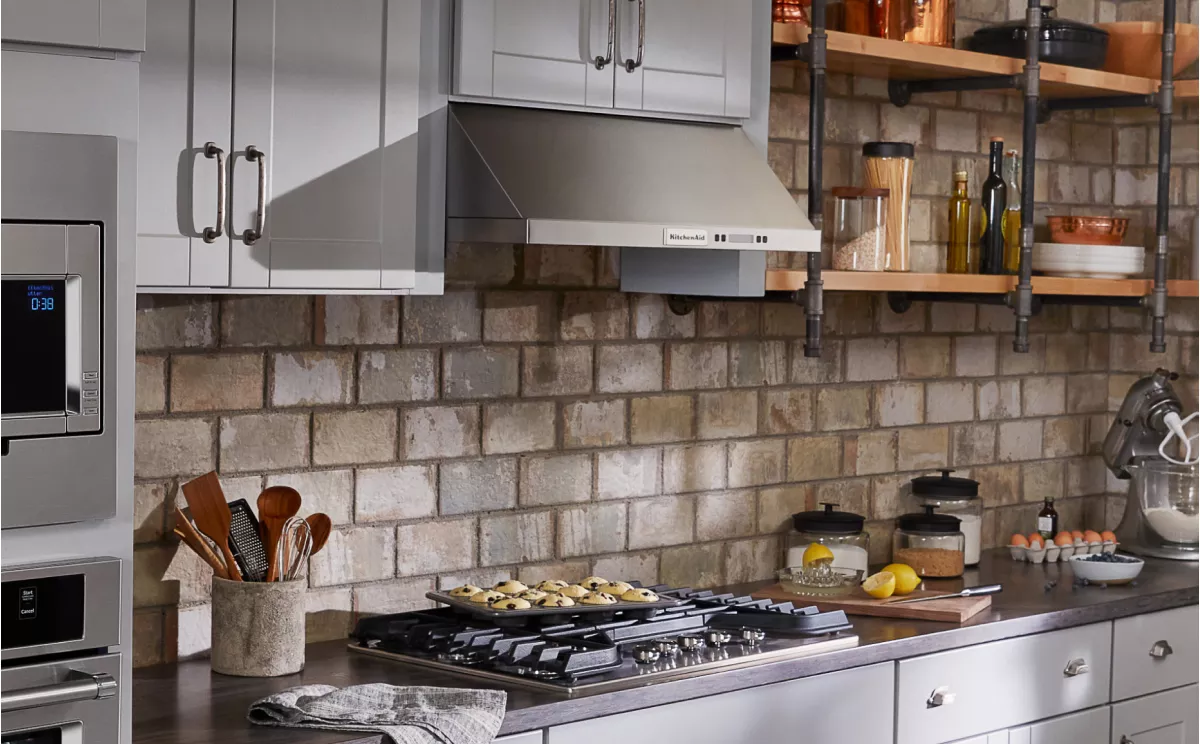
Credit: www.kitchenaid.com
Frequently Asked Questions
How Do I Remove A Kitchen Exhaust Vent Cover?
First, turn off the exhaust fan. Use a screwdriver to remove screws holding the cover. Gently pull the cover off the vent. Clean the area before installing a new cover.
What Tools Are Needed To Replace Vent Covers?
You need a screwdriver, new vent cover, cleaning cloth, and possibly a ladder. A drill may help if screws are stuck. Having all tools ready speeds up replacement.
How Often Should Kitchen Exhaust Vent Covers Be Replaced?
Replace vent covers every 5 to 10 years. Replace sooner if damaged, rusted, or clogged. Regular cleaning can extend their lifespan. Inspect covers during routine kitchen maintenance.
Can I Paint A Kitchen Exhaust Vent Cover?
Yes, use heat-resistant spray paint designed for metal surfaces. Clean and sand the cover before painting. Allow paint to dry fully before reinstalling. This refreshes the cover's look without replacement.
Conclusion
Replacing your kitchen exhaust vent cover is a simple task anyone can do. Just follow the steps carefully and take your time. A new cover keeps your kitchen clean and air flowing well. It also helps stop dust and pests from entering.
Use basic tools and be safe while working. Regular checks make sure your vent works right for years. Small fixes like this save money and improve your home. Try it today and enjoy a fresher kitchen space.