
Thinking about upgrading your kitchen with an apron front sink? You’re about to discover how simple it can be to give your space a fresh, stylish look.
Installing an apron front kitchen sink might sound tricky, but with the right steps, you can do it yourself and save money. This guide will walk you through every step, making sure you avoid common mistakes and get professional results.
Ready to transform your kitchen and impress everyone who visits? Let’s dive in and make your dream sink a reality.
Choosing The Right Apron Sink
Choosing the right apron front kitchen sink shapes your kitchen’s look and function. This sink style stands out with its exposed front panel. It blends style and practicality, creating a focal point in your kitchen.
Selecting the right sink depends on material, size, and style. Each choice affects durability, cleaning ease, and kitchen design.
Material Options
Apron sinks come in many materials. Stainless steel offers strength and resists stains. Fireclay is durable and has a glossy finish. Cast iron sinks provide a classic look and last long. Copper sinks develop a unique patina over time. Choose a material that fits your kitchen use and style.
Size And Depth Considerations
Measure your cabinet space carefully before buying. A larger sink allows more room for washing big pots. Depth matters for comfort and splash control. Deeper sinks hold more water but may strain your back. Match sink size to your kitchen tasks and space.
Style And Design Choices
Apron sinks vary in shape and edge style. Some have a smooth front, while others feature decorative edges. Choose a style that complements your kitchen cabinets and countertop. Colors range from classic white to bold hues. Pick a design that fits your kitchen’s personality and theme.
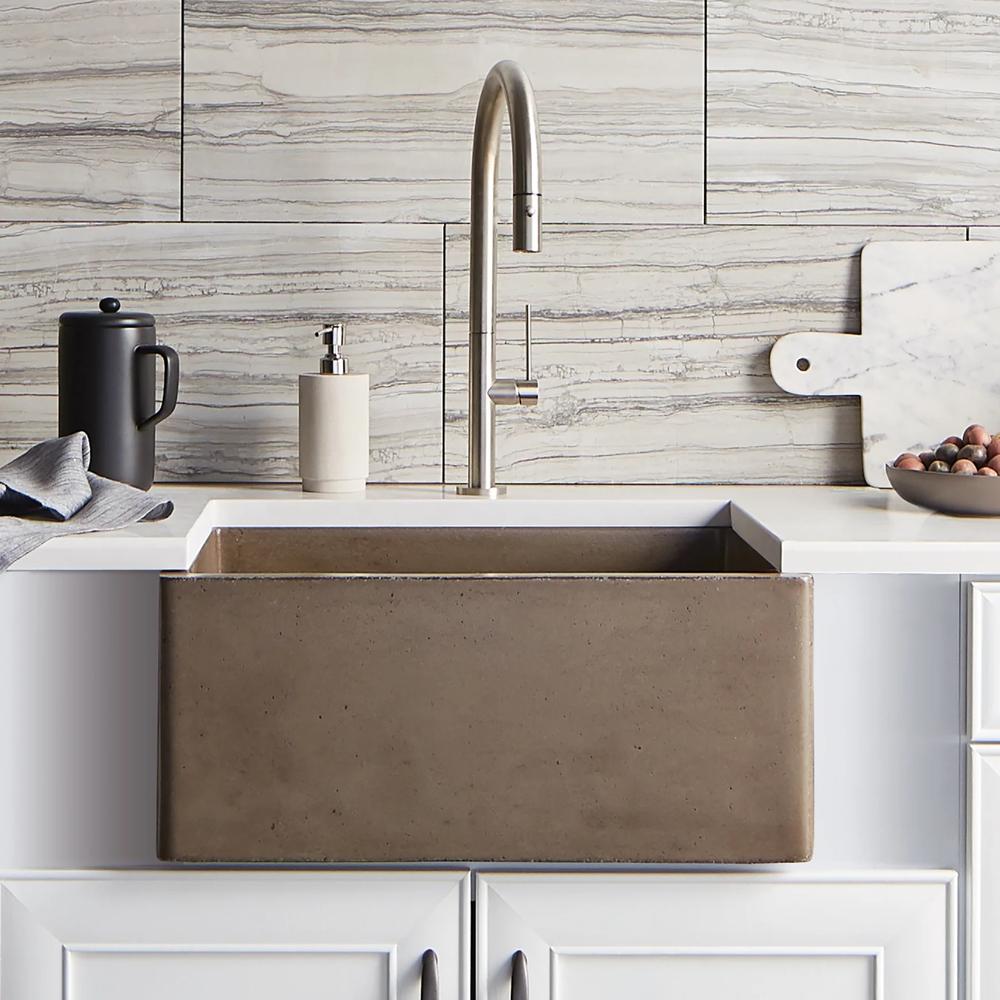
Credit: www.wayfair.com
Gathering Tools And Materials
Gather tools like a wrench, screwdriver, and silicone sealant before starting. Prepare materials such as the sink, mounting clips, and plumbing parts for a smooth installation.
Installing an apron front kitchen sink can seem like a daunting task, but with the right tools and materials, you'll be well on your way to transforming your kitchen space. Gathering everything you need beforehand is crucial to ensure a smooth installation process. This section will guide you through the essential tools and additional supplies needed, so you're fully prepared to tackle the project.
Essential Tools List
Before you start, make sure you have the following tools at hand:
- Measuring Tape:Accurate measurements are key to fitting your sink properly.
- Jigsaw:Useful for cutting out the sink opening in your countertop.
- Adjustable Wrench:Essential for tightening nuts and bolts during installation.
- Screwdriver Set:Required for securing various parts and fittings.
- Plumber's Putty:Ensures a watertight seal around the sink edges.
- Level:Important for checking the alignment of your sink.
Having all these tools ready will save you from unnecessary trips to the hardware store. Plus, using the right tools makes the job easier and more efficient.
Additional Supplies Needed
In addition to the essential tools, gather these supplies to complete the installation:
- Sink Clips:These are used to secure your sink to the countertop.
- Sealant:A good quality sealant is crucial for preventing water leaks.
- Bucket:Handy for catching any water when disconnecting plumbing.
- Towels or Rags:Useful for cleaning up spills and wiping surfaces.
- Plumbing Tape:Helps prevent leaks at pipe connections.
Are you wondering if you really need all these items? Imagine being midway through your installation only to realize you're missing a crucial component. It's an avoidable frustration that no one wants to face. By organizing your tools and supplies beforehand, you're setting yourself up for a hassle-free experience. Taking the time to gather everything you need not only saves time but also reduces stress, allowing you to focus on the task at hand. Ready to get started on your sink installation? Let's dive in!
Preparing The Sink Area
Preparing the sink area is a crucial step before installing your apron front kitchen sink. It ensures a smooth installation process and prevents future issues like leaks or misalignment. Taking time to carefully remove the old sink, clean the countertop, and measure accurately can save you hours of frustration.
Removing The Old Sink
Start by turning off the water supply to avoid any spills. Disconnect the plumbing carefully, including the drain and water lines. Use a utility knife to cut through any old caulking around the sink edges.
After loosening the sink clips underneath, gently lift out the old sink. If it feels stuck, don’t force it—double-check for any hidden fasteners or adhesive. Removing the sink cleanly prevents damage to your countertop and cabinets.
Cleaning And Inspecting The Countertop
Once the old sink is out, clean the countertop thoroughly. Remove all debris, old sealant, and grime using a mild cleaner and a soft cloth. Dirt left behind can interfere with the new sink's fit and seal.
Check the countertop for any damage, like cracks or water stains. These need to be fixed before installing the new sink to ensure stability. Are there any uneven spots that might cause your sink to sit improperly? Addressing these now will make your installation much easier.
Measuring And Marking Cutouts
Precise measurements are key. Use a tape measure to check the size of your new apron front sink and compare it to the existing cutout. Remember, apron sinks often require larger or differently shaped cutouts than standard sinks.
Mark the new cutout lines clearly with a pencil. Double-check your marks by placing the sink upside down over them. Would you trust these measurements if you were buying a new countertop? Take your time to avoid costly mistakes.
Installing The Apron Sink
Installing an apron front kitchen sink requires careful handling and proper alignment. This type of sink is heavy and large, so positioning it correctly is essential. Securing the sink firmly to the cabinet ensures stability. Applying sealant and caulk prevents leaks and protects your countertop. Follow these steps to install your apron sink with confidence.
Positioning The Sink
Place the sink carefully into the cabinet opening. Align the front apron with the cabinet face. Make sure the sink sits evenly and does not tilt. Check that the sink edges rest on the countertop surface. Use shims if needed to level the sink. Confirm the plumbing holes line up with the drain and faucet.
Securing The Sink To The Cabinet
Use mounting clips or brackets to hold the sink in place. Attach the clips underneath the cabinet rim. Tighten screws slowly and evenly to avoid damage. Check that the sink remains flush with the countertop. Avoid over-tightening to prevent cracking the sink or cabinet. Ensure the sink is stable before proceeding to seal.
Applying Sealant And Caulk
Apply a bead of silicone sealant along the sink edges. Seal the joint between the sink and countertop. Smooth the sealant with a wet finger or tool for a clean finish. Add caulk around the apron edges where it meets the cabinet. This stops water from seeping under the sink. Allow the sealant to dry fully before using the sink.
Connecting Plumbing
Connecting the plumbing is a crucial step in installing your apron front kitchen sink. This process ensures water flows smoothly and drains properly. Proper connections prevent leaks and maintain good water pressure. Pay close attention to each connection point for a secure setup.
Attaching The Faucet And Drain
Start by mounting the faucet to the sink’s pre-drilled holes. Secure it tightly with nuts underneath. Next, connect the drain assembly to the sink’s drain hole. Use plumber’s putty around the drain flange to create a seal. Tighten the drain locknut firmly to hold the drain in place.
Connecting Water Supply Lines
Attach the hot and cold water supply lines to the faucet’s valves. Use adjustable wrenches to tighten the connections. Make sure the supply lines are not twisted or kinked. Connect the other ends to the shut-off valves under the sink. Check that all connections are snug but avoid over-tightening.
Testing For Leaks
Turn on the water supply slowly. Watch all connection points carefully. Look for drips or wet spots under the sink. Tighten any loose connections if you find leaks. Run water through the faucet and drain to confirm everything works well. A leak-free setup means your installation is successful.
Finishing Touches
The finishing touches complete the apron front sink installation. This phase ensures the sink looks neat and functions perfectly. Attention to detail here improves durability and appearance. Take time to clean, add accessories, and check everything carefully.
Cleaning Excess Sealant
Remove all extra sealant around the sink edges. Use a damp cloth or a plastic scraper to avoid damage. Clean while the sealant is still soft. This prevents hard residue buildup. Make sure the area is smooth and tidy for a polished look.
Installing Accessories
Attach any sink accessories like strainers, soap dispensers, or drain covers. Follow the product instructions for proper placement. Tighten all fittings to avoid leaks. Check that accessories fit well and work smoothly.
Final Inspection
Check the entire sink installation for gaps, leaks, or loose parts. Run water and watch for drips under the sink. Test all accessories and faucets. Confirm the sink is stable and secure. Fix any problems before using the sink regularly.
Common Installation Challenges
Installing an apron front kitchen sink can be rewarding but also challenging. Several common issues may arise that test your patience and skills. Knowing these hurdles in advance helps you avoid costly mistakes and ensures a smooth installation.
Dealing With Cabinet Modifications
Apron front sinks often require cabinet adjustments because of their unique shape. You might need to remove or cut parts of the cabinet front to fit the sink properly. This can feel intimidating if your cabinets are custom or expensive.
Measure twice before cutting to avoid irreversible damage. Use a jigsaw for precise cuts and protect edges with painter’s tape to prevent chipping. Have a helper hold the sink in place while you mark areas needing modification.
Handling Heavy Sink Installation
These sinks can be quite heavy, especially if made of cast iron or fireclay. Attempting to install without assistance risks injury or damaging the sink and countertop. You should always have at least one person helping you lift and position the sink.
Consider using a support bracket or reinforcing the cabinet base for extra strength. Taking your time to align the sink correctly before securing it will save you from awkward adjustments later. Have your tools ready and make sure the sink’s weight is evenly supported during installation.
Troubleshooting Leaks
Leaks are one of the most frustrating problems after installation. They often occur around the sink drain or where the sink meets the countertop. Make sure to apply a high-quality silicone sealant evenly to create a waterproof barrier.
Check all connections, including the faucet, drain pipes, and water supply lines. Tighten fittings carefully—too loose causes leaks, too tight may crack components. If you notice moisture after installation, don’t ignore it; small leaks can lead to bigger water damage over time.

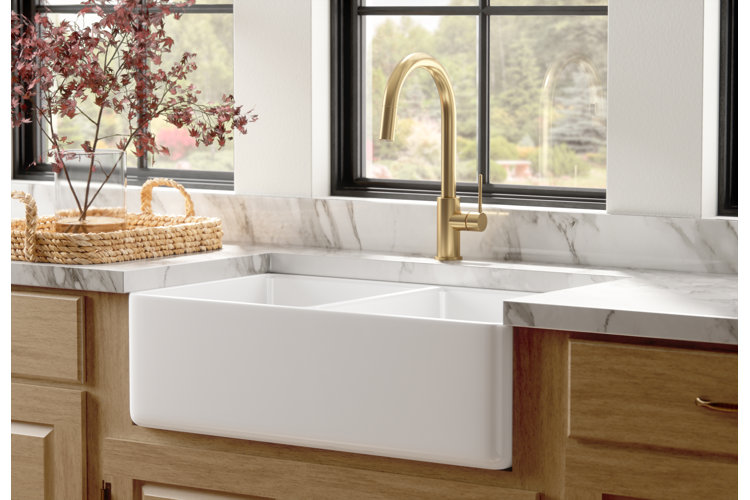
Credit: thesinkboutique.com

Credit: enthrallinggumption.com
Frequently Asked Questions
How Do You Prepare The Countertop For An Apron Front Sink?
To prepare the countertop, measure and mark the sink cutout precisely. Use a jigsaw to cut the opening. Ensure the edges are smooth and clean. Check for proper fit before installation. This step ensures a secure and accurate sink placement.
What Tools Are Needed To Install An Apron Front Sink?
You need a jigsaw, drill, screwdriver, plumber’s putty, adjustable wrench, and clamps. These tools help cut, secure, and seal the sink properly. Having the right tools ensures a smooth and efficient installation process.
How Do You Seal The Apron Front Sink To Prevent Leaks?
Apply plumber’s putty or silicone sealant around the sink edge. Press the sink firmly into place. Wipe away excess sealant immediately. This creates a waterproof seal, preventing leaks and water damage under the sink.
Can I Install An Apron Front Sink Myself?
Yes, with basic DIY skills, you can install an apron front sink. Follow instructions carefully and use proper tools. If unsure, consult a professional plumber to avoid costly mistakes. Proper installation ensures sink durability and functionality.
Conclusion
Installing an apron front kitchen sink can change your kitchen’s look. Follow each step carefully for a perfect fit. Take your time to measure and align the sink well. Use the right tools to make the job easier. Clean up the area after installation to avoid leaks.
Enjoy your new sink’s style and function every day. This simple upgrade adds charm and value to your home. Ready to try it yourself? You’ve got this!