
Are you tired of fumbling with soap bottles every time you wash your hands or dishes? Installing a soap dispenser right in your kitchen sink can make your daily routine smoother and your countertop clutter-free.
But if you’re worried it might be complicated or time-consuming, don’t be. In this guide, you’ll discover simple, step-by-step instructions to install a soap dispenser easily—even if you’re not a DIY expert. Keep reading, and you’ll have a sleek, functional addition to your kitchen in no time.
Tools And Materials Needed
Before you start installing a soap dispenser in your kitchen sink, gathering the right tools and materials is essential. Having everything ready makes the process smoother and faster. It also helps you avoid frustrating trips to the hardware store in the middle of your project.
Basic Tools List
Make sure you have these basic tools on hand to install your soap dispenser efficiently:
- Adjustable wrench:Useful for tightening nuts and bolts under the sink.
- Screwdriver (Phillips and flathead):Needed to secure mounting brackets or screws.
- Drill with drill bits:Required if you need to create a new hole in your sink or countertop.
- Measuring tape:Helps ensure accurate placement of the dispenser.
- Plumber’s putty or silicone sealant:Prevents leaks around the dispenser base.
- Bucket or towel:Catches any water drips during installation.
Having these tools ready saves time and prevents stress. Do you already own most of these, or will you need to pick up a few items?
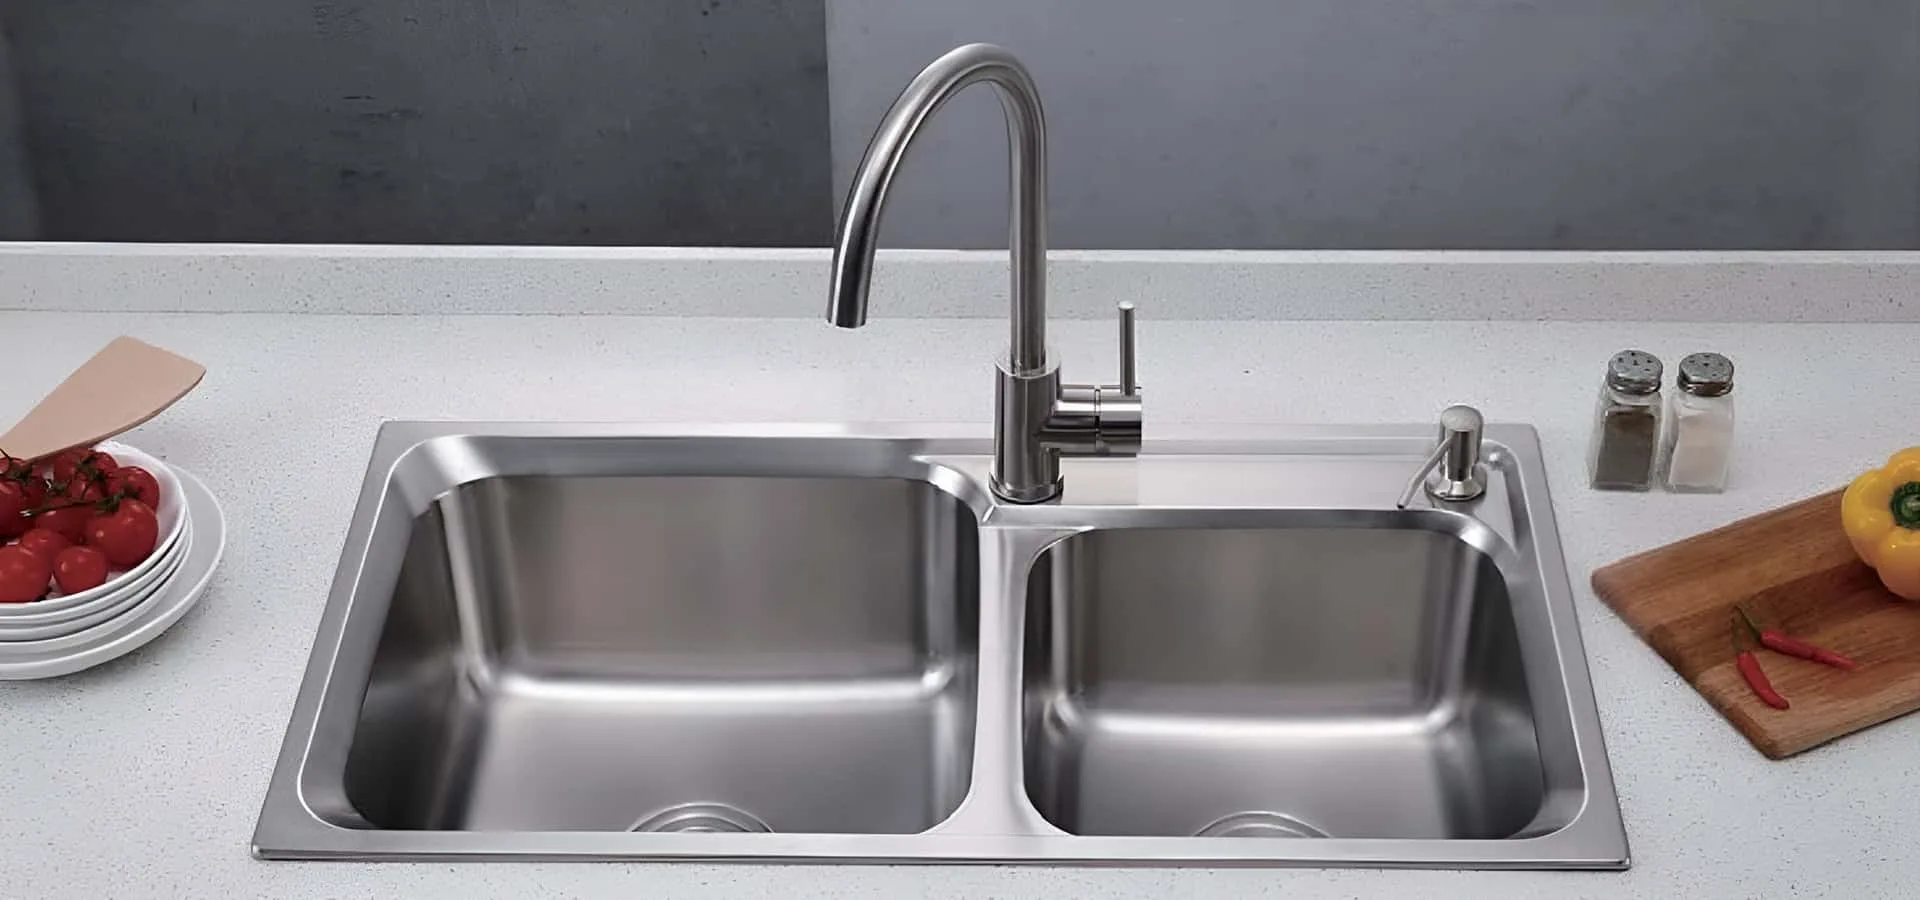
Choosing The Right Soap Dispenser
Not all soap dispensers fit every kitchen sink or meet your needs. Think about the size of the dispenser’s reservoir. Larger reservoirs mean fewer refills but might take up more space under your sink.
Consider the mounting style too. Some dispensers fit standard sink holes, while others require drilling a new hole. Look at the material and finish to match your kitchen’s decor and ensure durability.
Have you checked if your sink has a pre-existing hole for a dispenser? Choosing one that fits your sink perfectly makes the installation easier and avoids unnecessary modifications.
Credit: www.luxuryhomefaucet.com
Preparing The Sink Area
Preparing the sink area is essential for a smooth soap dispenser installation. This stage ensures the workspace is ready and avoids surprises during setup. A clean, organized space helps speed up the process and reduces the chance of errors.
Clearing The Workspace
Remove all items from around the sink. Clear dishes, sponges, and cleaning supplies. Wipe down the sink surface to remove dirt and grime. This creates a safe, clean area to work on. A clutter-free space helps prevent accidents and lost parts.
Checking For Existing Holes
Look at the sink or countertop for pre-drilled holes. Most sinks have extra holes for soap dispensers or sprayers. Measure the hole size to match your dispenser's base. If no hole exists, plan where to drill carefully. Avoid damaging pipes or the sink’s structure.
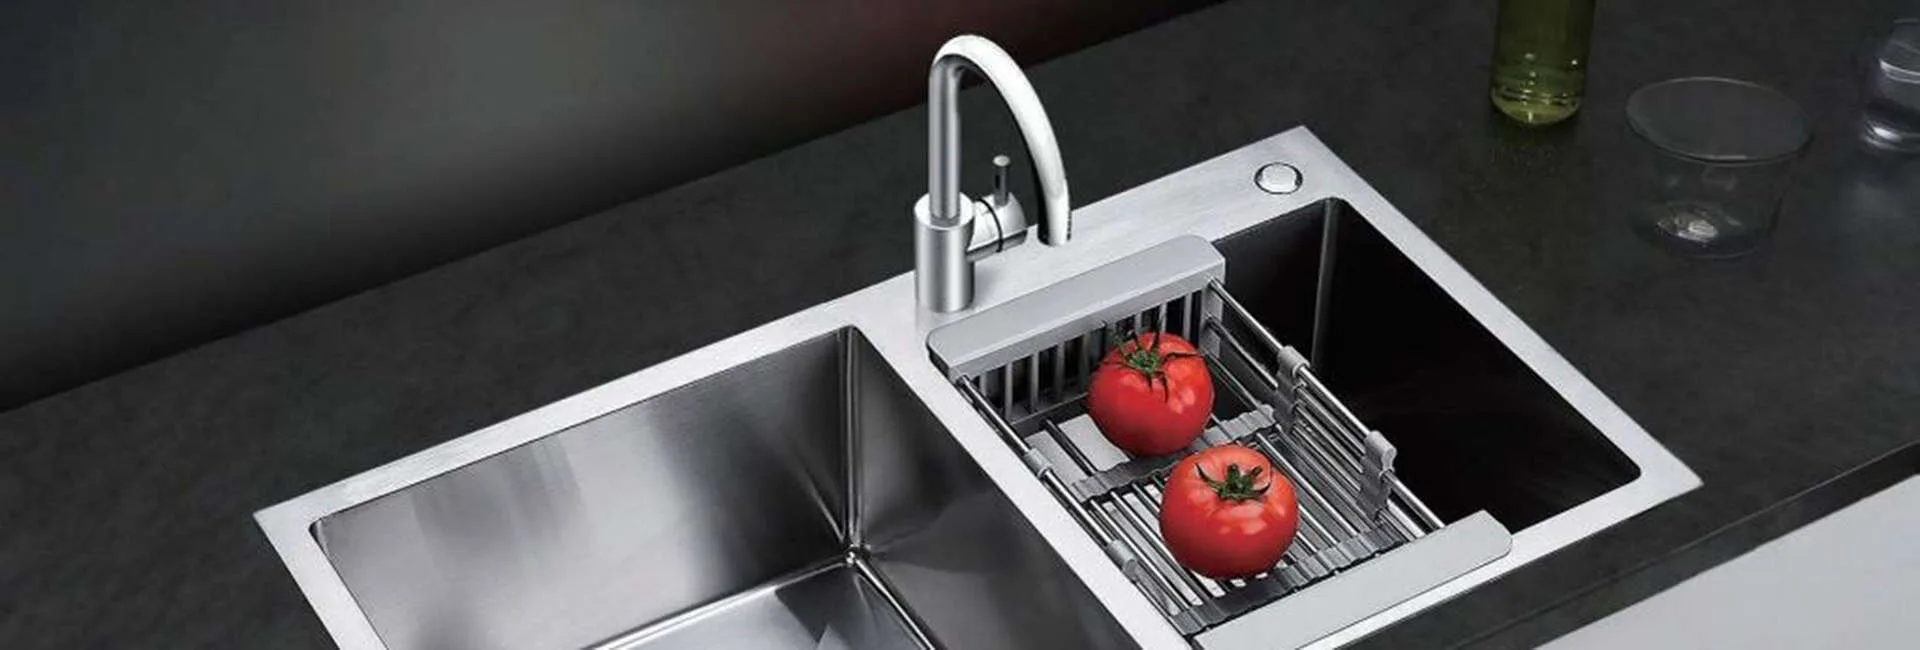
Installing The Soap Dispenser
Begin by choosing a spot near the sink faucet for the soap dispenser. Drill a hole if needed, then secure the dispenser and connect the soap bottle underneath. Tighten all parts to avoid leaks and ensure smooth soap flow.
Installing a soap dispenser in your kitchen sink enhances functionality. It keeps your sink area tidy and organized. The installation process is straightforward and can be completed in a few simple steps.
Positioning The Dispenser
Select a convenient spot near the sink for your dispenser. Ensure it's within easy reach while washing dishes. Measure the space to avoid any installation problems later. Mark the spot for drilling with a pencil.
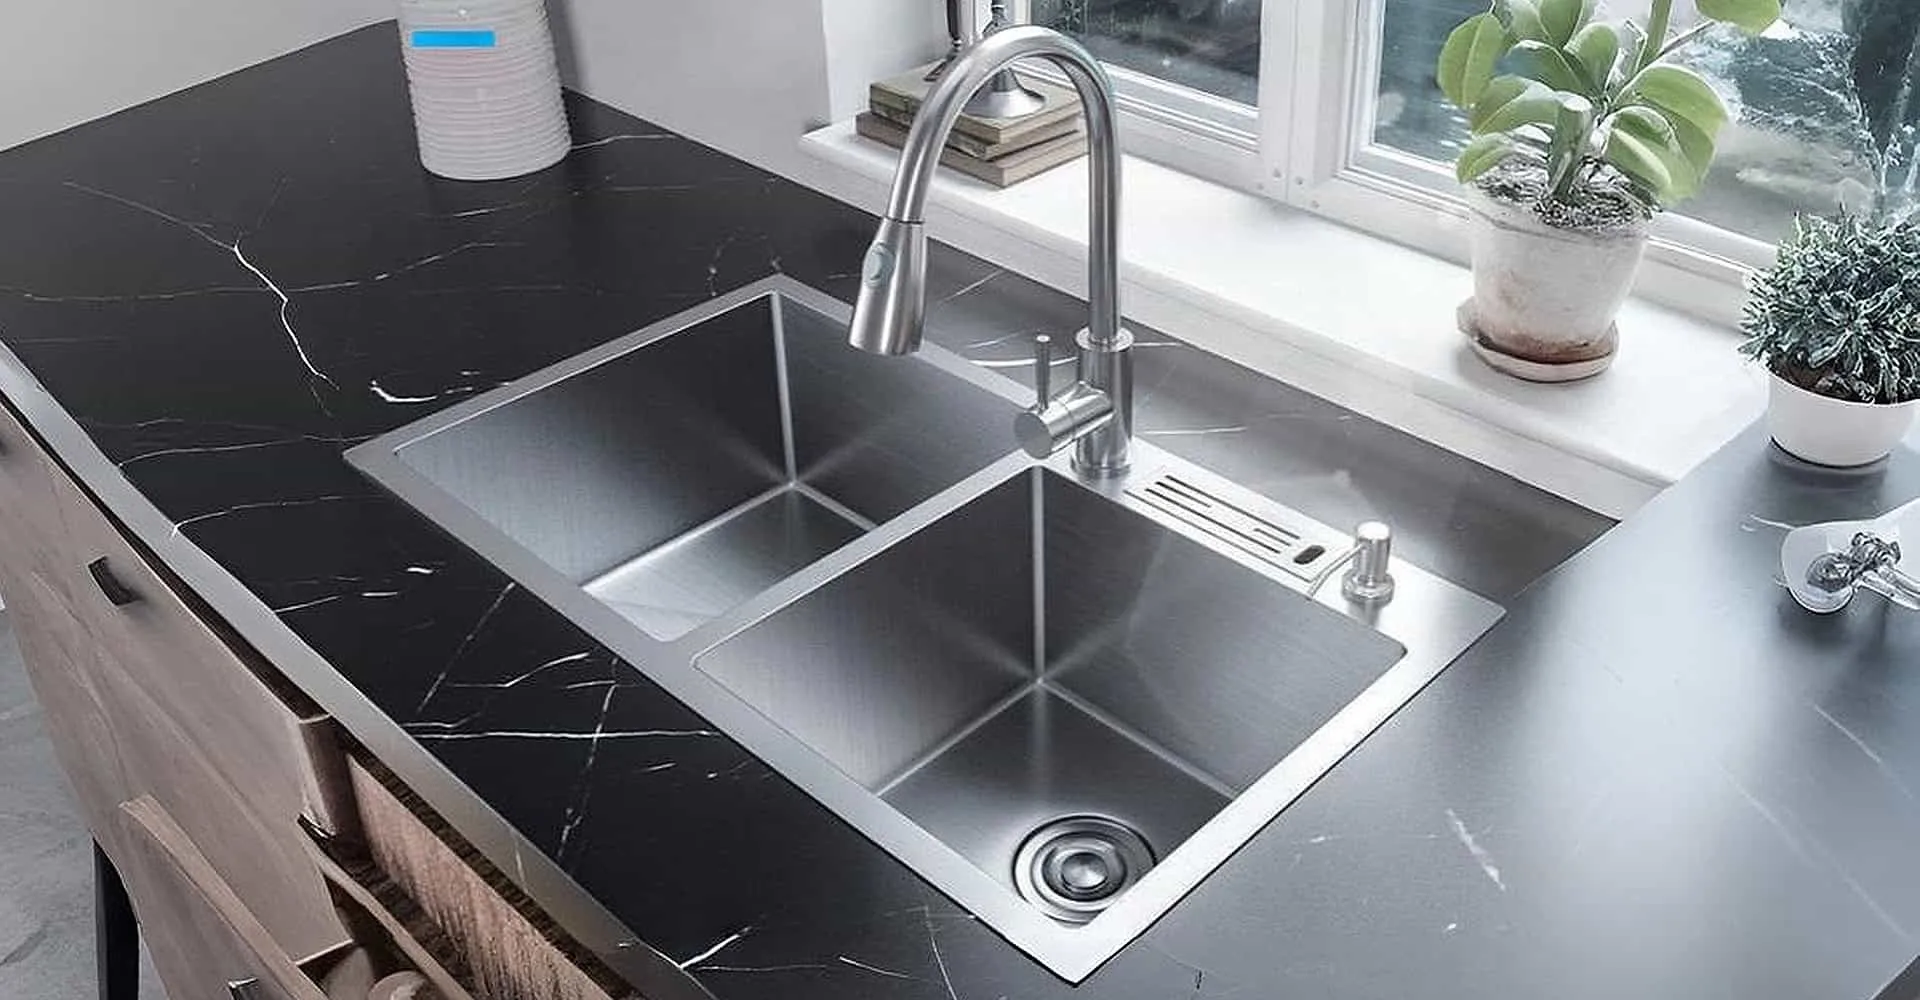
Securing The Base
Drill a hole in the marked spot. Ensure the hole size matches the dispenser's base. Insert the dispenser's base into the hole. Secure it tightly using the provided hardware. Check that it sits flush with the sink surface.
Attaching The Soap Bottle
Connect the soap bottle to the base from under the sink. Twist it clockwise until it is secure. Fill the bottle with your preferred liquid soap. Pump the dispenser several times to prime it. Ensure soap flows smoothly from the nozzle.
Credit: www.luxuryhomefaucet.com
Connecting The Dispenser Pump
Connecting the dispenser pump is a key step in installing your kitchen sink soap dispenser. This part ensures soap flows smoothly when pressed. Proper connection prevents leaks and keeps the dispenser working well.
Aligning The Pump Mechanism
Start by placing the pump head over the dispenser tube. Make sure it sits straight and fits snugly. The pump should align so it moves up and down easily without tilting. Check that the pump threads match the bottle threads below the sink. Turn the pump clockwise to tighten it. Avoid overtightening to prevent damage. Proper alignment helps the soap flow freely and the pump last longer.
Testing Pump Functionality
After securing the pump, test its action before finalizing. Press the pump several times to prime it. Soap should come out smoothly after a few presses. If the pump feels stiff or no soap appears, check the alignment again. Look for any blockages in the tube or bottle. Make sure the soap bottle is filled. A well-functioning pump ensures easy and quick soap dispensing during kitchen tasks.
Final Adjustments And Maintenance
After installing your kitchen sink soap dispenser, some final adjustments can improve its performance and lifespan. Proper maintenance keeps the dispenser working smoothly and prevents clogs or leaks. Simple habits help you avoid common problems.
Regular care ensures your dispenser stays clean and efficient. Small checks and refills keep it ready for daily use. Understanding basic troubleshooting saves time and effort.
Refilling The Dispenser
Open the top cap gently to avoid spills. Use liquid soap designed for dispensers to prevent clogging. Fill the container, but do not overfill it. Leave some space for air to allow smooth pumping. Close the cap tightly to avoid leaks. Test the pump a few times to prime the soap flow.
Cleaning Tips
- Wipe the pump head regularly with a damp cloth.
- Clean the soap reservoir every few weeks to prevent buildup.
- Use warm water and mild soap to rinse the container.
- Remove any soap residue from the nozzle to avoid blockages.
- Check the pump mechanism for soap clogs and clean if needed.
Troubleshooting Common Issues
If the pump does not dispense soap, check for clogs in the nozzle. Clear any dried soap using warm water. Make sure the soap level is not too low. Tighten the pump head if it feels loose. If the dispenser leaks, inspect the seals and tighten connections. Replace worn-out parts if problems persist. Regular cleaning prevents most issues and keeps the dispenser working well.
Credit: www.luxuryhomefaucet.com
Frequently Asked Questions
How Do I Install A Soap Dispenser In My Kitchen Sink?
First, remove the sink plug or drill a hole if needed. Insert the dispenser’s neck through the hole. Tighten the mounting nut underneath. Attach the soap bottle to the dispenser neck. Fill the bottle with soap, then pump to test.
What Tools Are Needed To Install A Soap Dispenser?
You need a drill, adjustable wrench, screwdriver, and measuring tape. A hole saw bit might be required for drilling. These tools help secure the dispenser and ensure a proper fit under the sink.
Can I Install A Soap Dispenser Without Drilling A Hole?
Only if your sink has an existing hole for accessories. Otherwise, drilling is necessary. Using an existing hole avoids damage. If no hole is available, drilling is safe and straightforward.
How Do I Refill The Soap Dispenser Bottle?
Simply unscrew the dispenser pump from the top. Pour liquid soap into the bottle carefully. Avoid overfilling to prevent leaks. Screw the pump back on tightly before use.
Conclusion
Installing a soap dispenser in your kitchen sink is simple and quick. Follow the steps carefully to avoid mistakes. A good soap dispenser keeps your sink neat and organized. It also saves space on the countertop. Use basic tools and take your time during installation.
Soon, you will enjoy easy access to soap while washing dishes. A small change that makes daily chores easier. Give it a try and see the difference yourself.