
Are you tired of looking at outdated or cracked kitchen tile countertops? You don’t have to replace them to get a fresh, modern look.
Covering your kitchen tile countertops can be a simple and affordable way to transform your space without the mess and cost of a full remodel. You’ll discover easy, practical methods to cover your kitchen tiles and make your countertops look brand new.
Keep reading to find the perfect solution that fits your style and budget. Your dream kitchen makeover is closer than you think!
Choosing The Right Materials
Choosing the right materials to cover kitchen tile countertops shapes the entire project. The perfect choice depends on durability, style, and ease of installation. Some materials offer a fresh look without heavy work. Others provide strong protection and long-lasting results. Consider your budget and how much time you want to spend on the update.
Each material has unique features and benefits. Some are simple to apply and easy to remove later. Others require more preparation but deliver a professional finish. Understanding these options helps pick the best fit for your kitchen style and needs.
Paint Options For Tiles
Tile paint can transform old countertops quickly. Special paints stick well to smooth tile surfaces. They resist water and stains. Use a primer before painting for better hold. Choose colors that brighten the kitchen space. Paint works best on clean, dry tiles. It is budget-friendly and easy to apply.
Adhesive Vinyl Sheets
Vinyl sheets cover tiles with a smooth, new surface. They come in many patterns and colors. The sheets stick firmly to the countertop. Vinyl is water-resistant and easy to clean. Cutting to size is simple with scissors or a knife. This option hides grout lines and cracks effectively.
Peel-and-stick Tiles
Peel-and-stick tiles offer a quick makeover without grout or mortar. These tiles come ready to apply with adhesive backs. They mimic ceramic, stone, or wood looks. They are lightweight and easy to replace. Peel-and-stick tiles handle moisture well. Ideal for renters or those avoiding permanent changes.
Laminate Overlays
Laminate overlays create a smooth, solid surface over tile. They resist scratches and stains. Laminate comes in many designs and colors. Installing requires cutting sheets to fit the countertop. Use strong adhesive for a tight bond. This option offers durability and a polished look.

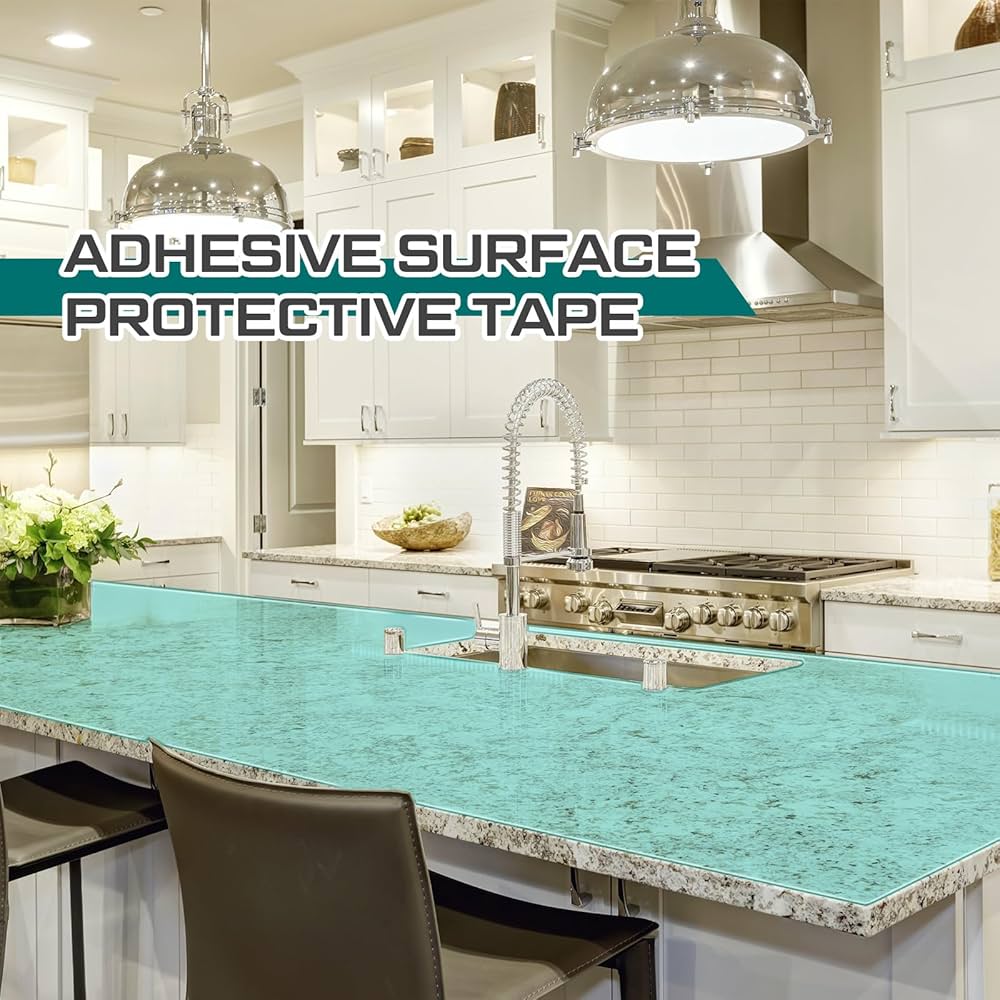
Credit: www.amazon.com
Preparing Your Countertops
Preparing your kitchen tile countertops properly ensures a smooth and lasting finish. This stage is crucial before applying any covering material. It helps the new surface stick well and look even. Follow these simple steps to get your countertops ready.
Cleaning And Drying
Start by removing all dirt, grease, and grime from the tiles. Use a strong cleaner or a mixture of soap and warm water. Scrub the surface with a sponge or brush. Rinse thoroughly with clean water to remove any residue. Let the countertops dry completely. Moisture can affect the adhesion of the covering material.
Sanding For Better Adhesion
Sanding roughs up the shiny tile surface. This creates a better grip for paint or adhesive. Use medium-grit sandpaper to scuff the tiles gently. Focus on every part of the countertop. Wipe away dust with a damp cloth after sanding. Allow it to dry before moving to the next step.
Repairing Damaged Tiles
Check the countertops for cracked or loose tiles. Replace broken tiles or use a strong adhesive to fix loose ones. Fill any gaps or holes with tile filler or epoxy putty. Smooth the surface with a putty knife. Let repairs dry fully before covering the countertop. A smooth and even surface improves the final look and durability.
Step-by-step Painting Process
Prepare the surface by cleaning and sanding the tiles for better paint adhesion. Apply a primer, then paint with durable, kitchen-safe paint. Finish with a clear sealer to protect your new countertop.
Transforming your kitchen tile countertops with a fresh coat of paint can breathe new life into your cooking space. This process is not only budget-friendly but also a fun DIY project that allows you to unleash your creativity. With a step-by-step painting process, you can achieve a stunning transformation that adds a personal touch to your kitchen. Let's dive into each stage of this exciting makeover adventure.
Priming The Surface
Before you start painting, it's crucial to prepare the tile surface properly. Clean the tiles thoroughly using a mixture of mild detergent and water, ensuring all grease and grime are removed. Once clean, apply a high-quality primer designed for tile surfaces to ensure the paint adheres effectively.
Applying Base Coats
With the primer set, you can now apply the base coats. Choose a durable, glossy paint that can withstand the wear and tear of kitchen use. Apply the first coat evenly, using a brush or roller, and let it dry completely before adding a second coat for full coverage.
Adding Patterns Or Designs
Here's where you can let your creativity shine. Consider using stencils to add patterns or hand-painting unique designs that reflect your style. If you're feeling adventurous, try incorporating bold colors or geometric shapes to make your countertops a focal point of the kitchen.
Sealing The Paint
To ensure your hard work lasts, sealing the paint is essential. Use a clear, water-resistant sealant to protect the painted surface from stains and scratches. Apply two to three coats of sealant, allowing each layer to dry thoroughly before applying the next. By following these steps, you can enjoy a beautifully painted kitchen countertop that not only looks amazing but also stands up to daily use. Are you ready to give your kitchen a fresh, new look?
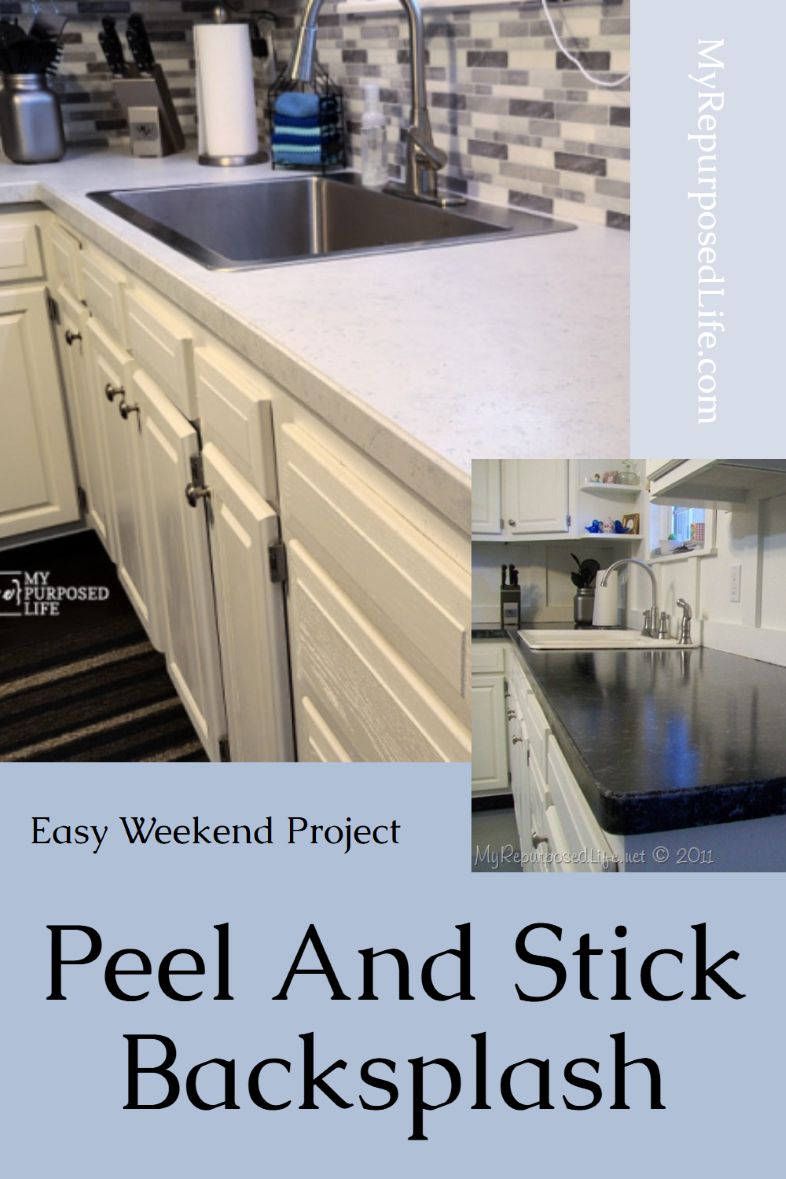
Credit: www.myrepurposedlife.com
Installing Vinyl And Peel-and-stick Tiles
Installing vinyl and peel-and-stick tiles on kitchen countertops offers a quick and affordable way to refresh your space. These tiles come with adhesive backing, making them simple to apply over existing surfaces. They resist water and stains, ideal for kitchen use. Proper installation ensures a smooth and lasting finish.
Measuring And Cutting
Measure the countertop length and width carefully. Use a tape measure to get precise dimensions. Mark the measurements on the back of the vinyl or peel-and-stick tile. Use a sharp utility knife or scissors to cut the tiles. Cut slowly to avoid jagged edges. Make sure each tile fits perfectly before applying.
Applying Adhesive Tiles
Clean the countertop surface thoroughly before starting. Remove all dust, grease, and dirt for better adhesion. Peel off the backing paper from the tile. Align the tile carefully with the edge of the countertop. Press it down firmly to stick. Continue placing tiles, working across the surface evenly.
Smoothing Out Bubbles
Air bubbles can trap under the tile during application. Use a flat tool like a squeegee or a credit card. Press from the center outwards to push bubbles toward the edges. Work gently to avoid tearing the tile. Check each tile to ensure it lies flat and smooth.
Finishing Touches
Trim any excess tile using a utility knife for a clean edge. Seal the seams with clear silicone caulk to prevent water damage. Wipe the surface with a damp cloth to remove dust and fingerprints. Allow the adhesive to set for a few hours before using the countertop. Enjoy your fresh, updated kitchen surface.
Using Laminate To Cover Tiles
Using laminate to cover kitchen tile countertops offers a quick and cost-effective makeover. Laminate sheets come in many designs and colors, allowing a fresh look without removing old tiles. The process involves careful selection, precise cutting, secure attachment, and proper sealing. Each step ensures a smooth, durable surface that hides the tiles underneath.
Selecting Laminate Styles
Choose a laminate style that complements your kitchen decor. Options include wood grain, stone patterns, and solid colors. Consider durability and ease of cleaning. Matte and glossy finishes change the countertop’s feel. Pick a style that hides wear and stains well.
Cutting And Fitting Laminate
Measure your countertop accurately before cutting. Use a fine-tooth saw or laminate cutter for clean edges. Cut slightly larger pieces to allow trimming. Dry fit the laminate sheet over tiles first. Trim edges carefully to fit around sinks and outlets.
Securing Laminate Sheets
Clean tile surfaces thoroughly to remove dust and grease. Apply contact cement or strong adhesive evenly on tiles and laminate. Allow the adhesive to become tacky before placing the laminate. Press the sheet firmly, removing any air bubbles. Use a roller to ensure full adhesion.
Sealing Edges
Seal all edges with waterproof sealant or silicone caulk. This prevents water from seeping under the laminate. Smooth the sealant with a wet finger or tool for a neat finish. Check corners and seams carefully. Proper sealing extends the life of your new countertop.
Maintaining Your New Countertops
Maintaining your new kitchen tile countertops ensures they stay beautiful and last longer. Regular care protects them from stains, chips, and wear. Small efforts help keep your surface looking fresh and clean every day.
Cleaning Tips
Use a soft cloth or sponge for daily cleaning. Mild soap and warm water work well. Avoid harsh chemicals or abrasive scrubbers that can damage the tile surface. Wipe spills immediately to prevent stains. Dry the countertop with a soft towel to avoid water spots.
Preventing Damage
- Use cutting boards to protect tiles from knife marks.
- Place hot pots on trivets or heat pads.
- Avoid dropping heavy items on the countertop.
- Seal grout lines regularly to prevent moisture damage.
- Keep sharp utensils away from the edges of tiles.
Touch-up Techniques
For small chips, use a matching epoxy or tile repair kit. Apply carefully and smooth the surface. For grout cracks, use grout filler or caulk. Replace damaged tiles if necessary to maintain a uniform look. Regular touch-ups keep your countertop looking new and fresh.
Budgeting Your Project
Planning your budget helps keep your kitchen tile countertop project on track. Knowing the costs and time involved prevents surprises. You can make smart choices and finish the project without overspending.
Material Costs
Material costs vary widely based on the covering type. Options include vinyl, laminate, wood, or paint. Vinyl sheets cost less than solid wood or stone overlays. Calculate how much material you need by measuring your countertop. Add a little extra for mistakes or cuts. Don't forget to include adhesives, sealants, and finishing products in your budget.
Tools Needed
Tools affect your budget, too. Some projects need only basic tools like utility knives and rollers. Others require special tools like sanders or tile cutters. Renting tools can save money over buying. Check your home for tools you already own to reduce expenses. Make a list of all tools needed before starting.
Time Investment
The time you spend impacts your overall budget. Simple projects may take a few hours, while complex ones can last days. More time means higher labor costs if hiring help. Allow extra time for drying or curing materials. Plan your schedule carefully to avoid rushing and mistakes.

Credit: www.amazon.com
Creative Design Ideas
Transforming your kitchen tile countertops can be both fun and rewarding. Creative design ideas help you move beyond plain surfaces to something that truly reflects your style. Think about how small changes can make a big impact on the overall look of your kitchen.
Mixing Colors And Patterns
Playing with different colors and patterns can bring life to your countertops. Try pairing bold, vibrant tiles with neutral tones to create balance. For example, a mix of deep blues and soft grays can add depth without overwhelming the space.
You might want to experiment with geometric patterns alongside classic subway tiles. This contrast adds visual interest and makes your countertop a focal point. Don’t shy away from mixing matte finishes with glossy ones—they create a subtle but striking effect.
Adding Texture
Texture adds dimension and makes your countertops stand out. Consider using textured tile options like tumbled stone or hand-painted ceramics. These surfaces catch the light differently and invite touch.
Think about how rough or smooth textures change the feel of your kitchen. Adding a textured backsplash that complements your countertop can create a cohesive look. Would you prefer a rustic vibe or something sleek and modern? Your choice affects how texture plays into the design.
Incorporating Stencils
Stencils offer a creative way to personalize your tile countertops without a full remodel. You can paint patterns or designs directly onto the tiles using simple stencils and tile paint. This method lets you add unique shapes, like florals or abstract motifs, that fit your taste.
Using stencils also allows you to update your countertops seasonally or whenever your style changes. Imagine refreshing your kitchen by swapping out stencil designs—how often do you get a chance to reinvent such a key space so easily? This approach keeps your kitchen feeling fresh and uniquely yours.
Frequently Asked Questions
How Do I Prepare Kitchen Tile Countertops For Covering?
Clean the surface thoroughly and remove any loose grout or debris. Sand the tiles lightly for better adhesion. Ensure the countertop is dry and free from grease before applying any covering materials.
What Materials Work Best To Cover Kitchen Tile Countertops?
Popular options include epoxy resin, peel-and-stick vinyl, laminate sheets, and butcher block overlays. Choose based on durability, budget, and desired style. Each material offers a unique finish and can transform your kitchen's look effectively.
Can I Cover Kitchen Tiles Without Professional Help?
Yes, many DIY-friendly options like peel-and-stick vinyl or epoxy kits are user-friendly. Follow instructions carefully and prepare the surface well. Taking your time ensures a smooth, lasting finish without professional costs.
How Long Does It Take To Cover Tile Countertops?
Most projects can be completed in a few hours to a day, depending on the method. Peel-and-stick options are quickest, while epoxy may require curing time. Planning and preparation affect overall project duration.
Conclusion
Covering kitchen tile countertops can refresh your space quickly. Choose materials that suit your style and budget. Prepare the surface well to ensure good adhesion. Follow step-by-step instructions for the best results. Small projects like this bring big changes. Enjoy your updated kitchen with a fresh look.
Keep maintenance simple to extend your countertop’s life. Start your project confidently and see the difference.