
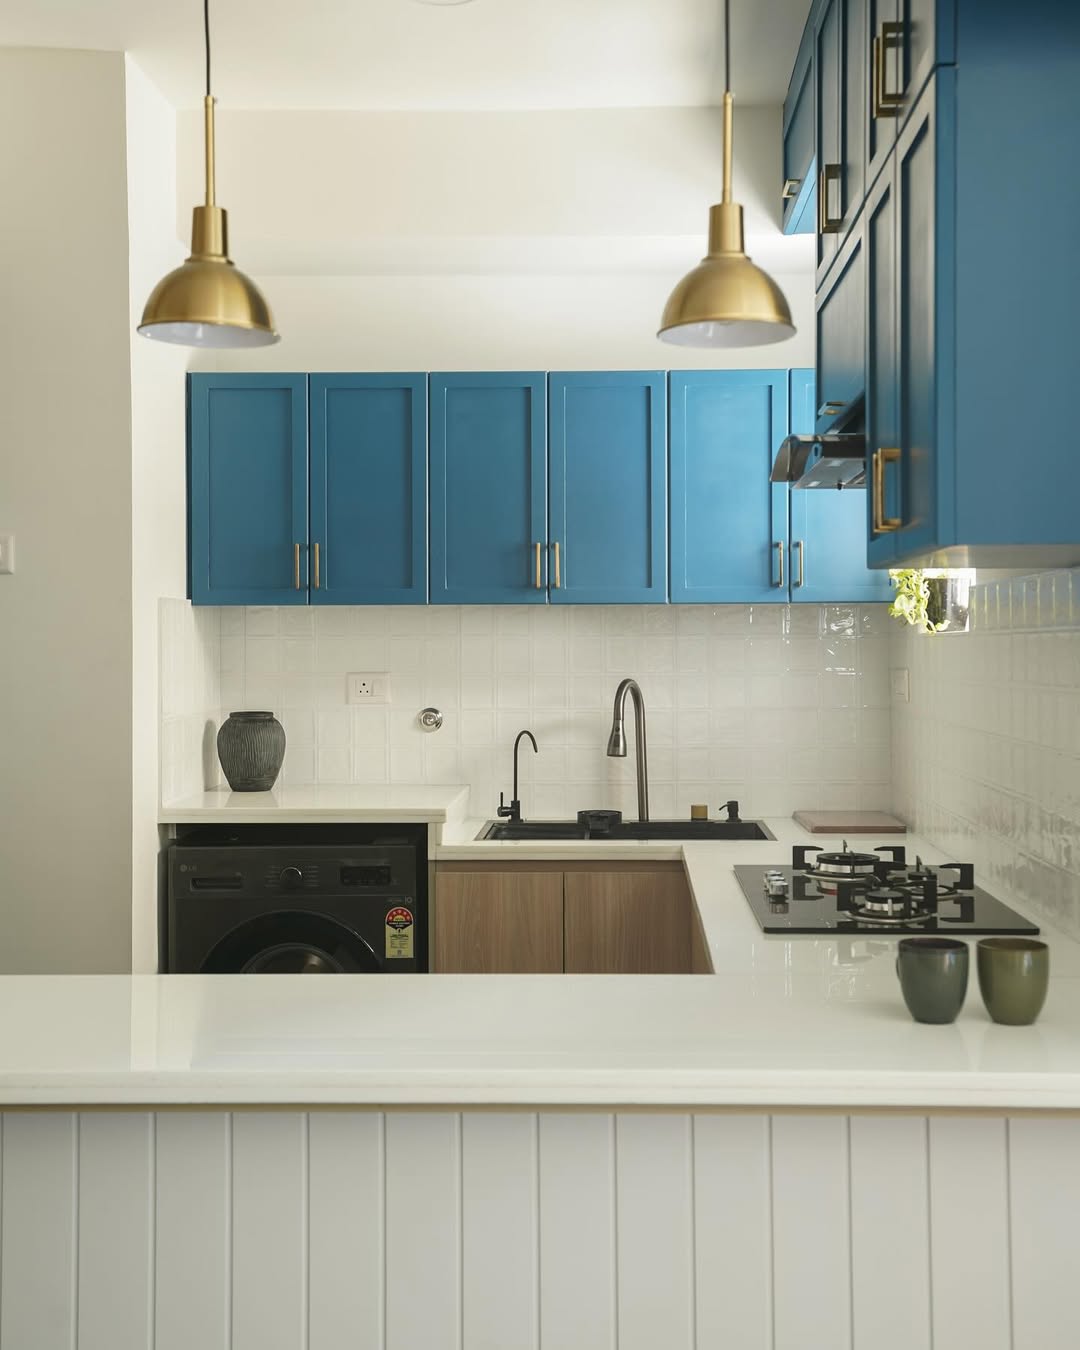
Is your kitchen light cover stuck or dusty, making your space look dull? You’re not alone.
Many people struggle with opening kitchen light covers safely and without damage. But don’t worry—learning how to open your kitchen light cover is easier than you think. In this guide, you’ll discover simple steps that anyone can follow to remove the cover quickly and hassle-free.
By the end, you’ll feel confident handling your kitchen light fixtures like a pro, ready to clean, replace bulbs, or upgrade your lighting. Keep reading to find out how you can brighten up your kitchen with just a few easy moves!

Credit: www.whisperinghomes.com
Tools Needed
Before you start opening your kitchen light cover, having the right tools on hand makes the job smoother and safer. The tools you choose depend on the type of light fixture you have. Preparing your workspace and gathering these essentials can save you from frustration and unexpected trips to the hardware store.
Basic Tools
Several common tools often do the trick for removing kitchen light covers. A flathead screwdriver is usually the first tool you’ll reach for, especially if the cover is held by screws or clips.
A Phillips screwdriver might also be necessary if the screws have a cross shape. Sometimes, a pair of needle-nose pliers can help you get a better grip on tight clips or small fasteners.
If your light cover twists off, a rubber jar opener or a cloth can give you extra grip without scratching the surface. Have a ladder or sturdy step stool ready if your kitchen lights are high up, so you can reach comfortably and safely.
Safety Equipment
Safety should never be an afterthought when handling electrical fixtures. Start by turning off the power to the light from your circuit breaker to avoid any risk of electric shock.
Wear safety glasses to protect your eyes from dust or small debris that might fall when you remove the cover. Gloves are also a smart choice; they protect your hands from sharp edges and improve your grip on slippery surfaces.
Think about your footing too—wear shoes with good traction to prevent slips, especially if you’re working on a step stool. Have a helper nearby if possible, just in case you need an extra hand or someone to spot you.

Credit: artika.com
Types Of Kitchen Light Covers
Kitchen light covers come in different materials and styles, each affecting how you open and maintain them. Knowing the type of cover you have can save you time and effort. Let's look at the common types you might encounter and what makes each unique.
Glass Covers
Glass covers are often heavy and fragile. They usually attach with clips or screws, so you’ll need a steady hand and sometimes a screwdriver to remove them safely.
One time, I tried to remove a glass cover without checking for screws and ended up dropping it. It taught me to always inspect the edges carefully before applying pressure.
Glass covers offer a clear view of the bulb and make cleaning easier, but handle them gently to avoid cracks.
Plastic Covers
Plastic covers are lightweight and usually snap on or twist off. This makes them easier to open without tools.
They can become brittle over time, so if your cover feels stiff, don’t force it—try warming it slightly with a hairdryer to soften the plastic.
Plastic covers come in many shapes and colors, giving you flexibility in your kitchen’s look.
Metal Covers
Metal covers tend to be sturdier and often attach with screws or small latches. You’ll usually need a screwdriver to open these.
They can be tricky if screws are rusty or painted over, so keep a screwdriver and some lubricant handy.
Metal covers can add a modern or industrial touch to your kitchen lighting, but opening them requires a bit more care.
Preparing For Removal
Gather basic tools like a screwdriver and a ladder before starting. Turn off the kitchen light to ensure safety while opening the cover.
Preparing for removal of a kitchen light cover can seem daunting, but with the right steps, it becomes a straightforward task. Ensuring a safe and efficient process is crucial. By taking the time to prepare adequately, you can avoid unnecessary complications and mishaps.
Turn Off Power
Safety should always be your top priority. Before you begin, make sure to turn off the power to the kitchen light at the circuit breaker. This step is non-negotiable; it protects you from potential electrical shocks. Double-check that the light is indeed off by flipping the light switch. If it doesn't illuminate, you're good to proceed. It's a simple action, but one that can save you from serious injury.
Clear The Area
Next, focus on creating a safe working environment. Clear the area around the light fixture to avoid tripping hazards. Remove items from the countertops and ensure there's adequate space to move around. Consider laying down a towel or sheet on the floor. This will catch any small parts that might fall and protect your flooring from damage. Remember, a tidy workspace is a safe workspace. Taking these preparatory steps sets the stage for a smooth removal process. Have you ever skipped preparations and faced unexpected hurdles? Share your experiences and what you learned in the comments!
Removing Glass Light Covers
Removing glass light covers can feel tricky if you’ve never done it before. These covers protect your bulbs but also need regular cleaning or replacing. Understanding how your kitchen light cover attaches will save you time and prevent damage.
Twist-off Method
Some glass covers simply twist off. Hold the glass firmly with both hands and try turning it counterclockwise. It might feel tight at first, so apply steady pressure without forcing it too hard.
If it doesn’t budge, try wearing rubber gloves for a better grip. Sometimes, a gentle tap on the edge with the handle of a screwdriver can loosen stubborn covers. Always support the glass carefully to avoid dropping it.
Latch Or Clip Removal
Many covers are held in place by small latches or clips around the fixture. Look closely for tiny metal pieces that snap over the glass. You’ll need to carefully lift or press these clips to release the cover.
Using a flathead screwdriver can help you gently pry clips open without bending them. Be patient—forcing clips can break both the cover and the fixture. Have you noticed any clips that look fragile? Handle those with extra care.
Removing Plastic And Metal Covers
Removing plastic and metal kitchen light covers requires care and the right approach. These covers protect your light bulbs and add style to your kitchen. Knowing how to remove them safely helps avoid damage and injury.
Plastic covers often snap or screw into place, while metal covers may have screws or clips. Understanding how these covers attach makes removal easier and faster.
Unscrewing Steps
Check the cover for visible screws. Use a suitable screwdriver that fits the screw heads.
- Turn screws counterclockwise to loosen them.
- Place screws in a safe spot to avoid losing them.
- Gently pull the cover away from the fixture once screws are removed.
- Support the cover with one hand to prevent it from falling.
Some covers may have hidden screws under decorative caps. Remove these caps carefully before unscrewing.
Prying Open Covers Safely
Plastic covers sometimes snap into place without screws. Use a flat tool like a plastic spudger or a flathead screwdriver.
- Insert the tool gently between the cover and fixture edge.
- Apply slight pressure to release the clips holding the cover.
- Work around the edges slowly to avoid cracking the plastic.
- Wear gloves to protect your hands from sharp edges.
Metal covers may also use clips. Apply the same gentle prying technique to avoid bending or scratching the metal.
Troubleshooting Stuck Covers
Stuck kitchen light covers can be frustrating. Dust, grime, and tight fittings often cause covers to jam. Knowing how to troubleshoot these issues can save time and prevent damage.
Gentle care and the right tools help free stuck covers quickly. This section guides you through safe and effective solutions.
Using Lubricants
Lubricants reduce friction and ease the removal of stuck covers. Use a small amount of WD-40 or silicone spray on the edges. Avoid over-spraying to prevent mess and damage.
Apply lubricant carefully with a cotton swab or cloth. Let it sit for a few minutes to work. Then, gently twist or wiggle the cover to loosen it.
Avoiding Damage
Use soft tools like rubber gloves or silicone pads to grip the cover. Avoid metal tools that can scratch or crack the glass or plastic.
Do not force the cover. If it won’t budge, apply lubricant again and wait. Forcing can break the cover or harm the fixture.
Work patiently and gently. Protect your hands and eyes during the process. This approach keeps your kitchen light safe and intact.
Replacing And Securing Covers
Replacing and securing your kitchen light cover is more than just snapping it back in place. Getting it right ensures safety, maintains your kitchen’s look, and prevents any annoying flickers or falls. Let’s look at how you can align and tighten the cover effectively so it stays put and looks perfect.
Aligning Properly
Start by checking the shape and grooves of your light cover. Each cover usually has notches or tabs that fit only one way onto the fixture. If you force it, you risk cracking the glass or damaging the fixture.
Take your time and hold the cover close to the base. Rotate it gently until you feel it settle into place. If you find it doesn’t fit easily, step back and check for any dirt or leftover debris that might block the alignment.
Tightening Fasteners
Once aligned, secure the cover with the fasteners—these can be screws, clips, or knobs depending on your fixture. Use the correct tool, like a screwdriver or your hands, to tighten them just enough.
Too loose, and the cover might wobble or fall. Too tight, and you could crack the glass or strip the screws. Have you ever overtightened a screw only to regret it moments later? Take it slow, and test the cover by gently nudging it after tightening.

Credit: k-c-a.co.uk
Safety Tips
Opening a kitchen light cover might seem straightforward, but safety should always be your top priority. Ignoring simple precautions can lead to broken glass, electric shocks, or worse. Let’s focus on practical tips that keep you safe while handling delicate parts and electrical components.
Handling Fragile Materials
Kitchen light covers are often made of glass or thin plastic, which can break easily. Always wear gloves to protect your hands from sharp edges or unexpected cracks. If the cover feels stuck, avoid forcing it; instead, gently wiggle it free to prevent shattering.
Place a soft cloth or towel underneath the fixture while you work. This prevents damage if the cover slips out of your hands. Have a clear workspace so you won’t accidentally knock the cover off or step on broken pieces.
Electrical Precautions
Before touching any light fixture, turn off the power at the circuit breaker, not just the wall switch. This extra step ensures no current runs through the wires while you work. Use a non-contact voltage tester to double-check that the power is off.
Never use wet hands or stand on a wet surface when handling electrical parts. Keep your tools insulated and avoid metal ladders that can conduct electricity. If you feel unsure about the wiring, it’s smarter to call an electrician than risk injury.
Frequently Asked Questions
How Do I Safely Remove A Kitchen Light Cover?
Turn off the power first to avoid electric shock. Use a ladder to reach the light. Gently twist or unclip the cover based on its type. Avoid using excessive force to prevent damage.
What Tools Are Needed To Open A Kitchen Light Cover?
Most kitchen light covers require no special tools. A ladder or step stool helps reach the fixture. Sometimes, a screwdriver is needed for screws. Always check your specific light cover for requirements.
How To Identify The Type Of Kitchen Light Cover?
Look closely at the cover’s attachment style. It may twist, clip, or screw on. Read the manufacturer’s instructions if available. This helps you choose the correct removal method safely.
Can I Clean The Kitchen Light Cover After Opening?
Yes, cleaning is recommended for better light quality. Use a soft cloth with mild soap and water. Avoid harsh chemicals that may damage the cover. Dry thoroughly before reattaching to prevent moisture damage.
Conclusion
Opening a kitchen light cover is easier than it seems. Just follow the steps carefully and take your time. Use the right tools and be gentle to avoid damage. Safety matters, so turn off the power first. Once open, cleaning or changing bulbs becomes quick and simple.
Practice makes perfect, so don’t worry if it takes a little longer at first. Soon, you will handle this task with confidence. Keep your kitchen lights bright and working well. Simple fixes like this save money and effort. Give it a try today!