
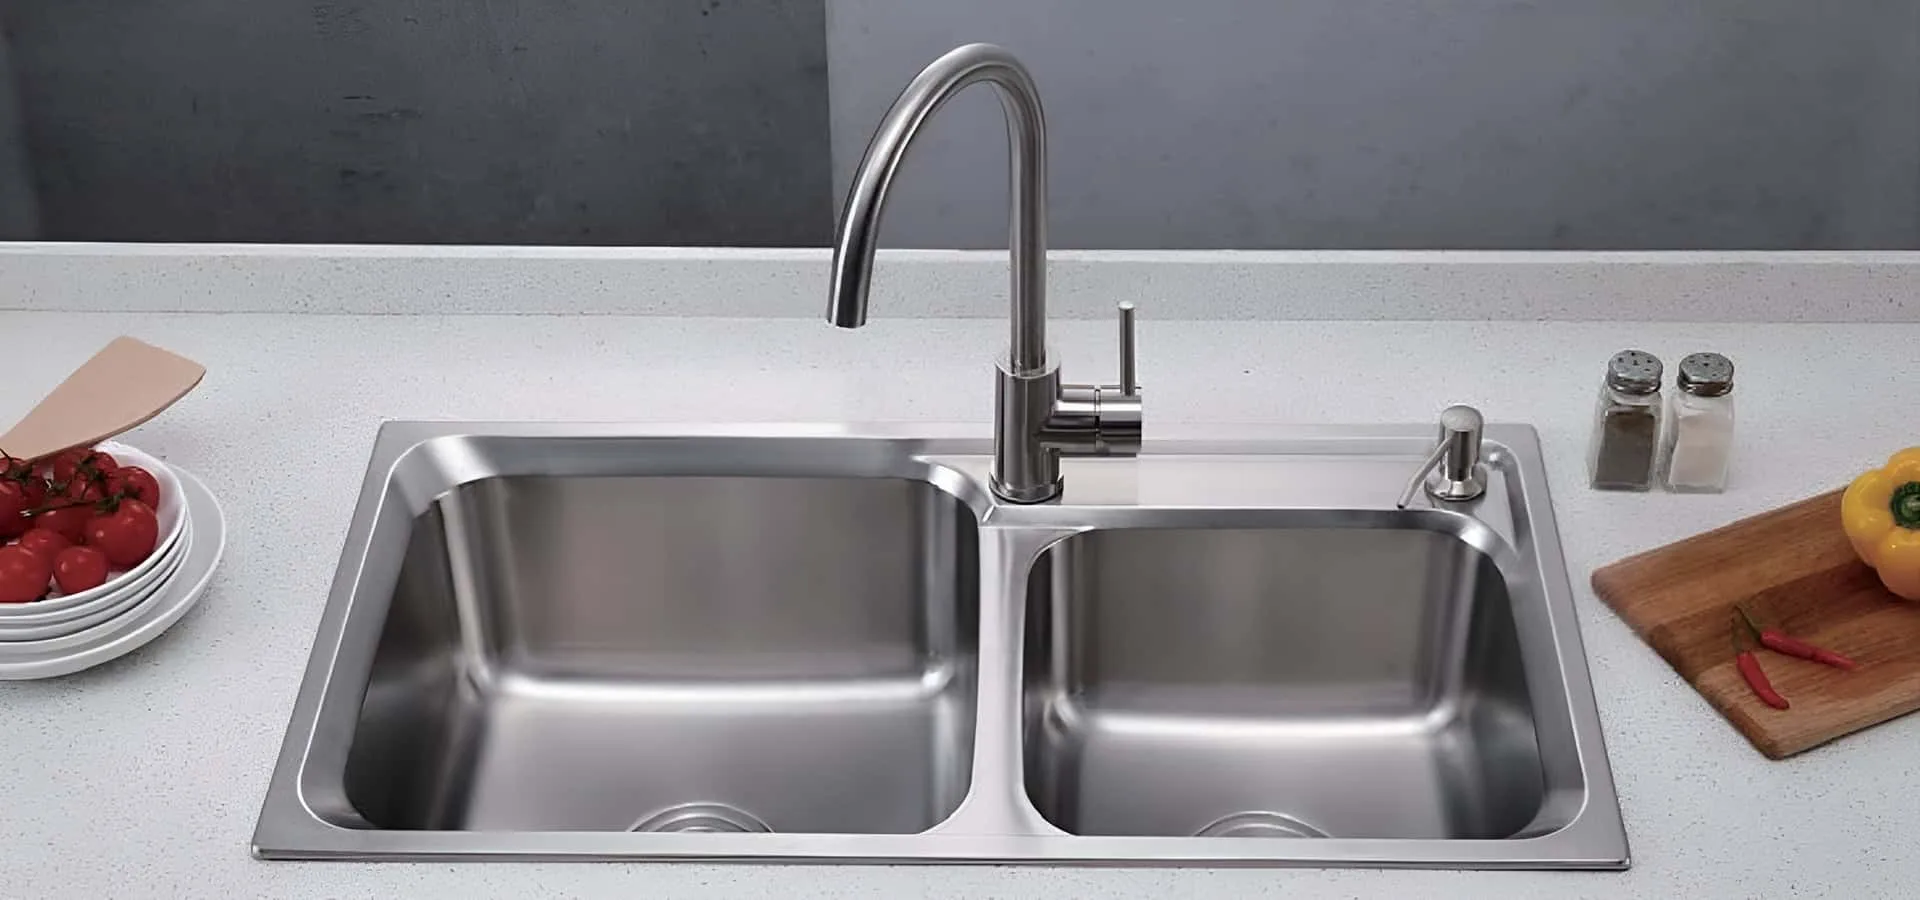
Are you tired of cluttered countertops and messy soap bottles around your kitchen sink? Installing a soap dispenser can be a simple, stylish solution that keeps your space neat and makes washing up easier.
But you might wonder, how do you install one without calling a plumber or spending hours figuring it out? This guide will walk you through every step, using clear instructions that anyone can follow. By the end, you’ll have a sleek soap dispenser ready to use, giving your kitchen a clean, modern touch.
Keep reading to discover how easy it is to upgrade your sink area today!

Credit: poormankitchen.com
Tools And Materials Needed
Before you start installing a soap dispenser for your kitchen sink, gathering the right tools and materials is crucial. Having everything on hand helps avoid unnecessary delays and frustrations. It also makes the process smoother and more efficient.
Essential Tools
Some basic tools are must-haves for this task. You’ll need a screwdriver to tighten screws and fittings securely. An adjustable wrench or pliers come in handy for loosening or tightening nuts under the sink.
Additionally, a drill might be necessary if your sink doesn’t already have a hole for the dispenser. Don’t forget a measuring tape to ensure proper placement and fit. A utility knife can help trim any excess tubing neatly.
- Screwdriver (Phillips and flathead)
- Adjustable wrench or pliers
- Drill with appropriate drill bits
- Measuring tape
- Utility knife
- Bucket or towel (to catch any drips during installation)
Choosing The Right Soap Dispenser
Picking the right soap dispenser is more important than you might think. Do you want a built-in style that mounts directly on your sink or countertop, or a freestanding one? Built-in dispensers usually require drilling a hole but look sleek and save space.
Consider the soap type you’ll use—liquid, foam, or detergent for dishwashers. Some dispensers work better with specific soap types. Also, think about the dispenser’s capacity; a larger reservoir means less frequent refills.
Material matters too. Stainless steel models resist rust and last longer, while plastic options might be more budget-friendly. Have you checked if your kitchen style matches the dispenser’s design? A mismatch can affect the overall look of your space.
Preparing The Sink Area
Preparing the sink area is a crucial step before installing your new soap dispenser. Taking the time to organize and assess the space can save you from unexpected hassles during installation. A well-prepared workspace makes the process smoother and more efficient.
Clearing The Workspace
Start by removing any items around the sink that could get in the way. This includes soap bottles, sponges, and dish racks. Clearing the area gives you better access and reduces the risk of knocking things over or damaging them.
Next, wipe down the sink surface to ensure it’s clean and dry. This helps prevent slipping and gives you a clear view of the installation spot. Have a small container ready to hold screws or parts so nothing gets lost.
Checking Existing Fixtures
Inspect the current faucet and any accessories attached to your sink. Look for any leaks, loose fittings, or corrosion that might affect the soap dispenser installation. Fixing these issues beforehand can prevent bigger problems later.
Also, measure the diameter of the hole where you plan to install the dispenser. Soap dispensers come in various sizes, so confirming your sink’s compatibility is important. If your sink doesn’t have a pre-drilled hole, think about where you want the dispenser and whether drilling is possible.
Removing Old Dispenser
Begin by turning off the water supply to avoid leaks. Loosen and remove the old dispenser from beneath the sink carefully. Clean the area before installing the new soap dispenser to ensure a good fit.
Removing an old soap dispenser from your kitchen sink can seem tricky. But with simple steps, it becomes manageable. This guide will help you remove the old dispenser smoothly. Follow each step carefully for a hassle-free experience.
Disconnecting Supply Lines
Begin by turning off the water supply under the sink. This prevents any water leaks while you work. Locate the supply lines connected to the dispenser. Use a wrench to loosen and disconnect these lines. Ensure you have a bucket or towel to catch any drips. This step ensures a clean and dry workspace.
Unscrewing The Dispenser
Next, find the mounting nut underneath the sink. Use a basin wrench to unscrew it. If it's tight, apply some penetrating oil to loosen it. Carefully remove the dispenser from above the sink. Hold it firmly to avoid dropping and damaging it. Once removed, clean the area for the new installation. This ensures a fresh start for your new dispenser.

Credit: www.kraususa.com
Installing The New Soap Dispenser
Installing the new soap dispenser transforms your kitchen sink into a more functional and tidy space. The process is straightforward and doesn’t require special tools. With a bit of patience and attention to detail, you’ll have your dispenser ready to use in no time.
Positioning The Dispenser
Start by deciding where you want the soap dispenser to be. Most people place it near the faucet for easy reach. Make sure the spot has enough space underneath the sink for the soap bottle.
Check if there’s an existing hole for the dispenser, usually beside the faucet. If not, you might need to drill a hole carefully. Think about how the soap bottle will fit and whether it will get in the way of cabinet doors or pipes.
Securing The Mount
After positioning, insert the dispenser’s neck through the hole. Hold it steady while you secure the mount underneath the sink. The mount usually tightens with a screw or a nut—use your hand or a wrench for this.
Make sure the dispenser sits firmly and doesn’t wobble. If it feels loose, tighten the mount a bit more but avoid over-tightening, which can damage your sink or the dispenser parts.
Attaching The Pump And Bottle
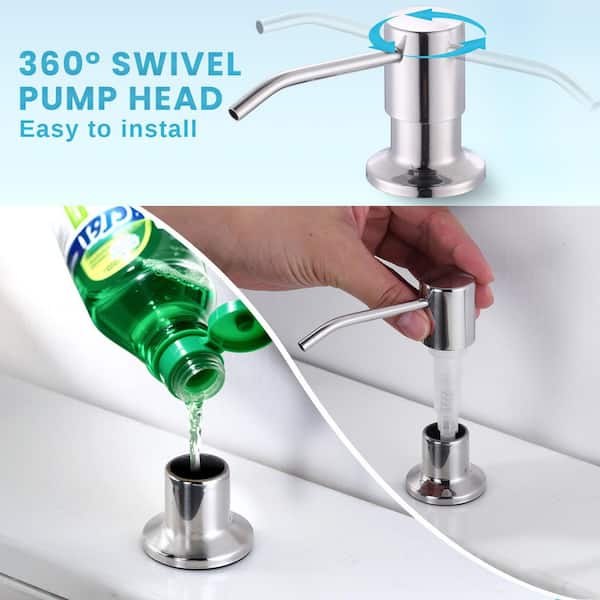
Now, connect the soap bottle to the dispenser neck by screwing it on. Attach the pump head on top of the dispenser. Test the pump by pressing it a few times to ensure smooth operation.
If the pump doesn’t work smoothly, check for any blockages or misalignment. Filling the bottle with soap before attaching it helps avoid mess and ensures the dispenser is ready to use right away.
Connecting The Dispenser
Connecting the soap dispenser to your kitchen sink is a simple but important task. It ensures the dispenser works smoothly and lasts long. Proper connection prevents leaks and keeps soap flowing easily. Follow clear steps to finish this part correctly.
Installing The Soap Refill Bottle
Start by attaching the soap refill bottle under the sink. Align the bottle’s neck with the dispenser’s tube. Push the bottle upward until it locks firmly in place. Make sure the bottle is tight to avoid spills. Position the bottle so it stands upright and stable.
Testing The Pump Mechanism
Press the pump on top of the dispenser gently. Soap should come out smoothly without hesitation. If soap does not flow, check the tube connection inside. Pump several times to remove air bubbles. Adjust the bottle or tube if the pump feels stiff or clogged.
Credit: www.homedepot.com
Troubleshooting Common Issues
Installing a soap dispenser for your kitchen sink can make washing easier. Sometimes, small issues may appear after installation. These problems usually have simple fixes. Fixing them quickly keeps your kitchen running smoothly. Here are common problems and how to solve them.
Leaks And Drips
Leaks often happen around the base or under the sink. Check the connections for tightness. Loose fittings let water escape. Use a wrench to gently tighten any loose nuts.
Look at the soap bottle and pump area too. Cracks or damage can cause drips. Replace any broken parts to stop leaks. Clean the area to remove soap buildup. Soap residue can look like a leak but is just leftover soap.
Pump Not Working Smoothly
A stiff or stuck pump is common after installation. Soap can dry inside the tube or pump. Remove the pump and soak it in warm water. This softens dried soap and clears blockages.
Press the pump several times after soaking. This helps move soap freely again. Check the tube for clogs or kinks. Straighten or clean the tube to improve flow. Using thinner soap can also prevent pump issues.
Maintenance Tips
Proper maintenance keeps your kitchen soap dispenser working well. It stops clogs and leaks. Regular care saves time and money. Two main tasks help maintain it: refilling the soap and cleaning the dispenser.
Refilling The Soap
Always refill the dispenser before it runs out. Use liquid soap made for kitchen use. Avoid thick soaps that can clog the pump.
- Remove the pump head by twisting it off.
- Pour soap slowly to avoid spills.
- Do not overfill; leave some space for air.
- Secure the pump head tightly after refilling.
Refilling often keeps the pump working smoothly. It also prevents air from blocking the dispenser.
Cleaning The Dispenser
Clean the soap dispenser every few weeks. This prevents soap buildup and bacteria growth. Use warm water and mild soap for cleaning.
- Remove the pump and soap container.
- Rinse all parts with warm water.
- Use a soft brush or cloth to remove residue.
- Soak the pump in warm water if it clogs.
- Dry all parts completely before reassembling.
Regular cleaning extends the dispenser’s life. It also keeps the soap fresh and easy to pump.
Frequently Asked Questions
How Do I Install A Soap Dispenser In My Kitchen Sink?
To install a soap dispenser, first drill a hole in the sink or countertop. Insert the dispenser pump from above. Secure the bottle underneath and attach the tube. Finally, fill the bottle with soap and test the pump for smooth operation.
What Tools Are Needed For Soap Dispenser Installation?
You need a drill with a hole saw bit, adjustable wrench, screwdriver, and plumber’s putty. These tools help create the hole, tighten connections, and seal the dispenser properly to avoid leaks.
Can I Install A Soap Dispenser Without Professional Help?
Yes, installing a soap dispenser is a simple DIY task. Follow the instructions carefully, use the right tools, and take safety precautions. Most kitchen sinks are compatible with standard dispensers.
How Do I Choose The Right Soap Dispenser For My Sink?
Select a dispenser that fits your sink hole size and complements your kitchen style. Check the bottle capacity and ease of refilling. Ensure it suits your soap type, either liquid or foam.
Conclusion
Installing a soap dispenser for your kitchen sink is simple and quick. Follow each step carefully to avoid mistakes. Use the right tools and check for leaks after installation. A well-installed dispenser keeps your kitchen tidy and soap within reach.
This small change can improve your daily routine. Take your time and enjoy the convenience it brings. Now, your kitchen sink looks neater and works better. Ready to wash your hands or dishes with ease?