
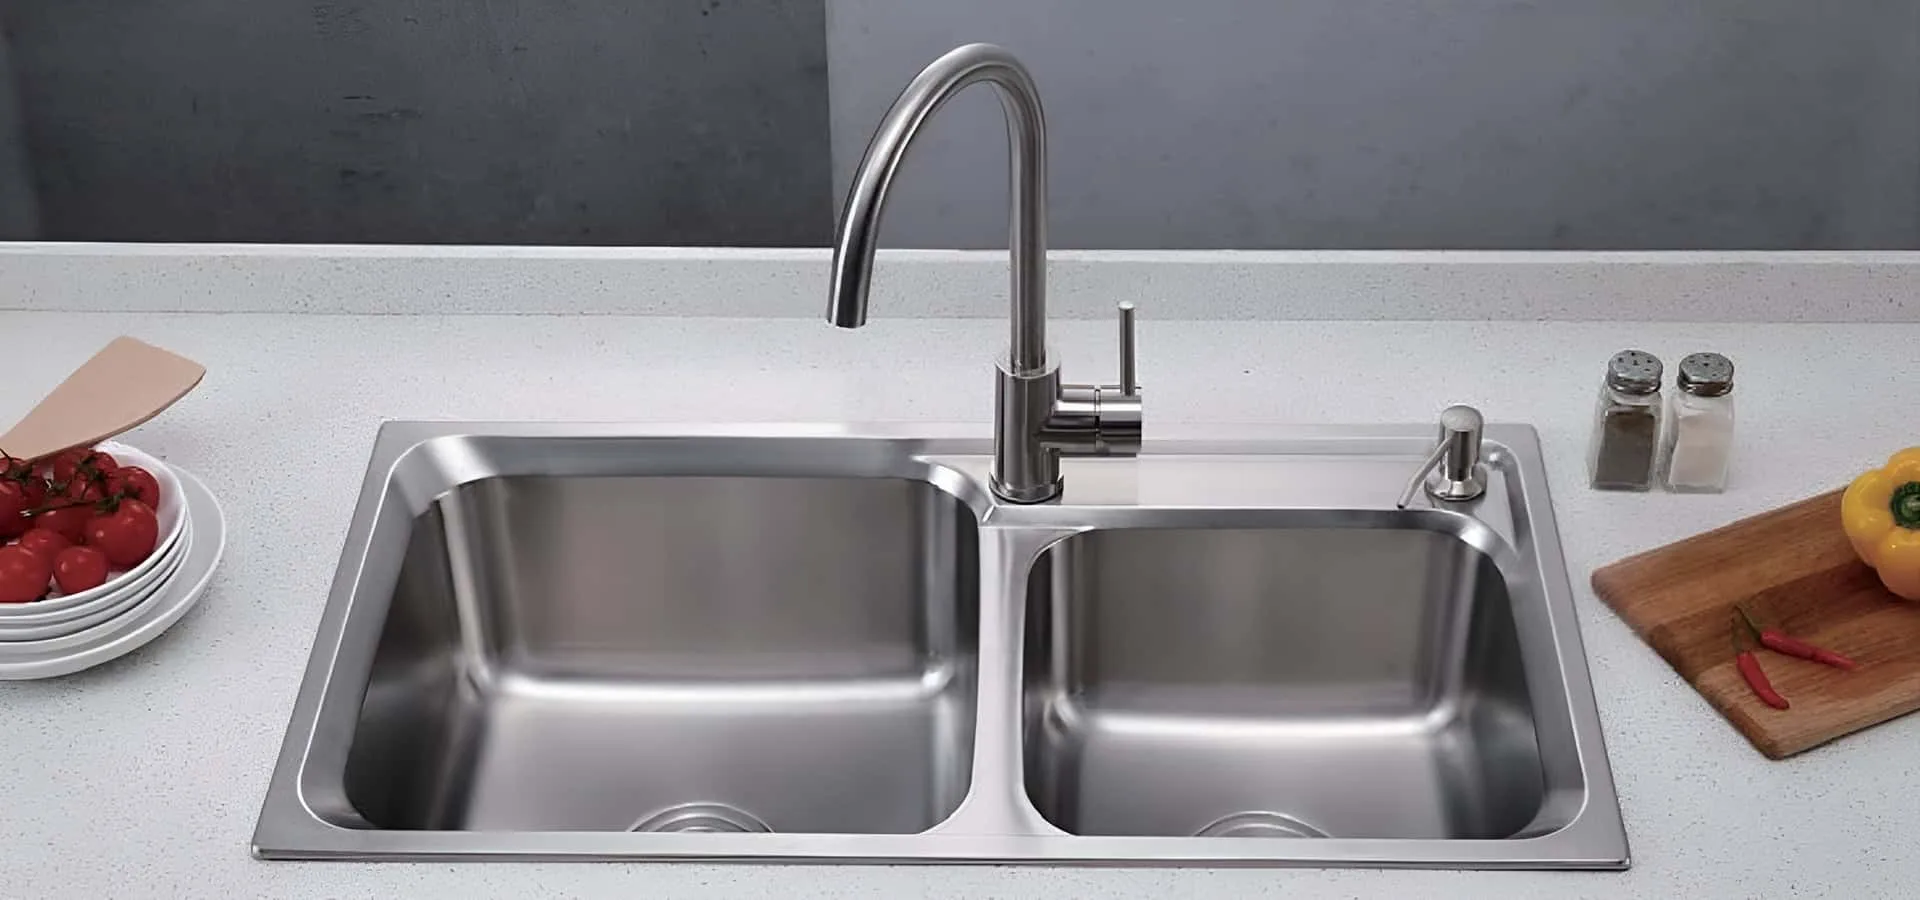
Is your kitchen sink soap dispenser leaking, clogged, or just not working like it used to? Replacing it might seem tricky, but it’s easier than you think.
With a few simple tools and clear steps, you can fix it yourself and save time and money. Keep reading, and you’ll discover how to replace your soap dispenser quickly—no plumber needed! This guide is made just for you, so you can get back to a cleaner, more efficient kitchen without hassle.

Credit: www.amazon.com
Tools And Materials Needed
Replacing a soap dispenser in your kitchen sink requires some basic tools and materials. Having the right items ready makes the process smooth and quick. This section lists everything needed to complete the task without hassle.
Most tools are common household items or easy to buy at any hardware store. Preparing these beforehand saves time and avoids interruptions during the replacement.
Essential Tools
- Adjustable wrench for loosening nuts
- Screwdriver to remove mounting screws
- Pliers for gripping tight parts
- Bucket to catch water drips
- Towel or rag for cleaning spills
Required Materials
- New soap dispenser compatible with your sink
- Plumber’s putty or silicone sealant
- Replacement washers or gaskets if needed
- Cleaning solution for the sink area
Safety Equipment
- Protective gloves to protect your hands
- Safety glasses for eye protection
Preparing The Sink Area
Preparing the sink area is a crucial step before replacing your kitchen sink soap dispenser. Taking the time to clear and organize the space helps you avoid unnecessary mess and makes the entire process smoother. You’ll work more efficiently when everything you need is within reach and the area is free from clutter.
Clear The Sink Countertop
Start by removing all items around the sink, including soap bottles, sponges, and dish racks. This gives you ample space to work and prevents any accidental spills or damage to your belongings. A clean countertop also helps you spot any leaks or issues during the replacement process.
Turn Off The Water Supply
Locate the shut-off valves under the sink and turn them off to stop the water flow. This step is essential to avoid unexpected water spills while disconnecting the dispenser. If you don’t see individual valves, consider turning off the main water supply to your kitchen.
Gather Necessary Tools And Materials
Before you start, make sure you have all the tools ready, such as a wrench, a bucket, and a towel. Having everything on hand prevents interruptions and keeps you focused. You might also want to wear gloves to protect your hands from sharp edges or cleaning chemicals.
Place A Bucket Under The Sink
Put a bucket or a large bowl under the area where the dispenser connects to the water line. This catches any residual water when you disconnect the old dispenser. It’s a simple step that saves you from cleaning up water puddles later.
Removing The Old Soap Dispenser
Turn off the water supply before loosening the old soap dispenser. Unscrew the mounting nut under the sink and lift out the dispenser carefully. Clean the area to remove any soap residue before installing a new one.
Removing the old soap dispenser from your kitchen sink can seem daunting. But with a few simple steps, it becomes manageable. Let's dive into the process, ensuring your task is smooth and hassle-free.
Turn Off The Water Supply
Begin by turning off the water supply. Locate the valves under your sink. Twist them clockwise to stop water flow. This step prevents any accidental spills or leaks.
Detach The Soap Bottle
Next, remove the soap bottle. Reach under the sink and unscrew the bottle from the pump. This helps in clearing the area for the next steps.
Unscrew The Mounting Nut
Now, focus on the mounting nut. Use a wrench to unscrew it. This nut secures the dispenser to the sink. Once unscrewed, lift the dispenser from the top. Your old soap dispenser is now ready for replacement.
Cleaning The Mounting Area
Cleaning the mounting area is a crucial step before installing your new soap dispenser. Dirt, grime, and old soap residues can prevent the dispenser from sitting properly or cause leaks. Taking the time to thoroughly clean this space ensures a smooth and secure fit for your new dispenser.
Remove Old Residue And Debris
Start by wiping away any soap scum or grime around the mounting hole. Use a sponge or cloth dampened with warm, soapy water to scrub the area gently. If you notice stubborn buildup, a soft brush or an old toothbrush can help reach tight spots.
Check For Mold And Mildew
Soap dispensers often collect moisture, which can lead to mold or mildew growth under the sink. Use a mixture of vinegar and water or a mild bleach solution to clean these areas. This not only improves hygiene but also prevents unpleasant odors and potential damage.
Dry The Surface Thoroughly
Before installing the new dispenser, make sure the mounting area is completely dry. Use a clean towel or let it air dry for a few minutes. Moisture can weaken the seal and cause the dispenser to loosen over time.
Inspect The Mounting Hole
Look closely at the hole where the dispenser will sit. Is it free from cracks or damage? If the hole is too large or uneven, you may need to use a gasket or sealant to create a snug fit. A proper seal prevents leaks and keeps your countertop looking neat.
Test Fit The New Dispenser
Before finalizing the installation, place the new soap dispenser into the hole to check the fit. Does it sit flush against the countertop? If it wobbles or doesn’t fit well, revisit the cleaning and inspection steps. A secure fit means fewer problems down the road.
Installing The New Soap Dispenser
Installing the new soap dispenser is a straightforward process that requires some patience and attention to detail. You'll want to make sure each component fits securely to avoid leaks and ensure smooth operation. Taking your time during installation can save you from future headaches and keep your kitchen sink looking neat and functional.
Insert The Dispenser Neck
Start by placing the dispenser neck through the hole in your sink or countertop. The neck should slide in smoothly without forcing it. If it feels tight, check for any debris or rough edges that could block the insertion.
Make sure the dispenser neck is positioned straight and aligned properly. A crooked neck can cause problems when you attach the soap bottle later. Have you noticed how a slight tilt can make the whole setup look off? Correcting this early helps avoid redoing the work.
Secure The Mounting Nut
Next, secure the dispenser neck by screwing on the mounting nut from underneath the sink. Tighten the nut firmly but avoid over-tightening, which could crack the sink surface or damage the dispenser. Use your hand first, then a wrench for a snug fit.
Check the neck again from above to ensure it hasn’t shifted while tightening. If it moves, loosen and reposition before trying again. A solid mount keeps the dispenser stable during use and prevents leaks.
Attach The Soap Bottle
Finally, screw the soap bottle onto the dispenser neck from underneath the sink. Twist it until it’s securely attached to prevent spills. It helps to fill the bottle with soap before attaching, so you can see if it pumps smoothly right away.
Give the dispenser a few pumps to test the flow. If it feels blocked or uneven, double-check the bottle’s position and the neck’s alignment. Would you believe a small twist can change the entire soap flow experience? Getting this right makes your daily kitchen tasks easier.
Credit: riteacademy.com
Testing The New Dispenser
Testing the new soap dispenser is a crucial step after installation. It ensures everything works smoothly and prevents any soap spills or clogging later. Taking the time to test will save you frustration and keep your kitchen tidy.
Fill With Soap
Start by filling the dispenser reservoir with your preferred liquid soap. Use a funnel or pour carefully to avoid mess. Don’t overfill; leave some space to allow the pump to draw soap easily.
Choose a soap that flows well—thick soaps might clog the pump, causing it to malfunction. If you notice resistance while filling, double-check the dispenser opening for blockages or narrow spots.
Pump To Check Functionality
Press the pump several times to prime it. Initially, you might need to pump a few times before the soap comes out. This is normal and helps clear any air pockets inside the tube.
Watch the dispenser as you pump—does it deliver a smooth, consistent stream? If the flow is weak or uneven, inspect the pump mechanism for any tightness or misalignment.
Ask yourself: Does the dispenser pump out soap without leaking or sticking? A well-functioning dispenser should feel easy to press and release. If it feels stiff, loosening the pump head gently might help.
Tips For Maintenance
Keeping your kitchen sink soap dispenser in top shape saves you time and hassle. Regular maintenance prevents clogs and leaks, ensuring smooth soap flow whenever you need it. Let’s dive into some easy tips that help your dispenser last longer and work better.
Clean The Nozzle Regularly
Soap build-up often blocks the nozzle, causing slow or uneven dispensing. Wipe the nozzle with a damp cloth every week to clear any residue. If it’s clogged, soak the nozzle in warm water mixed with vinegar to dissolve hardened soap.
Check For Leaks And Tighten Connections
Leaks can waste soap and create messes under your sink. Inspect the dispenser base and hose for any drips or loose fittings. Tighten connections by hand or with a wrench, but be careful not to over-tighten and damage the parts.
Use The Right Soap
Not all soaps are created equal for dispensers. Thick or homemade soaps might clog the pump faster. Choose liquid soaps labeled for dispenser use—they flow easily and reduce maintenance needs.
Flush The Pump Occasionally
Soap can dry inside the pump mechanism, making it hard to press. Pump warm water through the dispenser to clear out old soap. This simple flush refreshes the pump and keeps it operating smoothly.
Replace Worn Parts Promptly
If the pump handle feels loose or the dispenser leaks despite tightening, some parts may be worn out. Replace gaskets, springs, or the entire pump as needed to avoid bigger problems. Keeping spare parts handy saves you a trip to the store later.

Credit: www.amazon.com
Frequently Asked Questions
How Do I Remove The Old Soap Dispenser?
To remove the old soap dispenser, first disconnect the soap bottle under the sink. Then, unscrew the mounting nut that holds the dispenser in place. Finally, lift the dispenser out from the top of the sink carefully.
What Tools Are Needed To Replace A Soap Dispenser?
You typically need a wrench or pliers to loosen the mounting nut. A screwdriver may be required for some models. Having a bucket or towel handy helps to catch any spills during removal.
How Do I Install A New Soap Dispenser?
Insert the new dispenser through the sink hole. Secure it underneath with the mounting nut. Attach the soap bottle and pump. Test by pressing the pump to ensure proper soap flow.
Can I Use Any Soap Dispenser For My Kitchen Sink?
Not all soap dispensers fit every sink. Check the hole size and dispenser dimensions. Choose a dispenser compatible with your sink’s hole diameter for a proper fit.
Conclusion
Replacing a soap dispenser in your kitchen sink is simple and quick. You only need a few tools and a little patience. Follow the steps carefully, and you will save money on repairs. A new dispenser keeps your sink neat and easy to use.
Take your time, and enjoy the fresh look in your kitchen. Now, you can easily keep your soap close at hand. Try it yourself, and see how easy the task can be.