
Are you ready to give your kitchen cabinets a fresh, flawless look without any mess? Masking off your kitchen cabinets is the secret step that ensures clean lines and protects areas you don’t want painted.
Whether you’re a DIY beginner or just want to save time and frustration, learning how to mask off your cabinets correctly can make all the difference. Keep reading, and you’ll discover simple tips and tricks that make this task easy, fast, and even enjoyable.
Your kitchen makeover starts here!

Credit: www.familyhandyman.com
Preparing Cabinets For Masking
Preparing your kitchen cabinets for masking is a crucial part of achieving a clean and professional-looking paint job. Skipping this step can lead to paint bleed, uneven edges, and extra cleanup work later. Taking the time to properly prepare surfaces ensures your effort pays off with sharp lines and a smooth finish.
Cleaning And Drying Surfaces
Start by thoroughly cleaning your cabinet surfaces. Dirt, grease, and dust can prevent tape and paint from sticking properly. Use a mild detergent mixed with warm water and a soft cloth to wipe down every inch of the cabinet fronts, edges, and sides.
After cleaning, make sure the cabinets are completely dry before you begin masking. Damp surfaces can cause the tape to peel or allow paint to seep under the edges. Waiting a full hour or more can save you from frustrating touch-ups later.
Removing Hardware And Fixtures
Take off all handles, knobs, and hinges before applying any tape. Leaving hardware in place makes masking tricky and increases the risk of paint getting on these pieces. Plus, removing them gives you better access to corners and crevices for a cleaner paint job.
If you’re worried about losing screws or small parts, place them in labeled containers. This keeps everything organized and speeds up the reassembly process once the painting is done. Have you ever struggled to find that one tiny screw right when you need it?
Sanding And Repairing Imperfections
Before masking, lightly sand your cabinet surfaces to help the paint adhere better. Use fine-grit sandpaper to smooth out rough spots, scratches, or old paint drips. Pay extra attention to areas where the paint may peel or chip easily.
Fill any dents or holes with wood filler and let it dry completely. Sand the patched areas smooth to blend them with the rest of the surface. Taking these extra steps ensures your cabinets look flawless once painted.
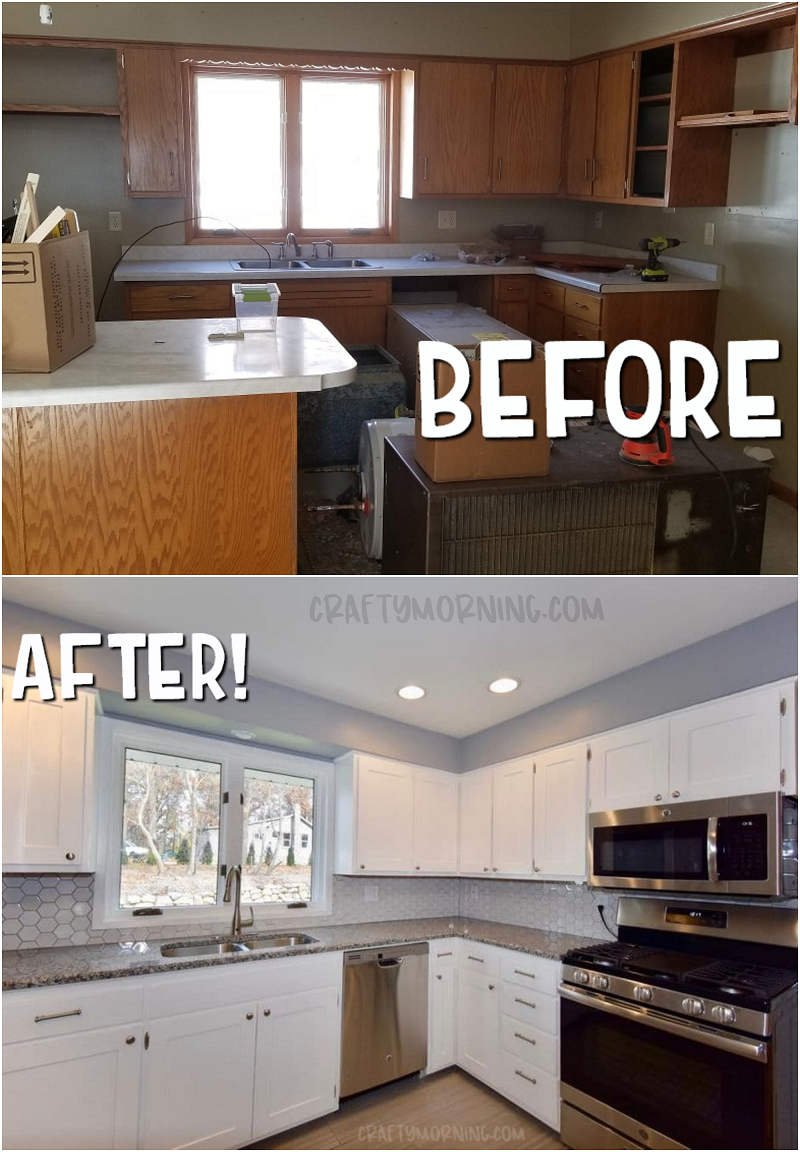
Credit: www.craftymorning.com
Choosing The Right Masking Materials
Choosing the right masking materials makes a huge difference when you mask off kitchen cabinets. The right supplies protect your surfaces from paint spills and ensure clean, sharp lines. Picking the wrong tape or cover can lead to messy edges or damage to your cabinet finish.
Think about what you need to protect and how detailed your work will be. Some tapes stick too hard and peel paint, while others don’t hold well enough and let paint seep underneath. Your choice affects both the ease of your project and the final look.
Types Of Masking Tapes
Not all masking tapes are created equal. Painter’s tape is the most popular because it sticks firmly but peels off easily without leaving residue.
- Blue painter’s tape:Great for delicate surfaces like wood. It prevents paint bleed and removes cleanly.
- Green tape:Stronger adhesion, ideal for rougher surfaces or longer projects.
- FrogTape:Contains a special polymer that blocks paint seepage for razor-sharp lines.
Think about the surface texture and how long the tape will stay on. Have you ever had paint peel off with the tape? Choosing the right tape prevents that frustration.
Using Plastic And Paper Covers
Beyond tape, covers help shield larger areas. Plastic sheeting is lightweight and blocks dust and paint splatters. It works well for protecting countertops and floors near cabinets.
Paper covers, like kraft paper, absorb paint better and reduce the chance of drips running through. They’re great for protecting cabinet doors if you’re spraying paint.
- Use plastic for quick, easy coverage.
- Use paper if you want extra absorption and protection.
- Secure covers tightly with tape to avoid gaps.
Tools For Precision Masking
Precision is key when masking cabinets, especially around handles and edges. A steady hand helps, but the right tools make it easier.
- Utility knife or craft knife:Cut tape and covers cleanly without tearing.
- Small angled brushes:Use these to press tape edges firmly for better seals.
- Tape dispensers:Speed up the process and reduce tape waste.
Have you tried masking without a sharp knife? It usually leads to jagged tape edges and paint bleed. Invest in these simple tools to save time and improve results.
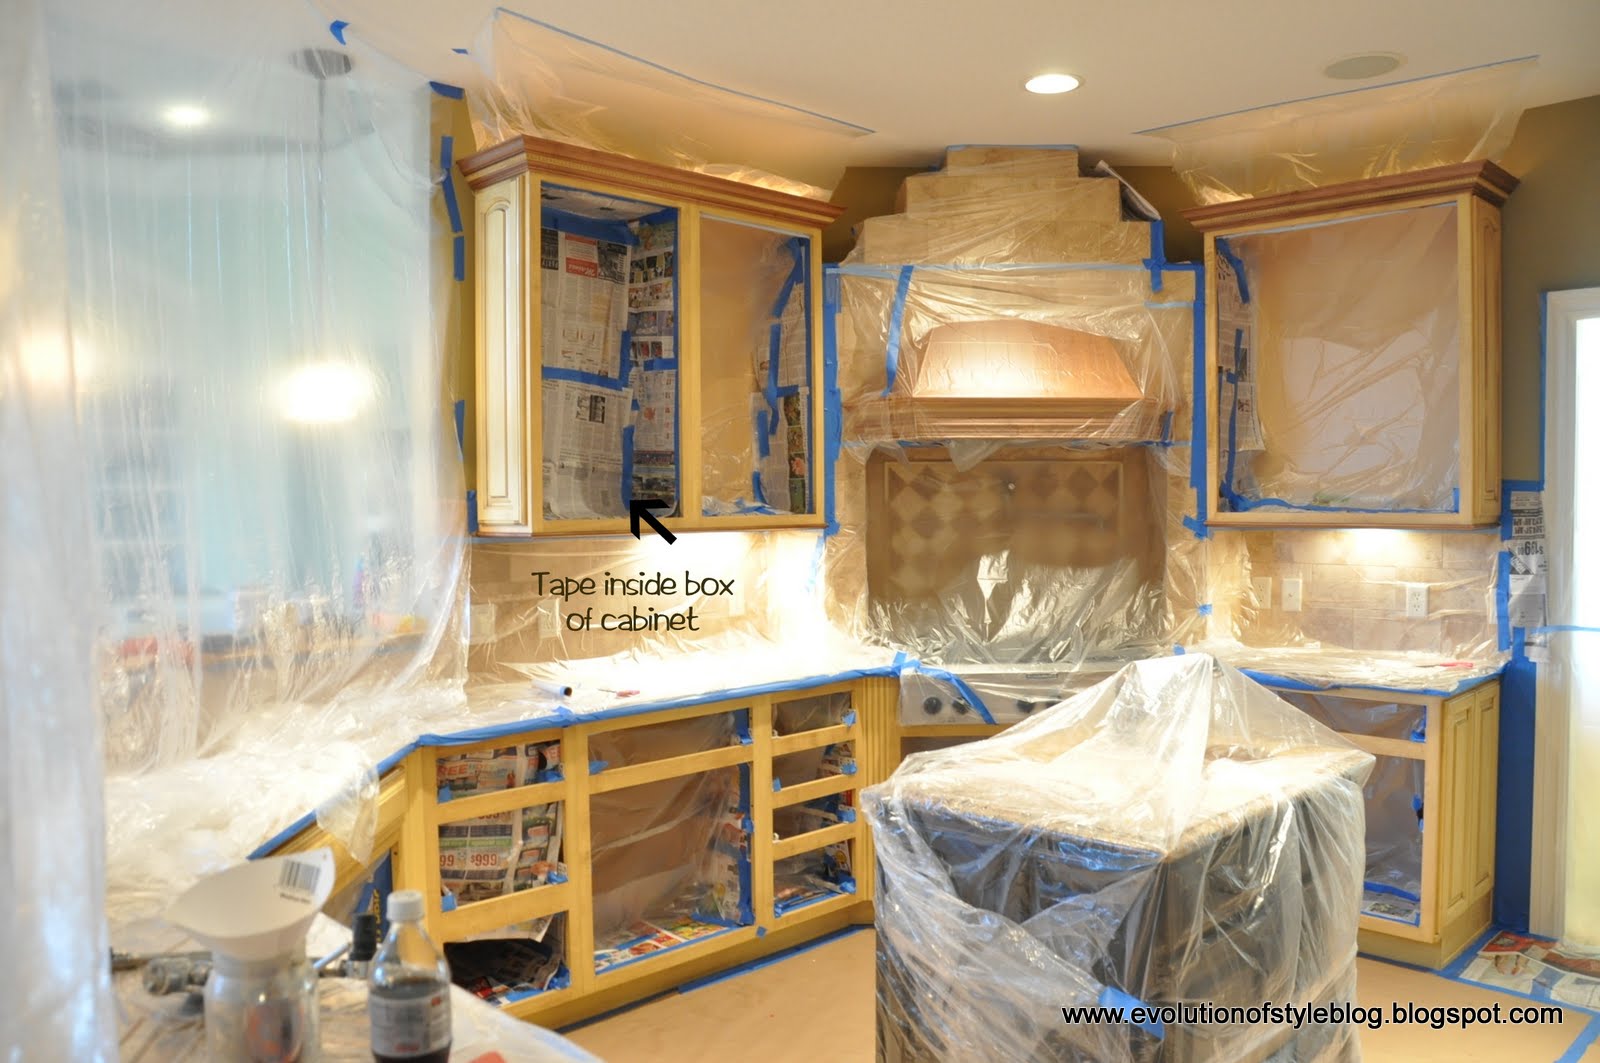
Step-by-step Masking Process
Masking off kitchen cabinets is crucial when painting or refinishing. It protects surfaces from paint splatters and ensures clean lines. Follow this step-by-step process to mask off cabinets effectively.
Protecting Adjacent Areas
Start by covering the floors and countertops. Use drop cloths or plastic sheeting. Secure them with painter's tape to prevent shifting. This protects from accidental spills or drips. Ensure all appliances and fixtures are also covered.
Applying Tape Along Edges
Use painter's tape to mask cabinet edges. Press it firmly to create a tight seal. Align the tape with the cabinet frame. This prevents paint from seeping underneath. Make sure the tape runs straight for a clean line. Use a tape dispenser for easier application.
Securing Corners And Crevices
Corners and crevices need extra attention. Fold the tape to fit neatly into corners. Press down firmly to adhere. For intricate areas, use smaller tape pieces. Overlap the tape slightly to ensure full coverage. Check for gaps or bubbles before proceeding.
Tips For Flawless Paint Lines
Creating sharp, clean paint lines is key to professional-looking kitchen cabinets. Careful taping helps avoid messy edges and uneven finishes. Follow these tips to get flawless paint lines every time.
Pressing Tape Firmly
Apply painter’s tape carefully along cabinet edges. Press the tape down firmly to seal the edges. Use a plastic putty knife or your fingernail to smooth the tape. This prevents paint from seeping underneath. Ensure no air bubbles or gaps remain under the tape.
Avoiding Paint Bleed
Use high-quality painter’s tape designed for delicate surfaces. Avoid applying thick paint layers near the tape edges. Thin coats reduce the chance of paint bleeding under the tape. Allow each coat to dry before applying another. Consider sealing the tape edge with a clear base coat for extra protection.
Removing Tape At The Right Time
Remove tape while the paint is still slightly wet or just dry. Peeling tape too late can cause paint to peel off with it. Pull the tape back slowly at a 45-degree angle. This helps maintain clean, sharp lines. If paint starts to lift, use a sharp blade to cut along the tape edge gently.
Common Masking Mistakes To Avoid
Masking kitchen cabinets requires care to achieve neat, professional results. Many people make simple mistakes that cause paint leaks or damage surfaces. Avoiding these common errors saves time and frustration.
Proper masking protects your cabinets and ensures clean paint lines. Understanding what to avoid improves your project’s outcome.
Using Low-quality Tape
Cheap tape often lacks strong adhesion and tears easily. It may not stick well to cabinet surfaces. Paint can seep under poor tape, ruining edges. Invest in painter’s tape designed for delicate surfaces. It holds firmly without leaving residue or peeling paint.
Skipping Surface Prep
Masking tape won’t stick well on dirty or greasy cabinets. Dust, oil, and grime create barriers. Clean surfaces with mild soap and water first. Let them dry completely before applying tape. This step ensures tape sticks firmly and paint stays contained.
Peeling Tape Too Soon Or Late
Removing tape at the wrong time causes problems. Peel tape while paint is still slightly wet for smooth edges. If paint dries fully, pulling tape can chip or pull paint off. Avoid waiting too long or peeling too early. Timing is key for crisp, clean lines.

Credit: plankhardware.com
Cleanup And Maintenance After Painting
Cleanup and maintenance after painting your kitchen cabinets are just as important as the painting itself. Proper care ensures your hard work lasts longer and keeps your kitchen looking fresh. Skipping this step can lead to peeling paint, sticky surfaces, or damaged hardware that detracts from the overall finish.
Removing Residue
After painting, you may notice small bits of paint or masking tape residue left behind. Use a gentle adhesive remover or warm soapy water with a soft cloth to carefully clean these spots. Avoid harsh scrubbing to prevent damaging the new paint layer.
Sometimes, residue hides in corners or around edges. A soft-bristled toothbrush can reach these tricky spots without scratching the surface. Take your time—rushing here often means you’ll have to repeat the process later.
Reattaching Hardware
Before you start reattaching knobs, handles, and hinges, make sure the paint is completely dry. If the paint is tacky, hardware can stick or peel the finish. Test by gently touching a hidden area to confirm dryness.
When reinstalling, tighten screws just enough to hold firmly without cracking the paint. If you notice hardware holes have paint buildup, clear them with a small drill bit or a toothpick. This prevents misalignment and keeps your cabinets looking neat.
Maintaining Cabinet Finish
Keeping your cabinets clean will protect the paint and extend its life. Use mild cleaners like diluted dish soap and avoid abrasive pads that can scratch the surface. A soft microfiber cloth works best for daily dusting and wiping.
Consider applying a clear protective wax or polyurethane finish if your cabinets get heavy use. This adds a durable layer and makes cleaning easier. Would you rather touch up chips and scratches regularly, or invest a little extra time now to protect your work?
Frequently Asked Questions
How Do I Prepare Cabinets Before Masking?
Clean the cabinets thoroughly. Remove grease, dust, and dirt. Lightly sand surfaces for better tape adhesion. Wipe off sanding dust before masking.
What Tape Is Best For Masking Kitchen Cabinets?
Use painter’s tape designed for delicate surfaces. It prevents paint bleed and residue. Choose medium-adhesion tape for easy removal without damage.
How To Protect Cabinet Hardware During Masking?
Remove hardware if possible. If not, cover knobs and handles with plastic wrap. Secure edges with painter’s tape to avoid paint spills.
Can I Use Plastic Sheeting For Cabinet Masking?
Yes, plastic sheeting is great for covering large areas. Secure it with painter’s tape. It protects cabinets from dust and paint splatters effectively.
Conclusion
Masking off kitchen cabinets helps protect surfaces during painting or staining. Use painter’s tape carefully to cover edges and hardware. Take your time for clean, sharp lines and avoid paint bleeding. Proper preparation saves effort and keeps your kitchen looking neat.
Follow these simple steps to ensure a smooth, hassle-free project. Your cabinets will look fresh and well-finished. Ready to give your kitchen a new look? Just remember: good masking makes all the difference.