
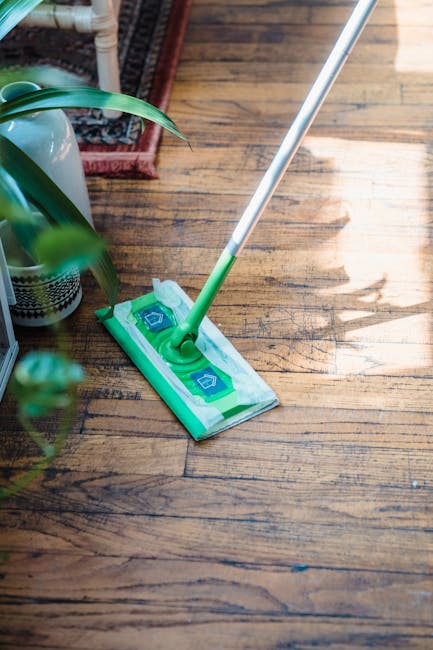
Your kitchen floor can quickly lose its shine with spills, crumbs, and everyday messes. If you want a clean, fresh space where you love to cook and gather, knowing how to mop the kitchen floor the right way is key.
But mopping isn’t just about wiping the surface—it’s about using simple steps that save you time and effort while leaving your floor spotless. Keep reading, and you’ll discover easy tips that make mopping faster and more effective, so your kitchen looks its best every day.
Gather Essential Supplies
Gathering the right supplies makes mopping the kitchen floor easier and faster. Proper tools help clean better and protect your floor. Prepare everything before starting to avoid interruptions and messy spills.
Choose The Right Mop
Select a mop that suits your floor type. Cotton mops absorb water well and work for tile or linoleum. Microfiber mops trap dirt and dry quickly, ideal for wood or laminate floors. Avoid heavy mops on delicate surfaces.
Select Suitable Cleaning Solution
Pick a cleaning solution safe for your floor material. Mild detergents work well on most surfaces. For stubborn stains, use a stronger cleaner but test it on a small spot first. Avoid bleach or harsh chemicals on wood floors.
Prepare Cleaning Bucket
Fill a bucket with warm water and add the cleaning solution. Use the amount suggested on the product label. Warm water helps dissolve dirt faster. Keep a separate bucket with clean water for rinsing the mop if needed.
Clear And Prepare The Floor
Clearing and preparing the kitchen floor is an important first step before mopping. It makes the cleaning process easier and more effective. Start by removing all obstacles that can get in your way. This helps you reach every corner and prevents accidents. Getting rid of dust and crumbs also improves your mop's performance.
Remove Furniture And Rugs
Take out small furniture like chairs and stools. Move rugs and mats to a different room. This clears the entire floor space for mopping. It also stops rugs from getting wet or damaged. If moving heavy furniture is hard, shift it just enough to clean underneath.
Sweep Or Vacuum Debris
Use a broom or vacuum cleaner to remove dirt, dust, and crumbs. Focus on corners and under cabinets where debris gathers. Sweeping first prevents dirt from spreading during mopping. Vacuuming works well for sticky or fine dust. Make sure the floor is dry before starting to mop.
Mix Cleaning Solution
Mixing the right cleaning solution is key to a spotless kitchen floor. The solution helps remove dirt, grease, and stains effectively. Using the proper mix keeps your floor safe and looking fresh. Follow these simple tips to prepare your cleaning liquid correctly.
Follow Manufacturer Instructions
Always check the label on your cleaning product. It shows the right amount of cleaner to mix with water. Using too much can leave residue and damage the floor. Too little might not clean well. Stick to the guide for the best results.
Test Solution On Small Area
Before mopping the entire floor, try the solution on a small spot. This helps avoid damage or discoloration. Wait a few minutes to see how the floor reacts. If all looks good, proceed with mopping the whole kitchen floor.
Credit: www.msn.com
Start Mopping Technique
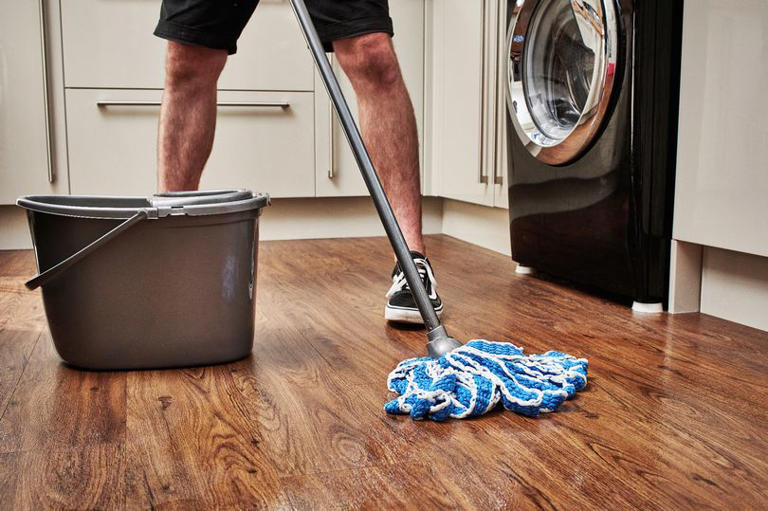
Begin mopping at the far corner of the kitchen and move backward toward the exit. Use smooth, even strokes to clean the floor efficiently. Change mop water often to avoid spreading dirt.
Mopping the kitchen floor might seem like a simple task, but employing the right technique can make a world of difference in achieving a spotless shine. A good mopping technique not only cleans but also helps in maintaining the longevity of your flooring. Here’s how you can master this essential household chore.
Dip And Wring The Mop
Before you start, fill a bucket with warm water and add a few drops of your preferred floor cleaner. Submerge the mop head fully into the solution and give it a thorough soak. Once saturated, wring out the excess liquid until the mop is damp but not dripping. A mop that is too wet can leave streaks, while a dry mop won't clean effectively.
Use Consistent Strokes
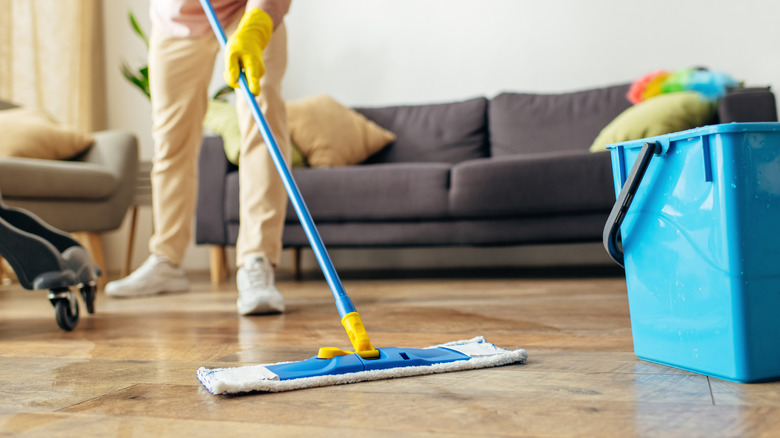
Begin mopping by using smooth, consistent strokes. Push the mop forward, then pull it back towards you. This technique helps in picking up dirt efficiently. As you move, make sure to slightly overlap each stroke to avoid missing spots.
Focus On High-traffic Areas
High-traffic areas often accumulate the most dirt and grime. Spend a bit more time mopping these sections to ensure they are thoroughly cleaned. You might need to rinse and wring the mop more frequently in these spots. Are you noticing any stubborn stains? Consider applying a bit more pressure or re-mopping that area to lift tough spots. Remember, the key to effective mopping is not just about removing dirt but maintaining cleanliness over time. Happy cleaning!
Handle Tough Stains
Tough stains on your kitchen floor can be stubborn and frustrating. They often resist regular mopping and need a bit more care to come off. Tackling these spots with the right approach saves you time and keeps your floor looking spotless.
Apply Spot Cleaner
Start by choosing a spot cleaner suitable for your floor type. Spray or pour a small amount directly onto the stain. Let it sit for a few minutes to break down the grime without drying out.
Be careful not to soak the area too much; excess moisture can damage some flooring materials. If you’re unsure, test the cleaner on a hidden spot first. This step helps you avoid discoloration or surface damage.
Scrub Gently With Brush
Use a soft-bristled brush to scrub the stain gently. Avoid harsh scrubbing that can scratch or wear down the floor. Focus on circular motions to lift the dirt effectively.
Have you noticed how a gentle touch often works better than aggressive scrubbing? It’s less likely to cause damage and more likely to bring out the stain. After scrubbing, wipe the area with a damp cloth to remove loosened dirt and cleaner residue.
Credit: www.housedigest.com
Rinse And Dry Floor
After mopping your kitchen floor, rinsing and drying are key steps. They help remove leftover cleaning solution and prevent streaks or residue. Proper rinsing and drying keep floors clean and shiny for longer.
Use Clean Water For Rinsing
Use fresh, clean water to rinse the floor. Avoid using dirty or soapy water again. Rinse mop thoroughly before dipping it into clean water. Mop the floor lightly with clean water to remove any soap or dirt left behind. This step stops streaks and sticky spots from forming.
Allow Floor To Air Dry
Let the floor dry naturally after rinsing. Avoid walking on it while wet to keep it spotless. Open windows or turn on a fan to speed drying. Air drying helps prevent slips and keeps your floor looking great.
Maintain A Shiny Floor
Keeping your kitchen floor shiny doesn’t have to be a chore you dread. With the right habits and care, your floor can look fresh and inviting every day. Shiny floors not only boost your kitchen’s appeal but also make cleaning easier over time.
Establish Regular Cleaning Schedule
Consistency is key to maintaining a shiny kitchen floor. Set specific days for mopping, like twice a week, to prevent dirt buildup.
Skipping cleaning for a few days may cause stains to settle, making them harder to remove. Think about how a quick, regular mop saved me hours of scrubbing last month.
Try to mop right after spills happen. This small habit keeps your floor looking spotless without extra effort.
Avoid Harsh Chemicals
Using strong chemicals might seem like a quick fix but can dull your floor’s shine over time. Instead, choose gentle, pH-neutral cleaners designed for your floor type.
Harsh products can also damage the finish, causing the surface to become rough and less reflective. Have you noticed how your floor looks dull after using abrasive cleaners?
Natural options like a mix of vinegar and water work well for many floors. Just be sure to test on a small area first to avoid any damage.

Credit: allbetterapp.com
Frequently Asked Questions
How Often Should I Mop My Kitchen Floor?
Mop your kitchen floor at least once a week to maintain cleanliness. Increase frequency if you cook daily or have pets. Regular mopping prevents dirt buildup and keeps floors hygienic and fresh.
What Type Of Mop Is Best For Kitchen Floors?
A microfiber mop is best for kitchen floors. It traps dirt effectively and requires less water. Microfiber mops are gentle on surfaces and dry quickly, reducing slip hazards and floor damage.
Can I Use Homemade Solutions To Mop Kitchen Floors?
Yes, homemade solutions like vinegar and water work well for mopping. Mix one cup of vinegar with a gallon of warm water. Avoid harsh chemicals to protect floor finish and ensure safe cleaning.
Should I Sweep Before Mopping The Kitchen Floor?
Always sweep or vacuum before mopping to remove loose dirt and debris. This step prevents scratching and ensures the mop cleans the floor thoroughly. Sweeping improves mopping efficiency and overall floor cleanliness.
Conclusion
Mopping the kitchen floor keeps your space clean and safe. Use the right mop and cleaner for best results. Clean often to avoid dirt buildup and stains. Dry the floor well to stop slips and falls. A clean kitchen floor makes cooking more pleasant.
Try these simple steps to keep your floor fresh every day. Simple care brings big benefits. Your kitchen will look neat and welcoming.