

Have you ever tossed out spinach stems without realizing they could grow into fresh, tasty greens right in your kitchen? What if you could turn those scraps into a thriving mini garden with almost no effort?
Growing spinach from kitchen scraps is easier than you think, and it can save you money while giving you a steady supply of fresh leaves. You’ll discover simple steps to transform your leftover spinach into new plants. Keep reading, and you’ll be amazed at how quickly your kitchen scraps can become a vibrant, green garden right at home.
Choosing The Right Spinach Scraps
Choosing the right spinach scraps is key to growing healthy plants. Not all parts of spinach regrow well. Picking the best scraps saves time and effort. It helps the plant start strong and grow faster. Knowing which pieces to use makes regrowing spinach easier and more successful.
Best Parts To Regrow
The bottom part of spinach leaves works best for regrowing. This section often includes the stem base and some leaf. Avoid using old, wilted, or yellow leaves. Fresh, green leaves give better results. The stem base holds nutrients and energy for new growth.
- Choose the thick, white stem end
- Include a small part of the leaf attached
- Avoid dry or damaged pieces
Preparing Scraps For Planting
Trim the spinach scrap to about 2 inches long. Remove any leaves that look unhealthy. Soak the scrap in water for a few hours. This helps the plant stay hydrated and start growing roots. Change the water every day to keep it fresh.
- Cut the scrap cleanly with a sharp knife
- Use a glass or jar with enough water
- Place the scrap in indirect sunlight
Credit: medium.com
Setting Up Your Growing Space
Setting up the right growing space is crucial to successfully grow spinach from your kitchen scraps. It’s about creating an environment where your spinach can thrive and surprise you with fresh leaves. A few simple adjustments to your containers, soil, lighting, and temperature can make a huge difference.
Ideal Containers And Soil
Choose containers with good drainage holes to prevent waterlogging, which can cause root rot. You can use anything from recycled plastic containers to small pots—just make sure they are at least 6 inches deep.
Use a light, well-draining potting mix rich in organic matter. Avoid garden soil as it can be too dense and may contain pests. Adding some compost or worm castings improves nutrient content and keeps the soil fluffy.
Lighting And Temperature Needs
Spinach loves bright, indirect light. Placing your container near a sunny window where it can get about 4-6 hours of sunlight daily works well. If natural light is limited, a simple grow light can fill the gap.
Temperature plays a big role too. Spinach grows best in cool conditions between 50-70°F (10-21°C). You might notice slower growth if it’s too warm, so avoid placing your spinach in direct afternoon sun during hot days.
Have you checked your kitchen windowsill or balcony for the perfect spot yet? Sometimes the best growing places are right under your nose.
Planting Spinach Scraps
Planting spinach scraps is a surprisingly simple way to grow fresh greens right from your kitchen. Instead of tossing the spinach stems, you can give them a new life by planting them in soil. This approach not only reduces waste but also offers a rewarding gardening experience, especially when you see those tiny leaves sprouting after a few days.
Step-by-step Planting Guide
Start by gathering the bottom parts of spinach leaves, especially the stems with a bit of the base attached. These scraps should be fresh and not wilted to ensure better growth.
- Fill a small pot or container with well-draining soil, leaving about an inch of space at the top.
- Push the spinach scraps into the soil, burying the stems about 1-2 inches deep while keeping the leafy part above the soil.
- Space them out so each scrap has room to grow without crowding.
- Place the container in a spot that receives indirect sunlight to prevent drying out.
You might wonder how long it takes before you see new growth. Usually, tiny shoots appear within a week, but it depends on temperature and light conditions.
Watering Techniques
Watering is critical but tricky—you want the soil moist, not soaked. Overwatering can cause the scraps to rot, while underwatering will dry them out quickly.
- Use a spray bottle or a gentle watering can to moisten the soil evenly.
- Check the soil daily; if the top inch feels dry, it’s time to water again.
- Avoid watering the leaves directly to prevent fungal issues.
- Make sure your container has drainage holes to prevent waterlogging.
Have you noticed how much more vibrant your spinach looks with consistent watering? The key is to keep a steady balance—your scraps will thank you with lush, fresh leaves.

Credit: www.youtube.com
Caring For Your Spinach Plants
Spinach scraps can regrow easily with a little water and sunlight. Keep the base in water until roots form, then plant it in soil. Regular watering and bright light help spinach grow strong and healthy.
Caring for your spinach plants is crucial for a healthy harvest. After planting, your spinach needs consistent care. With the right attention, your plants can thrive and produce lush leaves. Below, discover essential tips for nurturing your spinach effectively.
Fertilizing Tips
Spinach loves nutrients. Apply a balanced fertilizer every few weeks. Use one with equal parts of nitrogen, phosphorus, and potassium. Organic options like compost are excellent. They provide slow-release nutrients. Avoid over-fertilizing. It can harm your plants. Always follow package instructions for best results.
Pest And Disease Management
Pests can damage spinach leaves. Common pests include aphids and leaf miners. Check your plants regularly. Remove pests by hand or spray with water. Consider using neem oil as a natural remedy. Diseases like downy mildew can also affect spinach. Ensure good air circulation around plants. Water the soil, not the leaves, to prevent disease. Rotate crops yearly to minimize disease risk. Keep your spinach healthy with these simple strategies.
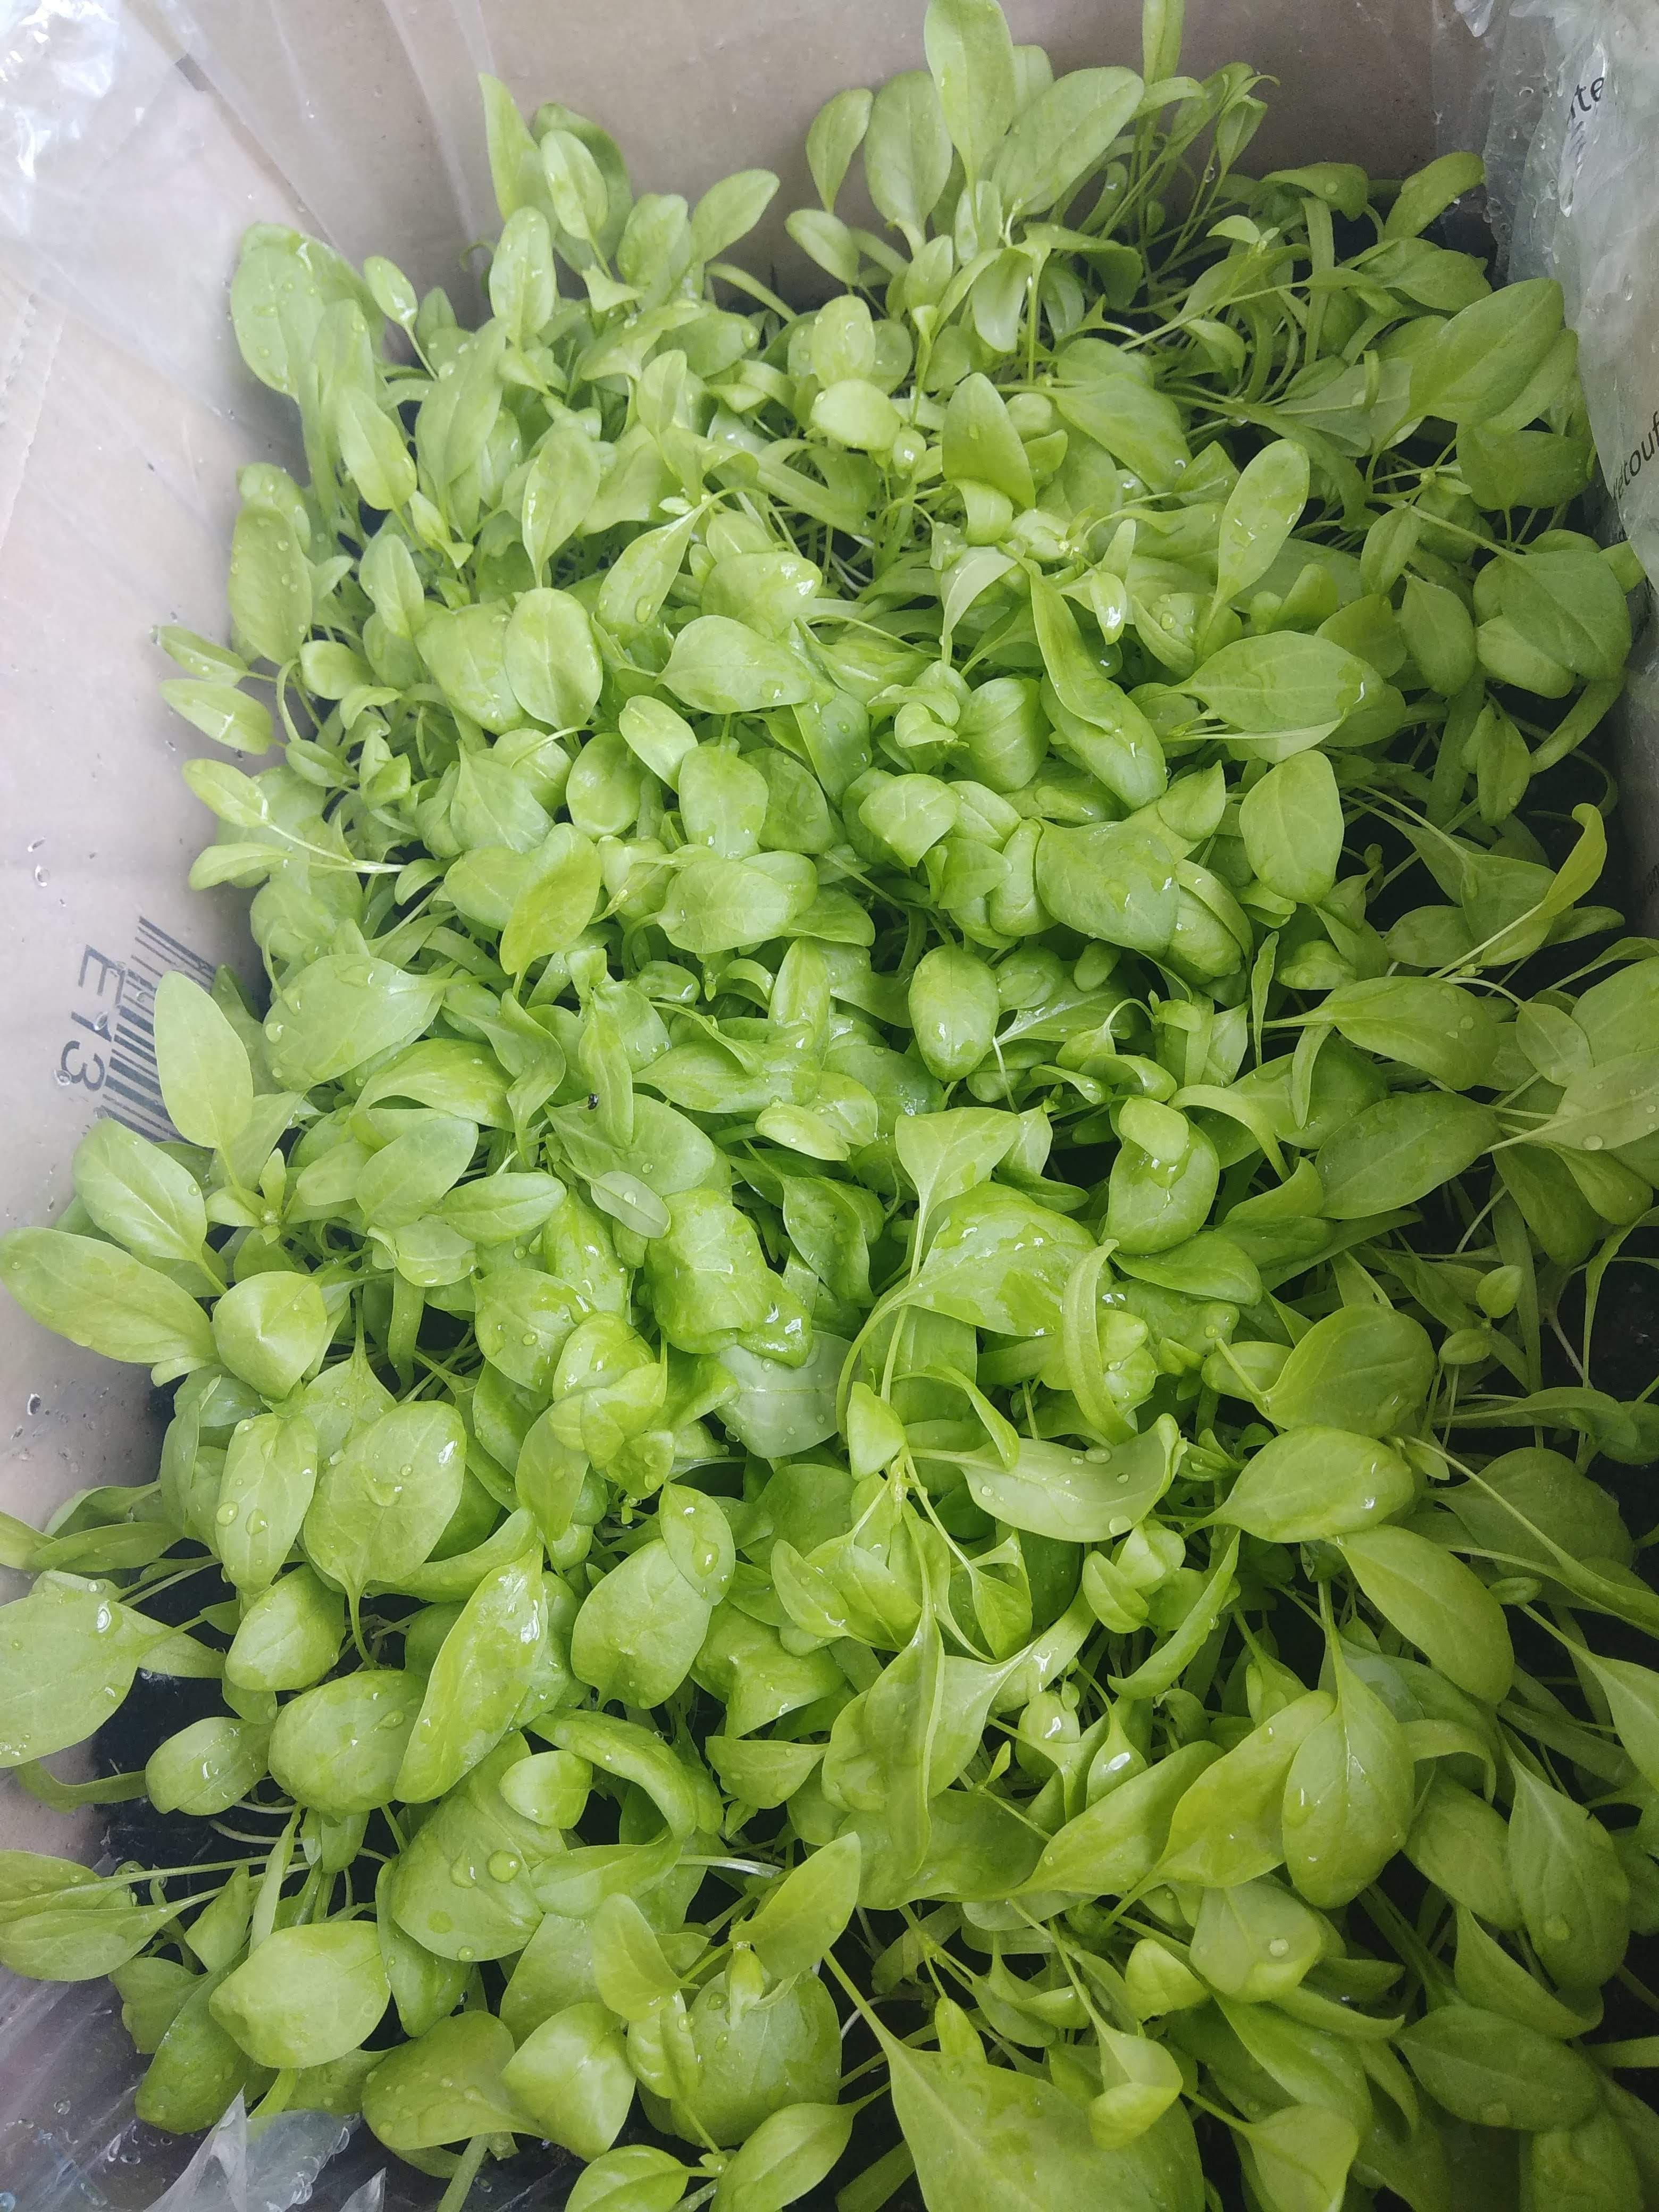
Harvesting And Using Regrown Spinach
Harvesting and using regrown spinach is simple and rewarding. After watching your kitchen scraps turn into fresh green leaves, it's time to enjoy the fruits of your effort. Knowing the right time to pick and how to use the spinach helps you make the most of your regrown crop.
When To Harvest
Regrown spinach is ready to harvest in about 10 to 14 days. Look for leaves that are at least 3 to 4 inches long. Choose the outer leaves first, so the inner ones can keep growing. Use scissors to cut the leaves gently near the base. Avoid pulling the plant out, as it can regrow more leaves.
Cooking And Storage Ideas
Fresh regrown spinach works well in many dishes. Add it to salads, soups, or smoothies for a nutritional boost. You can also sauté it with garlic and olive oil for a quick side dish. To store, rinse the leaves and dry them well. Keep the spinach in a sealed container or bag in the refrigerator. Use it within 3 to 4 days for the best taste and freshness.
:strip_icc()/bhg-basil-plant-water-jar_3vLUuqCn45Z8ICCfzM4Xd8-b20a09155a464cbba3c96ce609810ebb.jpg)
Credit: www.bhg.com
Troubleshooting Common Issues
Growing spinach from kitchen scraps is rewarding, but it doesn't always go perfectly. You might face issues that stop your spinach from regrowing or cause the leaves to wilt. Understanding these common problems helps you react quickly and keep your spinach thriving.
Why Spinach Might Not Regrow
Sometimes, your spinach scraps simply won’t sprout new growth. This can happen if the base of the spinach is too old or damaged before you start regrowing it. Fresh, healthy scraps with a bit of stem attached have the best chance to regrow.
Another reason could be water quality. Using cold or chlorinated water can shock the plant, slowing or stopping regrowth. Try using room temperature, filtered, or rainwater to give your spinach a better start.
Light is also critical. Spinach needs bright, indirect sunlight to regrow. If your kitchen spot is too dark, the scraps might sit there without any progress. Do you have a sunny window or a grow light you can use?
How To Revive Wilted Leaves
Wilted spinach leaves can look hopeless, but they often bounce back. Start by trimming any dead or yellow parts to help the plant focus on healthy growth. Then, check the water level; spinach needs consistent moisture but not soggy conditions.
If the leaves droop, try placing the container in a brighter spot, but avoid direct harsh sunlight which can worsen wilting. Sometimes, a quick soak in fresh water for an hour can perk up the leaves dramatically.
Have you noticed your spinach leaves turning slimy or smelling off? This could signal rot from overwatering or stagnant water. Changing the water frequently and cleaning the container can prevent this issue.
Frequently Asked Questions
How Do You Regrow Spinach From Kitchen Scraps?
To regrow spinach, save the base of the leaves with roots attached. Place it in a glass of water. Change the water every few days. After roots develop, transplant it into soil for better growth.
What Is The Best Soil For Growing Spinach Scraps?
Use well-draining, fertile soil rich in organic matter. A mix of garden soil and compost works well. Ensure the soil is moist but not waterlogged to encourage healthy spinach growth.
How Long Does It Take To Grow Spinach From Scraps?
Spinach regrows from scraps within 7 to 14 days. Full growth suitable for harvest takes about 4 to 6 weeks. Growth speed depends on light, temperature, and care.
Can I Regrow Spinach Indoors From Kitchen Scraps?
Yes, spinach can regrow indoors with adequate sunlight or grow lights. Place the scraps near a sunny window. Keep the soil moist and temperature moderate for best results.
Conclusion
Growing spinach from kitchen scraps is simple and rewarding. You save money and reduce waste. The process needs little space and effort. Just keep the scraps moist and in sunlight. Watch new leaves grow in a few days. This small step brings fresh greens to your table.
Try it today and enjoy homegrown spinach anytime. Gardening can be easy and fun for everyone. Give it a try—you might be surprised by the results.