
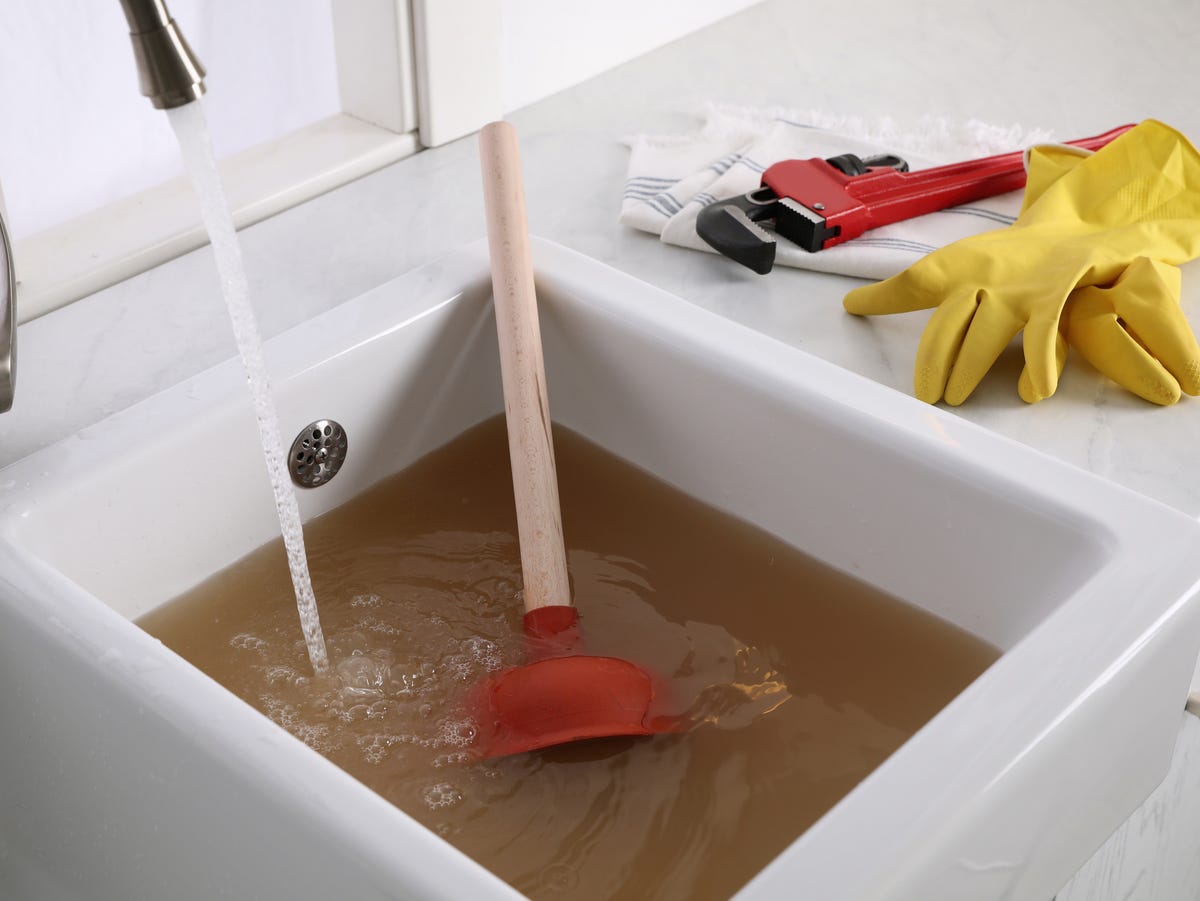
Is your kitchen sink clogged and slowing you down? You don’t need to call a plumber right away.
With just a simple tool—a plunger—you can fix the problem yourself quickly and easily. Imagine turning that stubborn blockage into smooth, flowing water without any hassle. In this guide, you’ll learn step-by-step how to unblock your kitchen sink using a plunger, saving you time, money, and stress.
Keep reading, and you’ll be amazed at how simple it can be to get your sink draining perfectly again.
Credit: www.rd.com
Causes Of A Blocked Kitchen Sink
Understanding what causes your kitchen sink to block can save you time and frustration. Knowing the root of the problem helps you tackle the clog more effectively and prevents future issues. Let’s look at some common reasons why your kitchen sink might be draining slowly or not at all.
Common Debris And Grease
Grease and fat are sneaky culprits. When you pour cooking oil or fat down the drain, it cools and hardens, sticking to the pipes’ inside walls. Over time, this build-up narrows the pipe, making it easier for other debris to get trapped and cause a blockage.
Think about the last time you rinsed a greasy pan. Did you pour the leftover oil down the sink? That small action can start a clog you’ll regret later.
Food Particles And Residue
Food scraps are common offenders in blocked sinks. Bits of vegetables, coffee grounds, and egg shells can accumulate, especially if your sink lacks a garbage disposal. These particles stick together, forming clumps that block water flow.
Do you use a sink strainer regularly? If not, you might be letting solid food slip into the drain, creating a perfect environment for clogs to grow.
Pipe Build-up And Clogs
Over time, pipes develop a layer of grime made up of soap scum, minerals from hard water, and trapped debris. This build-up reduces pipe diameter and makes it easier for blockages to form. Pipes with rough or damaged interiors are especially prone to this problem.
Have you noticed your sink draining slower even without visible debris? This could be the pipe build-up silently causing trouble behind the scenes.
Credit: apollohome.com
Choosing The Right Plunger
Choosing the right plunger is key to clearing your kitchen sink quickly and efficiently. Not all plungers are created equal, and picking the wrong one can make your clog worse or waste your time. Understanding the types, materials, and when to use a specific plunger helps you tackle blockages like a pro.
Types Of Plungers
There are mainly two types of plungers: cup plungers and flange plungers. Cup plungers have a simple, flat rubber cup and work well for flat surfaces like kitchen sinks. Flange plungers have an extra rubber flap that extends below the cup, designed for toilets but sometimes useful for deep sink drains.
Using a cup plunger usually does the job for kitchen sinks. Have you ever tried using a toilet plunger on your sink? It often doesn’t seal properly, making it harder to build pressure. Choosing the right type saves you effort and frustration.
Materials And Size
Plungers come in different materials like rubber, silicone, or foam, each affecting flexibility and suction power. Rubber plungers offer a strong seal and durability, making them ideal for kitchen sinks. Silicone plungers are softer and can fit into tighter spaces but might not create as strong a seal.
Size matters too. A plunger that’s too large may not fit your sink drain properly, while one that’s too small won’t cover the drain completely. Aim for a plunger with a cup diameter close to your sink drain size for the best results.
When To Use A Sink Plunger
Knowing when to bring out your plunger can save you from calling a plumber unnecessarily. If water is draining slowly or pooling in your sink, it’s a good sign to try plunging first. However, if you notice gurgling sounds or water backing up into other fixtures, the clog might be deeper, and a plunger alone may not help.
Have you ever wondered why sometimes plunging works instantly, and other times it doesn’t? It often depends on the clog’s location and material. Starting with a plunger is a low-cost, easy step that often clears minor blockages before they become big problems.
Preparing The Sink For Plunging
Before you start plunging your kitchen sink, it’s important to set the stage properly. Preparing the sink will make the plunging process more effective and prevent extra mess. Taking a few simple steps can save you time and avoid frustration.
Clearing The Area
Remove any dishes, sponges, or cleaning tools around the sink. You don’t want things falling into the sink or getting wet while you work. Also, clear the countertop to give yourself plenty of space to maneuver the plunger comfortably.
Think about your last time dealing with a clog—was the clutter around the sink making things harder? Clearing the area helps you focus and keeps the job tidy.
Removing Excess Water
If the sink is filled with water, scoop out some using a cup or small container. Leaving a small amount of water can help create suction, but too much water will just spill over when you plunge. You want just enough water to cover the plunger’s cup.
Have you noticed how a plunger works better with water covering the drain? This step ensures you get a tight seal, increasing the chances of dislodging the clog quickly.
Sealing Overflow Openings
Many kitchen sinks have overflow openings near the rim. Cover these with a wet cloth or duct tape to prevent air from escaping. If air leaks out, the plunger won’t build enough pressure to push the blockage through.
Sealing overflow openings might seem minor, but it’s a game-changer. By making sure the plunger’s force goes straight into the drain, you boost your success rate dramatically.

Credit: www.drano.com
Step-by-step Plunging Technique
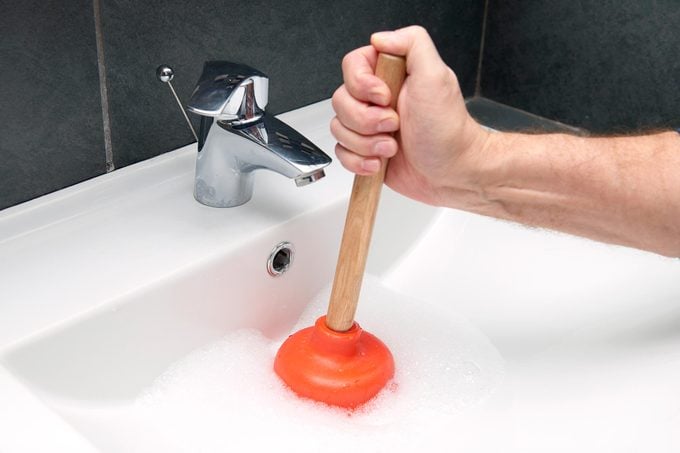
Place the plunger firmly over the sink drain to create a tight seal. Push and pull the handle with steady, strong motions to loosen the clog. Repeat until water drains freely from the sink.
When your kitchen sink decides to take a break from its draining duties, a trusty plunger can often save the day. The key to success lies in using the right technique. Let's dive into a step-by-step guide to effectively use a plunger and get your sink back in action.
Creating A Tight Seal
Start by ensuring there's enough water in the sink to cover the plunger's rubber cup. This helps in forming an airtight seal. If your sink has a double basin, block the non-clogged drain with a wet cloth to focus the pressure on the clogged side.
Proper Plunging Motion
Grip the plunger handle firmly and push down gently to release any trapped air. Then, use quick and forceful up-and-down motions. The suction and pressure should work together to dislodge the blockage.
When To Repeat The Process
If the water still isn't draining, you might need to plunge again. Give it a few more tries, as sometimes stubborn clogs need extra attention. Remember, persistence is key, but if the water level doesn't budge, it might be time to consider other methods or call a professional. Has your plunger been your sink's hero before, or do you have another go-to method? Share your experiences in the comments!
Alternative Quick Fixes
Alternative quick fixes can help clear a kitchen sink clog fast. These methods use common household items and simple tools. They often work without special equipment. Trying these options saves time before calling a plumber.
Using Baking Soda And Vinegar
Pour half a cup of baking soda into the drain. Follow with half a cup of vinegar. The mixture will fizz and break down grime. Let it sit for 15 to 30 minutes. Flush the drain with hot water to clear loosened debris. This natural combo is safe and eco-friendly.
Hot Water Flush
Boil a large pot of water. Slowly pour the hot water down the drain. The heat helps melt grease and soap buildup. Repeat the process if needed. Avoid using boiling water on PVC pipes to prevent damage. Hot water flush is a simple way to clear minor clogs.
Manual Removal Of Debris
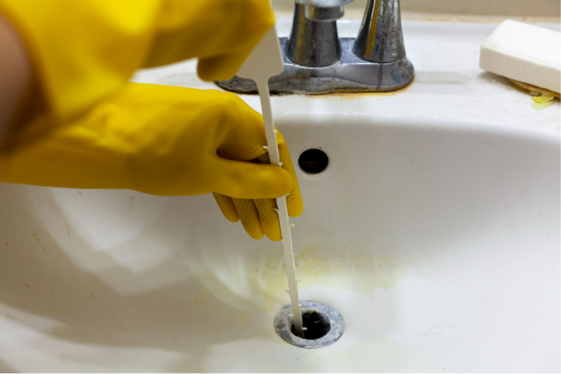
Put on rubber gloves for protection. Remove the sink stopper or drain cover. Use a flashlight to look inside the drain. Pull out hair, food, or other blockages with tweezers or pliers. Dispose of debris in the trash, not down the drain. This hands-on method is effective for visible clogs near the surface.
Preventing Future Blockages
Preventing future blockages in your kitchen sink is just as important as clearing one. Taking simple, regular steps can save you from the hassle and expense of dealing with stubborn clogs. Let’s look at practical ways to keep your sink draining smoothly every day.
Regular Sink Maintenance
Keeping your sink clean on a weekly basis helps stop debris from piling up. You can pour boiling water down the drain once or twice a week to dissolve soap scum and minor grease build-up. Also, using a mild drain cleaner occasionally keeps things flowing without harming your pipes.
Try checking the sink trap for trapped food or debris every few weeks. Removing these blockages early prevents them from turning into bigger problems. Have you ever noticed slow drainage after washing dishes? That’s a sign your sink needs a quick check.
Proper Waste Disposal
Think about what goes down your drain. Avoid dumping solid food scraps, coffee grounds, or eggshells in it. These items don’t break down easily and often cause clogs.
Use a sink strainer to catch bits of food before they enter the drain. Empty the strainer regularly to stop waste from accumulating. Would you let trash pile up in your kitchen? Treat your drain the same way.
Avoiding Grease And Food Build-up
Grease is one of the biggest culprits behind kitchen sink blockages. When hot grease cools, it hardens and sticks to pipes, trapping other debris.
Instead of pouring grease down the drain, collect it in a container and throw it in the trash. Wipe greasy pans with paper towels before washing them to reduce oil entering the sink. Have you ever felt frustrated by a slow drain after cooking? This small habit can change that.
Frequently Asked Questions
How Do I Use A Plunger To Unblock Kitchen Sink?
Place the plunger over the drain opening, ensuring a tight seal. Push and pull the handle vigorously for 20 seconds. This creates suction to dislodge the blockage. Repeat if needed until water drains freely.
Can A Plunger Fix All Kitchen Sink Clogs?
A plunger works best for minor clogs caused by food or grease. Tougher blockages may need a drain snake or chemical cleaner. If plunging doesn’t work after several tries, consider other methods.
Should I Remove Standing Water Before Plunging?
No, leave some water in the sink to cover the plunger’s cup. Water helps create the suction needed to loosen the clog. Too little water reduces the plunger’s effectiveness.
How Often Should I Plunge My Kitchen Sink?
Only plunge when the sink drains slowly or is clogged. Regular plunging isn’t necessary and can damage pipes if overused. Use preventive cleaning to avoid frequent clogs.
Conclusion
Unblocking a kitchen sink with a plunger is simple and effective. A few quick steps can clear the clog fast. Use firm, steady pressure to loosen blockages. Keep the plunger sealed tightly over the drain. Repeat the process if needed, and water will flow again.
Regular care helps prevent future clogs. This method saves time and money on repairs. Anyone can do it with a little patience. Try it next time your sink feels slow or stops draining. Easy and practical, a plunger works well every time.