
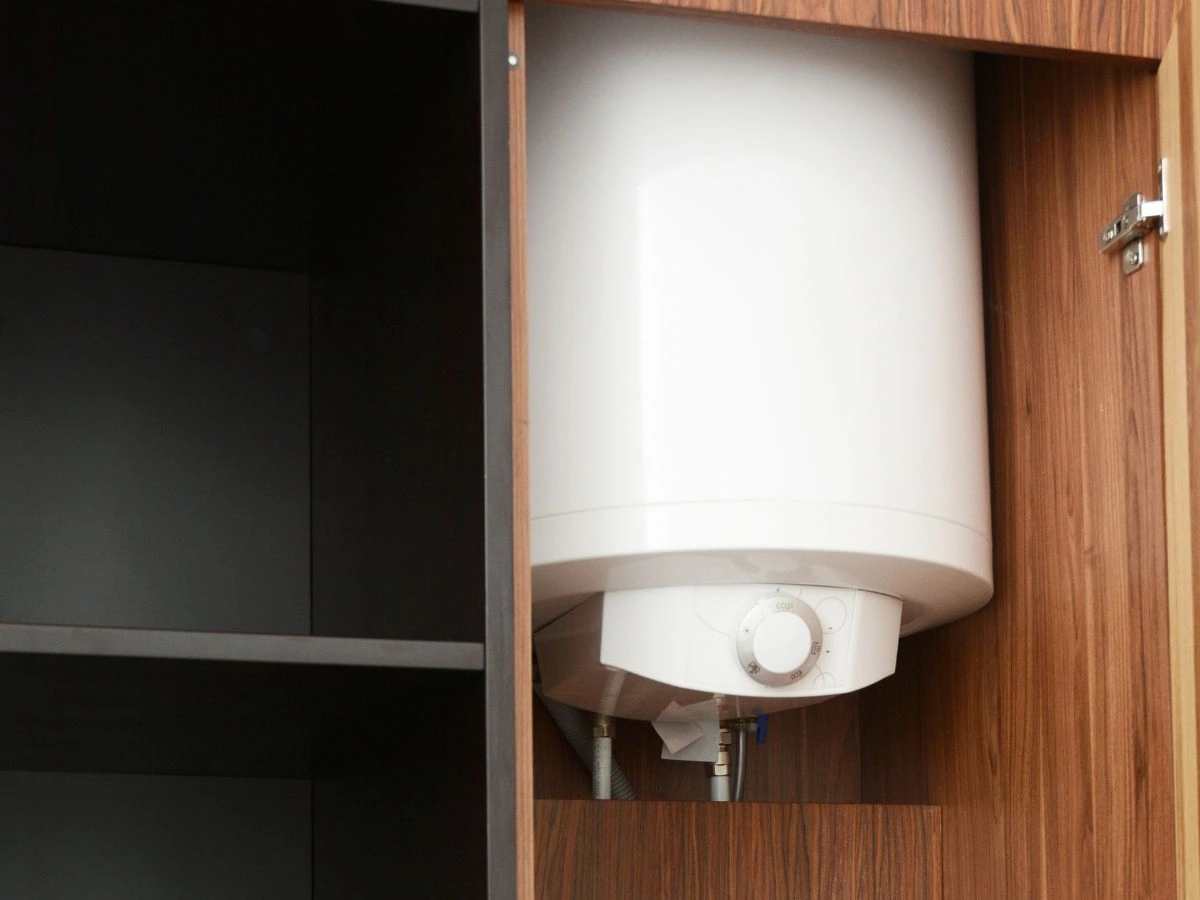
Your kitchen’s boiler pipes can look messy and take up space you could use better. But what if you could turn those pipes into a neat, hidden part of your kitchen?
Learning how to box in boiler pipes not only improves your kitchen’s look but also protects the pipes from damage. You’ll discover simple, step-by-step tips to transform those awkward pipes into a clean, stylish feature. Ready to make your kitchen look more organized and inviting?
Keep reading, and you’ll see how easy it can be.

Credit: www.ebay.co.uk
Benefits Of Boxing Boiler Pipes
Boxing boiler pipes in your kitchen offers more than just a neat finish. It brings practical benefits that can transform your kitchen’s look, safety, and energy use. Understanding these advantages can help you decide if boxing your pipes is right for your home.
Improved Kitchen Aesthetics
Naked boiler pipes often disrupt the clean lines of a kitchen. Boxing them creates a smooth, uniform surface that blends with your cabinets or walls. This simple change can make your kitchen feel more organized and spacious.
Imagine walking into a kitchen where pipes are hidden behind stylish panels matching the decor. It’s not just about looks—it’s about creating a space you feel proud of. Are your pipes drawing attention for the wrong reasons?
Enhanced Safety Measures
Exposed boiler pipes can pose safety risks, especially if you have children or pets. Boxing these pipes reduces the chance of accidental burns or injuries by keeping hot surfaces out of reach. It also protects the pipes from damage caused by knocks or spills.
Think about how often you bump into a pipe while moving around. Boxing acts as a barrier, giving you peace of mind. Wouldn’t you prefer a kitchen where everyone feels safe?
Heat Retention And Efficiency
Boxing boiler pipes can help maintain the heat within the pipes longer, improving overall heating efficiency. By insulating the boxed area, you reduce heat loss, which can lower your energy bills. This small tweak helps your boiler work smarter, not harder.
Have you noticed uneven heating or high utility bills? Better heat retention might be the simple fix you need. How much could you save by keeping your heat where it belongs?
Materials Needed For Boxing
Boxing in boiler pipes in your kitchen not only improves safety but also gives your space a cleaner and more organized look. Knowing exactly what materials you need can make the entire process smoother and more efficient. Let’s break down the essentials so you can get started with confidence.
Common Materials Used
Most people use plasterboard or MDF boards to box in pipes because they are easy to cut and shape. These materials are lightweight yet sturdy enough to cover pipes without adding too much bulk.
You’ll also need wooden battens or metal strips to create a frame that supports the boards. This frame ensures everything stays in place and is properly aligned.
Don’t forget filler and paint to finish the job. Filler helps smooth out joints and gaps, while paint matches the box with your kitchen’s decor.
Tools Required
Having the right tools saves time and frustration. A saw—either hand or power—is essential for cutting plasterboard or MDF to the correct size.
A drill and screws will hold the framework and panels securely. Sandpaper or a sanding block helps smooth rough edges before painting.
You might also need a measuring tape and a pencil for precise measurements and marking. This reduces errors and wasted materials.
Choosing Stylish Finishes
Think beyond just painting white. You can use textured paint, wallpaper, or even tiles to match your kitchen’s style.
Would you prefer the box to blend in or stand out? A bold color or pattern can add character, while neutral tones keep the look subtle and clean.
Consider adding a small shelf or decorative trim to the box for extra functionality and flair. How can your boxing improve both form and function in your kitchen?
Measuring And Planning
Measuring and planning are the foundation of boxing in boiler pipes effectively in your kitchen. If you skip this step or rush through it, you risk ending up with a box that doesn’t fit properly or restricts access for future maintenance. Taking your time here saves frustration and extra work later.
Accurate Pipe Measurements
Start by measuring the length, width, and height of the pipes you want to box in. Use a tape measure and write down each dimension carefully.
Double-check your numbers by measuring twice. Even a small mistake can cause the box to be too tight or too loose.
Don’t forget to note any bends or joints in the pipes. These can affect the size and shape of the box frame.
Designing The Box Frame
Once you have your measurements, sketch a simple design of the box frame on paper or use a digital tool. Think about the materials you will use and how the frame will be supported.
Consider the thickness of the materials when planning dimensions. For instance, if you use timber that is 2cm thick, add this to your measurements to ensure a proper fit.
Ask yourself: Will the box blend well with your kitchen décor? Planning this early helps you avoid last-minute changes.
Allowing For Maintenance Access
Maintenance is inevitable, so your box should allow easy access to valves and joints. Plan for removable panels or hinged doors.
Leaving a few centimeters of extra space inside the box can make future repairs much easier. Crowded boxes turn simple fixes into headaches.
Think about how you will open the box without dismantling it completely. Can you reach critical points quickly? This foresight saves time and effort.
Step-by-step Boxing Process
Boxing in boiler pipes can transform a cluttered kitchen wall into a neat and tidy space. The process may seem daunting, but breaking it down into simple steps makes it manageable. Focus on precision and safety to get a professional-looking finish that blends seamlessly with your kitchen design.
Cutting And Preparing Materials
Start by measuring the length and width of the pipes carefully. You want your boxing to fit snugly around the pipes without leaving gaps. Use moisture-resistant plywood or MDF for durability, especially in a kitchen environment.
Cut your panels with a fine-toothed saw to avoid splintering. Sand down rough edges to ensure smooth joints and a clean appearance. Remember, accurate cutting saves you time and frustration during assembly.
Assembling The Frame
Build a simple frame using timber battens that match the dimensions of your cut panels. This frame will support the boxing and keep it sturdy. Attach the battens with screws, making sure the structure is square by checking with a carpenter’s square or measuring diagonals.
Consider pre-drilling holes to prevent the wood from splitting when you screw it together. You might want to add insulation or foam around the pipes before assembling the frame to reduce noise and heat loss.
Securing The Box Around Pipes
Carefully position the frame around your boiler pipes. Use a spirit level to ensure it’s perfectly horizontal and vertical before fixing it to the wall. Secure the frame with wall plugs and screws, focusing on stability.
Attach the cut panels to the frame using screws or nails, ensuring they fit tightly without pressure on the pipes. Finally, seal any small gaps with a suitable filler or silicone to keep the installation airtight and neat.
Have you ever noticed how a small detail like boxing in pipes changes the whole feel of a kitchen? Taking these steps seriously can make your kitchen look cleaner and more inviting without much hassle.
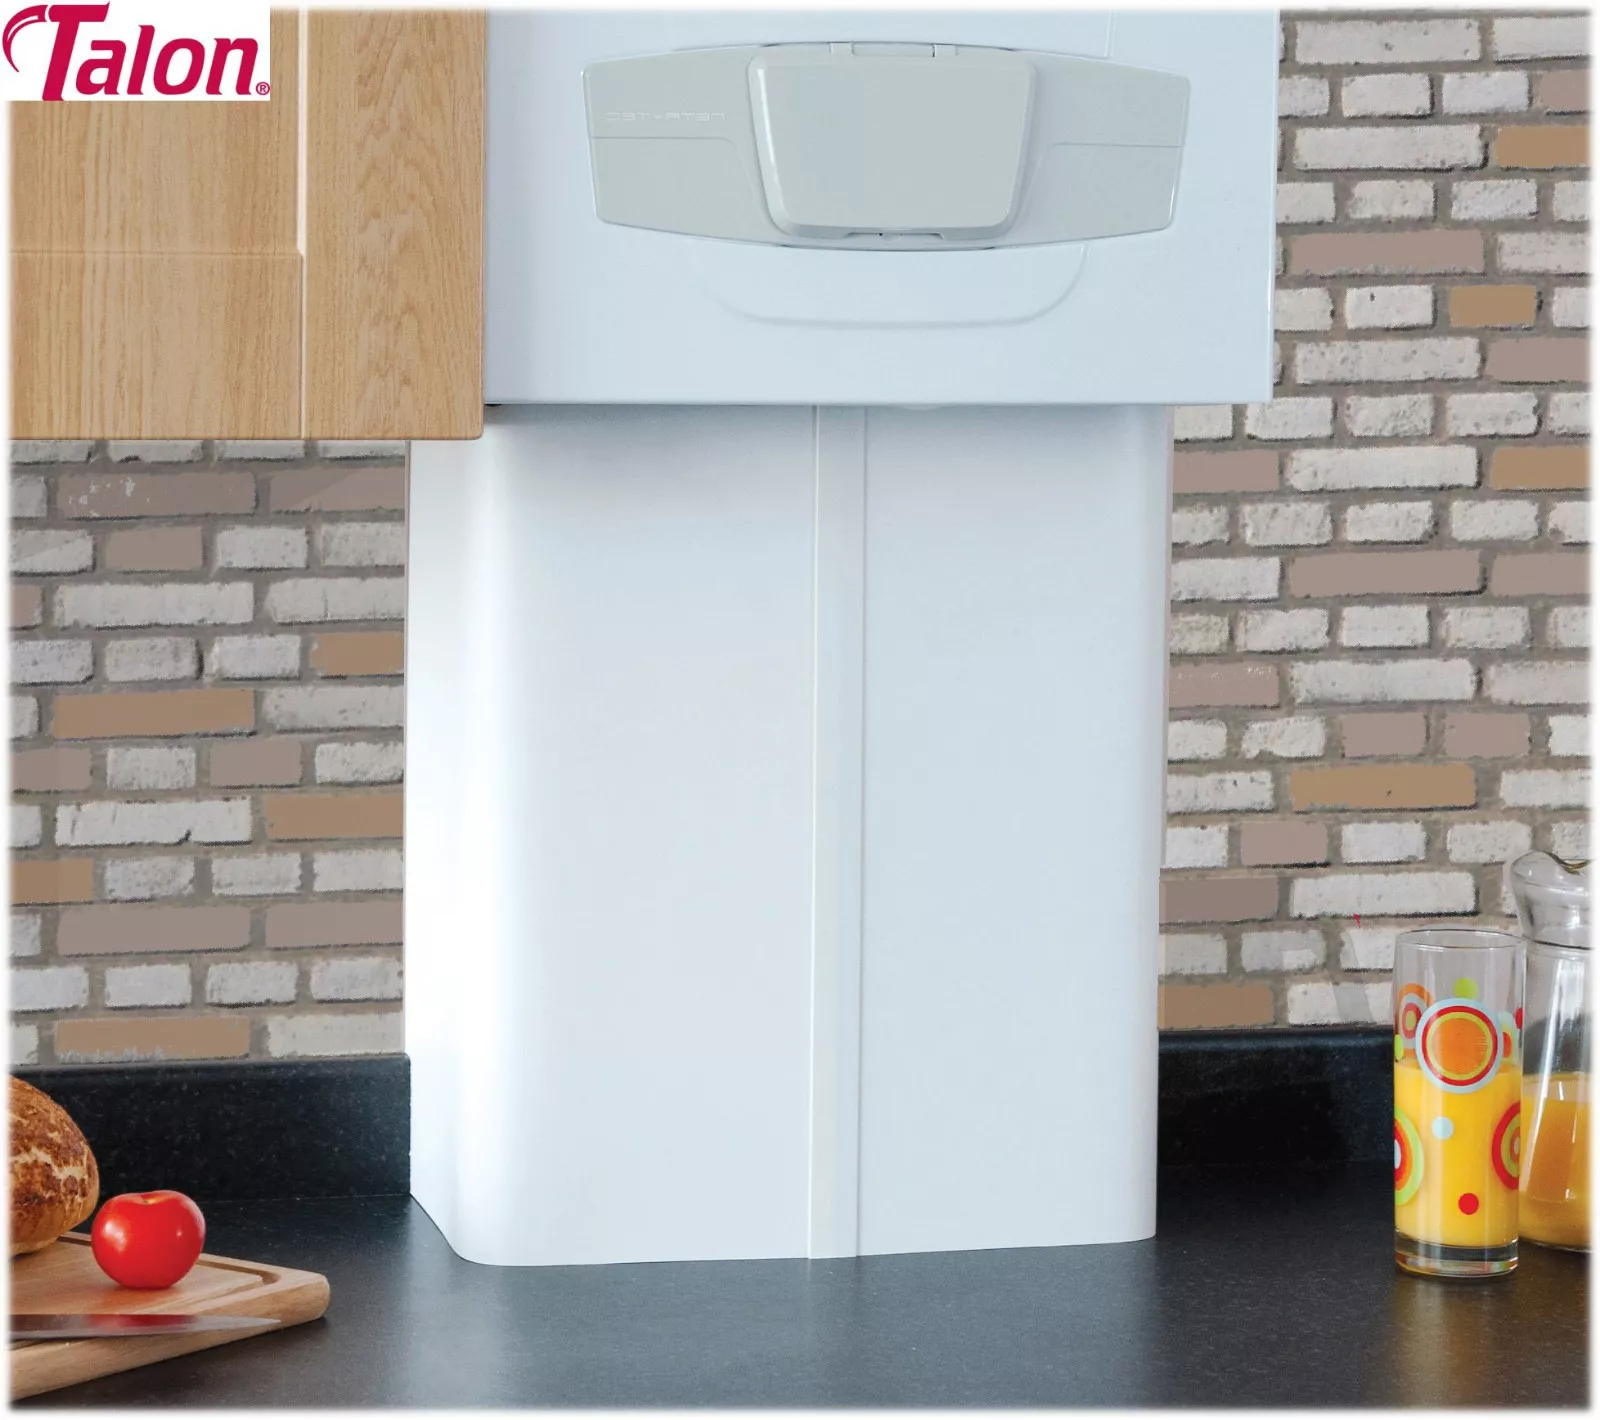
Finishing Touches
Smooth edges and neat corners give a polished look to boxed boiler pipes. Painting the box to match kitchen walls helps it blend in seamlessly. Small gaps should be filled to keep the finish clean and tidy.
After successfully boxing in the boiler pipes in your kitchen, it's time to focus on the finishing touches. These final steps can transform your boxed-in pipes from a practical necessity to an aesthetic asset in your kitchen. With a few simple techniques, you can make the boxed pipes blend seamlessly with your kitchen's design or even stand out as a charming feature.
Sanding And Painting
Start by sanding the surface of the boxing to ensure it's smooth and ready for painting. This step might seem minor, but it's crucial for achieving a professional-looking finish. Use fine-grit sandpaper and gently sand the entire surface, paying extra attention to corners and edges. Once sanded, choose a paint that complements your kitchen's color scheme. Consider using a semi-gloss or gloss finish for easy cleaning. Apply a primer first to ensure even coverage and durability, then follow up with two coats of your chosen paint.
Adding Decorative Elements
Think about how you can add character to your boxed pipes with decorative elements. You might opt for simple moldings or trims that match your kitchen cabinets for a cohesive look. If your style is more eclectic, consider adding wallpaper or decals that reflect your personal taste. You could also use the boxed area as a unique display space. Install small shelves or hooks for hanging utensils, herbs, or small decorative items. This approach not only enhances the visual appeal but also adds functionality.
Ensuring Ventilation
Ventilation is key to preventing heat buildup around your boiler pipes. Ensure that the box is designed with adequate ventilation slots or grills. These can be stylish as well as functional, adding an industrial or modern touch to the design. If you're unsure about the placement of vents, consult your boiler's manual or a professional for advice. Remember, maintaining airflow is vital for both safety and efficiency. Have you considered how the lack of ventilation might affect your kitchen's temperature?
Maintenance Tips
Maintaining the box around boiler pipes keeps your kitchen safe and tidy. Regular care prevents damage and extends the box’s life. Simple checks and cleaning help avoid costly repairs later.
Regular Cleaning
Dust and grease build up quickly in kitchens. Wipe the box surface with a damp cloth once a week. Use mild soap if needed to remove stains. Avoid harsh chemicals that can damage the finish. Keep vents clear for proper airflow.
Inspecting For Damage
Check the box regularly for cracks or loose panels. Look for signs of water damage or rust near pipes. Tighten screws and fix small issues before they worsen. Early repairs save money and prevent leaks. Watch for any unusual sounds from the pipes.
Updating The Design
Over time, your kitchen style may change. Refresh the box’s look by repainting or adding new trim. Consider easier access panels for future maintenance. Upgrade materials to more durable or moisture-resistant types. A fresh design keeps your kitchen modern and functional.
Common Mistakes To Avoid
Boxing in boiler pipes in your kitchen can make a big difference to the room’s look. But it’s easy to slip up and create problems that cost time and money later. Knowing which mistakes to avoid helps you get a neat, safe finish that lasts.
Blocking Pipe Access
One common error is boxing in pipes without leaving enough access points. Pipes need regular maintenance and occasional repairs, so sealing them off completely causes hassle. Have you ever struggled to fix a leak only to find the box has to be removed?
Make sure to add removable panels or doors where the pipes are boxed. This simple step saves you from breaking walls or damaging the box when work is needed. Think about future access before you start boxing.
Using Inappropriate Materials
Choosing the wrong materials is a trap many fall into. For example, using wood that isn’t treated for moisture near boiler pipes can lead to warping and mold. Have you noticed how kitchen areas tend to get humid? Materials that can’t handle heat and moisture will degrade fast.
Use moisture-resistant boards or metal frames designed for plumbing areas. These materials stand up better to heat and dampness, keeping your boxing solid and safe. Don’t cut corners here—quality materials save headaches down the road.
Ignoring Heat Expansion
Pipes expand and contract as they heat and cool. Ignoring this fact leads to cracking or warping of the boxing. Have you ever noticed small gaps or cracks appearing around pipes after some use?
Leave a small gap between the pipe and the box, or use flexible sealants to allow movement. This prevents stress on both the pipes and the boxing, protecting your work and your home. Plan for movement to avoid damage later.

Credit: www.wolseley.co.uk
Credit: pipescenes.co.uk
Frequently Asked Questions
How Do I Box In Boiler Pipes In The Kitchen?
To box in boiler pipes, measure the pipe length first. Cut plywood or MDF to size. Assemble a frame, then fix it around pipes. Finish with paint or wallpaper for a clean look.
What Materials Are Best For Boxing In Boiler Pipes?
Use moisture-resistant plywood or MDF for durability. These materials are easy to cut and paint. Avoid materials that warp with humidity, especially in kitchens.
Can I Box In Boiler Pipes Without Professional Help?
Yes, with basic DIY skills and tools, you can box in pipes. Follow safety guidelines to avoid damaging pipes. Take precise measurements for a perfect fit.
How To Ensure Ventilation When Boxing Boiler Pipes?
Include ventilation gaps or install vents in the boxing. This prevents overheating and maintains boiler efficiency. Proper airflow is crucial for safety and performance.
Conclusion
Boxing in boiler pipes keeps your kitchen neat and safe. It hides pipes and protects them from damage. You can use simple materials like wood or drywall for boxing. Measure carefully and cut pieces to fit well around pipes. Secure the box firmly and paint it to match your kitchen.
This small project makes a big difference in appearance. It also helps keep your kitchen clean and organized. Give it a try to improve your kitchen space easily.