
Are your kitchen wall tiles looking tired or outdated? You might be wondering if there’s an easy way to refresh your kitchen without the mess and cost of tearing everything down.
The good news is—you can cover kitchen wall tiles, and it’s simpler than you think. Imagine transforming your kitchen’s look quickly and affordably, giving your space a fresh new vibe. You’ll discover the best methods to cover your kitchen tiles, what materials work best, and how to avoid common mistakes.
Keep reading to unlock smart ideas that will make your kitchen makeover a breeze.
Choosing Tile Covering Options
Choosing the right option to cover your kitchen wall tiles can transform your space without the hassle of ripping out old tiles. You want a solution that fits your style, budget, and skill level. Let's look at practical ways you can update your kitchen walls effectively and beautifully.
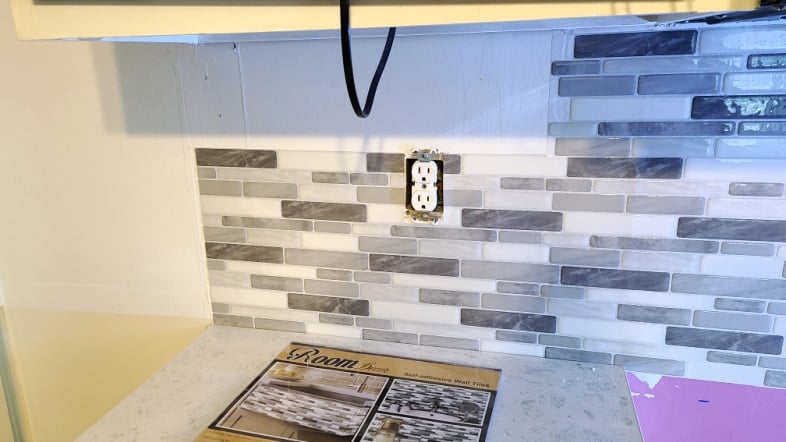
Peel-and-stick Tiles
Peel-and-stick tiles offer a quick and mess-free way to refresh your kitchen walls. They come in a variety of designs, from sleek subway tiles to bold patterns, allowing you to personalize your space easily.
Installation is simple—just peel off the backing and stick the tiles over your existing surface. Think about how much time you can save compared to traditional tiling. Just ensure the wall is clean and smooth for the best adhesion.
Paint Over Tiles
Painting over tiles is a budget-friendly option if you want to keep your kitchen walls looking fresh without changing their texture. Special tile paint or epoxy paint can provide a durable, washable finish.
Preparation is key: clean tiles thoroughly and sand them lightly to help the paint stick. Have you ever thought about how a change in color can brighten your cooking space instantly? Choosing the right paint color can make a huge difference.
Tile Over Tile
Adding new tiles directly over old ones saves time and reduces mess. This method works well if your existing tiles are in good shape and firmly attached.
You'll need to use a strong adhesive designed for tile-over-tile installation. It's a good idea to pick thinner tiles to avoid making the wall too bulky. Would you consider this option if you want a sturdy, long-lasting finish?
Wallpaper And Panels
Wallpaper and decorative panels offer a non-traditional yet stylish way to cover kitchen tiles. Moisture-resistant wallpaper can add patterns and color, while panels like beadboard or acrylic provide texture and depth.
This method requires careful sealing to protect against kitchen humidity. You might find it easier to update your kitchen decor regularly with wallpaper than with permanent tiles. What patterns or textures would make your kitchen feel more inviting?
Preparing Your Kitchen Walls
Preparing your kitchen walls before covering tiles is key to ensuring a smooth and lasting finish. Skipping this step can lead to peeling, bubbling, or uneven surfaces that ruin your hard work. Taking the time to properly clean, repair, and smooth the tiles sets the foundation for any covering method you choose.
Cleaning And Degreasing
Kitchen tiles often hold layers of grease and dirt that simple wiping won’t remove. Use a strong degreaser or a mix of warm water and dish soap to scrub the tiles thoroughly. You want the surface spotless because any residue can prevent paint or adhesive from sticking properly.
Have you noticed how some kitchen walls feel sticky even after cleaning? That’s usually leftover grease. Don’t rush this step—spend extra time scrubbing corners and grout lines where dirt hides.
Removing Loose Grout
Loose or crumbling grout can cause bumps and cracks under your covering. Use a grout removal tool or a small screwdriver to carefully scrape away any unstable grout. This creates a more even surface and helps new materials bond securely.
Pay attention to grout near the edges of tiles—these spots tend to weaken first. Removing the loose parts now means you won’t face unexpected repairs later.
Sanding And Smoothing Surface
Once clean and free of loose grout, sanding the tiles helps roughen the glossy surface for better adhesion. Use medium-grit sandpaper to lightly sand the entire tiled area. This step also smooths out any rough patches or leftover grout residue.
Don’t forget to wipe down the dust after sanding. Dust can act like a barrier, reducing the effectiveness of primers or adhesives you apply next. How smooth is your wall right now? A quick touch test can reveal if more sanding is needed.
Step-by-step Covering Process
Covering kitchen wall tiles can completely transform your space without the hassle of demolition. The process may seem daunting, but breaking it down into clear steps makes it manageable and even enjoyable. Let’s walk through each part of the journey to help you achieve a fresh, stylish kitchen wall.
Measuring And Planning Layout
Start by measuring the entire tiled area accurately. Use a tape measure to get the height and width, then multiply for total square footage. This helps you buy the right amount of materials and avoid costly mistakes.
Next, plan your tile or panel layout on paper or with a digital tool. Consider how patterns will align and where cuts are needed. Have you thought about how grout lines or seams will affect the final look?
Applying Adhesive Or Paint
Choose the right adhesive based on your covering material—tile adhesive for new tiles or primer and paint for a paint-over option. Spread adhesive evenly with a notched trowel to ensure a strong bond.
If painting, clean the tiles thoroughly and apply a primer designed for glossy surfaces. This step is crucial for paint to stick and last longer. Have you checked if your paint is moisture-resistant for kitchen use?
Installing New Tiles Or Panels
Carefully place your new tiles or panels starting from the bottom center and work outward. Press firmly and use spacers if needed to keep even gaps. This method helps keep everything aligned and balanced.
Cut tiles to fit edges using a tile cutter or wet saw. Be precise to avoid gaps or awkward spaces. Don’t rush—taking your time here improves the overall finish.
Sealing And Finishing Touches
Once your tiles are in place, apply grout to fill gaps, wiping excess with a damp sponge. Grouting seals the edges and prevents moisture from seeping behind tiles.
For a polished look, add a clear sealant over grout lines and edges. This extra step keeps your kitchen walls looking fresh and protects against stains. Have you considered how sealing might affect future cleaning routines?
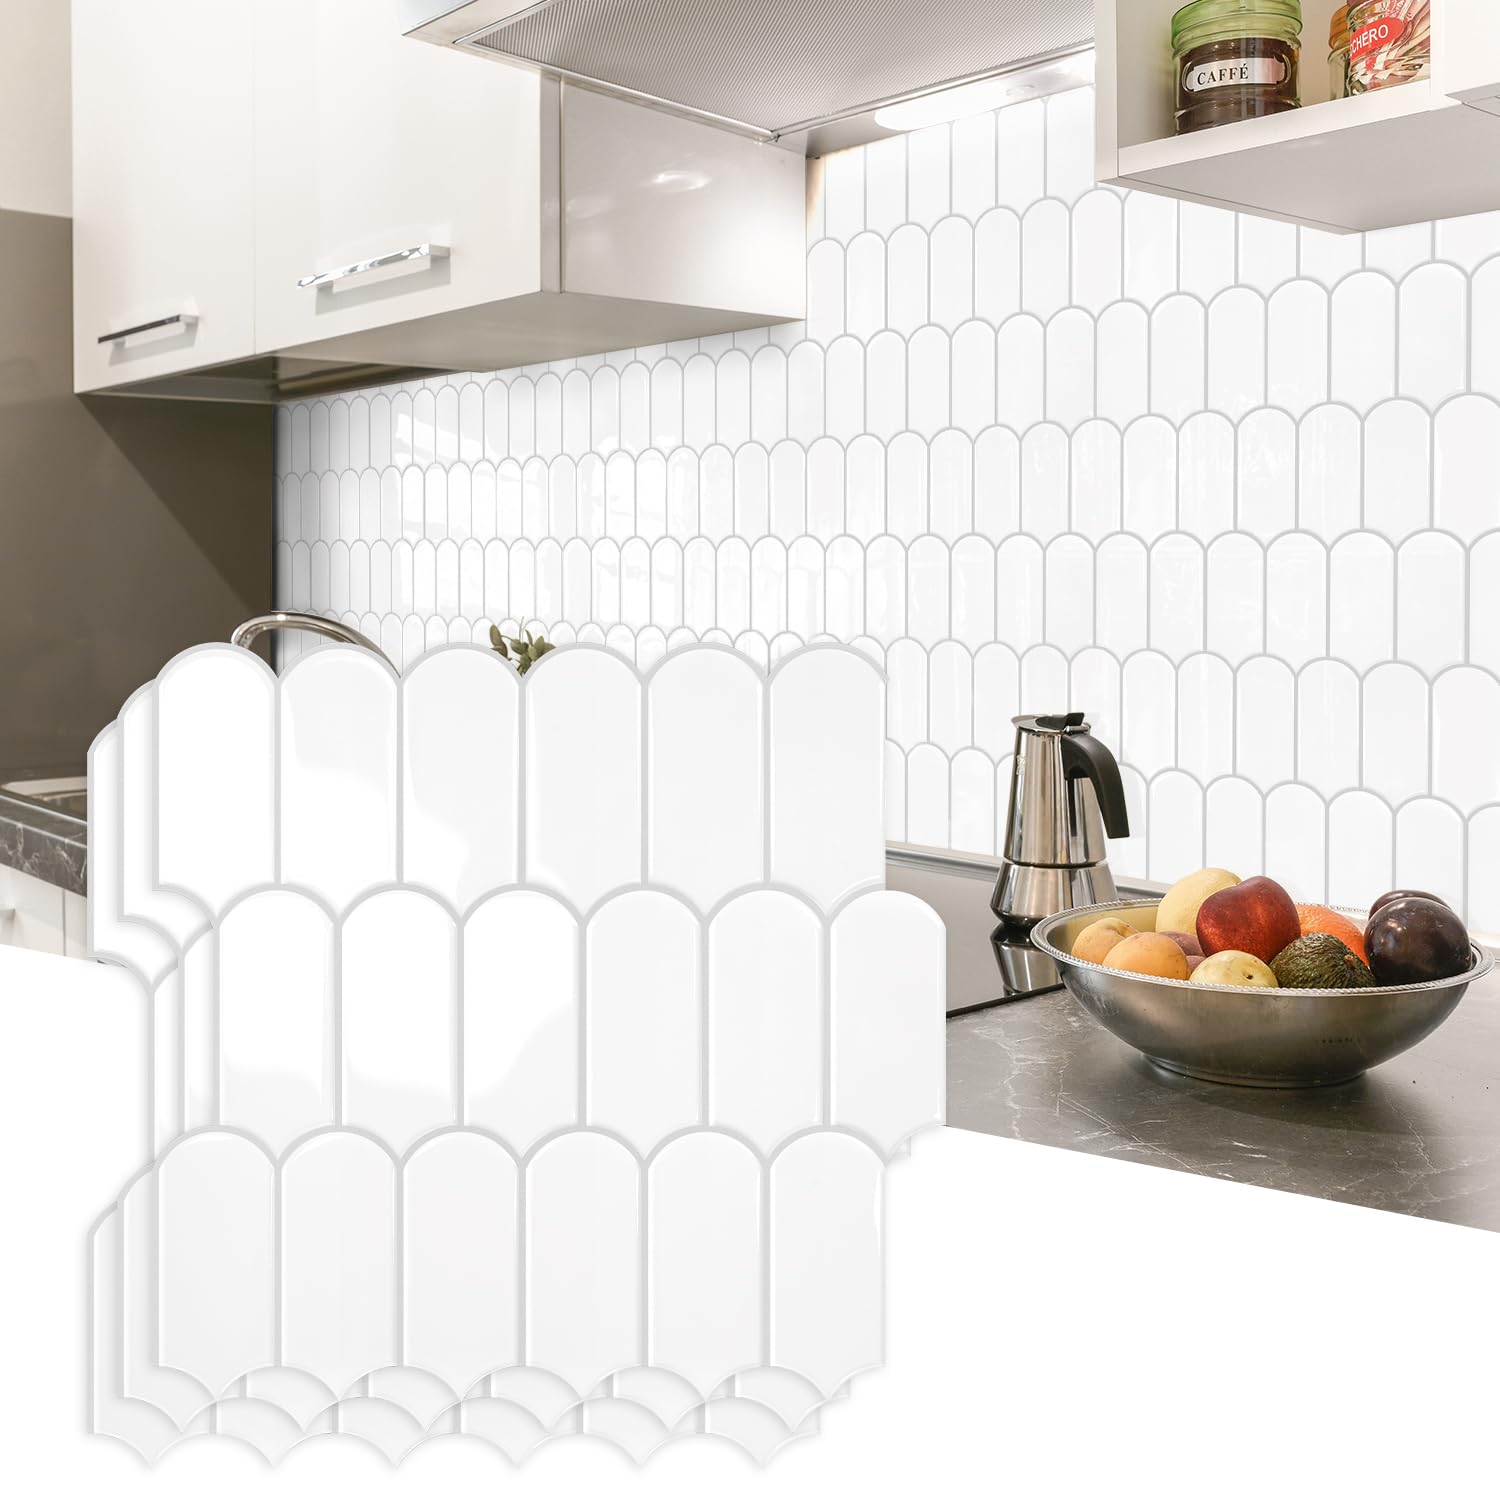
Credit: www.amazon.com
Materials And Tools You Need
Essential materials include adhesive, grout, and tiles or panels designed for walls. Tools such as a tile cutter, sponge, and level help ensure a smooth, even finish. Proper preparation tools like a scraper and cleaner make the surface ready for covering.
Covering kitchen wall tiles can breathe new life into your cooking space, making it feel fresh and updated without the hassle of a full renovation. Before you dive into this exciting project, it's essential to gather the right materials and tools. Having the right equipment not only makes the process smoother but also ensures a professional finish that you’ll be proud to show off.
Essential Tools
To get started, you'll need a few basic tools. A measuring tape is crucial for determining the area you’ll be covering. Ensure you have a reliable level to keep your work straight and aligned. A good utility knife will help you make precise cuts, especially when working with materials like peel-and-stick tiles. Don’t forget a sponge or cloth for cleaning the surface before application.
Recommended Materials
Choosing the right materials is vital for a successful outcome. Peel-and-stick tiles are a popular choice due to their ease of use and variety of styles. They can be applied directly over existing tiles, saving you time and effort. For those who prefer a more traditional look, consider using tile paint. This allows you to change the color and appearance of your tiles without removing them. Another option is wall panels, which can cover a large area quickly and offer a seamless look.
Safety Equipment
Safety should always be a priority. When working on your kitchen walls, it's wise to wear safety goggles to protect your eyes, especially when cutting materials. Use gloves to protect your hands from sharp edges or irritants from adhesives and paints. It's also a good idea to have a dust mask on hand to avoid inhaling any dust or particles during preparation and application. Are you ready to transform your kitchen walls with these tools and materials? Remember, preparation and the right equipment can make all the difference in achieving a stunning new look for your kitchen.
Common Challenges And Solutions
Covering kitchen wall tiles can be tricky. Many face problems that slow down the project or cause poor results. Knowing common challenges helps prepare for them. Solutions make the process smoother and ensure lasting results.
Dealing With Uneven Walls
Uneven walls make tile covering difficult. The new surface may not stick well or look smooth. To fix this, use a wall filler or plaster. Apply it evenly and sand it down once dry. This creates a flat surface for better adhesion. A level surface improves the final look and durability.
Handling Stubborn Old Tiles
Old tiles can resist new coverings. Their surface is often glossy or damaged. Clean tiles thoroughly to remove grease and dirt. Lightly sand the tile surface to create grip. Use a strong primer designed for tiles before applying new material. This ensures the new layer sticks firmly and lasts long.
Preventing Moisture Issues
Kitchens are prone to moisture, which can damage walls. Moisture can cause mold or make tiles peel. Use waterproof primers or sealants before covering tiles. These protect walls from water damage. Proper ventilation in the kitchen reduces moisture build-up. This keeps the new tile covering safe and strong.

Credit: www.create-enjoy.com
Design Ideas For Stunning Upgrades
Transforming kitchen wall tiles can refresh your space without full renovation. Creative design upgrades bring new style and personality. Simple changes create stunning looks and improve kitchen appeal. Choose ideas that fit your taste and kitchen style.
Color And Pattern Choices
Select colors that brighten or calm the kitchen atmosphere. Light shades open up small spaces. Dark colors add depth and drama. Patterns give character and charm. Consider geometric shapes, floral designs, or classic subway tiles. Use contrasting colors to highlight specific areas.
Mixing Textures
Combine smooth tiles with rough or matte finishes for interest. Glossy tiles reflect light and look sleek. Textured tiles add warmth and natural feel. Mixing materials like ceramic with stone can create unique effects. Layering textures prevents a flat or dull appearance.
Incorporating Backsplashes
Backsplashes protect walls and add decorative focus. Choose tiles that complement or contrast your wall tiles. Mosaic backsplashes bring color and sparkle. Simple subway tiles offer a clean, modern look. Extend backsplash height for dramatic impact or keep it low for subtle style.
Maintaining Your New Kitchen Walls
Maintaining your new kitchen walls keeps them looking fresh and lasting longer. Clean walls brighten the kitchen and prevent buildup of dirt or grease. Proper care stops damage and costly repairs. Follow simple steps for daily upkeep and inspection.
Cleaning Tips
Use a soft cloth or sponge for cleaning kitchen walls. Mild soap mixed with warm water works well. Avoid harsh chemicals that can damage paint or tile covers. Wipe spills immediately to prevent stains. Dry the surface after cleaning to avoid moisture buildup.
Avoiding Damage
Protect walls from sharp or heavy objects. Use backsplash protectors near cooking areas. Avoid using abrasive scrubbers or steel wool. Keep heat sources away from wall coverings. Check walls regularly for signs of peeling or cracking.
When To Repair Or Replace
Repair small chips or cracks quickly to stop spreading. Replace wall coverings if damage is extensive or permanent stains appear. Look for bubbling or warping under tile covers. Seek professional help if unsure about the damage level. Timely action saves money and effort.
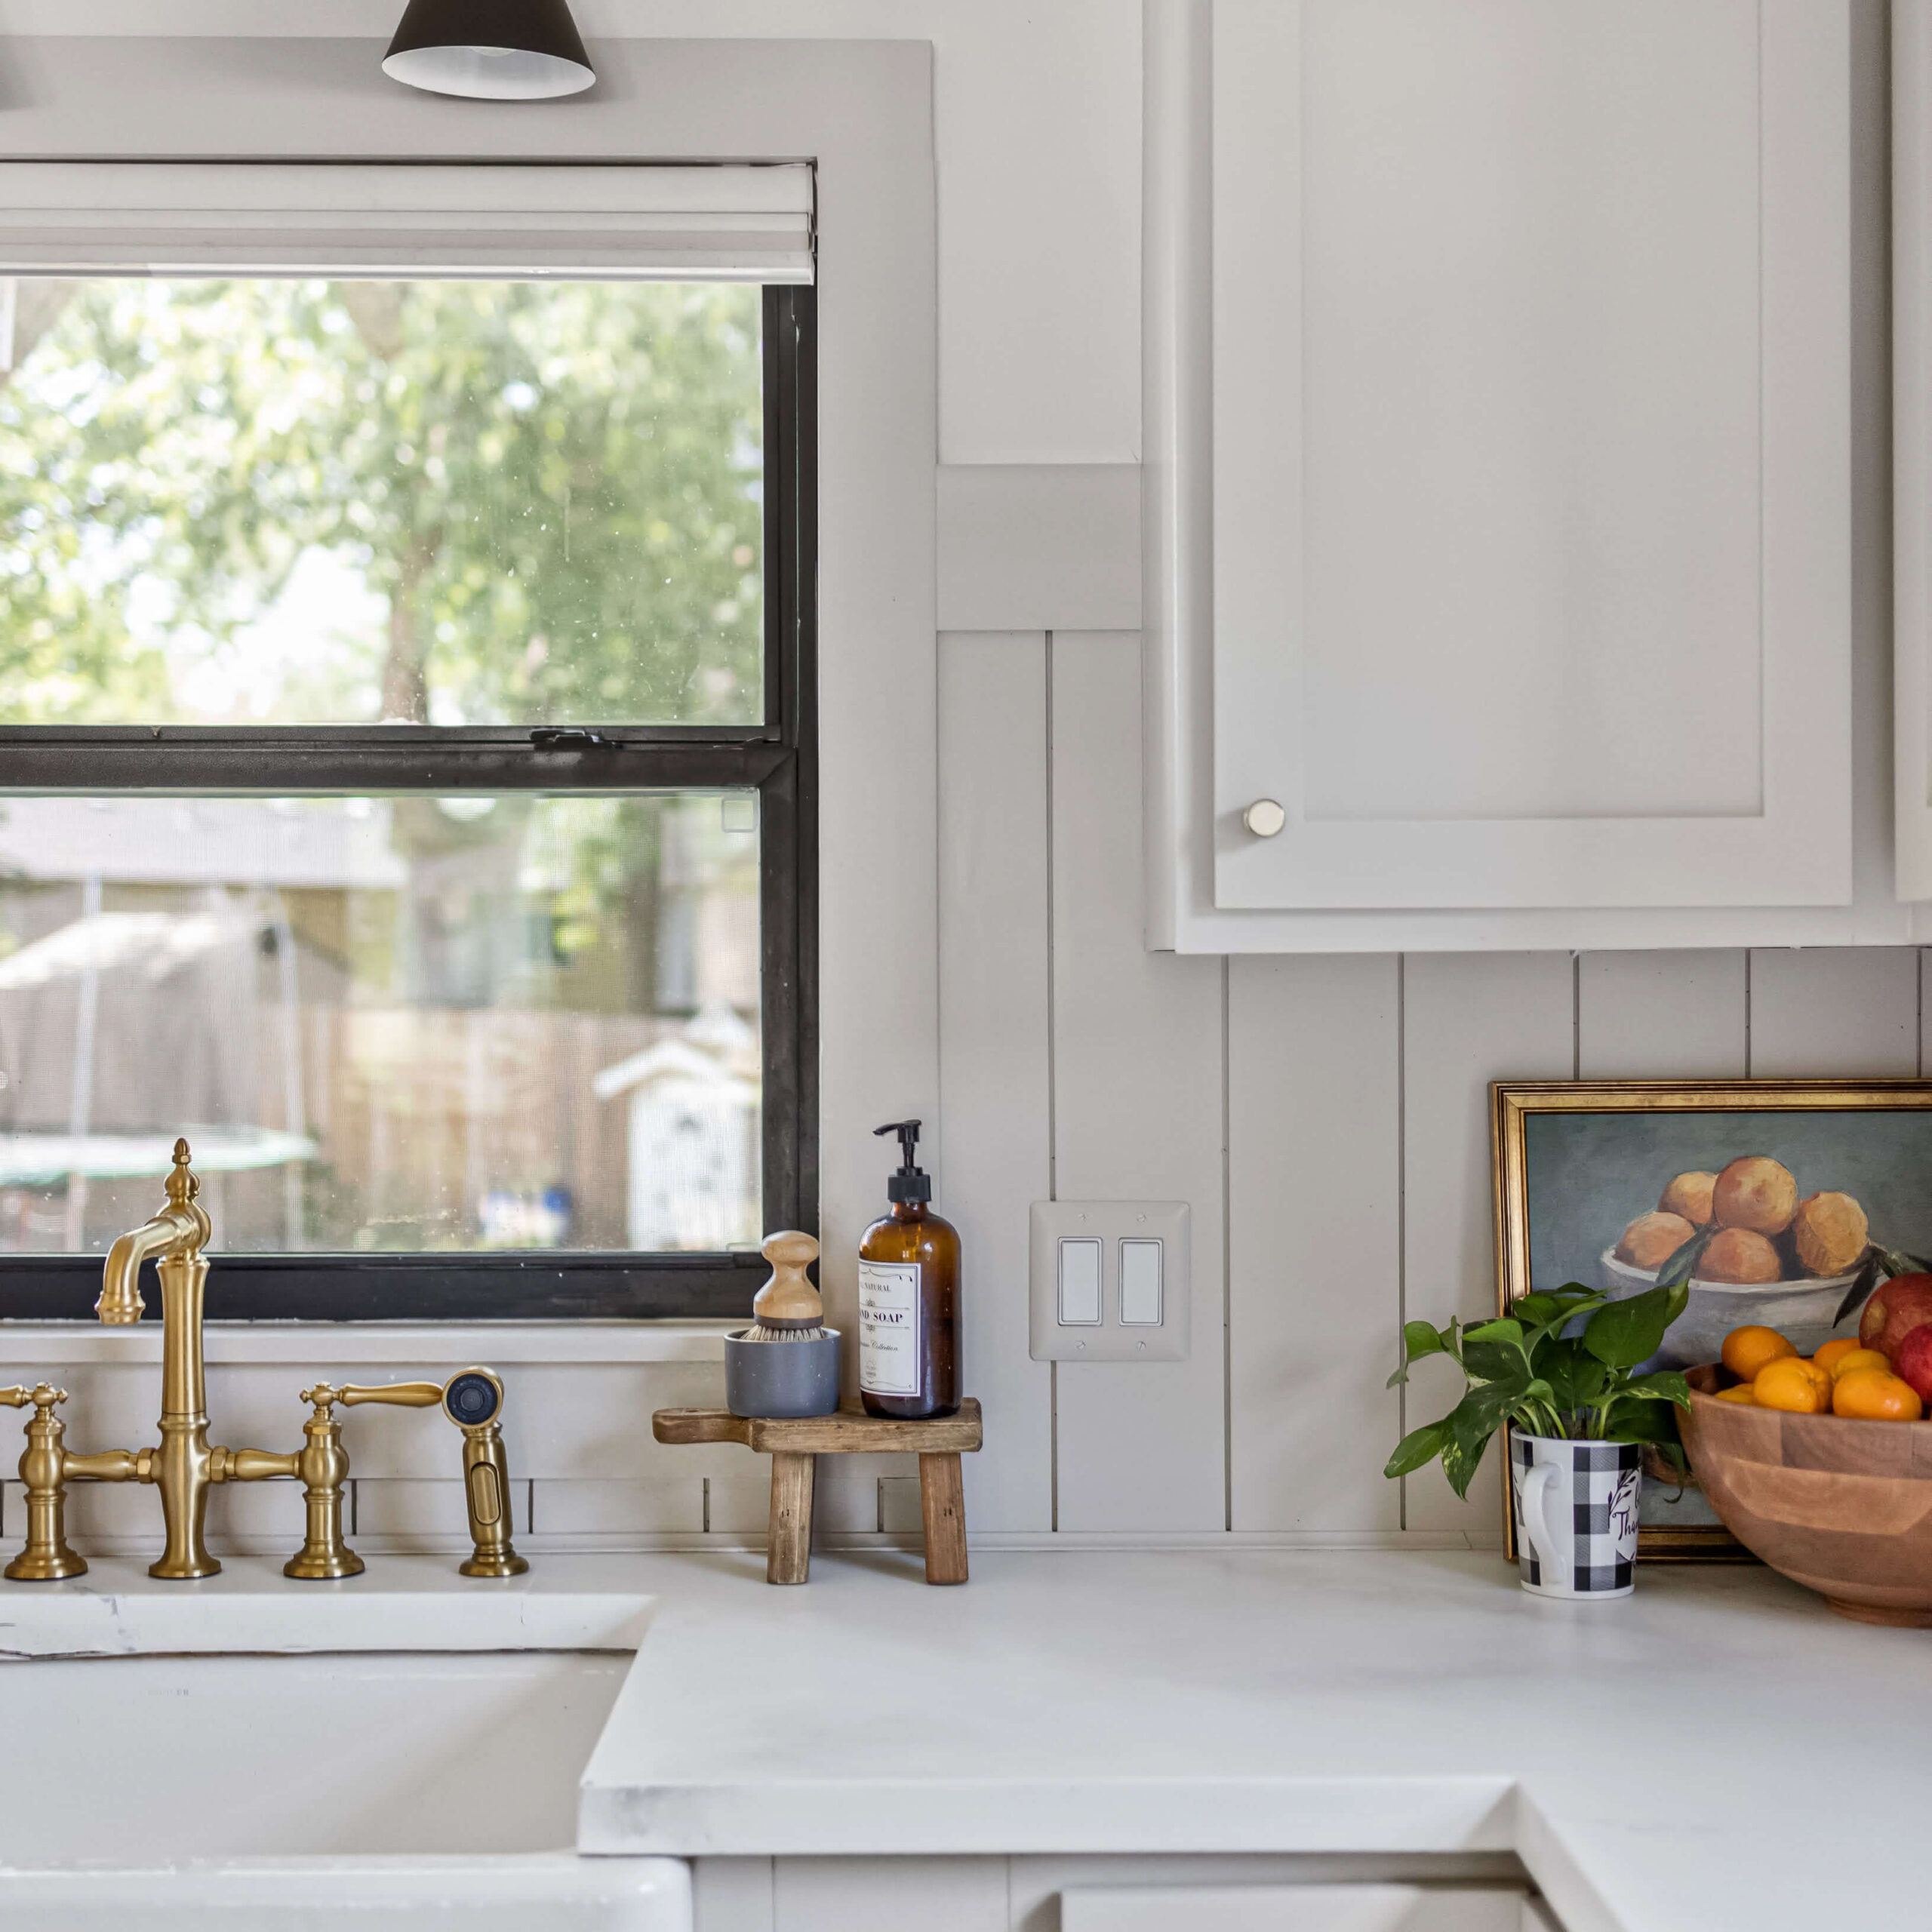
Credit: crystelmontenegrohome.com
Frequently Asked Questions
Can You Cover Existing Kitchen Wall Tiles?
Yes, you can cover kitchen wall tiles with paint, wallpaper, or new tiles. Proper surface preparation is essential for good adhesion and durability.
What Materials Work Best To Cover Kitchen Tiles?
Paint, peel-and-stick tiles, and tile decals are popular choices. Each option offers a different look and ease of installation.
Is It Cheaper To Cover Or Replace Kitchen Tiles?
Covering tiles is generally more affordable and less time-consuming than full replacement. It also reduces mess and renovation costs.
How Do You Prepare Tiles Before Covering Them?
Clean tiles thoroughly and repair any damage. Sand the surface lightly to improve paint or adhesive bonding.
Conclusion
Covering kitchen wall tiles can refresh your space quickly and affordably. Choose the right materials to ensure durability and style. Proper preparation and careful installation make a big difference. Think about your kitchen’s moisture and heat levels before starting. Small updates can create a fresh, clean look without full renovation.
This approach saves time and money while improving your kitchen’s feel. Simple changes often bring the most satisfaction. Give your kitchen a new look with smart tile covering ideas.