
Your kitchen sponge is one of the dirtiest items in your home, but you probably don’t think twice about it. What if I told you that your sponge could be a breeding ground for harmful bacteria?
Knowing how to disinfect a kitchen sponge properly can protect your health and keep your kitchen cleaner. You’ll discover simple, effective ways to make sure your sponge is safe to use every time. Keep reading—your kitchen and your family will thank you.
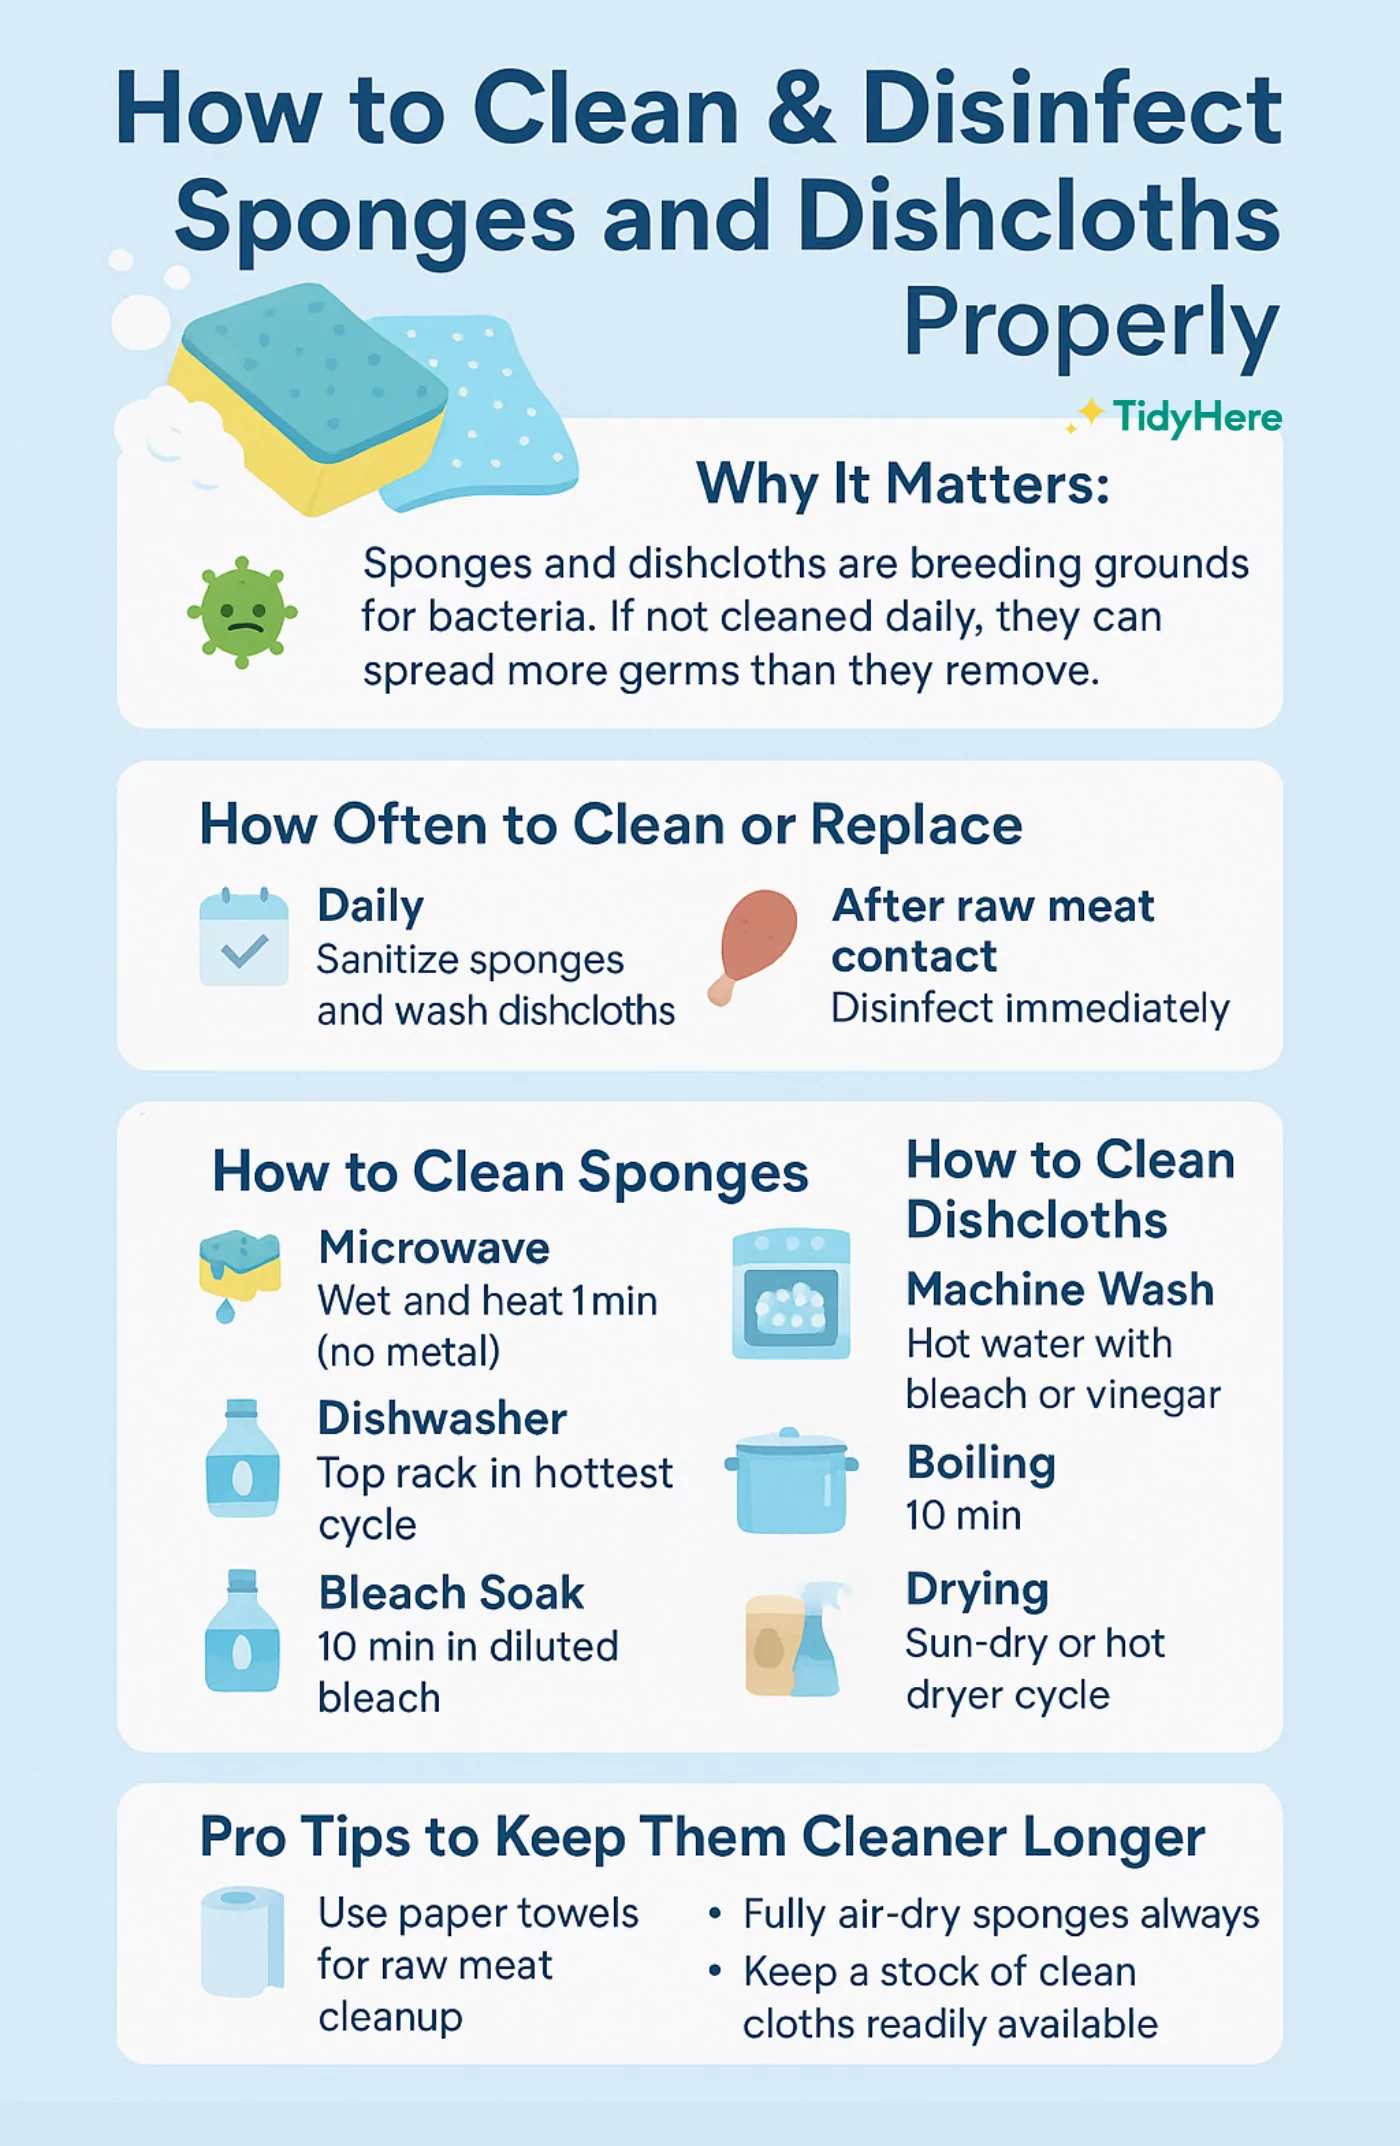
Why Disinfect Kitchen Sponges
Kitchen sponges are a daily tool for cleaning dishes and surfaces. They soak up food particles, grease, and moisture, creating a perfect home for germs. Disinfecting these sponges is crucial to keep your kitchen safe and clean. Regular cleaning stops harmful bacteria from spreading. It also helps prevent bad odors and extends sponge life.
Common Germs In Sponges
Sponges can carry many germs. Some of the most common include:
- Salmonella:Causes food poisoning and stomach pain.
- E. coli:Found in raw meat, leads to severe diarrhea.
- Staphylococcus:Causes skin infections and food poisoning.
- Mold and yeast:Grow in damp sponges, cause allergies.
These germs survive well in wet and dirty sponges. They spread easily to hands, dishes, and kitchen surfaces.
Health Risks Of Dirty Sponges
Dirty sponges increase the risk of illness in your home. Germs can cause:
- Stomach pain and diarrhea
- Food poisoning
- Skin infections
- Respiratory problems from mold
Using a contaminated sponge can transfer germs to clean dishes and food. This puts your family at risk. Cleaning and disinfecting sponges regularly reduces these dangers.

Credit: tidyhere.com
Signs Your Sponge Needs Disinfecting
Knowing when to disinfect your kitchen sponge helps keep your kitchen safe. Sponges often hold bacteria that can cause illness. Watch for signs that your sponge needs cleaning. Acting quickly prevents germs from spreading on dishes and surfaces.
Odor And Appearance Changes
A foul smell from the sponge means bacteria growth. Sponges should smell neutral or fresh. If it smells sour or rotten, it needs disinfecting. Look for color changes too. Dark spots or slimy texture show germs and mold.
Frequency Of Use
Sponges used daily get dirty fast. Clean them often to avoid germ build-up. Even if the sponge looks fine, frequent use requires regular disinfecting. Replace sponges every one to two weeks. This keeps your kitchen healthier and safer.
Microwave Method
Place the damp kitchen sponge in the microwave and heat it on high for two minutes. This kills most bacteria and germs quickly. Let it cool before using to avoid burns.
The microwave method is a popular way to disinfect kitchen sponges. This method uses heat to kill bacteria. It's quick and effective, making it a favorite choice. Follow these simple steps to keep your sponge clean and safe.
Preparation Steps
Before starting, gather your materials. You'll need a microwave-safe bowl and water. First, rinse the sponge under running water. Squeeze out any excess liquid but keep it damp. Place the sponge in the microwave-safe bowl. Ensure the bowl is large enough to avoid overflow.
Microwaving Time And Tips
Set your microwave to high power. Heat the sponge for one to two minutes. Keep an eye on it to prevent burning. The sponge should be steaming, not dry. Allow it to cool before handling. A hot sponge can cause burns. Repeat this process regularly to maintain a germ-free kitchen sponge.
Boiling Water Technique
The boiling water technique is a simple and effective way to disinfect a kitchen sponge. It uses high heat to kill most germs and bacteria. This method requires only water and a pot. It is quick and does not use any chemicals.
Boiling Process
Start by filling a pot with enough water to cover the sponge completely. Bring the water to a rolling boil on the stove. Carefully place the sponge into the boiling water. Let it soak for about 5 minutes. Remove the sponge using tongs or a spoon. Allow it to cool before using or storing.
Safety Precautions
- Use heat-resistant tools to handle the hot sponge.
- Do not leave boiling water unattended on the stove.
- Place the pot on a stable surface to avoid spills.
- Let the sponge cool fully to avoid burns.
- Replace the sponge regularly, even after disinfecting.
Using Bleach Solution
Using a bleach solution is a powerful way to disinfect your kitchen sponge and kill harmful bacteria that can hide in its fibers. Bleach is widely available and effective, making it a practical choice for keeping your sponge clean and safe. However, it's important to use the right dilution and soaking time to avoid damaging the sponge or exposing yourself to harsh chemicals.
Dilution Ratios
To make a safe and effective bleach solution, mix one tablespoon of regular household bleach with one gallon of water. This ratio ensures the bleach is strong enough to disinfect without being overly harsh.
Using a higher concentration can weaken the sponge quickly and produce strong fumes, so stick to this recommended dilution. Always prepare the solution fresh before each use to maintain its disinfecting power.
Soaking Duration
Once your bleach solution is ready, soak the sponge for about five minutes. This short soaking time is sufficient to kill most bacteria and viruses without damaging the sponge's structure.
Leaving the sponge longer than five minutes can cause it to break down faster and release strong chemical odors. After soaking, rinse the sponge thoroughly under running water to remove any bleach residue before using it again.
Vinegar And Hydrogen Peroxide Options
Keeping your kitchen sponge clean is crucial since it can harbor a lot of bacteria. Vinegar and hydrogen peroxide are two effective and natural options to disinfect your sponge without harsh chemicals. Both are easy to use and can help you maintain a healthier kitchen environment.
Vinegar Soak Method
Vinegar is acidic, which makes it great for killing germs and breaking down grime. To disinfect your sponge, simply soak it in a bowl filled with white vinegar for about 5 to 10 minutes.
After soaking, rinse the sponge thoroughly with warm water. You’ll notice that the vinegar smell fades quickly, leaving your sponge fresher. Have you ever tried this quick soak after a long cooking session? It really helps reduce odors and bacteria build-up.
Hydrogen Peroxide Spray
Hydrogen peroxide works by releasing oxygen that kills bacteria and viruses on contact. Pour some 3% hydrogen peroxide into a spray bottle and spray your damp sponge evenly.
Let it sit for a few minutes before rinsing well with water. This method is fast and can be done right after you finish washing dishes. Do you find that spraying your sponge keeps it fresher between washes? It’s a simple step that makes a big difference.
Dishwasher Cleaning
Cleaning your kitchen sponge in the dishwasher is a surprisingly effective way to kill germs and extend its life. The heat and strong water jets sanitize the sponge without harsh chemicals. If you want a simple, hands-off method, the dishwasher can be your best tool.
Best Settings To Use
Choose the hottest water setting available on your dishwasher. High temperatures help eliminate bacteria more effectively than cooler cycles. A heavy-duty or sanitize cycle works best because it combines heat with longer wash times.
Make sure the drying phase is included. The heat during drying further disinfects the sponge and helps it dry faster, reducing the chance for bacteria growth. Avoid quick or eco-friendly cycles, as they may not get the sponge thoroughly clean.
Placement Tips
Place the sponge on the top rack of the dishwasher. This area is exposed to more direct water spray and heat, which improves cleaning. Avoid placing it near sharp utensils or heavy pots that might damage the sponge.
Keep the sponge separate from dishes to prevent cross-contamination. You can use a dishwasher-safe mesh bag to hold the sponge securely. This also stops the sponge from falling into the dishwasher’s filter or drainage area.
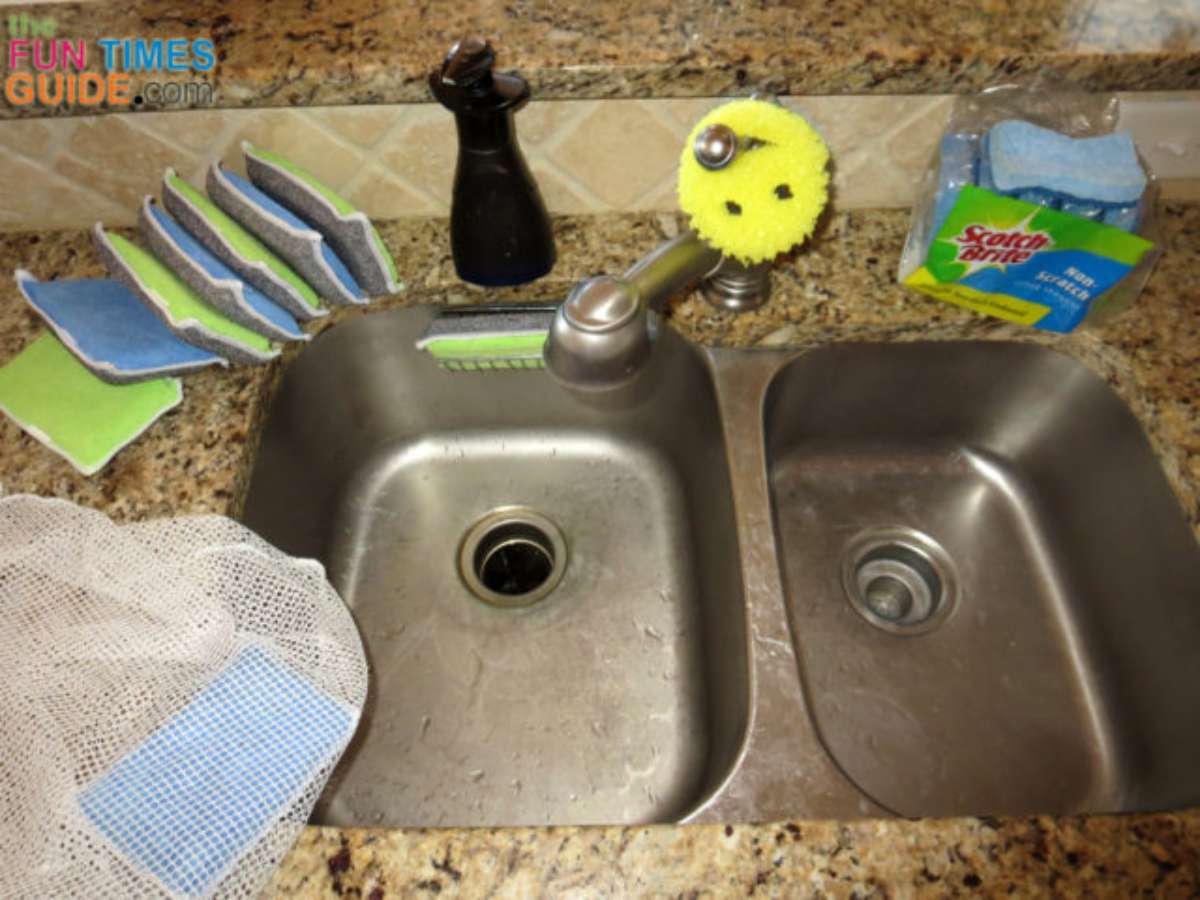
Credit: household-tips.thefuntimesguide.com
Maintaining Sponge Hygiene
Keeping your kitchen sponge clean is more important than you might think. A sponge that stays wet and dirty becomes a breeding ground for bacteria. Maintaining sponge hygiene not only protects your health but also extends the life of your sponge, saving you money and effort.
Regular Replacement Schedule
How often do you change your kitchen sponge? Many people keep the same sponge for weeks or even months, which can lead to nasty germs building up. Aim to replace your sponge every one to two weeks, depending on how heavily you use it.
If you clean your sponge daily, you might stretch this to two weeks. But if it starts smelling or falling apart, don’t wait—swap it out immediately. Setting a reminder on your phone can help you stick to this schedule.
Proper Drying Techniques
Do you leave your sponge sitting in a wet sink, or do you let it dry out completely? Sponges that stay damp encourage bacteria to multiply quickly. After each use, rinse your sponge thoroughly and wring out as much water as possible.
Store it in a place where air can circulate freely, like a sponge holder with drainage holes or on a raised rack. Avoid leaving it in the bottom of the sink or in a closed container where moisture gets trapped.
:max_bytes(150000):strip_icc()/hydrogen-peroxide-uses-home-4174809-05-3c126f03778d46f4858d75c2780429a9.jpg)
Credit: www.thespruce.com
Frequently Asked Questions
How Often Should I Disinfect A Kitchen Sponge?
Disinfect your kitchen sponge daily to reduce bacteria buildup. Frequent cleaning prevents odors and cross-contamination. Replace the sponge every 1-2 weeks for best hygiene.
What Are The Best Methods To Disinfect Kitchen Sponges?
Use microwaving, boiling, or soaking in bleach or vinegar solutions. Each method kills most bacteria effectively. Choose based on convenience and available household items.
Can I Microwave A Wet Kitchen Sponge Safely?
Yes, microwaving a wet sponge for 1-2 minutes kills germs. Ensure the sponge is fully wet to avoid fire risk. Always watch the sponge closely during microwaving.
Does Disinfecting A Sponge Remove All Bacteria?
Disinfecting kills most harmful bacteria but not all spores. Regular cleaning combined with sponge replacement ensures better kitchen hygiene. Never assume disinfecting alone makes a sponge completely safe.
Conclusion
Keeping your kitchen sponge clean helps stop germs from spreading. Regularly disinfect it using simple methods like microwaving or soaking in vinegar. Replace the sponge often to maintain a healthy kitchen. Clean sponges make washing dishes safer and easier. Small steps can keep your kitchen fresh and safe.
Don’t forget, a clean sponge protects your whole family. Stay consistent with these tips for the best results. Your kitchen hygiene depends on it.