
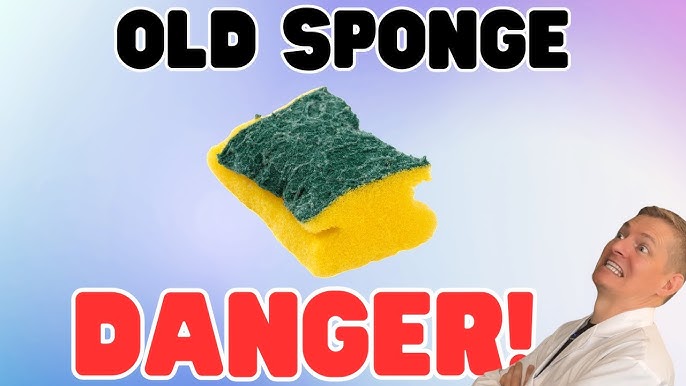
Your kitchen sponge is one of the dirtiest items in your home, but you probably don’t think twice about using it every day. What if I told you that without proper cleaning, your sponge could be spreading harmful germs instead of cleaning them up?
Knowing how to disinfect your kitchen sponge the right way can protect you and your family from bacteria and unpleasant odors. Keep reading to discover simple, effective methods that will keep your sponge fresh and safe to use.
:max_bytes(150000):strip_icc()/hydrogen-peroxide-uses-home-4174809-05-3c126f03778d46f4858d75c2780429a9.jpg)
Credit: www.thespruce.com
Why Kitchen Sponges Are Germ Hotspots
Kitchen sponges are some of the dirtiest items in a home. They stay wet and warm, which creates a perfect place for germs to grow. These germs can include bacteria, mold, and even viruses. Sponges pick up food particles and grease, which feed harmful microbes. Without proper cleaning, these germs multiply quickly.
Using a dirty sponge can spread germs to dishes, countertops, and hands. This can cause foodborne illnesses and infections. Many people do not realize how often they should clean or replace their sponges. Understanding why sponges are germ hotspots helps to keep kitchens safe and healthy.
Porous Surface Holds Moisture And Food Debris
Sponges have many tiny holes and soft surfaces. These holes trap water and food bits easily. Moisture stays inside the sponge for a long time. Bacteria love this wet, dark environment. This allows germs to grow rapidly.
Frequent Contact With Raw Foods
Sponges often touch raw meat, vegetables, and other foods. Raw foods carry bacteria like Salmonella and E. coli. These germs transfer to the sponge’s surface. If not cleaned well, the sponge spreads them around the kitchen.
Warm And Humid Kitchen Conditions
Kitchens are warm and humid places. These conditions help bacteria multiply fast. Sponges left on the sink or countertop stay damp. This creates an ideal spot for germs to thrive.
Cross Contamination Risks
- Using the same sponge for dishes and counters spreads germs.
- Sponges can transfer bacteria from raw meat to cooked food areas.
- Shared sponges increase the risk of germ spread among family members.
Difficulty In Fully Drying Sponges
Sponges take time to dry completely. They often remain moist inside even after use. Germs survive longer in wet sponges. Without proper drying, bacteria continue to grow.
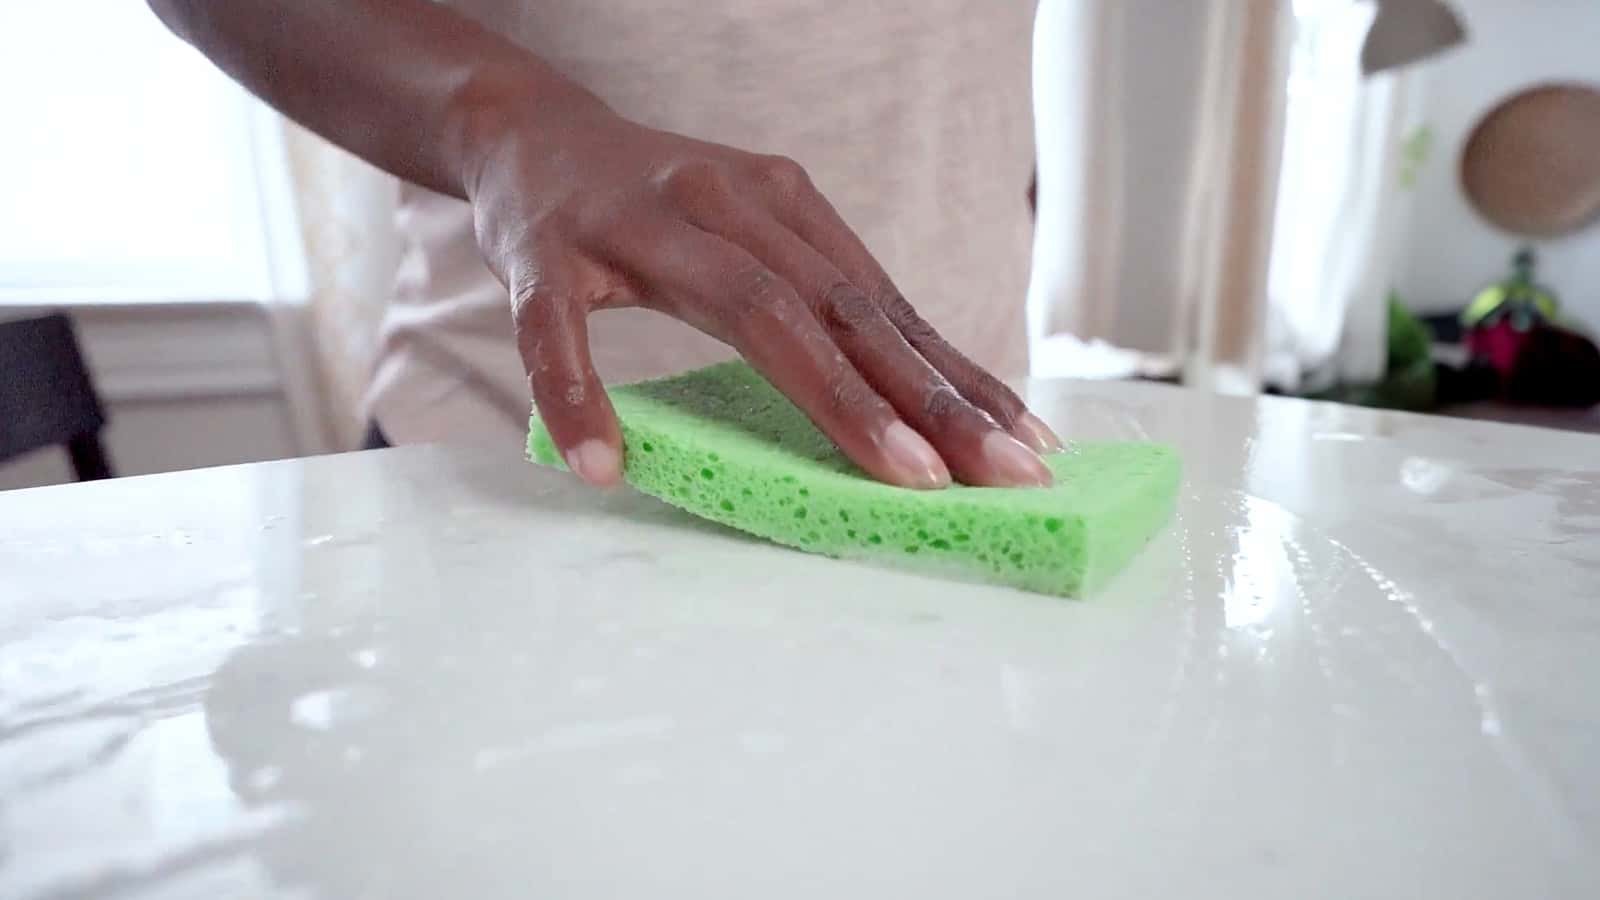
Credit: www.pinesol.com
Signs Your Sponge Needs Disinfecting
Your kitchen sponge is a silent worker that tackles countless messes daily. But how do you know when it has done enough and needs disinfecting? Recognizing the signs early helps you avoid spreading germs rather than cleaning them.
Visible Dirt And Stains
If your sponge looks dirty or stained even after rinsing, it's time to disinfect. Food particles and grease can cling to the surface, providing a perfect breeding ground for bacteria.
Don't ignore discoloration. A sponge that has turned darker or has patches is harboring more than just grime.
Unpleasant Odor
Have you noticed a sour or musty smell coming from your sponge? This is a clear sign that bacteria are multiplying inside it.
Even if the sponge looks clean, a bad smell means it needs immediate attention. Trust your nose on this one.
Sponge Feels Slimy Or Sticky
When you squeeze your sponge and it feels slimy, it’s a warning signal. This texture indicates bacterial growth and residue buildup.
A clean sponge should feel soft and porous, not slick or gummy.
Frequent Use Without Replacement
Using the same sponge for more than a week without disinfecting increases the risk of contamination. Your sponge collects germs every time it touches raw food or dirty dishes.
Ask yourself: how many days has this sponge been in use? If you can’t remember, it’s probably time to disinfect or replace it.
Reduced Cleaning Effectiveness
Does your sponge no longer scrub as well as it used to? This could mean it’s clogged with bacteria and debris.
A sponge that doesn’t clean effectively defeats its purpose and needs disinfecting or replacement.
Simple Methods To Disinfect Sponges
Microwaving damp sponges kills many bacteria fast and easily. Soaking sponges in vinegar or bleach also cleans them well and keeps your kitchen safe.
Keeping your kitchen sponge clean is essential for maintaining a healthy home environment. A dirty sponge can quickly become a breeding ground for bacteria, spreading germs across your dishes and countertops. Fortunately, there are simple and effective methods to disinfect sponges, ensuring they remain hygienic and safe to use. Let's explore these methods so you can keep your kitchen fresh and your family safe.
Microwave Technique
This method is quick and efficient. Simply soak your sponge in water, ensuring it's thoroughly wet. Place it in the microwave for about one to two minutes on high heat. The heat kills most bacteria, but be cautious when removing it as it will be hot.
Boiling Water Method
Boiling water is another effective way to sanitize your sponge. Submerge your sponge in boiling water for around five minutes. This method is reliable and uses no chemicals, making it a great natural option.
Dishwasher Cleaning
You might be surprised to learn that your dishwasher can clean more than just dishes. Place your sponge in the dishwasher during a regular cycle. Use the hottest setting and the drying cycle to ensure thorough disinfection. This method is convenient if you’re already running a load.
Bleach Solution Soak
A bleach soak is a powerful way to eliminate germs. Mix about a tablespoon of bleach in a gallon of water. Soak your sponge in this solution for at least five minutes. This method is highly effective but make sure to rinse the sponge thoroughly afterward to remove any bleach residue.
Vinegar And Baking Soda
Combine the natural cleaning power of vinegar and baking soda. Soak the sponge in vinegar for five minutes, then sprinkle baking soda on it and scrub. This method not only disinfects but also helps to remove odors. Plus, it's a more eco-friendly option compared to chemical cleaners. How often do you disinfect your kitchen sponge? Consider integrating these methods into your routine to ensure your kitchen remains as clean as possible. A sanitized sponge not only enhances your kitchen’s hygiene but also extends the life of the sponge, saving you money in the long run.
Step-by-step Sponge Disinfecting Guide
Keeping your kitchen sponge clean is essential for a healthy home. This guide shows how to disinfect your sponge safely and effectively. Follow these clear steps to remove germs and keep your sponge fresh. Regular cleaning helps prevent bacteria build-up and bad smells.
Preparing The Sponge
Start by rinsing the sponge under warm water. Squeeze it several times to remove food particles. Avoid using a sponge that is falling apart or very old. Trim any loose pieces. Make sure the sponge is damp before disinfecting.
Choosing A Disinfecting Method
Select a method that suits your needs and resources. Common options include:
- Microwave heating
- Boiling in water
- Soaking in vinegar or bleach solutions
- Using a dishwasher with a high heat cycle
Each method effectively kills germs but varies in effort and time.
Executing The Process
For microwave heating, place the wet sponge in the microwave. Heat on high for one to two minutes. Be careful removing it; it will be hot. To boil, submerge the sponge in boiling water for five minutes. Soak the sponge in a bleach solution (one tablespoon bleach per quart of water) for five minutes. If using vinegar, soak in undiluted vinegar for 30 minutes. In a dishwasher, run the sponge through a high-heat cycle.
Drying And Storing
After disinfecting, squeeze out excess water. Let the sponge air dry completely in a clean area. Avoid storing the sponge in a damp sink or closed container. Use a holder that allows airflow. Dry sponges stay fresher and reduce bacteria growth.
Tips To Keep Sponges Germ-free Longer
Keeping your kitchen sponges germ-free for longer isn't just about quick cleaning; it requires consistent habits and smart choices. Sponges are perfect breeding grounds for bacteria, so taking simple steps can make a big difference in maintaining a hygienic kitchen.
Regular Cleaning Schedule
Set a clear routine for cleaning your sponges—daily or every couple of days depending on use. Microwaving a damp sponge for about one minute or soaking it in a bleach solution can kill most germs effectively. Have you noticed how a neglected sponge starts to smell or feels slimy? That’s a sign it’s time to clean or replace it.
Proper Sponge Storage
Where you keep your sponge matters. Avoid leaving it in a wet sink or a closed container where moisture lingers. Instead, place it somewhere it can dry quickly, like a sponge holder with good airflow or on a dish rack. Dry sponges harbor fewer bacteria, so think about how your storage habits affect cleanliness.
Alternating Sponges
Using one sponge all the time gives bacteria a constant home. Try rotating between two or three sponges to allow each one to dry completely between uses. This small change can reduce the buildup of germs and extend the life of your sponges.
Using Alternatives
Consider swapping traditional sponges for alternatives like silicone scrubbers or washable cloths. These tend to dry faster and resist bacteria buildup better. Have you tried these options? They often last longer and can be easier to keep clean.

Credit: food52.com
When To Replace Your Kitchen Sponge
Knowing the right time to replace your kitchen sponge is crucial for maintaining a clean and healthy kitchen. Even with regular disinfecting, sponges can harbor harmful bacteria that multiply quickly. Replacing your sponge at the right moment helps prevent cross-contamination and keeps your food preparation area safe.
Signs Your Sponge Needs Replacing
Look out for visible signs like unpleasant odors or discoloration. If your sponge starts to smell bad even after cleaning, it’s a clear warning. Also, if it looks torn or worn out, it won’t clean effectively anymore.
How Often Should You Replace Your Sponge?
Experts suggest replacing kitchen sponges every one to two weeks. However, if you use your sponge heavily, consider changing it more frequently. Think about how often you clean raw meat surfaces or sugary spills—these situations increase bacteria growth.
What Happens If You Don’t Replace Your Sponge Regularly?
Using an old sponge can spread germs instead of cleaning them. Bacteria like salmonella and E. coli thrive in damp, porous materials. Have you ever noticed your sponge looking slimy? That’s a sign bacteria are multiplying.
Tips To Extend The Life Of Your Sponge
- Rinse your sponge thoroughly after each use to remove food particles.
- Disinfect regularly by microwaving or soaking in vinegar or bleach solutions.
- Store your sponge in a dry place to reduce bacteria growth.
Even with these steps, keep an eye on your sponge’s condition and don’t hesitate to replace it when needed.
Frequently Asked Questions
How Often Should I Disinfect My Kitchen Sponge?
Disinfect your kitchen sponge daily to prevent bacteria buildup. Frequent cleaning reduces harmful germs and keeps your kitchen hygienic. Replace sponges every 1-2 weeks for best results.
What Is The Best Method To Disinfect A Kitchen Sponge?
Microwaving a damp sponge for 1-2 minutes effectively kills bacteria. Alternatively, soak it in a bleach solution or run it through a dishwasher cycle. Always ensure the sponge is wet before microwaving to avoid fire hazards.
Can Vinegar Disinfect Kitchen Sponges Effectively?
Vinegar has some antibacterial properties but is less effective than bleach or microwaving. It can reduce odors and mild bacteria but won’t fully sanitize your sponge. Use vinegar as a supplementary cleaning method.
Is It Safe To Microwave Kitchen Sponges?
Yes, microwaving a wet kitchen sponge for 1-2 minutes safely kills most bacteria. Always ensure the sponge is wet to prevent fire. Avoid metal components and monitor the process closely.
Conclusion
Keeping your kitchen sponge clean helps stop germs from spreading. Regularly disinfect it using simple methods like microwaving or soaking in vinegar. Replace your sponge often to stay safe and healthy. Clean sponges make your kitchen fresher and reduce bad smells.
Small steps can keep your dishes and surfaces cleaner every day. Remember, a clean sponge means a safer kitchen for you and your family.