
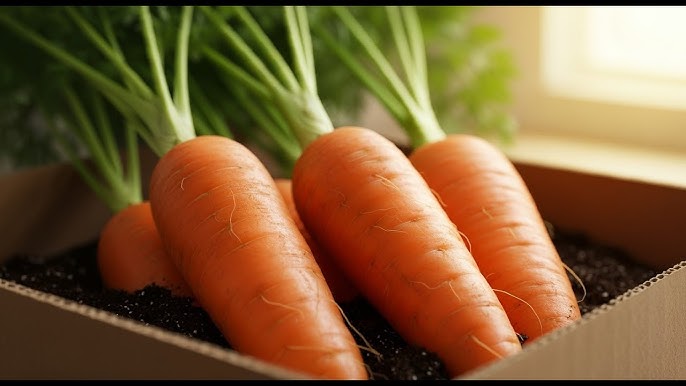
Have you ever wondered if you could turn your kitchen scraps into fresh, crunchy carrots? What if you didn’t have to buy new seeds or seedlings to grow your own garden?
Growing carrots from your leftover scraps is easier than you think, and it can save you money while adding a fun twist to your gardening routine. You’ll discover simple steps to bring new life to your carrot tops and watch them grow right on your windowsill or backyard.
Ready to surprise yourself with this green-thumb hack? Keep reading to learn how you can start growing carrots from scraps today!
Choosing The Right Carrot Scraps
Choosing the right carrot scraps is crucial to successfully growing carrots from kitchen leftovers. Not every part of the carrot top will sprout healthy greens or grow well. Picking the best scraps sets a strong foundation for your kitchen garden and saves you time and effort.
Selecting Healthy Tops
Look for carrot tops that are fresh and vibrant. Healthy carrot tops usually have bright green leaves and firm bases. Avoid tops that look dry or discolored because they often won’t regrow well.
I once tried growing carrot scraps with wilted tops, and they never sprouted. But using fresh, crisp tops gave me lush green growth in just a week. Could your scraps be the key to a thriving mini garden?
- Choose tops with no yellow or brown spots.
- Make sure the base is firm and not mushy.
- Pick pieces that are about 1-2 inches tall for better results.
Avoiding Diseased Or Wilted Parts
Diseased or wilted carrot scraps can introduce mold or rot to your growing environment. If you spot any soft spots or odd smells, toss those scraps away immediately.
In my experience, even a small diseased part can spoil the whole batch of carrot tops. It’s better to be cautious and select only healthy scraps to avoid frustration and wasted effort.
- Check for any slimy or mushy textures.
- Discard scraps with black or dark spots.
- Smell the carrot tops; a fresh scent means they are good to use.

Credit: m.youtube.com
Preparing Carrot Tops For Planting
Preparing carrot tops for planting is a crucial step that sets the stage for healthy growth. Taking the time to trim and clean your carrot tops properly ensures they have the best chance to develop strong roots. Simple care before planting can make a big difference in how well your kitchen scraps turn into thriving plants.
Trimming And Cleaning
Start by cutting the carrot tops about 1 to 2 inches above the base. This part will be planted, so make sure the cut is clean and straight. Remove any wilted or damaged leaves to prevent mold and pests from setting in.
Rinse the carrot tops gently under cool water to wash away dirt and any leftover debris. Avoid scrubbing too hard to keep the tops intact. Have you noticed how even a small amount of dirt can slow down root development? Keeping them clean helps roots grow faster.
Soaking For Better Root Growth
Before planting, soak the trimmed carrot tops in a shallow bowl of water for 24 hours. This rehydrates them and encourages new root growth. You’ll see tiny white roots start to emerge, signaling that your carrot tops are ready for soil.
Change the water if it gets cloudy to avoid bacteria buildup. After soaking, plant the carrot tops in moist soil with the cut side down. This simple soaking step can dramatically improve your success rate—have you tried it in your own garden?
Planting Carrot Scraps Indoors
Carrot scraps can grow new plants indoors with just water and sunlight. Place the carrot tops in a shallow dish and watch green shoots appear in days. This simple method recycles kitchen waste into fresh, healthy greens.
Planting carrot scraps indoors can be a fun and fulfilling project. It's amazing to think that something as simple as a carrot top can transform into a thriving indoor plant. Growing carrots indoors not only saves money but also adds a touch of greenery to your home. Plus, it's a fantastic way to teach children about plant growth and sustainability.
Using Suitable Containers
Selecting the right container is crucial for the success of your indoor carrot garden. Opt for containers that are at least 6 inches deep to accommodate root growth. Ensure the containers have drainage holes to prevent waterlogging, which can damage the roots. Repurposing old pots or even large plastic bottles with the tops cut off can work well. Just make sure they are clean and sturdy. You can even paint them to add a decorative touch to your indoor space.
Soil Mix And Drainage Tips
The soil mix you choose will significantly impact the health of your carrot plants. A light, well-draining soil mix is ideal. You can create your own by mixing equal parts of potting soil, sand, and perlite. Drainage is essential to prevent root rot. Make sure your containers have plenty of holes at the bottom. You might also consider adding a layer of small stones or gravel before adding the soil mix to enhance drainage. A fun tip: try using coffee filters at the bottom of the container to prevent soil from escaping through the drainage holes. This simple trick keeps your space clean and your plants happy. Have you ever considered how much you can grow from scraps? Experimenting with carrot tops might just inspire you to try growing other kitchen scraps too!
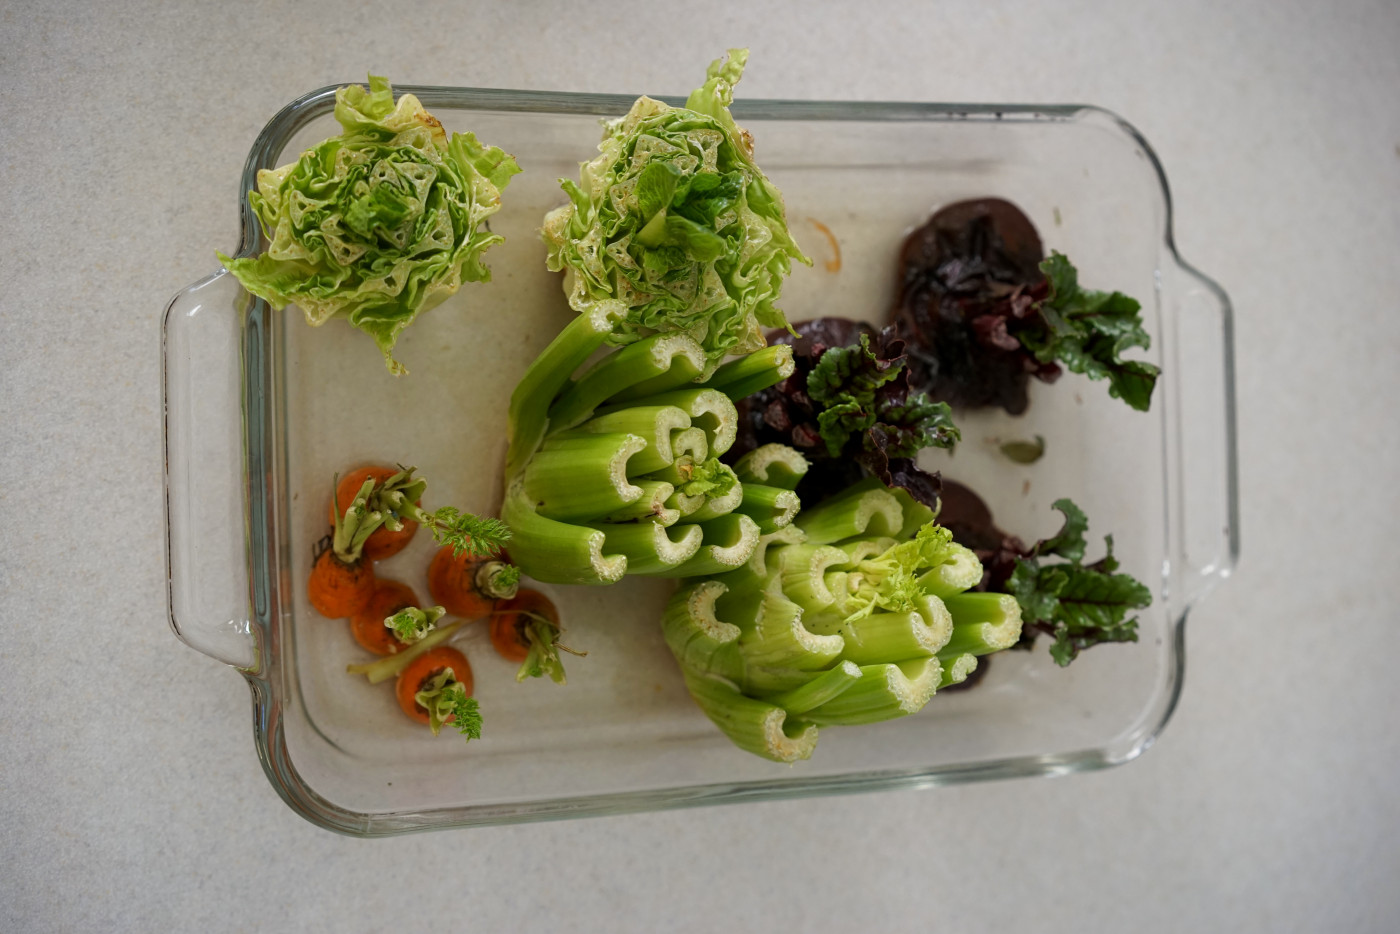
Credit: www.gardenary.com
Caring For Growing Carrot Plants
Caring for growing carrot plants from kitchen scraps takes attention to detail and consistency. Your carrots need the right balance of water, light, and temperature to thrive and develop those sweet, crunchy roots. Small changes in how you nurture them can make a big difference in the final harvest.
Watering Schedule
Carrots prefer evenly moist soil but dislike being waterlogged. Water your plants gently every few days to keep the soil damp, not soaked. Too much water can cause the roots to rot, while too little will make them tough and bitter.
Check the soil with your fingers—if the top inch feels dry, it’s time to water. Avoid letting the soil dry out completely, especially during the first few weeks when roots are forming. Consistent moisture encourages straight, healthy roots instead of cracked or forked carrots.
Light And Temperature Needs
Carrots grow best in full sunlight, needing about 6 to 8 hours of light daily. If you're growing them indoors from kitchen scraps, place them near a sunny window or use a grow light to meet their light demands. Without enough light, carrot tops may grow tall and leggy, but the roots will be weak.
Temperature plays a crucial role—carrots prefer cooler weather, ideally between 55°F and 75°F (13°C to 24°C). If it’s too warm, the roots might become woody or develop a bitter taste. Have you noticed your carrots bolting or turning tough? That’s often a sign they’re too hot or stressed.
Transferring Seedlings Outdoors
Transferring carrot seedlings outdoors is a key step for healthy growth. Seedlings need space, fresh air, and natural sunlight to develop strong roots. The right timing and proper preparation of the garden bed ensure a smooth transition. This helps your carrots grow well and produce a good harvest.
When To Transplant
Transplant seedlings once they have two to three true leaves. This usually happens about 3 to 4 weeks after sprouting. The outdoor temperature should be stable, ideally between 50°F and 75°F (10°C to 24°C). Avoid transplanting during extreme cold or hot days. Morning or late afternoon is best to reduce transplant shock.
Preparing The Garden Bed
Choose a sunny spot with loose, well-drained soil. Carrots grow best in soil free of rocks and clumps. Loosen the soil to a depth of 12 inches (30 cm). Mix in compost or organic matter to add nutrients. Create shallow rows 1/2 inch (1.3 cm) deep for planting. Water the bed lightly before transplanting the seedlings.
Common Challenges And Solutions
Growing carrots from kitchen scraps can be rewarding but comes with challenges. These issues may affect growth and harvest. Knowing common problems helps keep your carrot plants healthy. Solutions often involve simple care and attention.
Pests To Watch For
Carrot plants attract pests like aphids and carrot flies. Aphids cluster on leaves and stems, sucking plant juices. Carrot flies lay eggs near roots; larvae damage carrots underground.
- Check plants daily for small insects or holes.
- Use natural pest repellents like neem oil or soapy water.
- Plant strong-smelling herbs nearby to deter pests.
- Cover plants with fine mesh to block flying pests.
Preventing Rot And Mold
Rot and mold grow in damp, crowded conditions. Overwatering or poor drainage causes root rot. Mold appears on leaves or soil surface, harming plants.
- Use well-draining soil to keep roots dry.
- Water carrots only when soil feels dry.
- Space plants to improve air flow around them.
- Remove any moldy or decaying parts immediately.
Harvesting And Using Homegrown Carrots
Harvesting your homegrown carrots is an exciting moment that brings the fruits of your patience and care to the table. Knowing exactly when to pull them out ensures you enjoy the best flavor and texture. Using carrots straight from your kitchen scraps not only reduces waste but also adds fresh, vibrant taste to your meals.
Signs Of Readiness
Look for the carrot tops peeking above the soil—when they reach about ¾ inch in diameter, they’re usually ready. The leaves should be lush and green, but if they start turning yellow, it might be time to harvest. You can also gently loosen the soil around one carrot to check its size without pulling it out completely.
Carrots don’t always grow at the same pace, so check your patch regularly. Are your carrots firm to the touch and brightly colored? Those are great signs that they’ve developed their natural sweetness.
Storage Tips
Once harvested, you want to keep your carrots fresh and crunchy for as long as possible. Trim the green tops off to prevent moisture loss. Store your carrots in a perforated plastic bag in the fridge’s crisper drawer.
If you have a large harvest, consider storing them in a container of damp sand or sawdust in a cool, dark place. This method can keep carrots fresh for weeks. Have you tried freezing grated carrots? It’s a handy way to preserve them for soups or stews later on.
Credit: www.tastingtable.com
Frequently Asked Questions
How Do I Grow Carrots From Kitchen Scraps?
To grow carrots from scraps, save the carrot tops with a bit of root. Place them in shallow water. Change water every few days. After new roots and leaves appear, plant in soil. Ensure they get sunlight and keep soil moist for best growth.
Can Carrot Scraps Regrow Into Full Carrots?
Carrot scraps regrow leaves but rarely produce full carrots. The top scraps mainly grow green foliage. To harvest full carrots, plant seeds directly in soil. However, regrowing scraps is great for kitchen gardens and fresh greens.
What Is The Best Way To Plant Carrot Scraps?
Plant carrot scraps in a container with well-draining soil. Bury the carrot top just enough to cover roots and base. Keep the soil moist and place the container in indirect sunlight. New shoots will grow within weeks, signaling healthy growth.
How Long Does It Take For Carrot Scraps To Grow?
Carrot scraps typically show new growth in 1-2 weeks. Leaves start sprouting first, while roots develop slowly. Full edible growth takes longer and usually requires planting seeds. Regular care speeds up the process.
Conclusion
Growing carrots from kitchen scraps saves money and reduces waste. It takes only a few simple steps to start your own mini garden. Fresh carrots from your home taste better and are healthier. Watching your scraps turn into plants gives great satisfaction.
Anyone can try this, even with little space or experience. Start today and enjoy the fun of growing food yourself. Small efforts bring big rewards in your garden. Give it a try and see how easy it can be. Gardening made simple, right from your kitchen.