
Your kitchen sponge is one of the dirtiest items in your home. It’s full of germs and bacteria that can make your dishes—and even you—sick.
But what if you could easily kill those harmful microbes in just a minute or two? Microwaving your sponge is a simple and effective way to sanitize it, saving you time and keeping your kitchen safer. You’ll learn exactly how to sanitize a kitchen sponge in the microwave the right way.
Keep reading to protect your health and make your cleaning routine easier than ever.
Why Sanitize Kitchen Sponges
Kitchen sponges are a common tool used daily for cleaning. They absorb water and food particles, creating a perfect place for germs to grow. Sanitizing kitchen sponges is necessary to keep your kitchen safe and clean. It helps reduce the risk of spreading harmful bacteria to your dishes and surfaces.
Bacteria Growth Risks
Sponges stay moist and warm, which helps bacteria multiply fast. Harmful germs like Salmonella and E. coli can live on sponges. Using a dirty sponge can spread these bacteria to your hands, dishes, and countertops. This can cause food poisoning and other illnesses.
Health Benefits
Sanitizing sponges kills most bacteria and germs. It helps stop cross-contamination between different food items. Clean sponges keep your kitchen safer and reduce the chance of sickness. This is especially important if you have children or elderly family members.
Frequency Of Sanitizing
Sponges should be sanitized often to stay safe. Ideally, sanitize after each use or at least every day. Replace sponges regularly, even if you sanitize them. A clean sponge works better and lasts longer.
Credit: ehclean.com
Preparing The Sponge
Preparing the sponge correctly is essential for effective sanitizing in the microwave. The process starts by cleaning and moistening the sponge. Choosing the right sponge type ensures safety and better results. Follow these simple steps to get your sponge ready for microwaving.
Removing Debris
First, check the sponge for food particles and dirt. Rinse it under warm running water to wash away crumbs and grease. Squeeze the sponge a few times to release trapped debris. This step helps the microwave kill germs more effectively.
Wetting The Sponge
Always wet the sponge before microwaving. A dry sponge can catch fire in the microwave. Soak it with clean water until fully saturated. Squeeze out excess water carefully to avoid dripping. A wet sponge heats evenly, killing bacteria safely.
Choosing A Microwave-safe Sponge
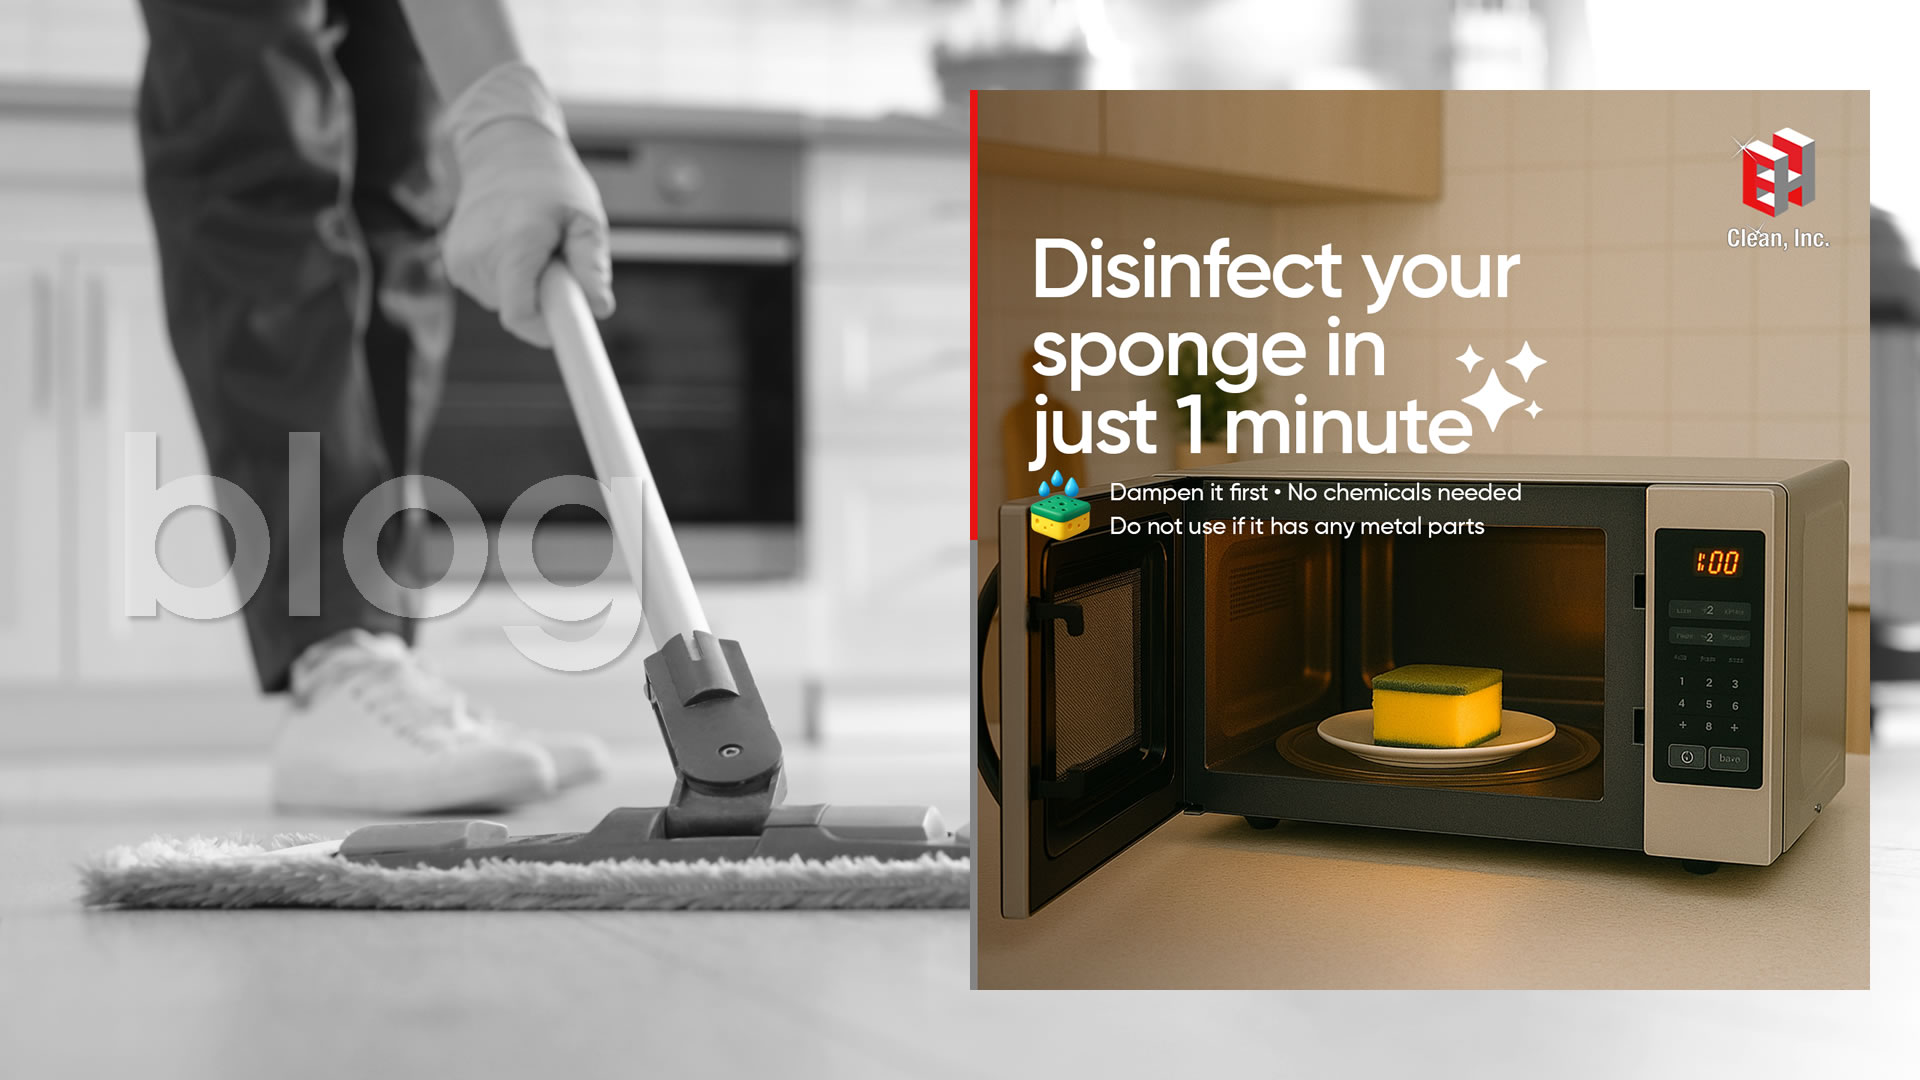
Not all sponges are safe to microwave. Avoid sponges with metal scrubbing pads or foil. Select plain cellulose or natural fiber sponges. Check the packaging for microwave-safe labels. Using the right sponge protects your microwave and prevents damage.
Microwave Sanitizing Methods
Microwaving is a quick and effective way to sanitize kitchen sponges. Heat kills many bacteria and germs hiding in the sponge. This method uses steam and heat to clean deeply without harsh chemicals.
Several microwave sanitizing methods exist. Each uses simple ingredients you likely have at home. These techniques improve cleanliness and extend sponge life safely.
Basic Microwave Technique
Start by soaking the sponge in water. It must be wet to avoid fire risk. Place the wet sponge in the microwave.
Heat on high for about 1 to 2 minutes. The steam generated inside kills most germs. Let the sponge cool before removing it carefully.
Using Vinegar Or Lemon
Add natural cleaning agents for extra freshness. Soak the sponge in a bowl with equal parts water and vinegar.
Alternatively, squeeze lemon juice into the water. Vinegar and lemon add antibacterial properties. Microwave the sponge for 1 to 2 minutes while wet.
These ingredients help remove odors and boost sanitation. Always handle the sponge with care after heating.
Adding Baking Soda
Mix baking soda with water to create a cleaning solution. Soak the sponge in this mix for 10 minutes before microwaving.
Place the wet sponge in the microwave and heat for 1 to 2 minutes. Baking soda helps break down grime and neutralizes smells.
This method combines physical cleaning and microwave sanitizing for better results.

Credit: www.absolutesolutions.com.sg
Safety Tips For Microwave Sanitizing
Microwaving a damp kitchen sponge kills germs quickly. Always wet the sponge to avoid fire hazards. Use short intervals to prevent overheating and damage.
Sanitizing your kitchen sponge in the microwave can be an effective way to eliminate germs, but it must be done with care. Safety is paramount when using this method to ensure both your home and your hands remain unharmed. Let's explore some essential safety tips you should follow when sanitizing a kitchen sponge in the microwave.
Avoiding Fires
The possibility of fire is a real concern when microwaving sponges. Always make sure your sponge is wet before placing it in the microwave. A dry sponge can ignite, causing a fire hazard. Consider setting a reminder to check the sponge's moisture level before each sanitizing session. Even a slightly damp sponge can dry out in the microwave, so keep an eye on it.
Handling Hot Sponges
Microwaved sponges can become extremely hot. Use caution when removing them to avoid burns. It's wise to let the sponge sit for a minute to cool down before handling. Use tongs or a heat-resistant glove to remove the sponge from the microwave. This simple step can save your fingers from painful burns.
Microwave Power Settings
Adjusting your microwave's power settings can make a big difference. Use medium or low power to prevent overheating. High power settings may cause the sponge to overheat and potentially catch fire. Experiment with different power levels and timing to find the perfect balance. Keeping a close watch will help you figure out what works best for your microwave model. Remember, each appliance is unique, so what works for one may not work for another. Have you ever considered how simple tweaks can make your kitchen safer? Implementing these tips can make a world of difference.
Alternative Sanitizing Options
Microwaving is a quick way to sanitize your kitchen sponge, but it’s not your only option. Sometimes you might want a method that uses your dishwasher or simple household chemicals. These alternatives can be just as effective and might fit better with your routine or available tools.
Dishwasher Method
Placing your sponge in the dishwasher is an easy and hands-off way to clean it. Just put the sponge on the top rack and run a hot cycle with your usual detergent. The heat and water pressure work together to kill most germs and rinse away food particles.
This method saves you time and keeps your sponge ready for the next use. Have you tried this before? It might surprise you how fresh your sponge smells after a dishwasher cycle.
Bleach Soak
Bleach is a powerful sanitizer that can eliminate almost all bacteria on your sponge. Mix one tablespoon of bleach with one quart of water in a bowl. Soak the sponge for five minutes, then rinse it thoroughly with clean water.
Be careful not to use too much bleach or soak for too long, as it can damage the sponge’s material. Do you keep bleach handy in your kitchen for quick deep cleaning? It’s a simple way to make sure your sponge stays germ-free.
Boiling Water
Boiling your sponge in water for a few minutes is another effective method. Boil a pot of water, then submerge the sponge fully for about five minutes. The high temperature kills bacteria and loosens stuck-on grime.
This option doesn’t require special equipment and works well if you want a chemical-free approach. Next time you’re boiling pasta or potatoes, why not toss your sponge in the pot for a quick sanitize?
Maintaining Sponge Hygiene
Keeping your kitchen sponge clean is key to a healthy kitchen. Sponges trap dirt, food particles, and germs quickly. Regular care stops bacteria growth and bad smells. Follow simple habits to keep your sponge fresh and safe every day.
Regular Replacement
Change your sponge often to avoid bacteria build-up. Replace it every one to two weeks. If it smells bad or looks worn, toss it immediately. Fresh sponges clean better and stay hygienic.
Proper Storage
Store your sponge where it can dry fast. Avoid leaving it wet in the sink or closed containers. Use a sponge holder that drains water well. Dry sponges stop germs from growing.
Daily Cleaning Habits
Rinse your sponge thoroughly after each use. Squeeze out water to keep it as dry as possible. Use hot water and soap daily to wash it. Microwaving the sponge for one to two minutes kills most bacteria. Let it cool before use.

Credit: www.youtube.com
Frequently Asked Questions
How Long Should I Microwave A Kitchen Sponge?
Microwave the sponge for 1 to 2 minutes on high. This kills most bacteria and germs effectively. Ensure the sponge is wet before microwaving to avoid fire risks.
Can Microwaving A Sponge Remove All Bacteria?
Microwaving kills most bacteria but may not eliminate all pathogens. Regular sanitizing and sponge replacement are recommended for best hygiene.
Is It Safe To Microwave Any Type Of Sponge?
Only microwave synthetic sponges without metal parts. Natural or metallic sponges can catch fire or damage the microwave.
How Often Should I Sanitize My Kitchen Sponge?
Sanitize your kitchen sponge every 1 to 2 days. Frequent sanitizing reduces bacteria buildup and keeps your kitchen hygienic.
Conclusion
Sanitizing a kitchen sponge in the microwave is quick and simple. Just wet the sponge and heat it for a minute or two. This kills most bacteria and keeps your sponge cleaner. Remember to be careful when removing the sponge, as it can be hot.
Doing this regularly helps keep your kitchen safe and fresh. Try this easy method to maintain good hygiene every day. Clean sponges mean fewer germs and a healthier home.