

Have you ever wondered if you can bake clay right in your kitchen oven? If you're working on a creative project or trying out a new craft, knowing the answer can save you time and prevent mistakes.
But is it safe? Will your oven handle it without damage? And will your clay come out just right? Keep reading to discover everything you need to know before you pop that clay into your oven—your art and your kitchen will thank you.

Credit: www.doodlepippin.co.uk
Types Of Clay For Oven Baking
Baking clay in your kitchen oven requires knowing which types are safe to use. Not all clays bake well or at all in a home oven. Some clays air dry and do not need heat. Others harden only with special kiln firing.
Understanding the main clay types helps you choose the right one for your project. Each clay has unique properties, baking temperatures, and times. This section explains the basics of oven-bake clays.
Polymer Clay Basics
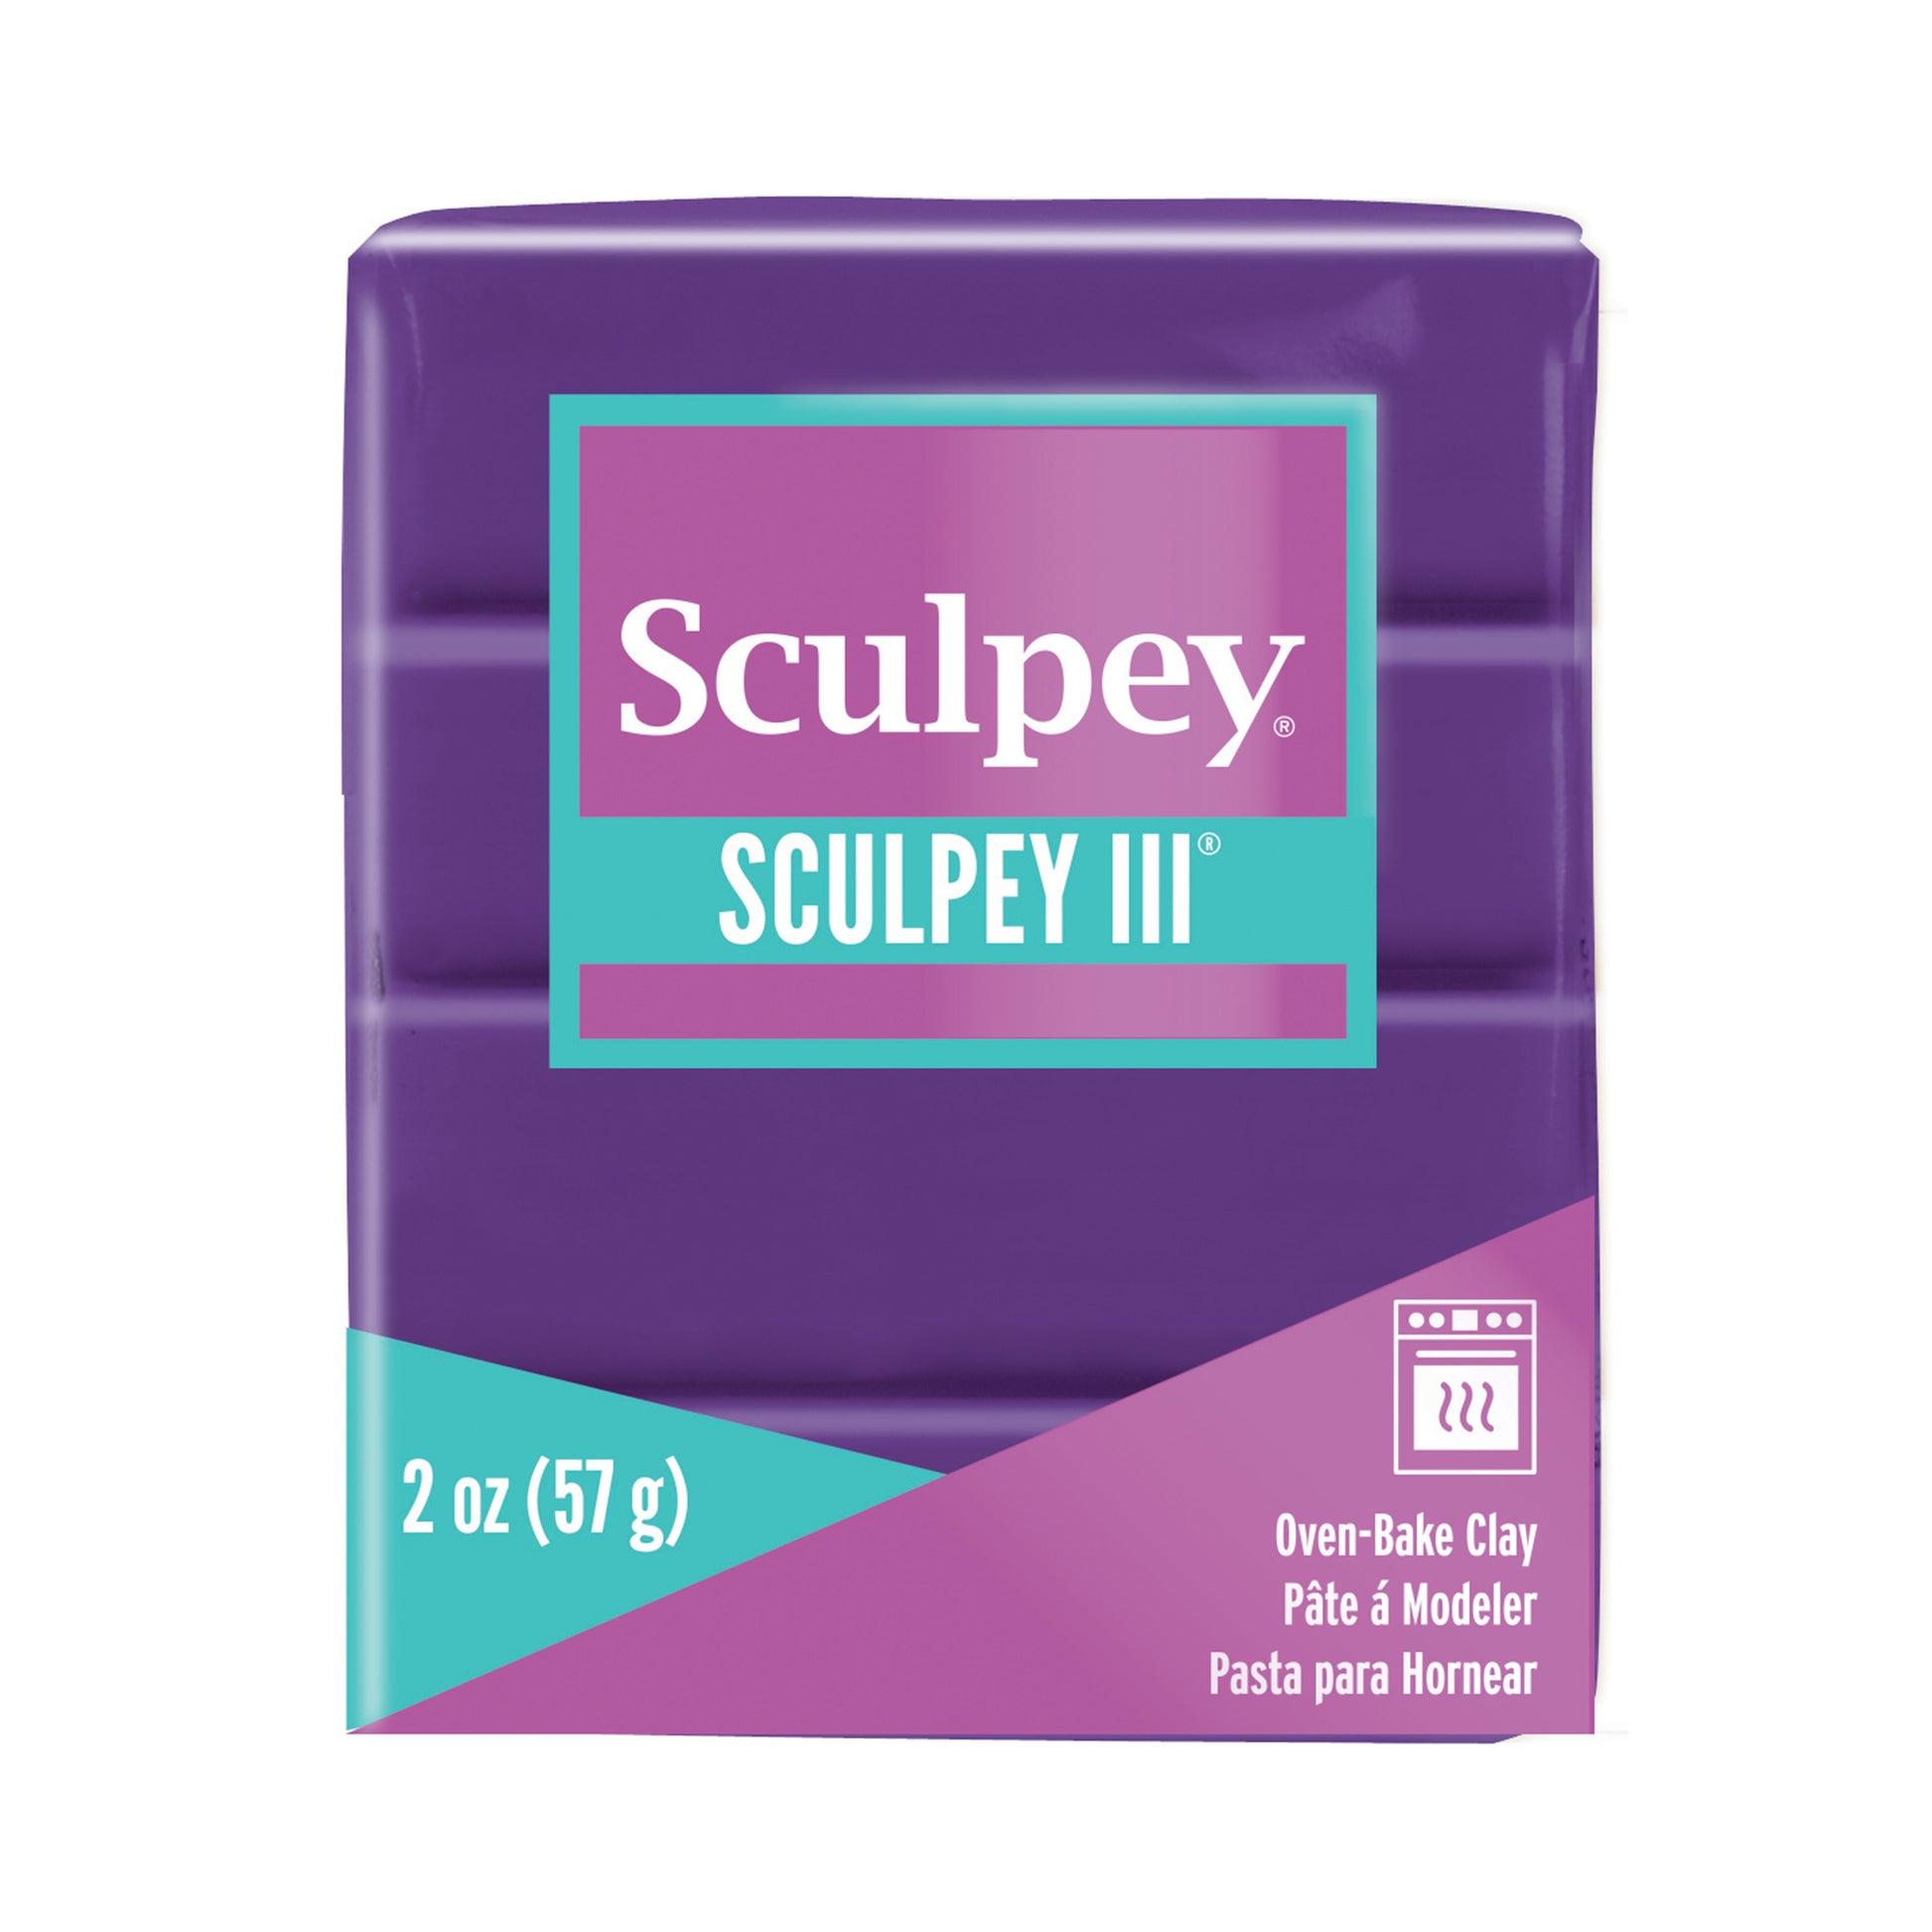
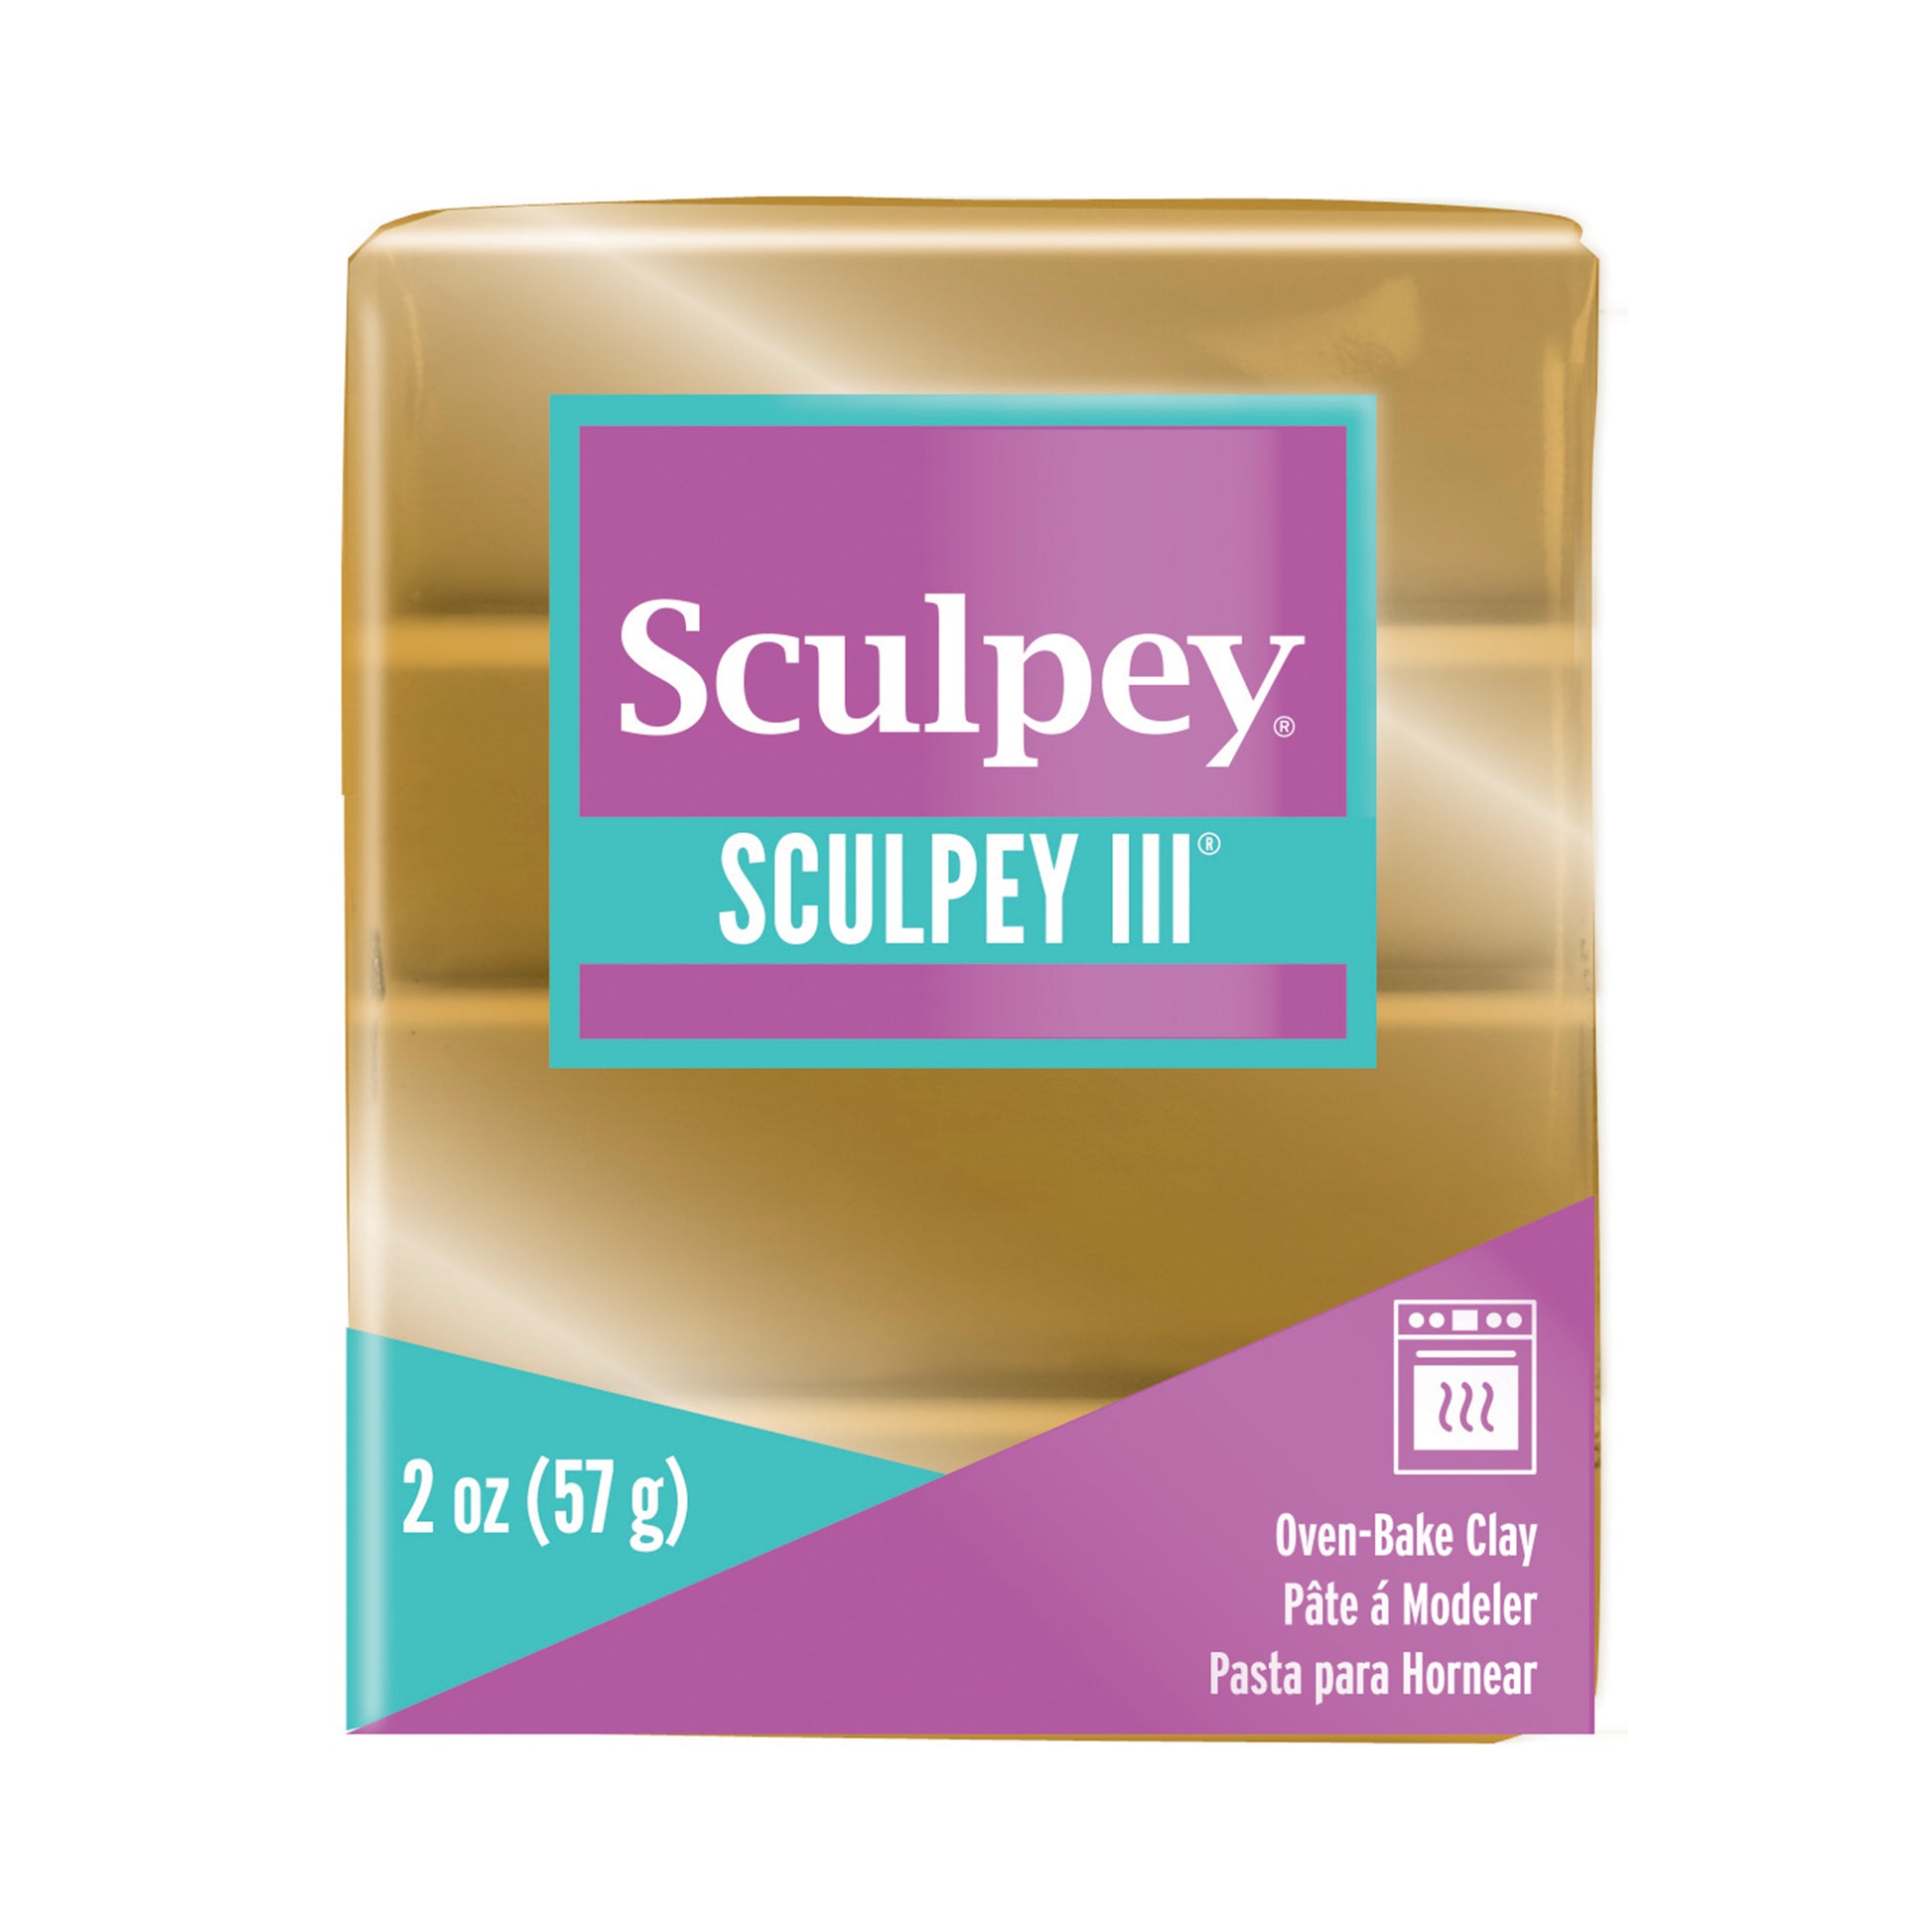
Polymer clay is a popular choice for oven baking. It is a synthetic clay made from PVC particles. This clay stays soft until baked in a home oven. Baking at low temperatures hardens the clay permanently.
Polymer clay is easy to shape and comes in many colors. It needs baking at about 265°F to 275°F for 15 to 30 minutes. Overbaking can cause burning or discoloration. It is safe for kitchen ovens but avoid food contact.
Air-dry Clay Differences
Air-dry clay does not require baking. It hardens by drying in open air over hours or days. This clay is often made from natural materials like clay, paper, or wood pulp. It is softer and less durable than baked clays.
Though easy to use, air-dry clay is not suitable for oven baking. Putting it in the oven may cause cracking or burning. Use air-dry clay for crafts that do not need heat curing.
Other Oven-bake Clays
Some clays need kiln firing and cannot be baked in a kitchen oven. Examples include ceramic clay and porcelain. These clays require temperatures above 1800°F, which home ovens cannot reach.
There are also specialty oven-bake clays besides polymer clay. Some brands offer low-temperature baking clays for crafts. Always check manufacturer instructions before baking any clay type.
Preparing Clay For Baking
Preparing clay for baking is an essential step to create strong and smooth finished pieces. Proper preparation ensures the clay cures well without cracks or bubbles. It also helps you shape your design easily. Follow these tips to get your clay ready for the kitchen oven.
Conditioning Clay Properly
Conditioning clay means softening it for easy shaping. Knead the clay with your hands until it feels smooth and pliable. This removes air pockets, which can cause cracks during baking. Use a clean surface to work on. If the clay is too hard, warm it slightly in your hands or under a lamp. Avoid over-conditioning, which can make the clay too sticky.
Shaping And Detailing Tips
Shape clay gently to keep its texture intact. Use light pressure to avoid fingerprints or dents. Smooth edges with your fingers or a damp sponge. For fine details, try small tools like toothpicks or needles. Work in small sections to keep control. Let your piece rest briefly before baking to help it hold its shape.
Using Molds And Tools
Molds can create consistent shapes quickly. Choose silicone or plastic molds that fit your clay type. Press the clay evenly into the mold without stretching it. Tools such as rollers and cutters help to shape clay precisely. Clean your tools often to avoid clay buildup. Keep the workspace tidy to prevent dust from sticking to the clay.
Setting Up Your Kitchen Oven
Baking clay in a kitchen oven requires careful temperature control to avoid damage. Use low heat settings and follow the clay’s baking instructions closely for best results. Ensure your oven is clean and free of food residue before starting.
Setting up your kitchen oven for baking clay can be a simple yet rewarding task, especially if you're eager to try your hand at clay art without investing in a kiln. However, it's essential to understand the nuances of your oven to ensure your creations turn out perfectly. By focusing on the right temperature, using an oven thermometer, and choosing the ideal baking surface, you can turn your kitchen into an effective clay-baking space.
Choosing The Right Temperature
The temperature you set can make or break your clay project. Most polymer clays bake at temperatures ranging from 230°F to 275°F. Always check the instructions on your clay package to find the ideal temperature. Baking at a higher temperature can cause the clay to burn, while a lower temperature might leave it undercooked.
Using An Oven Thermometer
An oven thermometer is your best friend when baking clay. Your kitchen oven's temperature setting may not always be accurate, leading to uneven results. Place a thermometer inside your oven to monitor the exact temperature, ensuring your clay bakes perfectly every time. This simple tool can save your project from the disappointment of overcooking or undercooking.
Baking Surface Options
Choosing the right baking surface is crucial for even heating. A ceramic tile or an oven-safe glass dish can provide a stable and heat-resistant surface. You might also consider using a dedicated baking sheet lined with parchment paper. Avoid using surfaces that might warp or transfer unwanted flavors or residues to your clay. Are you ready to experiment and see what your kitchen oven can create? With the right setup, your clay projects can come to life beautifully, adding a new dimension to your creative pursuits.
Credit: opusartsupplies.com
Baking Process And Timing
Baking clay in a kitchen oven requires careful attention to the process and timing. Proper baking ensures your clay hardens well without cracking or burning. Each type of clay has specific temperature and time guidelines for the best results. Follow these steps to bake your clay safely and effectively.
Recommended Baking Times
Most polymer clays bake at 265°F to 275°F (129°C to 135°C). Baking times depend on the clay's thickness and brand. Thin pieces (1/4 inch or 6 mm) usually need 15 to 30 minutes.
Thicker items may require longer baking, up to 45 minutes or more. Always check the package instructions for exact times. Use a reliable oven thermometer to maintain correct temperature.
Avoiding Overbaking
Overbaking can cause clay to darken, burn, or lose its shape. Avoid baking at temperatures higher than recommended. Stay close to the oven during baking to watch for changes.
Remove the clay as soon as the timer ends. Do not guess or extend the baking time. If unsure, bake for less time and add more if needed later.
Cooling After Baking
Let the baked clay cool in the oven with the door slightly open. Cooling slowly helps prevent cracks and warping. Avoid touching the clay until it is completely cool.
Once cool, the clay becomes hard and durable. Store your finished pieces safely to keep them in good condition.
Safety Precautions
Baking clay in your kitchen oven can be a fun and creative activity, but it requires careful attention to safety. Ignoring precautions can lead to health risks or damage to your cookware and food. Understanding how to protect yourself and your kitchen environment is essential for a successful crafting experience.
Ventilation And Fumes
Some clays release fumes when heated, which can be harmful if inhaled in a closed space. Always bake clay near an open window or use a kitchen exhaust fan to keep the air fresh. Have you noticed any strange smells when baking clay? That’s a sign you need better airflow.
Avoiding Food Contamination
Never bake clay on the same trays or surfaces used for food. The chemicals in clay can contaminate your cooking utensils and pose health risks. Consider buying a dedicated baking sheet or covering your tray with aluminum foil before placing clay items on it.
Handling Hot Items Safely
Your clay projects will come out very hot, so use oven mitts or heat-resistant gloves to handle them. Avoid rushing to take items out to prevent burns or dropping your work. Have a safe spot ready to place your hot clay pieces as soon as they come out of the oven.
Credit: opusartsupplies.com
Common Mistakes To Avoid
Baking clay in your kitchen oven might seem straightforward, but many hobbyists stumble on avoidable mistakes. These errors can ruin your project or even damage your oven. Learning what to steer clear of will save you time, money, and frustration.
Incorrect Temperature Settings
Oven temperatures are not always accurate. Many people set their oven to the recommended temperature but don’t verify it with an oven thermometer. This can lead to underbaking or overbaking your clay.
Too low a temperature means your clay won’t cure properly, leaving it fragile. Too high, and it may burn or discolor. Have you checked if your oven runs hot or cold lately? A simple oven thermometer can prevent this common pitfall.
Baking Too Thick Or Thin
Thickness matters more than you might expect. If your clay piece is too thick, the inside may stay soft even though the outside looks done. Conversely, very thin pieces can overbake and become brittle.
Try to keep your clay thickness consistent, ideally between 1/4 to 1/2 inch. If you have a thick project, consider baking it in stages or slicing it thinner. Have you ever had a piece crack after baking? Thickness could be why.
Ignoring Manufacturer Instructions
Every brand of polymer clay has its unique baking temperature and time. Some brands cure at lower temperatures for longer periods, while others require higher heat. Ignoring these details can lead to poor results.
Always read the instructions on the packaging before baking. I once baked clay at a generic setting without checking, and my piece cracked badly. Following the manufacturer’s guidelines will help you avoid similar mishaps.
Aftercare And Finishing
After baking clay in your kitchen oven, proper aftercare and finishing make a big difference. These steps improve your project’s look and durability. Taking time to smooth, paint, and store your piece helps keep it in great shape for a long time.
Sanding And Smoothing
Once your clay is fully baked and cooled, sanding helps remove rough edges. Use fine-grit sandpaper for a smooth surface. Sand gently to avoid breaking delicate parts. Focus on corners and uneven spots to make your piece comfortable to touch.
Painting And Sealing
Painting adds color and personality to your clay creation. Use acrylic paints for best results. Let the paint dry completely before sealing. Seal with a clear varnish to protect the paint and clay. This step also adds a nice shine and strength to your work.
Storage Tips
Store your finished clay pieces in a dry, cool place. Avoid direct sunlight to prevent fading or warping. Wrap fragile items in soft cloth or bubble wrap. Keep your pieces away from moisture to avoid damage over time.
Frequently Asked Questions
Can I Use A Regular Oven To Bake Clay?
Yes, you can bake some air-dry clays in a regular kitchen oven. Follow the clay manufacturer's temperature and time guidelines carefully.
What Temperature Is Safe For Baking Clay At Home?
Most polymer clays bake safely between 230°F and 275°F (110°C to 135°C). Avoid higher temperatures to prevent burning or fumes.
How Long Should I Bake Clay In My Oven?
Baking time varies by clay brand and thickness. Typically, bake for 15 to 30 minutes per 1/4 inch thickness.
Is It Safe To Bake Clay Indoors?
Yes, baking polymer clay indoors is safe if you follow instructions and ventilate the area well. Avoid toxic clays.
Conclusion
Baking clay in a kitchen oven can work with care and the right clay type. Check your clay’s instructions for safe temperatures. Avoid using your oven for food afterward without cleaning it well. Small projects are best to control heat and avoid damage.
Always watch the clay closely while baking. This keeps your art safe and your kitchen clean. Try small steps first, and enjoy your creative process. Baking clay at home is possible with simple safety tips.