

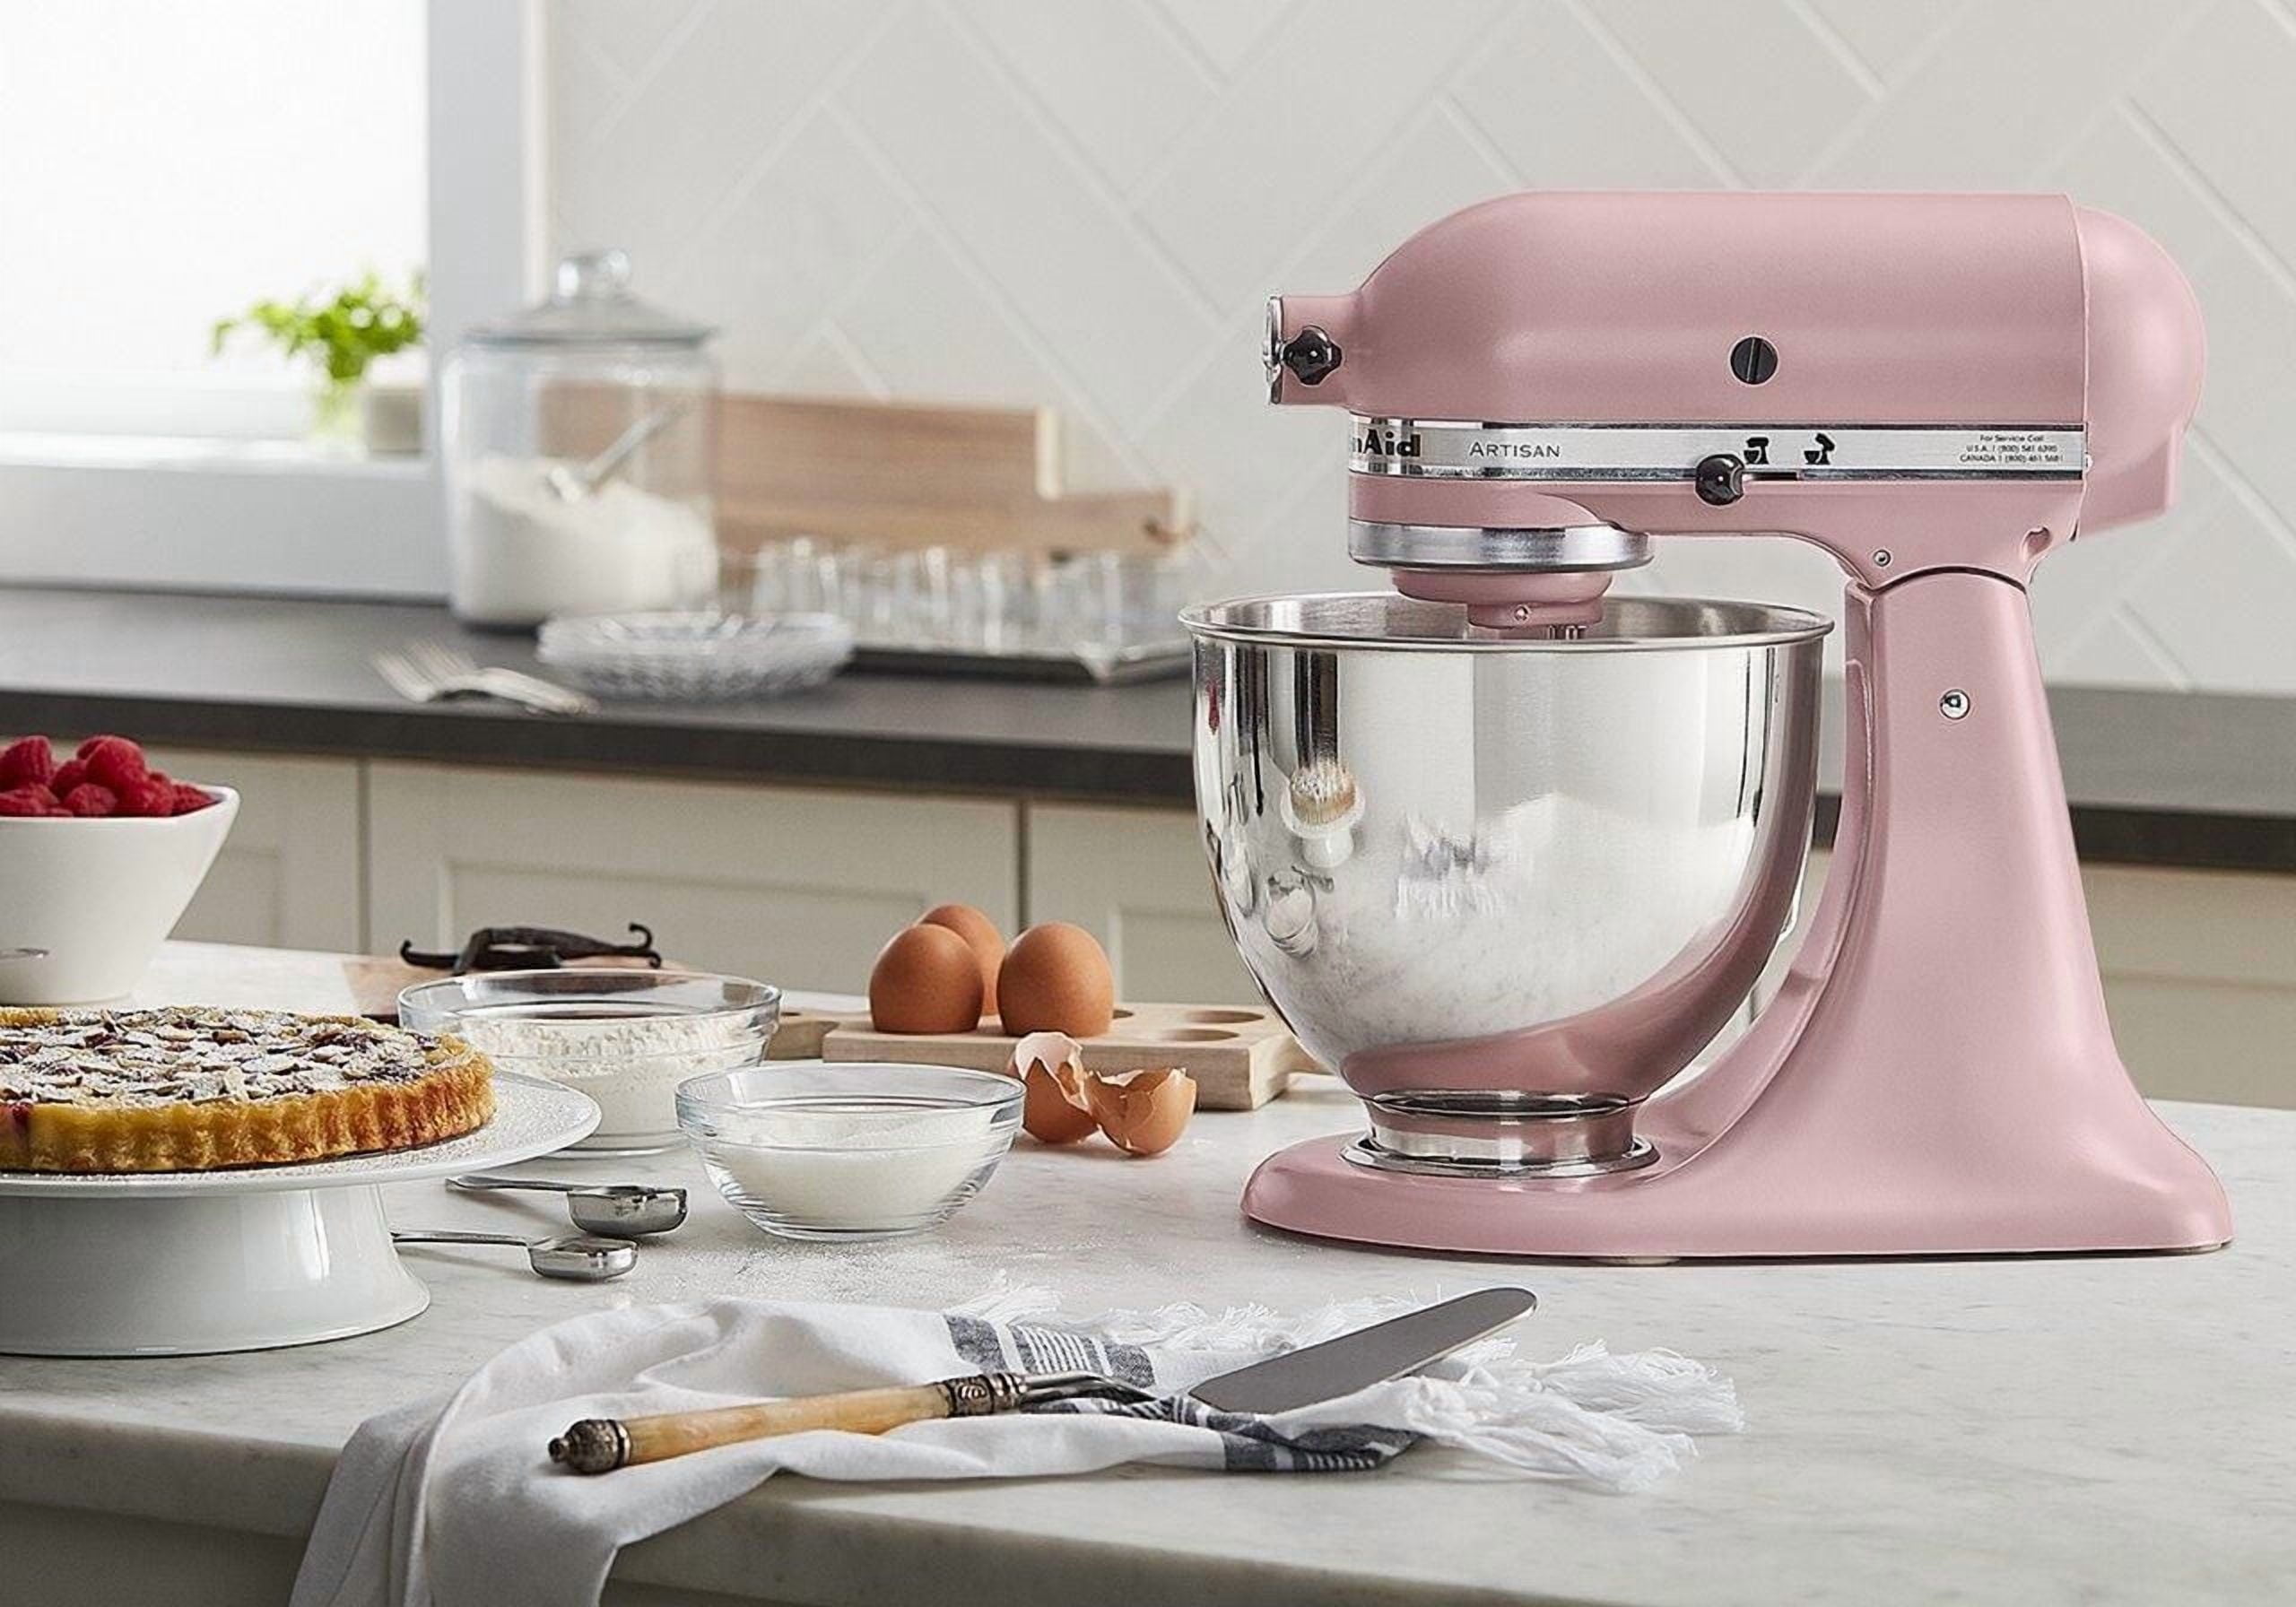
Have you ever looked at your KitchenAid stand mixer and wished it matched your kitchen’s style better? Maybe the color feels outdated, or you just want a fresh, personal touch.
You’re probably wondering, “Can I paint my KitchenAid stand mixer without ruining it? ” The good news is, yes—you can! But there are important things you need to know before picking up that paintbrush. Keep reading, and you’ll discover how to safely transform your mixer into a unique centerpiece that fits your personality perfectly.
Choosing The Right Paint
Painting your KitchenAid stand mixer can add a personal touch. It allows you to match it with your kitchen's decor. But choosing the right paint is crucial for a successful project. The wrong type of paint can peel or chip over time. Ensure you select a paint that adheres well to the metal surface.
Types Of Paint Suitable For Mixers
Consider using spray paint designed for metal surfaces. It offers a smooth and even coat. Epoxy paint is another option. It provides a durable finish and resists scratches. Make sure the paint is food-safe if it's near mixing areas.
Durability And Finish Options
Durability is key for a kitchen appliance. Choose a paint that can withstand frequent use. Look for high-gloss finishes for a shiny appearance. Matte finishes offer a more subtle look. Both options can enhance the mixer's aesthetic.
Color Selection Tips
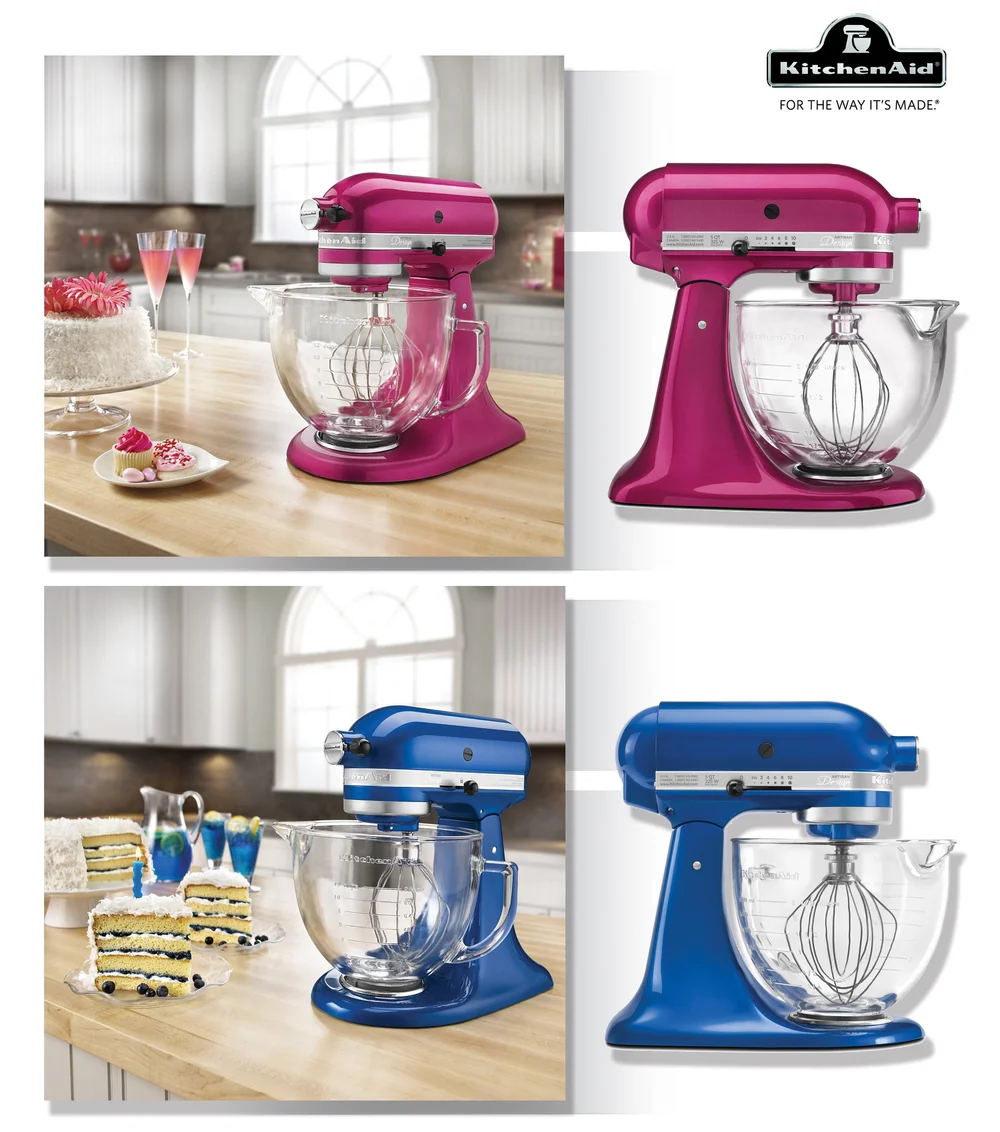
Pick a color that complements your kitchen theme. Bright colors can make your mixer a focal point. Neutral shades blend well with most decors. Consider how light affects the color in your kitchen. Test paint samples to see the effect before committing.
Credit: www.walmart.ca
Preparing The Mixer For Painting
Preparing your Kitchen Aid stand mixer for painting is essential for a smooth and lasting finish. Proper preparation ensures the paint sticks well and looks professional. Skipping these steps can lead to peeling or uneven color. Take your time to clean, protect, and sand the mixer carefully.
Cleaning And Degreasing
Start by unplugging the mixer for safety. Use a soft cloth with warm, soapy water to wipe the entire surface. Remove all grease, dust, and food particles. Grease can stop paint from sticking properly. After washing, use a degreaser or rubbing alcohol for a final clean. Let the mixer dry completely before moving on.
Removing Or Masking Parts
Remove any detachable parts like the bowl, beaters, and attachments. This prevents paint from covering these pieces. If some parts cannot be removed, cover them with painter’s tape. Mask areas like knobs, switches, and logos. Use plastic wrap or paper to shield larger sections. Proper masking protects the mixer’s functionality and detail.
Sanding Techniques
Lightly sand the mixer's surface with fine-grit sandpaper (around 220 grit). Sanding creates a rough texture for better paint adhesion. Avoid heavy sanding that can damage the finish. Wipe away dust with a damp cloth after sanding. This step is crucial for a smooth and durable paint job.
Painting Process
Painting your Kitchen Aid stand mixer can give it a fresh, personalized look that matches your kitchen style perfectly. However, the painting process requires careful preparation and technique to ensure the paint adheres well and lasts. Let's break down the key steps that will help you achieve a smooth, durable finish.
Priming The Surface
Start by cleaning the mixer thoroughly to remove any grease or dirt. Use a mild detergent and let it dry completely. Sand the surface lightly with fine-grit sandpaper to help the primer stick better.
Choose a primer designed for metal surfaces, as Kitchen Aid mixers usually have a metal body. Apply a thin, even coat of primer and let it dry fully before moving on. This step is crucial because it prevents peeling and ensures the paint bonds well.
Applying Paint Evenly
Use spray paint for the best results, as it provides a smooth, even finish without brush marks. Hold the can about 10-12 inches away from the surface and apply light, even coats rather than one heavy coat.
Allow each coat to dry before applying the next. This layering approach helps avoid drips and runs. Are you thinking about which color will brighten your kitchen the most? Consider testing a small hidden area first to see how the paint looks once dry.
Drying And Curing Times
Drying time is not just about paint feeling dry to the touch; curing is what makes the paint durable and resistant to chips. Let your mixer dry in a dust-free, well-ventilated area.
Typically, paint will dry within a few hours, but full curing can take several days to a week. Resist the urge to use your mixer immediately to prevent damage to the new finish.

Credit: www.reddit.com
Protecting Your Paint Job
Protecting your newly painted Kitchen Aid stand mixer keeps it looking fresh and vibrant. A proper finish shields the paint from scratches, stains, and wear. Taking simple steps can extend the life of your paint job and maintain the mixer's beauty over time.
Sealing With Clear Coat
A clear coat adds a strong protective layer over the paint. Choose a clear spray designed for metal surfaces. Apply thin, even coats and allow each layer to dry fully. This step prevents chipping and fading caused by daily use and cleaning.
Maintenance Tips
- Wipe the mixer gently with a soft cloth after every use.
- Use mild soap and water for cleaning; avoid harsh chemicals.
- Dry the surface completely to prevent water spots.
- Keep the mixer away from direct sunlight to reduce color fading.
Avoiding Common Damage
Keep sharp objects and heavy pots away from the mixer’s painted surface. Avoid placing the mixer near heat sources like stoves or ovens. Handle the mixer carefully to prevent dents and chips. Small precautions protect the paint and keep the mixer looking new.
Creative Painting Ideas
Painting your Kitchen Aid stand mixer opens many creative doors. It transforms a simple kitchen tool into a unique piece. Personal touches make the mixer stand out. Small changes create big visual impact. The right paint and design reflect your style clearly. Ideas range from simple colors to detailed art.
Custom Designs And Patterns
Custom designs make your mixer truly one-of-a-kind. You can paint stripes, polka dots, or geometric shapes. Hand-paint flowers or abstract art for a personal touch. Use bright colors to bring energy to your kitchen space. Custom patterns allow you to match your kitchen decor.
Try mixing colors to create a gradient or ombre effect. Painting small details adds charm and character. Each design choice changes the look and feel of your mixer.
Using Stencils And Decals
Stencils and decals simplify the painting process. They help create clean and sharp shapes easily. Choose from floral, geometric, or themed stencils. Decals offer quick design upgrades without painting skills. Both tools ensure consistency in patterns.
Apply stencils with spray paint for even coverage. Peel decals off and stick them on for instant style. These methods save time and reduce mess.
Incorporating Metallic Or Glossy Finishes
Metallic and glossy finishes add a modern touch. Use silver, gold, or copper for a sleek, shiny look. Glossy paint reflects light and highlights your design. These finishes give your mixer a professional feel.
Glossy layers also protect your paint from scratches. Metallic tones work well with neutral or bold colors. Add shine to make your mixer a kitchen centerpiece.
Potential Risks And Considerations
Thinking about painting your KitchenAid stand mixer? It’s tempting to give it a fresh look, but there are some important risks and considerations you need to keep in mind before grabbing that paintbrush. Changing the original finish can affect how your mixer works and even your warranty status.
Warranty Implications
Painting your mixer can void the manufacturer’s warranty. KitchenAid’s warranty often covers defects in materials and workmanship, but any unauthorized modifications, like painting, might lead to refusal of repairs or replacements.
Have you checked the fine print in your warranty? It’s crucial to understand what changes are allowed. If you value the protection of your mixer, think twice before painting it yourself.
Impact On Mixer Performance
Applying paint on moving parts or vents can interfere with the mixer’s performance. Paint can clog small openings and affect ventilation, causing the motor to overheat or work less efficiently.
Even the type of paint you choose matters. Some paints can peel or chip over time, creating a mess and potentially damaging the mixer’s surface beneath.
Would you want to risk your mixer’s functionality just for a new color? Keeping your mixer working smoothly should be a top priority.
When To Seek Professional Help
If you’re set on changing your mixer's look, consider consulting a professional. Experts can use the right materials and techniques that won’t harm your mixer or void the warranty.
Professionals might also offer options like powder coating or custom finishes designed specifically for appliances. This ensures durability and preserves your mixer’s value.
Could investing in professional services save you money and headaches in the long run? Sometimes, a little help goes a long way.
Credit: www.campbellcoachworks.com
Frequently Asked Questions
Can I Safely Paint My Kitchenaid Stand Mixer?
Yes, you can safely paint your KitchenAid mixer. Use proper primer and paint designed for metal surfaces. Ensure thorough cleaning and sanding before painting for better adhesion and durability.
What Type Of Paint Works Best On Kitchenaid Mixers?
Spray paint formulated for appliances or metal works best. Choose high-quality, durable, and heat-resistant paint for a smooth, lasting finish on your stand mixer.
Will Painting Affect My Kitchenaid Mixer's Warranty?
Painting your mixer may void the warranty. Check KitchenAid’s warranty terms before painting to avoid losing coverage on repairs or replacements.
How Do I Prepare My Kitchenaid Mixer For Painting?
Clean the mixer thoroughly to remove grease and dust. Lightly sand the surface for better paint adhesion. Mask off non-painted areas to protect them during painting.
Conclusion
Painting your Kitchen Aid stand mixer can give it a fresh look. Choose the right paint and prepare the surface well. Take your time to avoid mistakes and damage. Small steps make a big difference in results. Enjoy your new, personalized mixer every day.
Remember, careful work keeps your mixer safe and strong. Try it only if you feel confident and ready. Your kitchen tool can look great and work well too.