
Are you tired of staring at outdated or chipped kitchen tiles? You might be wondering if there's a simple way to give your kitchen a fresh new look without a full renovation.
The good news is, yes—you can cover kitchen tiles! But how do you do it right? And what options will save you time, money, and hassle? Keep reading, because we're about to reveal the easiest and smartest ways to transform your kitchen walls, making your space feel brand new without the mess or cost of ripping everything out.
Your dream kitchen makeover could be just a few steps away.
Choosing The Right Method
Choosing the right method to cover your kitchen tiles depends on your budget, the look you want, and how much time you can spend on the project. Each option has its own benefits and challenges, so understanding them helps you avoid costly mistakes. Think about your daily routine and whether you want a quick fix or a long-lasting change.
Painting Tiles
Painting tiles is a budget-friendly way to refresh your kitchen without removing old tiles. You’ll need special tile paint that sticks well and resists moisture. Preparation is key: clean the tiles thoroughly and sand them lightly to help the paint adhere better.
Keep in mind, painted tiles require gentle care to avoid chipping. If you enjoy hands-on projects, this could be a fun weekend task. Would you be okay with repainting every few years to keep the surface looking fresh?
Applying Tile Stickers
Tile stickers offer a quick and mess-free update, perfect if you want to experiment with patterns or colors. They come in many designs, from classic subway tiles to bold geometric shapes.
This method is ideal for renters or those who want to change their kitchen look often. However, stickers may peel over time, especially in humid kitchens. Are you ready to replace them regularly to maintain the style?
Installing New Tiles Over Old
Adding new tiles directly over your existing ones can save demolition time and reduce mess. This works best if the old tiles are in good condition—flat, clean, and firmly fixed.
Make sure the added height won’t interfere with cabinets or appliances. This method gives you a durable finish but requires more skill and tools. Could you handle a more demanding DIY job, or would you hire a professional?
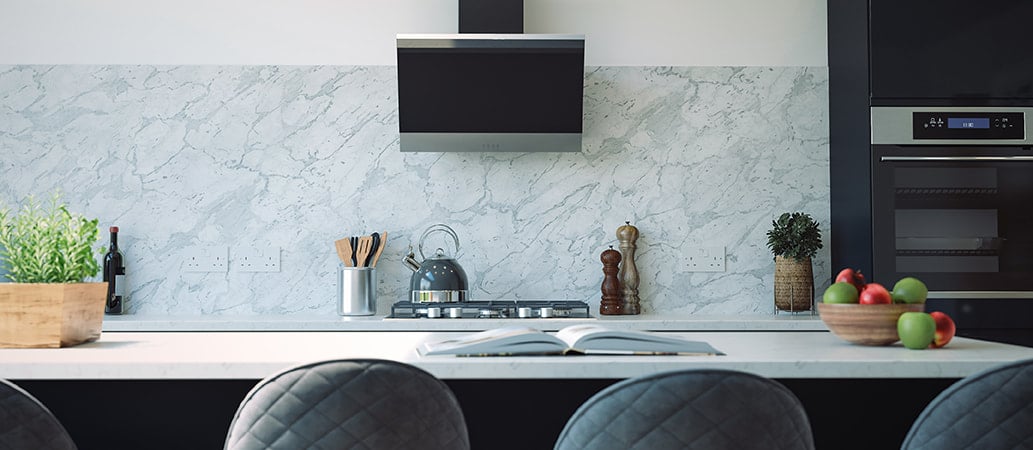
Credit: www.hgtv.com
Preparing The Surface
Preparing the surface is a crucial step before covering kitchen tiles. Proper preparation ensures the new covering sticks well and lasts long. It also improves the overall look and finish of your kitchen walls.
Cleaning And Degreasing
Start by removing dirt, grease, and grime from the tiles. Use a strong cleaner or degreaser made for kitchen surfaces. Scrub the tiles with a sponge or brush to get rid of buildup. Rinse with clean water and let the surface dry completely. A clean surface helps the new material bond better.
Repairing Damages
Check for cracks, chips, or loose tiles. Fill cracks and holes with a suitable filler or epoxy. Replace any broken or loose tiles to create a smooth surface. Smooth repairs prevent bumps under the new covering. Let all repairs dry and harden before moving on.
Sanding And Priming
Lightly sand the tiles to roughen the surface. Use fine-grit sandpaper to avoid damage. Sanding helps paint or adhesive stick more firmly. After sanding, wipe away dust with a damp cloth. Apply a primer designed for tiles. Priming seals the surface and improves adhesion. Allow the primer to dry fully before covering the tiles.
Selecting Materials And Tools
Choosing the right materials and tools ensures a smooth tile covering process. Select adhesive, paint, or panels that suit kitchen conditions and tile types. Proper preparation and quality tools make the job easier and results long-lasting.
Selecting the right materials and tools is vital for covering kitchen tiles. A successful project depends on these choices. The right materials ensure durability and beauty. Proper tools make the job easier and neater. Let’s explore the essentials to transform your kitchen tiles.
Best Paints For Tiles
Choosing the right paint is crucial for kitchen tiles. Look for epoxy or urethane paints. These types adhere well and resist moisture. They offer a long-lasting finish. Available in various colors, they can match any kitchen style.
Choosing Adhesives And Sealants
Adhesives keep tiles secure and in place. Opt for thin-set mortar or mastic. These are strong and reliable options. Sealants protect tiles from stains and moisture. A clear, waterproof sealant is best. It ensures the longevity of your kitchen tiles.
Essential Tools Checklist
Having the right tools makes the process smoother. Here’s a handy checklist:
- Paintbrushes and rollers for even application.
- Tile cutter or scorer for precise cuts.
- Notched trowel for spreading adhesive evenly.
- Grout float to fill gaps neatly.
- Sponge for cleaning excess grout.
With these materials and tools, covering kitchen tiles becomes manageable.
Step-by-step Makeover Process
Transforming kitchen tiles can refresh your space without full renovation. The makeover process requires careful steps to ensure lasting results. Each phase builds on the previous one for a smooth, beautiful finish. Follow these simple guidelines to cover kitchen tiles effectively.
Surface Preparation Tips
Start by cleaning the tiles thoroughly. Remove grease, dirt, and old grout residue. Use a strong cleaner and scrub with a brush. Rinse well and let it dry completely. Sand the tiles lightly to create a rough surface. This helps the new coating stick better. Fill any cracks or holes with a suitable filler. Allow the filler to dry before moving on.
Applying Coats Evenly
Choose the right paint or coating for tiles. Use a good quality brush or roller for smooth application. Apply thin, even coats to avoid drips and bubbles. Let each coat dry before adding the next one. Two to three coats usually provide good coverage. Pay attention to corners and edges for uniformity. Avoid overloading the brush to keep the finish neat.
Drying And Curing Time
Allow the coating to dry fully after the last coat. Drying time depends on the product and room temperature. Avoid touching or using the tiles during this period. Curing may take several days to reach full hardness. Proper curing ensures durability and resistance to wear. Keep the area well-ventilated for better drying results.
Design Ideas For Kitchen Tiles
Designing kitchen tiles offers a chance to refresh the space without major renovations. Tiles can transform the kitchen's look and feel. Choosing the right style depends on your taste and kitchen theme. Here are some creative ideas to inspire your kitchen tile makeover.
Bold Colors And Patterns
Bright colors make kitchen tiles stand out instantly. Reds, blues, and yellows bring energy to the space. Patterned tiles add personality and charm. Geometric shapes and floral designs create visual interest. This style works great in modern or eclectic kitchens. Use bold tiles as a backsplash or cover an entire wall. Balance bold tiles with neutral cabinets and countertops.
Subtle And Elegant Finishes
Soft colors like cream, gray, and pastels offer a calm look. Matte and satin finishes add a sophisticated touch. Textured tiles with gentle patterns keep the design simple yet elegant. This style suits classic and minimalist kitchens well. Light-colored tiles reflect natural light, making the kitchen feel larger. Pair these tiles with warm wood or white cabinets for harmony.
Mixing Materials For Texture
Combining different tile materials adds depth and texture. Glossy ceramic tiles paired with rough stone tiles create contrast. Metallic accents introduce a modern, sleek vibe. Glass tiles reflect light, brightening the kitchen. Mixing materials adds a unique tactile experience. Use this technique for backsplashes or feature walls. Keep the color palette consistent to avoid clutter.

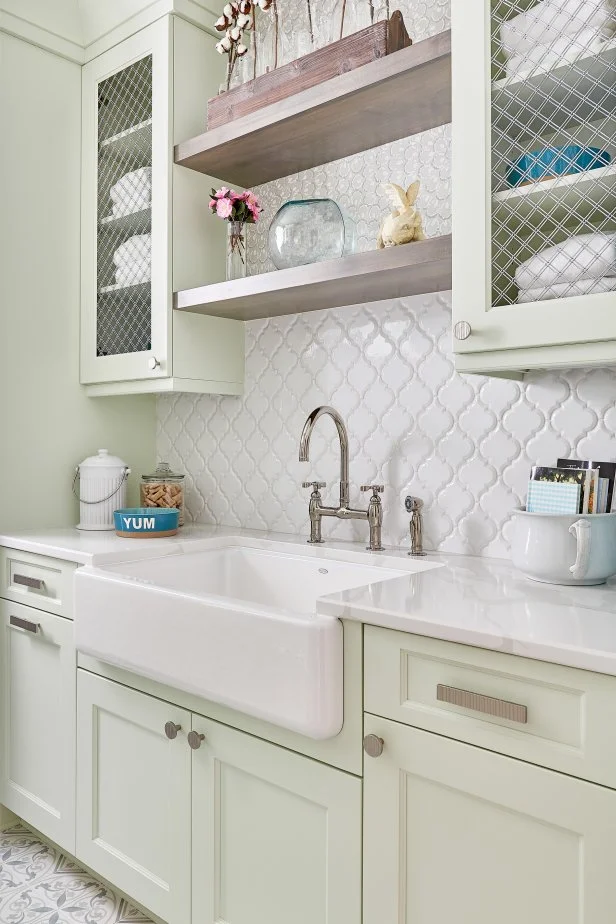
Credit: www.mineraltiles.com
Maintenance After Makeover
After covering your kitchen tiles, maintaining their fresh look becomes essential. Proper care not only preserves the makeover but also extends the life of the new surface. Let’s look at practical ways to keep your kitchen tiles looking great for years to come.
Cleaning Tips
Start with gentle cleaning products that won’t damage the new tile surface. Avoid harsh chemicals like bleach or acidic cleaners that can wear down coatings. Instead, use a mild soap solution or a cleaner recommended by the tile covering manufacturer.
Regularly wipe down the tiles with a soft cloth or sponge to prevent dirt buildup. For tougher stains, try a baking soda paste—apply it gently and rinse well. Have you noticed how often small spills become stubborn stains if left unattended?
Protecting The Finish
Consider applying a sealant if your tile covering allows it. This extra layer protects against moisture and stains, especially in a busy kitchen. Remember to check the product instructions for reapplication timelines to keep protection consistent.
Using mats or rugs near sinks and cooking areas can reduce wear from water and food splatters. Placing felt pads on furniture legs also prevents scratches. What small changes could you make today to shield your kitchen tiles from daily damage?
Handling Wear And Tear
Over time, chips or scratches may appear despite your best efforts. Repair kits designed for tile surfaces can fix minor damages quickly and cost-effectively. Keep one handy to address issues before they worsen.
If you notice peeling or lifting edges, act fast to reattach or replace the affected section. Ignoring these signs can lead to bigger problems and expensive repairs. Have you checked your kitchen tiles recently for any signs of wear?
Common Mistakes To Avoid
Covering kitchen tiles can refresh your space without full renovation. Avoiding common mistakes ensures a smooth, lasting finish. These errors often cause peeling, bubbling, or uneven surfaces.
Skipping Surface Prep
Cleaning and sanding tiles is crucial before covering. Dirt, grease, or moisture blocks adhesion. Tiles must be dry and free of dust. Skipping this step leads to poor bonding and early failure.
Using Wrong Materials
Not all materials work well on tiles. Choose primers, adhesives, and coverings made for slick surfaces. Using wrong products causes peeling or bubbling. Check product labels for tile compatibility.
Rushing The Process
Patience matters in tile covering projects. Let primers and adhesives dry fully before applying covers. Rushing causes wrinkles, bubbles, and weak bonds. Follow drying times carefully for best results.

Credit: carlaaston.com
Cost And Time Considerations
Covering kitchen tiles is a popular way to refresh your space without the mess of a full remodel. Before you dive in, understanding the cost and time involved will help you plan better and avoid surprises. Let’s break down what you need to consider so your project stays on track and within budget.
Budgeting For Materials
Your material costs depend largely on the method you choose to cover your tiles. Peel-and-stick vinyl tiles are budget-friendly, often costing between $1 to $3 per square foot. On the other hand, options like tile overlays or new tile installations can run higher, typically $5 to $15 per square foot.
Don’t forget to include essentials like adhesive, grout, and sealant. These small extras can add up, so it’s smart to list everything before shopping. Have you checked if your local store offers discounts on bulk purchases? Sometimes buying in larger quantities saves money.
Estimated Project Duration
The time it takes to cover kitchen tiles varies by technique and your experience level. Simple peel-and-stick applications might take just a few hours for an average kitchen. More complex projects, like applying tile overlays, can stretch over several days due to drying and curing times.
Remember, rushing can lead to mistakes that cost more time to fix. How much time can you realistically set aside? Scheduling the project during a quiet weekend might be your best bet to avoid stress.
When To Hire Professionals
Some tile covering jobs are straightforward, but others require skills you might not have. If your kitchen tiles are uneven or damaged, a professional can ensure a smooth, durable finish. Their expertise often speeds up the process and improves the outcome.
Hiring help adds to your costs, but it can prevent costly mistakes and save time. Ask yourself: is this a weekend DIY or a job that needs expert hands? Sometimes investing in pros pays off more than trying to cut corners.
Frequently Asked Questions
Can You Cover Kitchen Tiles Without Removing Them?
Yes, you can cover kitchen tiles without removal using peel-and-stick tiles, vinyl flooring, or tile paint. These options are cost-effective and less messy, offering a quick kitchen makeover.
What Materials Work Best For Covering Kitchen Tiles?
Peel-and-stick vinyl tiles, laminate sheets, and tile paint are ideal for covering kitchen tiles. They are easy to install, durable, and come in various styles to match your kitchen décor.
Is It Possible To Tile Over Existing Kitchen Tiles?
Yes, tiling over existing kitchen tiles is possible if the surface is clean, level, and firmly fixed. Proper adhesive and preparation ensure new tiles bond well without issues.
How Long Does It Take To Cover Kitchen Tiles?
Covering kitchen tiles typically takes a few hours to a day, depending on the method. Peel-and-stick tiles are fastest, while painting or tiling over may take longer due to drying times.
Conclusion
Covering kitchen tiles can refresh your space without much hassle. Choose materials that stick well and resist moisture. Make sure the surface is clean and smooth before starting. Small repairs now save big problems later. This project saves time and money compared to full renovations.
Enjoy a fresh look with less mess and stress. Give your kitchen a simple update that feels new. Easy changes can make a big difference. Ready to try?