
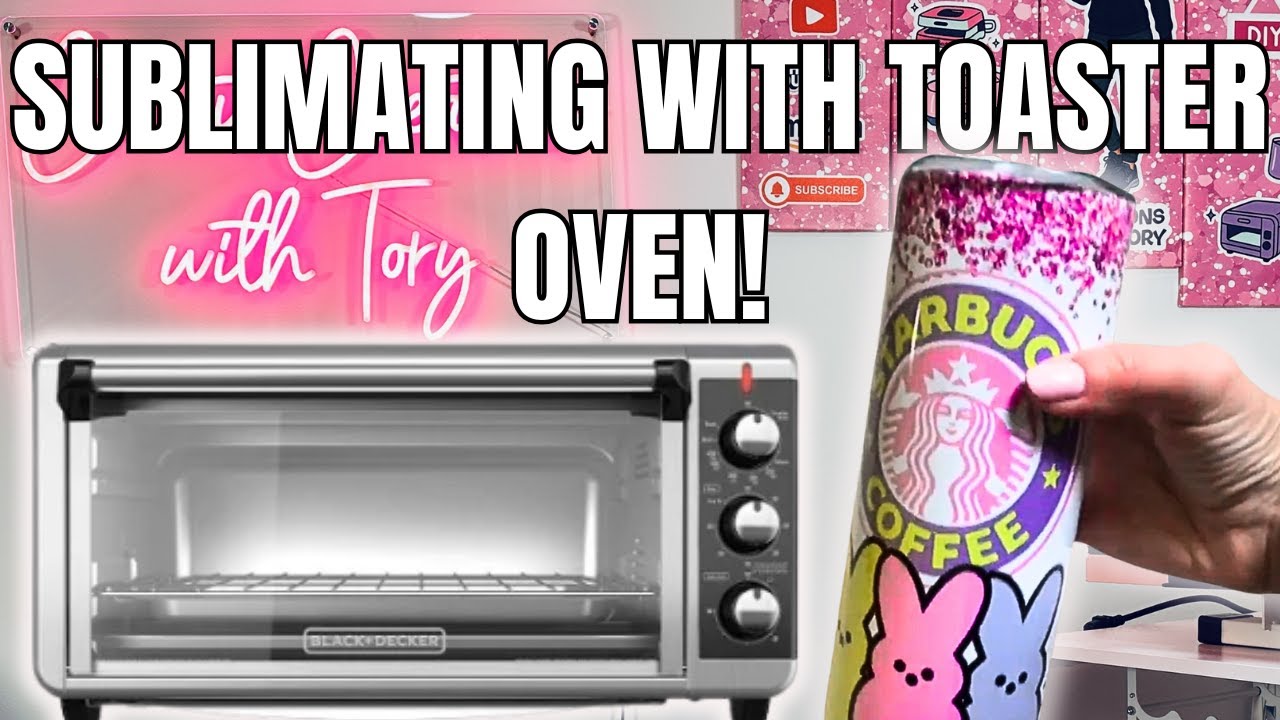
Have you ever wondered if you can use your kitchen oven for sublimation? If you’re looking to create personalized items at home, this question might be on your mind.
Using a kitchen oven sounds convenient, but is it safe and effective? You’ll discover the truth about sublimating in a regular oven, what you need to watch out for, and how to get the best results without risking your kitchen tools.
Keep reading to find out if your oven can handle this creative process and how to do it right.
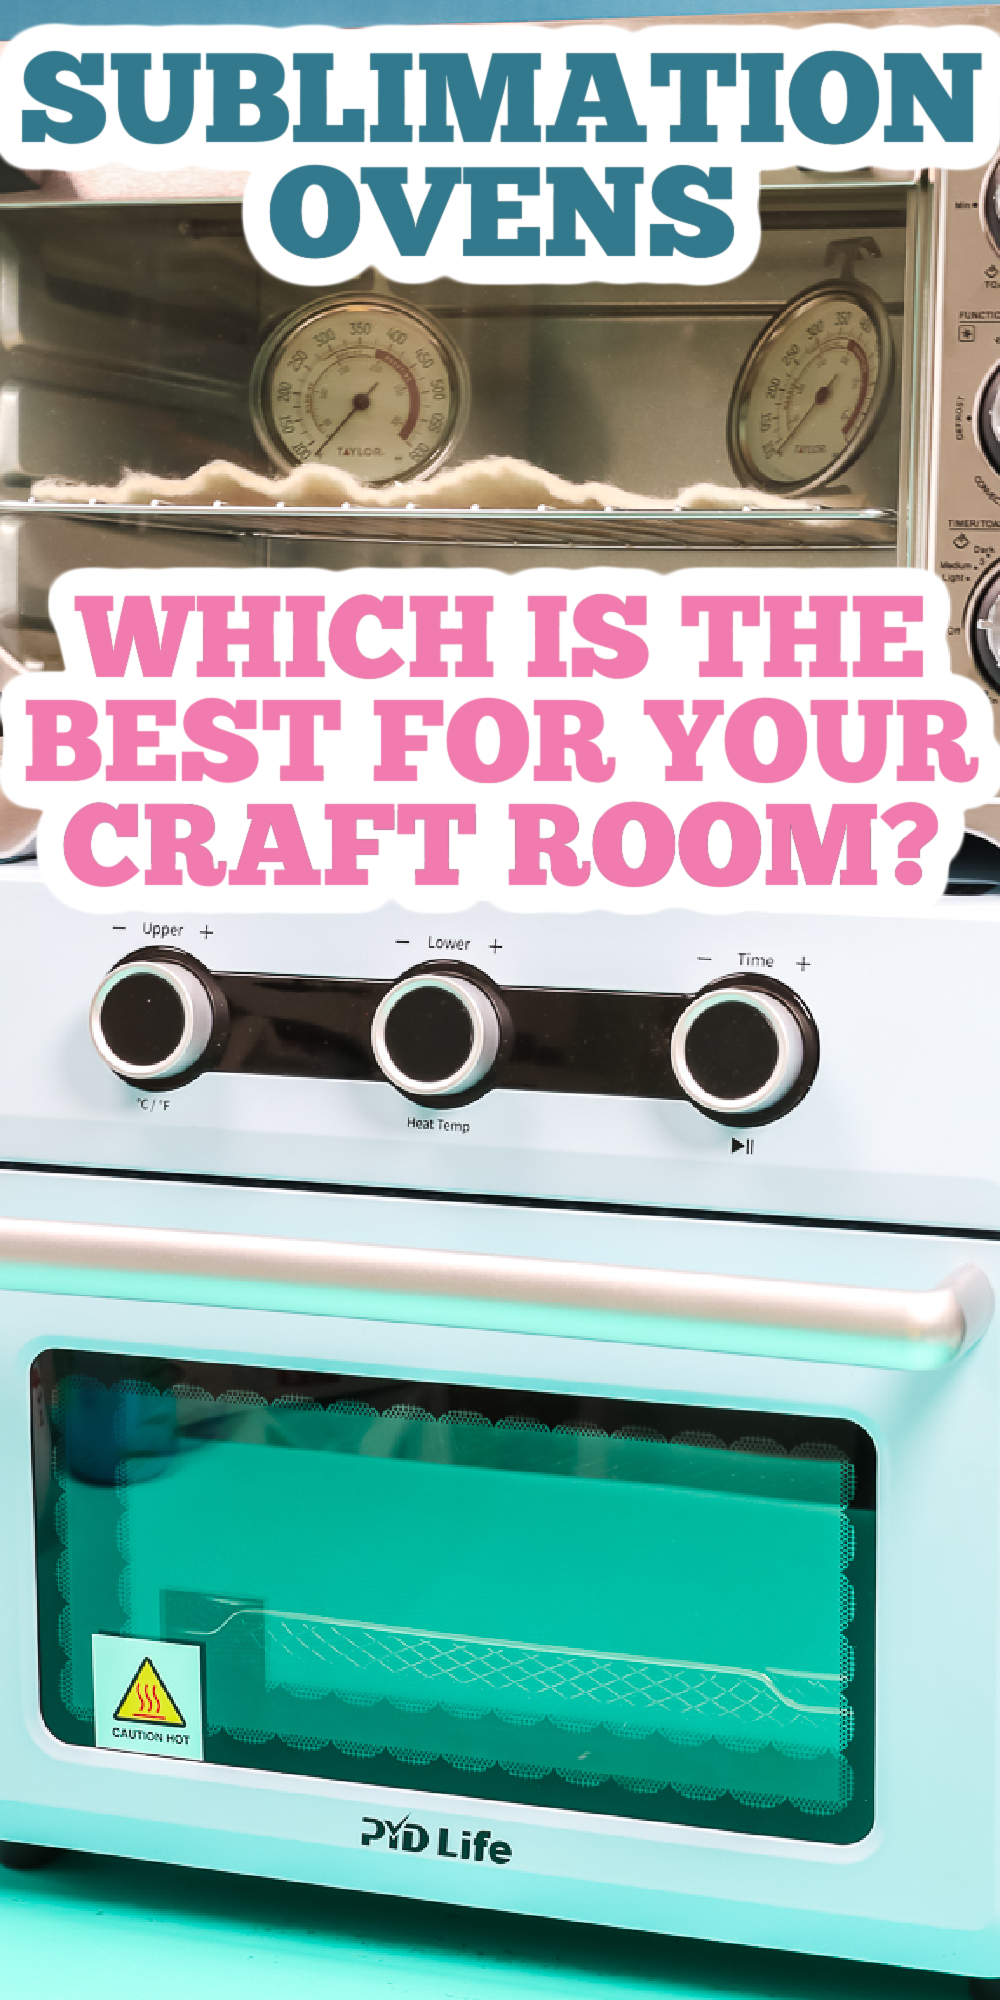
Credit: www.thecountrychiccottage.net
Basics Of Sublimation
Sublimation is a unique printing process used to transfer images onto various items. It uses heat to turn solid dye directly into gas. This gas then bonds with the material’s surface, creating vibrant, permanent designs. Understanding the basics helps in choosing the right tools and materials for sublimation projects.
What Is Sublimation?
Sublimation is a printing technique that turns solid dye into gas without liquid. The gas penetrates the surface of the material and becomes part of it. This process creates durable, high-quality prints that do not peel or fade easily. Heat and pressure are essential to make sublimation work.
Materials Suitable For Sublimation
Not all materials work well with sublimation. Items must have polyester or polymer coating. These materials absorb the sublimation dye effectively. Common suitable materials include:
- Polyester fabrics
- Polymer-coated mugs
- Metal sheets with special coating
- Hard plastics designed for sublimation
Cotton and natural fibers do not hold sublimation dye well. Choosing the right material ensures bright and lasting prints.
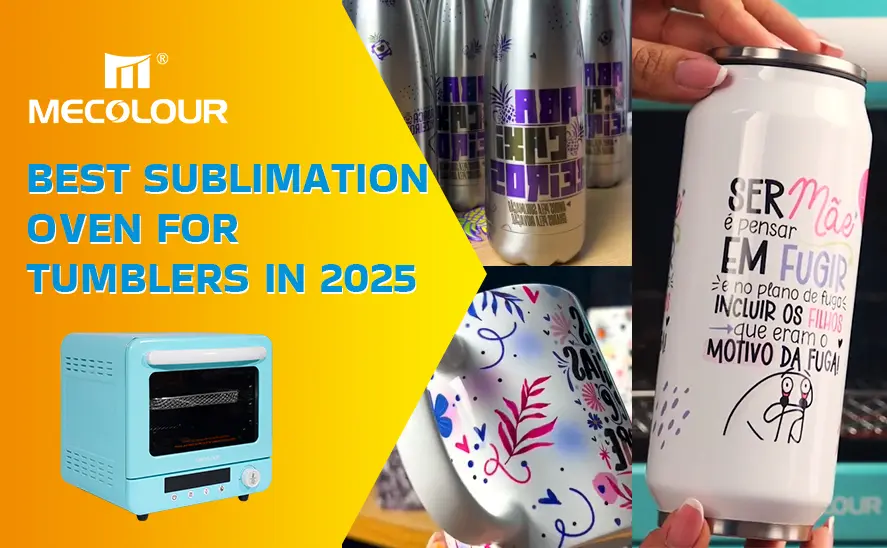
Credit: www.mecolour.com
Kitchen Oven As A Sublimation Tool
A kitchen oven can serve as a basic tool for sublimation projects. It offers a controlled environment to transfer dye onto materials like fabric or ceramics. Using a kitchen oven is an accessible choice for hobbyists without specialized equipment.
Many consider it because it is easy to use and widely available. Yet, not all ovens deliver the precision needed for perfect sublimation results. Understanding the oven’s limits helps avoid common issues like uneven color or damage.
Heat Control And Temperature Accuracy
Temperature control is crucial in sublimation. The process requires precise heat to turn solid dye into gas without burning the material.
Kitchen ovens often have temperature fluctuations. Their built-in thermostats may not be accurate enough for sublimation needs. An oven thermometer can help monitor real temperature inside.
Uniform heat distribution is also a concern. Hot spots can cause uneven color transfer or blotches. Rotating the item during heating can reduce this problem.
Oven Safety Considerations
Using a kitchen oven for sublimation needs caution. Sublimation dyes release fumes that may not be safe to breathe. Ensure proper ventilation in the cooking area.
Keep sublimation projects separate from food preparation. Avoid cross-contamination by cleaning the oven thoroughly before and after use.
Wear heat-resistant gloves to handle hot items. Place materials on heatproof surfaces to prevent damage to the oven racks.
Never leave the oven unattended during sublimation. Follow all safety rules to avoid accidents and injuries.
Step-by-step Sublimation Process
Sublimating in a kitchen oven requires careful temperature control and timing. Preheat the oven, place the sublimation item inside, and heat it evenly. This simple process transfers designs onto materials using heat and pressure.
Sublimating in a kitchen oven might sound unconventional, but it's a creative way to get stunning results without specialized equipment. If you're ready to venture into this DIY sublimation journey, the process can be simple and satisfying. With just a few steps, you can create personalized items right from the heart of your home.
Preparing Your Materials
Start by gathering all the necessary materials: sublimation paper, heat-resistant tape, the item you're sublimating (like a mug or a plate), and your sublimation ink. Make sure your kitchen oven is clean and free from any food residue. This will help prevent any unwanted smells or contamination. Print your design onto sublimation paper using sublimation ink. Carefully cut out the design, leaving a small margin around the edges. Secure the design onto your item using heat-resistant tape, ensuring there are no air bubbles.
Setting The Oven Temperature
Preheat your kitchen oven to the temperature recommended for sublimation, typically around 400°F (204°C). This ensures the ink turns into a gas at the right moment, allowing it to bond with your item. Use an oven thermometer to verify the temperature. Oven dials can be misleading, and accuracy is key for successful sublimation. Once the oven reaches the desired temperature, you're ready for the next step.
Timing And Monitoring
Place your item on a baking sheet lined with parchment paper to catch any ink that might escape. Slide it into the oven, positioning it in the center for even heat distribution. Set a timer based on your item's sublimation requirements, usually between 10 to 15 minutes. Stay nearby to monitor the process. This not only ensures safety but also allows you to make adjustments if necessary. Have you ever thought about how a simple kitchen appliance could become a tool for creativity? With careful preparation and attention to detail, your kitchen oven can transform into a sublimation powerhouse, opening up a world of crafting possibilities.
Common Challenges And Solutions
Sublimating in a kitchen oven can be tempting for DIY enthusiasts, but it brings a unique set of challenges. Understanding these hurdles is key to achieving professional-looking results. Let’s break down some common issues and how you can overcome them.
Uneven Heat Distribution
Kitchen ovens are designed for cooking food, not precise heat control needed for sublimation. This often leads to hot spots and cold areas, causing uneven color transfer on your materials.
To tackle this, try placing a baking stone or an empty tray inside the oven to help distribute heat more evenly. Also, rotating your items halfway through the process can reduce unevenness. Have you checked your oven’s temperature accuracy with an external thermometer? This small step can prevent surprises.
Fumes And Ventilation Issues
Sublimation releases fumes that may be unpleasant or even harmful, especially in a confined kitchen space. Proper ventilation is essential to keep your workspace safe and comfortable.
Open windows and use fans to create airflow. If possible, work near a kitchen hood vent or consider a small air purifier. Ignoring fumes might save time now but could affect your health and the quality of your project.
Material Damage Prevention
Heat-sensitive materials can easily warp or get damaged in a kitchen oven. Without careful monitoring, your investment in blanks and transfers could go to waste.
Use heat-resistant gloves and set timers to avoid overheating. Test with scrap materials first to find the ideal time and temperature. Have you noticed how a slight temperature change alters your results? Paying close attention here saves frustration and expense.
Alternative Methods For Sublimation
Sublimation requires precise heat and pressure for vibrant, lasting prints. Using a kitchen oven may not deliver consistent results or safety. Alternative tools offer better control and improve your crafting experience. These options suit beginners and hobbyists wanting quality outcomes without professional equipment.
Using Heat Press Machines
Heat press machines give even heat and firm pressure. They come in many sizes for mugs, t-shirts, and small items. The temperature and time settings are easy to adjust. This control helps produce clear, sharp sublimation prints. Many models include timers and auto-release features. They reduce the chance of mistakes and wasted materials. Heat presses work faster than ovens and keep heat steady. This reliability improves the quality of your finished products.
Other Household Appliances
Some household items can help with sublimation but have limits. For example, a hair straightener can transfer small designs on flat surfaces. It applies heat and pressure in a pinch. Be careful with temperature control to avoid damage. An iron is another option for flat items like fabric. Use a hard, flat surface and a protective sheet. Avoid steam settings to keep prints sharp and clear. These tools suit small projects but need patience and care.

Credit: www.youtube.com
Maintenance And Cleanup Tips
Maintaining and cleaning your kitchen oven after sublimation is essential. Proper care keeps the oven safe and working well. It also stops smells and stains from building up. Following simple steps ensures your kitchen stays clean and your equipment lasts longer.
Cleaning The Oven After Sublimation
Remove any leftover paper or residue quickly. Use a damp cloth with mild soap to wipe the oven walls. Avoid harsh chemicals that can damage the oven surface. Clean spills immediately to prevent hard stains. For tough spots, a baking soda paste works well. Apply it gently and wipe clean after 15 minutes. Always make sure the oven is cool before cleaning.
Protecting Kitchen Equipment
Use a separate oven thermometer for sublimation projects. This helps avoid temperature mistakes that can damage food equipment. Cover oven racks with aluminum foil to catch spills and stains. Avoid placing sublimation items directly on racks. Use heat-resistant trays or mats instead. Keep sublimation materials away from food preparation areas. This reduces the risk of contamination and damage.
Frequently Asked Questions
Can You Use A Kitchen Oven For Sublimation?
Yes, you can use a kitchen oven for sublimation. However, it’s not ideal due to uneven heat distribution. A heat press or specialized sublimation oven gives better results and consistency for vibrant, long-lasting prints.
Is A Kitchen Oven Safe For Sublimation Printing?
Using a kitchen oven for sublimation can be safe if you follow precautions. Avoid food use afterward to prevent contamination. Ensure proper ventilation and use protective gloves to handle hot items safely.
What Temperature Is Needed For Sublimation In An Oven?
Sublimation requires a temperature between 375°F and 400°F (190°C to 204°C). Maintaining consistent heat within this range is crucial for quality transfer and color vibrancy.
How Long Does Sublimation Take In A Kitchen Oven?
Sublimation in a kitchen oven typically takes 6 to 10 minutes. Time varies by material and oven type, so monitor closely to prevent overheating or under-processing.
Conclusion
Sublimating in a kitchen oven can be tricky but possible. You must control the temperature carefully to avoid damage. Using the right materials is important for good results. Always follow safety tips to protect yourself and your oven. This method suits small projects or experiments at home.
Keep learning and practicing to improve your skills. Simple steps can lead to nice outcomes. Trying it yourself helps understand the process better.