
Are you tired of dull, expensive kitchen aprons that don’t fit your style or needs? Imagine creating your very own apron that matches your personality perfectly and makes cooking even more enjoyable.
Making a kitchen apron yourself is easier than you think, and it gives you a chance to add a personal touch to your kitchen routine. You’ll discover simple steps and helpful tips to craft a DIY kitchen apron that’s both practical and stylish.
Ready to transform your cooking experience? Let’s get started!
Choosing Fabric And Materials
Choosing the right fabric and materials for your DIY kitchen apron can make all the difference between a project that lasts and one that doesn’t. You want something that not only looks good but also stands up to spills, stains, and frequent washing. Think about how you use your apron—does it need to be heavy-duty for grilling or light and breathable for baking?
Best Fabrics For Durability
Durability is key for kitchen aprons since they face constant wear and tear. Cotton canvas and denim are excellent choices because they are thick, sturdy, and easy to clean. If you want something water-resistant, consider laminated cotton, which repels spills without sacrificing comfort.
Another great option is twill fabric, known for its tight weave and resistance to wrinkles and stains. Avoid delicate fabrics like silk or linen unless you want a decorative apron rather than a practical one.
Selecting Complementary Trims
Trims can elevate the look of your apron while adding functionality. Think about using bias tape or grosgrain ribbon for the edges—they provide a clean finish and extra strength. Adding pockets? Reinforce pocket openings with a contrasting trim for durability and style.
Buttons, snaps, or metal grommets can make your apron adjustable and easier to wear. Choose trims that complement your fabric color and texture, but don’t be afraid to add a pop of color for personality.
Essential Tools And Supplies
Gathering the right tools before you start will save you frustration. You’ll need sharp fabric scissors, pins, a measuring tape, and a sewing machine or needle and thread if you’re sewing by hand. Don’t forget fabric chalk or a washable marker for marking your pattern pieces.
Having an iron handy is crucial to press seams flat and achieve a professional finish. If you’re adding trims or pockets, fabric glue or fusible webbing can be useful for temporary holds before stitching.
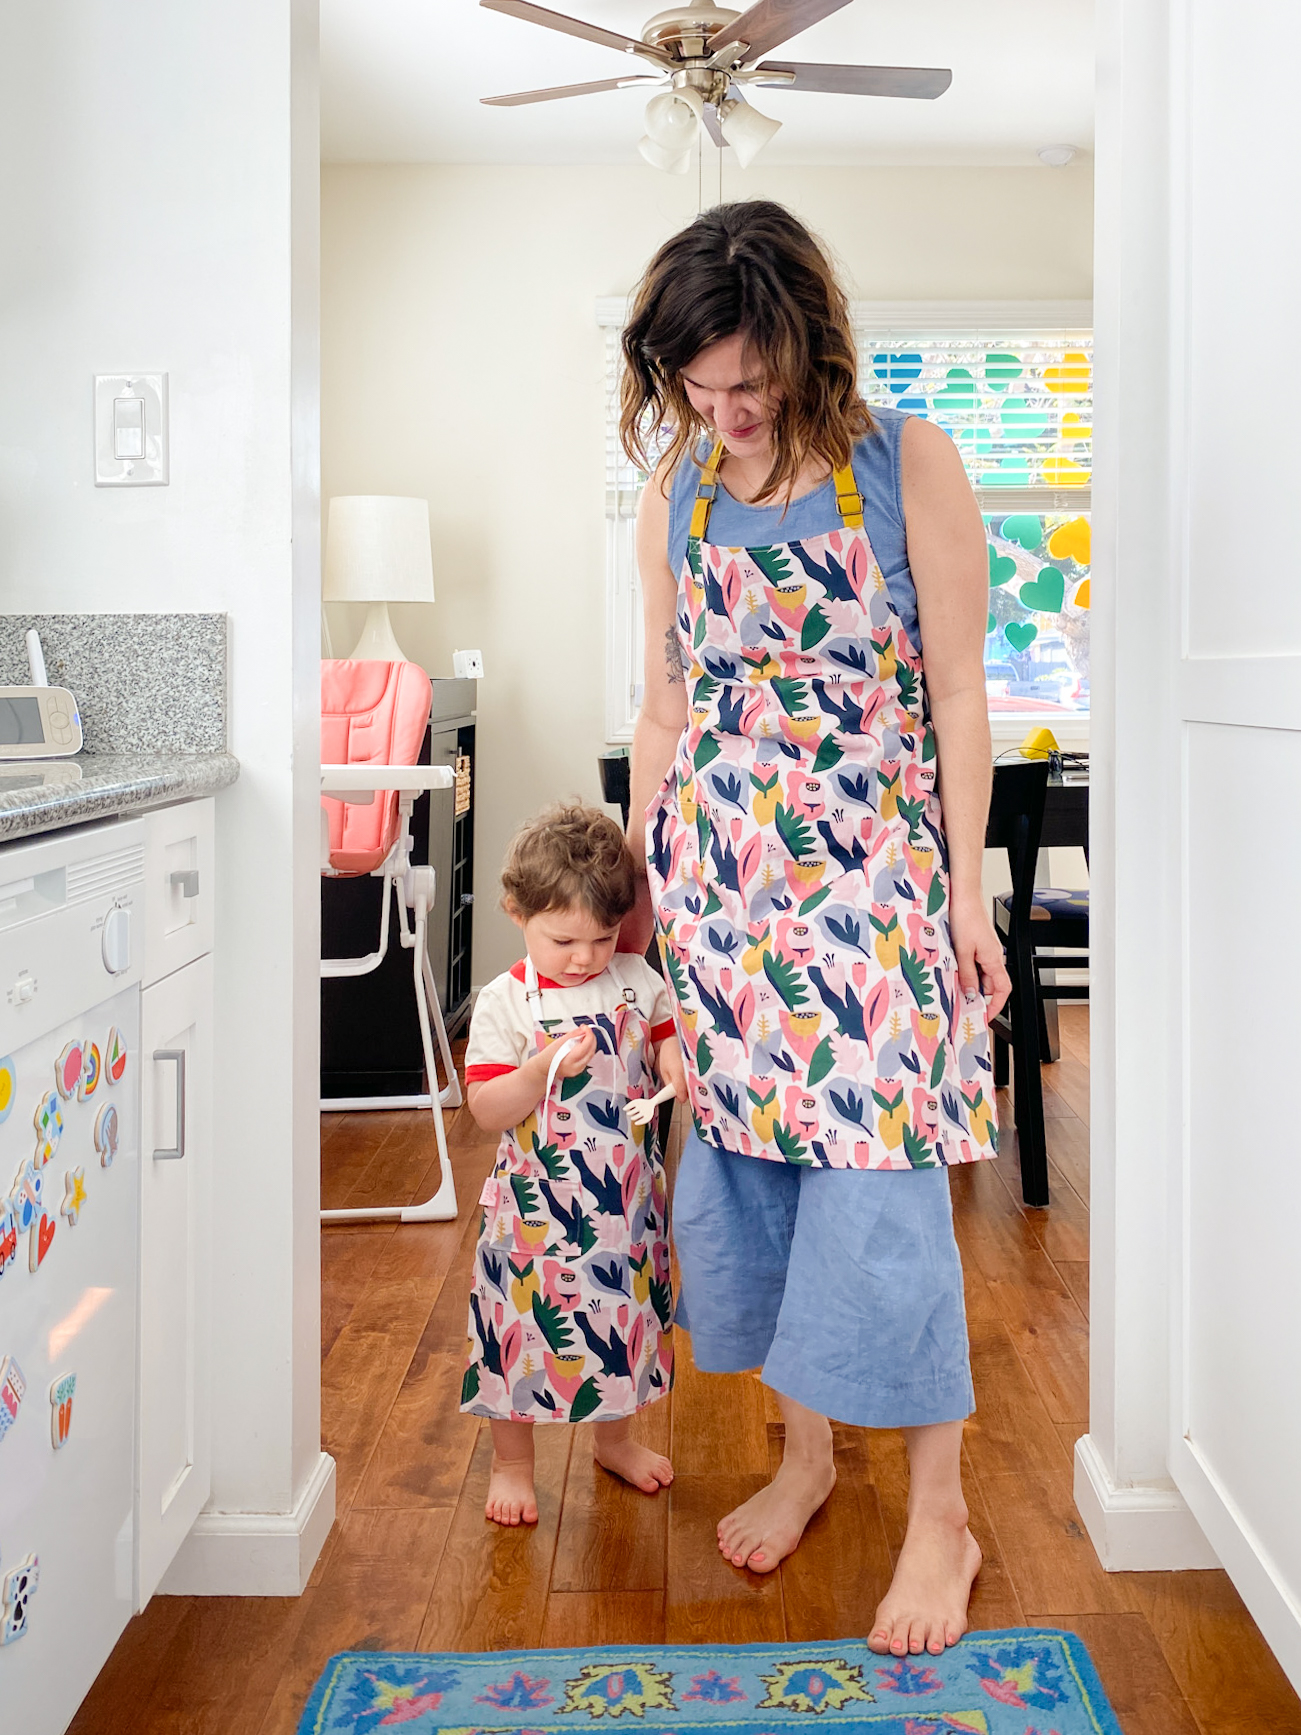
Credit: makylacreates.com
Measuring And Cutting
Measuring and cutting fabric for your DIY kitchen apron sets the foundation for a perfect fit and professional look. Skipping details here can lead to frustration later, so take your time. With the right approach, you can create an apron that fits comfortably and looks great every time you cook.
Taking Accurate Measurements
Start by measuring yourself or the person who will wear the apron. Use a soft tape measure to get the chest width, waist size, and the length from the chest to where you want the apron to end.
Write down each measurement clearly to avoid confusion. Remember, adding a couple of extra inches to the width allows for movement and seam allowances. Have you ever cut fabric too small and wished you had just a bit more room?
Creating A Simple Pattern
You don’t need a fancy pattern for a kitchen apron. Use kraft paper, newspaper, or even old wrapping paper to draft a simple shape based on your measurements.
Draw a rectangle for the body, then add straps and a pocket if you want. Mark seam allowances around the edges, usually about half an inch. This step helps you visualize the final product and adjust sizes before cutting fabric.
Cutting Fabric Precisely
Lay your fabric flat on a clean surface and secure the pattern with pins. Use sharp fabric scissors to cut slowly along the edges of your pattern.
Cutting carefully ensures your apron pieces fit together well during sewing. Have you noticed how uneven cuts can make sewing more difficult? Taking your time here saves headaches later and gives your apron a neat finish.
Sewing The Apron
Sewing the apron brings your fabric and design ideas to life. It shapes the main body, adds useful pockets, and finishes with straps and ties. Each part builds the apron’s function and style.
Stitching The Main Body
Start by cutting your fabric to the apron’s size. Use a straight stitch to join pieces, if needed. Sew edges with a small seam allowance for strength. Press seams flat with an iron to keep fabric smooth. This step forms the apron’s base.
Adding Pockets And Details
Choose pocket shapes and sizes that suit your needs. Fold pocket edges and sew hems for a clean look. Attach pockets on the apron front with straight stitches. Add decorative details like ruffles or embroidery for a personal touch. Pockets make the apron more useful and attractive.
Attaching Straps And Ties
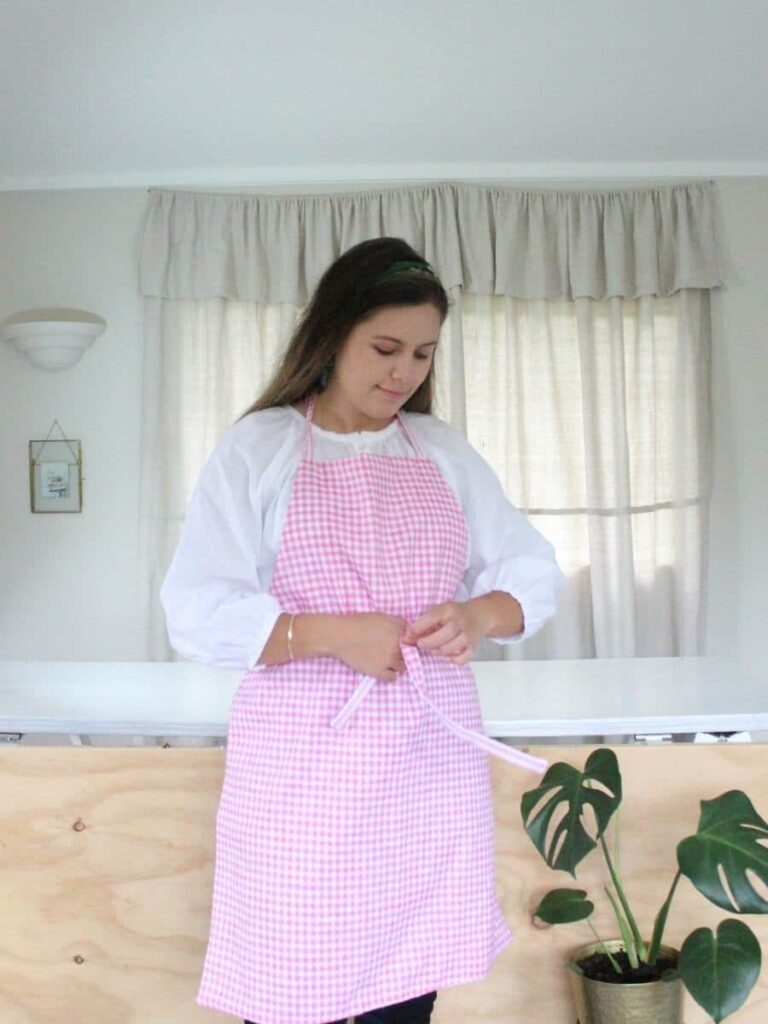
Cut straps from matching or contrasting fabric. Fold and sew straps for durability. Attach neck straps securely at the top corners. Sew waist ties on each side for a snug fit. Make sure straps and ties are strong and comfortable. These parts complete the apron’s fit and function.
Customizing Your Design
Personalize your kitchen apron by choosing colors, patterns, and fabrics that fit your style. Simple stitches and added pockets make it both unique and useful. Creating your own design lets you enjoy a special apron made just for you.
Creating your own kitchen apron is a delightful project that allows you to express your unique style. Customizing the design of your apron can be an exciting journey of self-expression. Whether you want to add a touch of elegance or a splash of color, there are countless ways to make your apron truly yours. Let's explore some fun and creative methods for personalizing your apron.
Using Embroidery And Appliques
Embroidery and appliques offer a classic way to personalize your apron. You can stitch your initials, a favorite quote, or even a small image that represents something meaningful to you. I once embroidered a small strawberry on my apron, which was a nod to my love for making strawberry jam. Appliques can add a playful element. Choose from a variety of fabric patches in shapes like hearts, stars, or animals. They are easy to sew on and provide texture and dimension. Try pairing a few small appliques together for a themed design, like a series of kitchen utensils.
Incorporating Stylish Prints
Selecting the right print can transform your apron into a fashion statement. Consider using bold prints like polka dots, stripes, or florals to add visual interest. Wouldn't a vibrant geometric pattern make your cooking sessions more lively? Mix and match prints for a unique look. Combine a floral pocket with a striped apron base to create contrast. Remember to balance the prints so they complement rather than compete with each other.
Adding Personal Touches
Personal touches make your apron feel truly special. Think about what makes you smile—is it a specific color, a symbol, or maybe a little bit of sparkle? You can sew on buttons, beads, or even small charms that resonate with you. Consider writing a message or drawing a small image using fabric markers. This can be a fun activity to do with family or friends, making the apron a cherished memory. How about adding a small handprint from a loved one as a keepsake? By customizing your kitchen apron, you not only enhance its beauty but also create a piece that reflects your personality. What creative ideas will you bring to life on your apron?
Caring For Your Apron
Caring for your DIY kitchen apron helps keep it clean and lasting longer. Proper care keeps the fabric fresh and protects your handiwork. Small actions like washing and storing correctly make a big difference.
Washing And Maintenance Tips
Wash your apron regularly to avoid stains setting in. Use cold water and mild detergent for gentle cleaning. Avoid bleach to protect colors and fabric. Hand wash delicate aprons or use a gentle machine cycle. Hang to dry to prevent shrinking. Iron on low heat if needed to keep it neat.
Repairing Minor Damages
Fix small tears and loose threads quickly. Use matching thread and a needle for simple stitches. Patch holes with fabric scraps from the same material. Reinforce weak spots before they get worse. Repairing early saves you from replacing the apron soon.
Storing Properly
Store your apron in a dry place to avoid mold. Hang it on a hook or fold neatly in a drawer. Keep it away from direct sunlight to prevent fading. Avoid cramming it with heavy items that cause wrinkles. Proper storage keeps your apron ready for every cooking task.

Credit: www.lagastrolista.com
Tips For Beginners
Starting your journey with a DIY kitchen apron can be exciting yet challenging. The right tips can make your experience smoother and more enjoyable. Understanding common pitfalls, smart shortcuts, and where to find help will boost your confidence and skills.
Common Mistakes To Avoid
Many beginners rush through cutting fabric, leading to uneven edges and poor fit. Taking your time to measure twice and cut once saves frustration later.
Another common error is skipping the step of reinforcing stress points like pockets and straps. Without this, your apron may wear out quickly where it faces the most strain.
Also, avoid using the wrong type of fabric. Lightweight cotton is easy to sew and wash, but heavy canvas offers better durability for kitchen use.
Time-saving Shortcuts
- Use pre-cut fabric pieces or apron kits to skip fabric measuring and cutting.
- Choose patterns with simple shapes and fewer seams to speed up sewing.
- Iron your fabric before and during sewing to keep edges crisp and sewing smooth.
- Attach straps with double stitching in one go instead of multiple passes.
These shortcuts don’t just save time; they help maintain neatness and durability in your apron.
Resources For Learning
Look for beginner-friendly sewing tutorials on YouTube that show every step clearly. Watching someone else sew can clarify tricky parts like attaching pockets or hemming edges.
Join online sewing forums or social media groups focused on DIY projects. You’ll find helpful advice and encouragement from people who started just like you.
Consider using free pattern websites that offer downloadable templates you can print at home. Having a ready-made pattern reduces guesswork and improves your apron’s fit.

Credit: offthebeatenhook.com
Frequently Asked Questions
What Materials Do I Need For A Diy Kitchen Apron?
You need fabric, thread, scissors, measuring tape, pins, and a sewing machine or needle. Cotton or linen fabrics work best for durability and comfort.
How Do I Measure For A Perfect Apron Fit?
Measure from your chest to your knees for length. Add extra width for comfort. Include strap length around your neck and waist.
Can Beginners Easily Sew A Kitchen Apron?
Yes, beginners can sew an apron with basic sewing skills. Simple patterns and straight stitches make the project manageable and enjoyable.
How Long Does It Take To Make A Kitchen Apron?
Making a kitchen apron typically takes 1 to 2 hours. Time depends on skill level and apron design complexity.
Conclusion
Making your own kitchen apron saves money and adds personal style. You choose the fabric, color, and fit that suit you best. It feels good to wear something made by your own hands. Plus, it protects your clothes while cooking or baking.
This simple project brings fun and function together. Try it, and enjoy the pride of creating something useful. A DIY apron is both practical and creative. Give it a go—you might like the process more than you expect.