
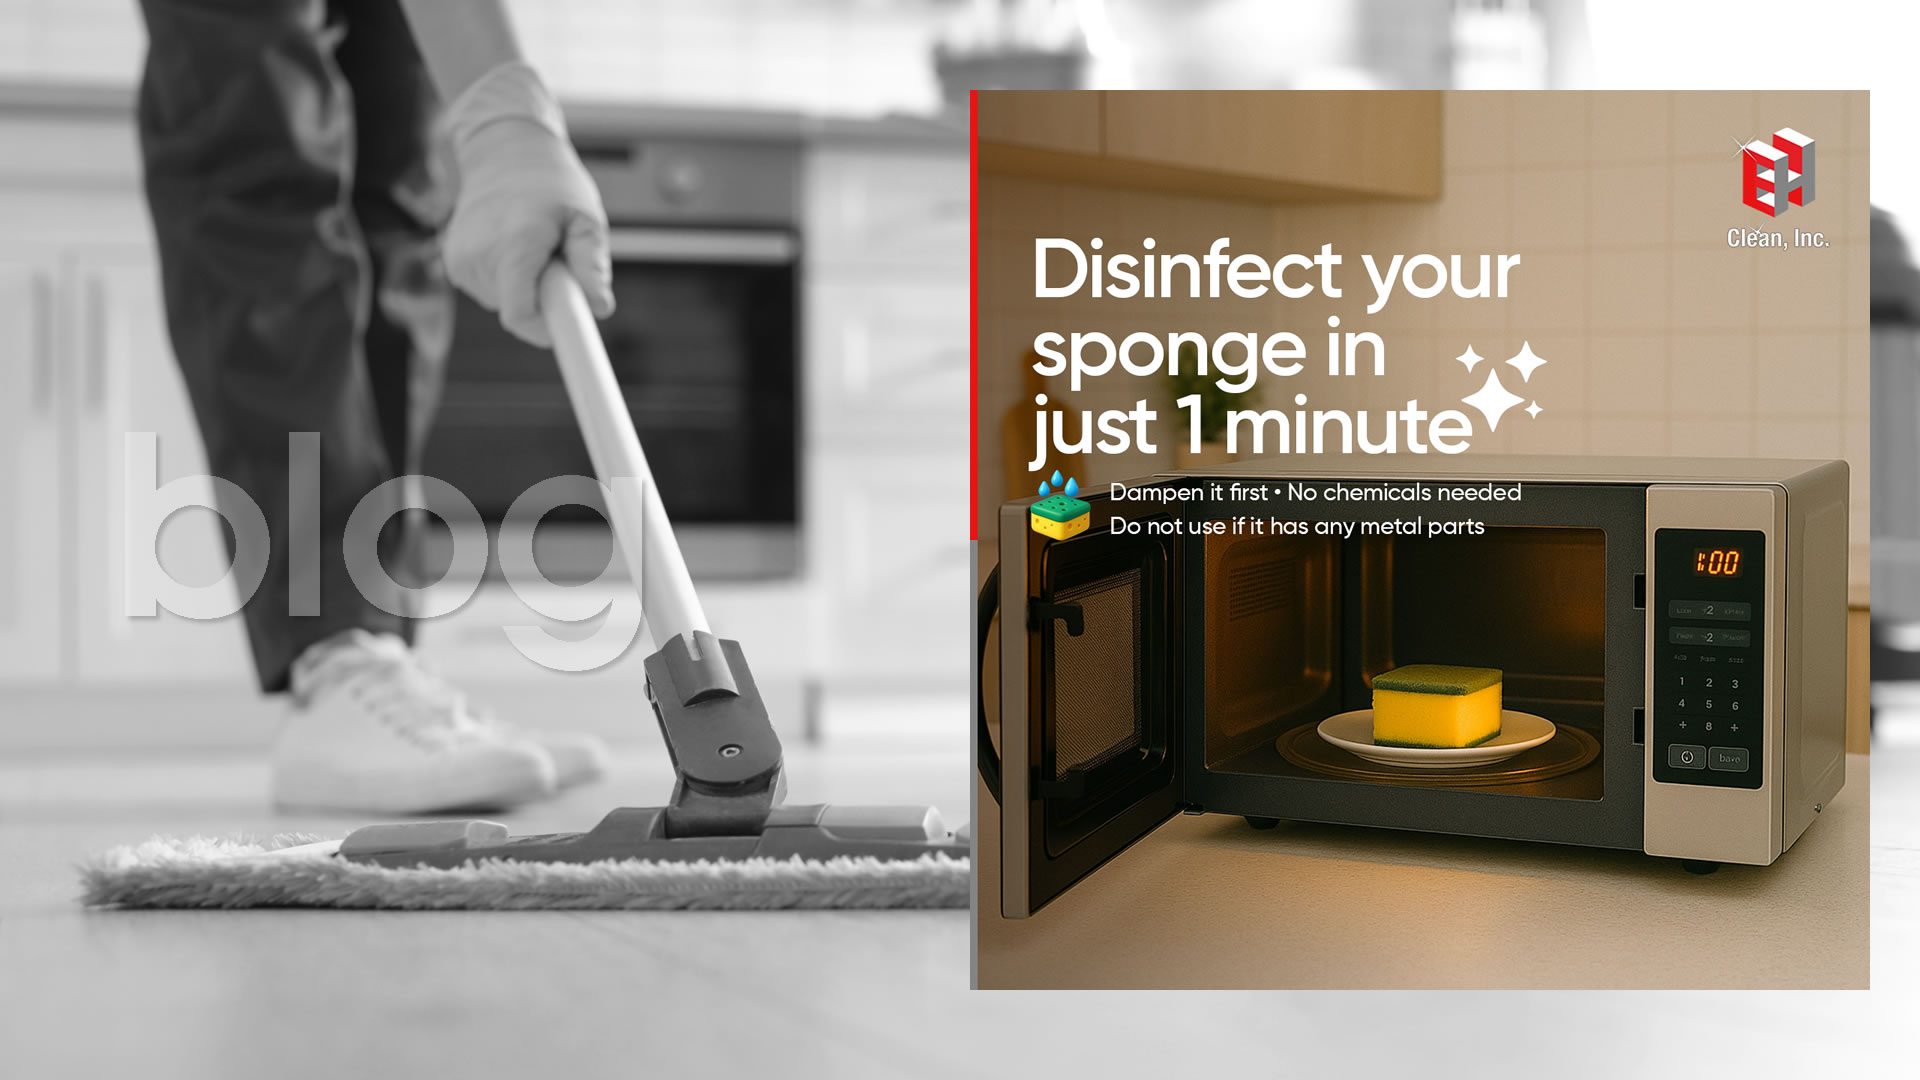
Are you wondering how long to microwave a kitchen sponge to keep it clean and germ-free? You probably use your sponge every day, but did you know it can hide harmful bacteria?
Microwaving is a quick and easy way to sanitize it, but if you get the timing wrong, you might damage your sponge or not kill the germs effectively. You’ll discover the perfect microwave time to make your sponge safe again—saving you time, money, and worry.
Keep reading to learn the simple steps you need to follow for a cleaner kitchen!

Credit: www.deseret.com
Microwaving Benefits
Microwaving a kitchen sponge offers several practical benefits. It helps keep your sponge clean and safe for daily use. This simple process uses heat to reduce bacteria and odors. It also saves time compared to other cleaning methods. Many households find it a handy trick to maintain hygiene easily.
Sanitizing Effectiveness
Microwaving kills many harmful germs in the sponge. The heat reaches deep inside to destroy bacteria. This method can remove most microbes within minutes. It is a good way to reduce the risk of spreading germs. Use a wet sponge to avoid damage during microwaving.
Time And Energy Savings
Microwaving takes only a few minutes to clean a sponge. It uses less energy than boiling water or washing machines. This quick method fits well in busy routines. You save effort by avoiding scrubbing or soaking for hours. It is a simple, fast way to keep your sponge fresh.

Credit: tidyhere.com
Preparation Steps
Preparing your kitchen sponge correctly is key before microwaving it. This process ensures safety and effectiveness in cleaning. Simple steps help avoid accidents and improve sponge hygiene.
Wet The Sponge
Start by soaking the sponge fully in water. A wet sponge heats evenly and prevents fires. Squeeze out extra water, so it is damp, not dripping. This step keeps the sponge from overheating in the microwave.
Check For Metal Elements
Inspect the sponge for any metal parts or scrubbers. Microwaving metal causes sparks and damage. Remove any attached scrub pads with metal fibers. Use only sponges without metal for safe microwaving.
Microwave Timing
Microwaving a kitchen sponge can kill harmful bacteria effectively. Timing plays a crucial role in ensuring safety and efficiency. The right microwave timing can disinfect your sponge without damaging it. Explore the best timing options to keep your sponge clean and fresh.
Short Duration Options
Short bursts of microwaving can disinfect without drying the sponge. A common practice is microwaving for 30 seconds. This is often enough to kill most germs. Ensure the sponge is damp to prevent burning. Short durations are energy efficient and quick. They are perfect for regular maintenance.
Longer Duration Risks
Longer microwave times can pose risks to your sponge. Extended heating may cause the sponge to dry out or burn. A dry sponge is more likely to catch fire. It is crucial to always keep the sponge moist. Longer durations can also damage the sponge's structure. This may lead to a shorter lifespan for your sponge.
Safety Tips
Microwaving a kitchen sponge helps kill germs and keep it clean. Safety is important to avoid accidents and injuries. Follow these tips to use your microwave safely and effectively when cleaning sponges.
Avoiding Fires
- Make sure the sponge is wet before microwaving. Dry sponges can catch fire quickly.
- Microwave the sponge for no more than 2 minutes. Longer times increase fire risk.
- Use a microwave-safe plate to place the sponge on. Avoid direct contact with the microwave floor.
- Stay nearby while microwaving. Stop the microwave immediately if you see smoke or smell burning.
- Keep the microwave clean to prevent leftover food from catching fire.
Handling Hot Sponges
- Use tongs or oven mitts to remove the sponge after microwaving. It can be very hot.
- Let the sponge cool down before squeezing or using it again. Hot sponges can burn your skin.
- Place the sponge on a heat-resistant surface after microwaving. Avoid placing it on plastic or cloth.
- Do not microwave sponges with metal scrubbers inside. Metal can cause sparks and fires.
- Store the sponge in a dry place once it cools to prevent mold growth.
Alternatives To Microwaving
Microwaving your kitchen sponge is a quick way to kill germs, but it’s not the only option. Sometimes, you might want a method that feels more thorough or fits better with your routine. Let's look at some effective alternatives that can keep your sponge clean and safe without relying on the microwave.
Boiling Method
Boiling your sponge is a simple way to disinfect it deeply. Just place the sponge in a pot of boiling water for about 5 minutes. This high heat kills most bacteria and refreshes the sponge without any chemicals.
Be careful when handling the hot sponge—use tongs or wait until it cools down to avoid burns. This method works well if you clean sponges regularly and want to avoid the microwave altogether. Have you tried this before? It might surprise you how effective plain boiling can be.
Dishwasher Cleaning
If you own a dishwasher, it can double as a sanitizer for your kitchen sponge. Place the sponge on the top rack and run it through a hot cycle with your regular detergent. The heat and detergent work together to remove grime and bacteria.
This method is great because it doesn’t require extra effort or special supplies. Plus, it’s easy to remember when you’re already running a load of dishes. Do you notice a difference in sponge lifespan when you clean it this way?
Signs To Replace Your Sponge
Knowing when to replace your kitchen sponge is just as important as cleaning it. A sponge that’s past its prime can harbor harmful bacteria, making your cleaning efforts less effective and potentially risky. Keep an eye out for clear signs that it’s time to toss your sponge and grab a new one.
Odor And Stains
If your sponge starts to smell bad, no amount of microwaving will fix it. That unpleasant odor is a sign that bacteria and mold have built up inside. Also, watch for stains that don’t come out after rinsing—these can indicate deep grime and germs lurking in the sponge’s pores.
Have you ever noticed a sponge that smells worse after a quick wash? That’s a red flag telling you it’s time to replace it. Don’t ignore persistent odors or discoloration; they show your sponge is no longer safe to use.
Wear And Tear
Check your sponge’s texture regularly. If it’s falling apart, crumbling, or losing its shape, it won’t clean effectively. Rough edges or holes make it easier for bacteria to hide and multiply.
Think about how often you use your sponge. If it’s been a few weeks and it looks worn out, replace it even if it smells okay. Using a damaged sponge is like trying to clean with a dirty rag—it just won’t work well and could spread germs.

Credit: www.yahoo.com
Frequently Asked Questions
How Long Should I Microwave A Kitchen Sponge?
Microwave a damp kitchen sponge for 1 to 2 minutes on high. This duration kills most bacteria and germs effectively. Ensure the sponge is wet to avoid fire risk. Always monitor the sponge while microwaving for safety.
Can Microwaving A Sponge Disinfect It Completely?
Microwaving a wet sponge for 1-2 minutes kills most bacteria but not all. It significantly reduces germs but may not sterilize entirely. Regular sponge replacement is recommended for best hygiene. Use microwaving as a quick disinfecting method between replacements.
Is It Safe To Microwave A Kitchen Sponge?
Yes, microwaving a wet sponge for short periods is safe. Always keep the sponge damp to prevent fires. Avoid microwaving sponges with metal scrubbing pads. Supervise the process to ensure safety and prevent overheating.
How Often Should I Microwave My Kitchen Sponge?
Microwave your kitchen sponge every 1 to 2 days to maintain hygiene. Frequent microwaving reduces bacteria buildup effectively. Combine microwaving with regular sponge washing and replacement. This practice helps keep your kitchen cleaner and safer.
Conclusion
Microwaving a kitchen sponge helps kill many germs fast. Ten to two minutes usually works well. Always make sure the sponge is wet before microwaving. Dry sponges can catch fire easily. Let the sponge cool before you touch it. Regular cleaning keeps your kitchen safer and fresher.
Replace old sponges often to avoid bad smells. Small steps like this keep your home clean. Try this simple tip to keep your sponge fresh. It saves time and helps stop bacteria from spreading.