
Your kitchen sponge works hard every day, scrubbing away dirt, grease, and food residue. But have you ever stopped to think about how often you should replace it?
Using an old sponge can hide germs and make your kitchen less clean than you think. If you want to keep your kitchen safe and fresh, knowing when to swap out your sponge is key. Keep reading to discover the simple signs and expert tips that will help you decide the perfect time to replace your kitchen sponge.
Your health and kitchen hygiene depend on it!
Signs Your Sponge Needs Replacement
Knowing when to replace your kitchen sponge helps keep your kitchen clean and safe. Sponges wear out fast. They hide germs and smells. Watch for signs that tell you it is time to toss the sponge and get a new one.
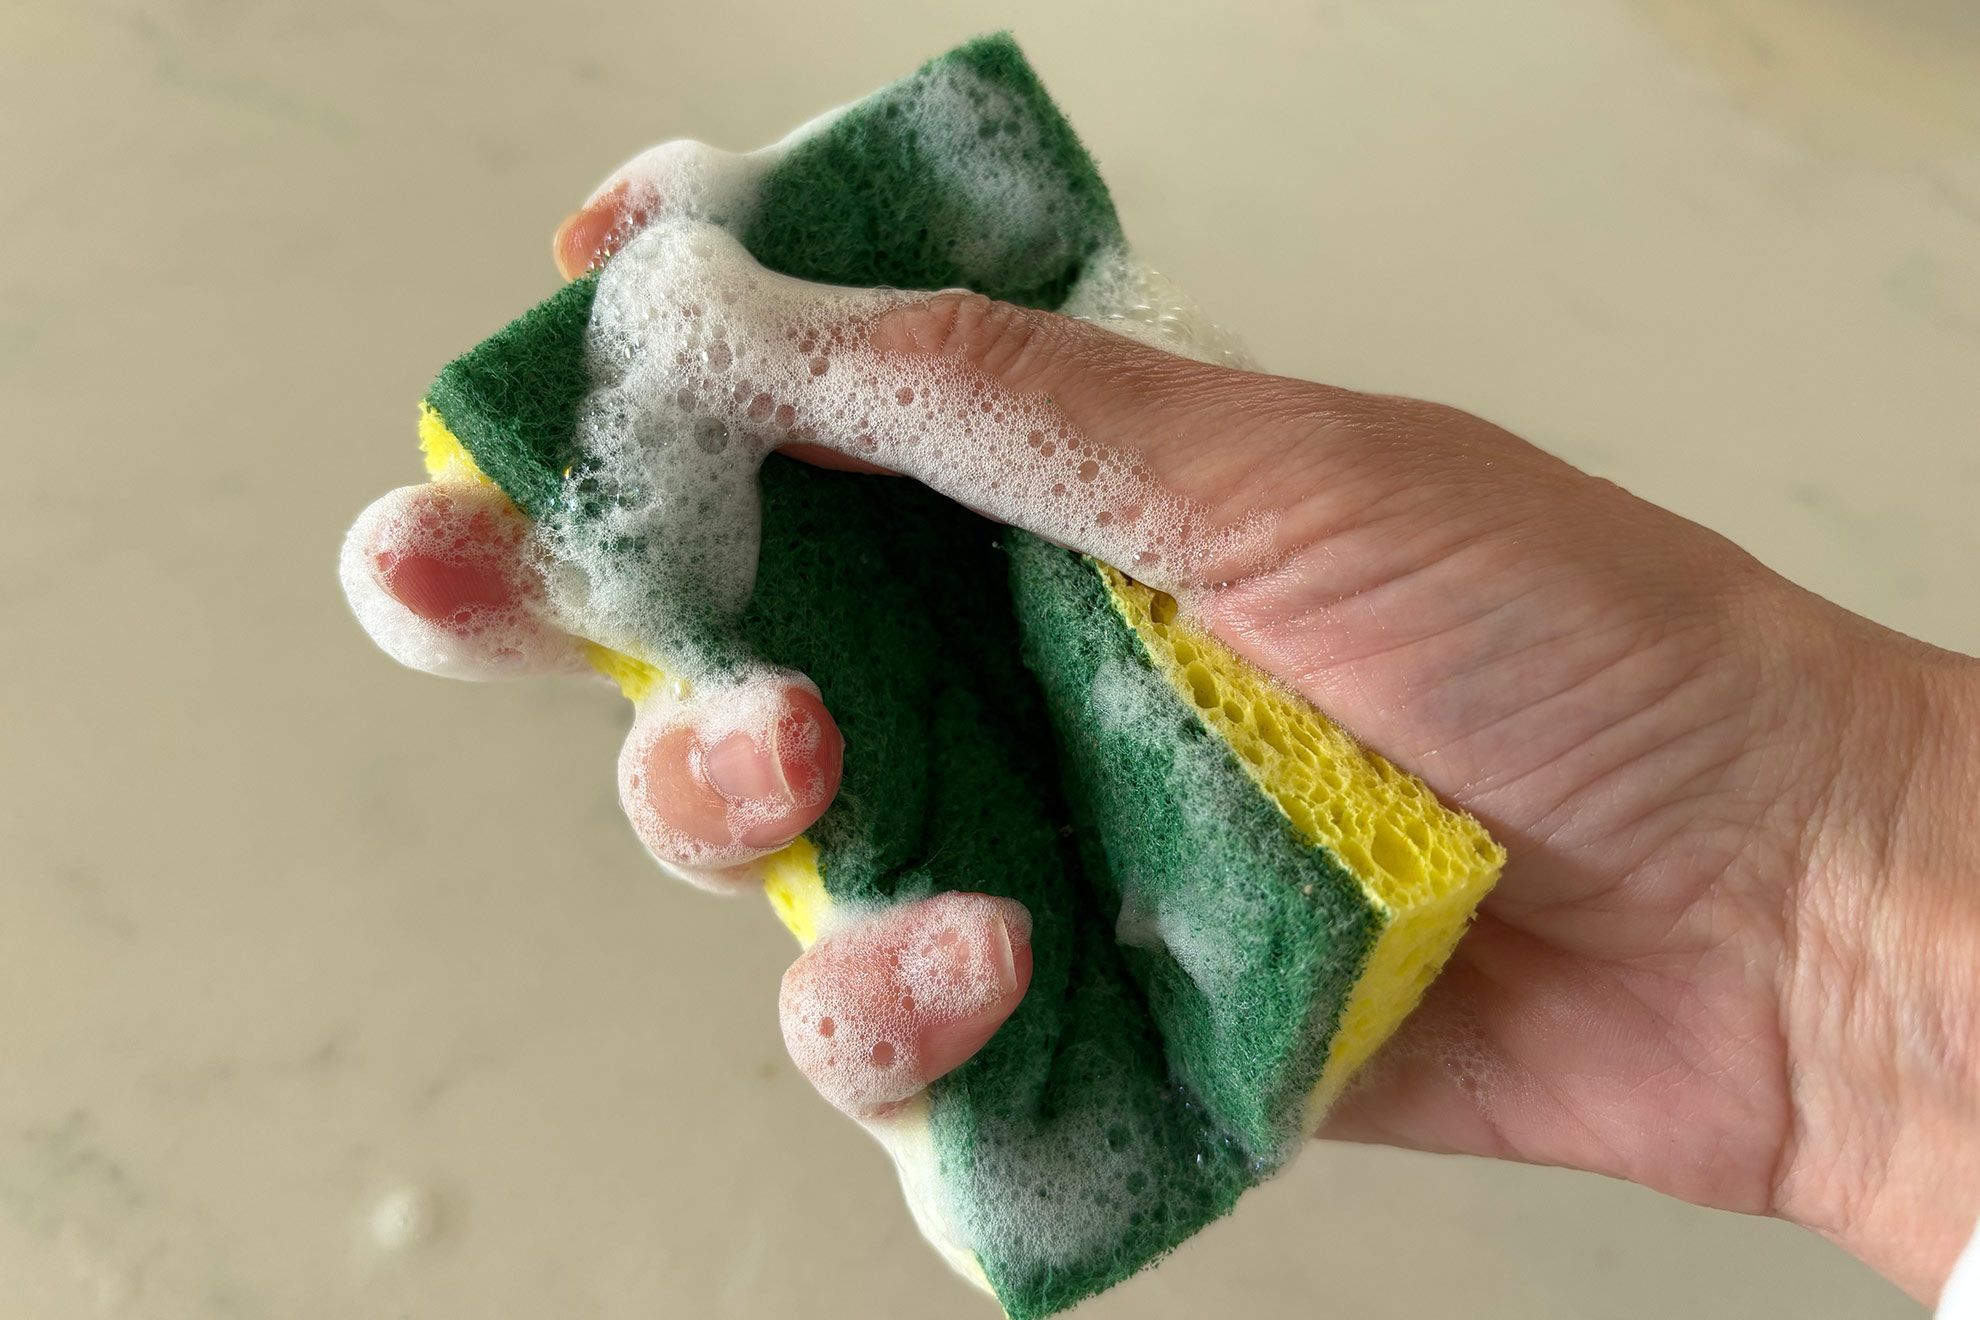
Visible Wear And Tear
Look closely at your sponge. Is it falling apart? Pieces missing? The texture feels rough or slimy? These signs mean the sponge is breaking down. It cannot clean well anymore. Replace it to keep your dishes spotless.
Unpleasant Odors
Sponges can smell bad quickly. A strong, sour, or rotten smell means bacteria grow inside. No amount of rinsing will fix this. A fresh smell means the sponge is clean. Throw away any sponge with a bad odor.
Bacterial Growth Risks
Sponges are a home for germs. They soak up food and moisture, feeding bacteria. Using an old sponge spreads these germs around your kitchen. This can cause illness. Change your sponge often to stop bacteria from growing.

Credit: www.absolutecleaning.com.sg
Recommended Replacement Frequency
Knowing how often to replace your kitchen sponge can save you from unwanted germs and keep your kitchen fresh. Sponges can harbor bacteria quickly, so keeping track of their lifespan is essential. But how do you decide when it’s time to toss them out?
Daily Use Sponges
If you use your kitchen sponge every day, consider replacing it at least once a week. Daily exposure to food particles and moisture makes it a breeding ground for bacteria.
Some people try to sanitize sponges by microwaving or soaking them in bleach, but these methods only reduce bacteria temporarily. So, even with cleaning, regular replacement is safer.
Ask yourself: Is your sponge starting to smell or look worn? That’s a clear sign it’s time to replace it.
Occasional Use Sponges
If you use a sponge less often, you might stretch its lifespan to two or three weeks. However, even occasional sponges can get contaminated if left damp or dirty between uses.
Make sure to rinse and dry your sponge thoroughly after each use. Store it in a dry spot to slow bacterial growth and extend its usability.
Still, don’t ignore visible signs of wear or odor. Those indicate your sponge’s effectiveness is declining and replacement is necessary.
Factors Affecting Lifespan
- Type of sponge:Natural sponges may last longer but can be harder to sanitize, while synthetic sponges might break down faster.
- Frequency of use:More frequent use means quicker wear and more bacteria buildup.
- Cleaning method:Proper drying and occasional disinfecting can slow bacteria growth but won’t stop wear and tear.
- Types of tasks:Using sponges for greasy or raw meat cleanup shortens their safe lifespan.
Think about your kitchen habits. Could changing how often you replace your sponge improve your kitchen hygiene and reduce risks? It’s a small step that makes a big difference.
Proper Sponge Care Tips
Proper sponge care extends its life and keeps your kitchen hygienic. Sponges can harbor bacteria if not cleaned and dried correctly. Simple daily habits prevent bad smells and contamination. Follow these easy sponge care tips for a cleaner kitchen.
Cleaning Methods
Rinse your sponge thoroughly after each use. Remove food particles and grease under warm water. Use a mild detergent to kill germs regularly. Microwaving a damp sponge for one minute can disinfect it. Alternatively, soak it in a vinegar or bleach solution for a few minutes. Replace sponges showing wear or persistent odor.
Drying Techniques
Always squeeze out excess water after cleaning. Air-dry your sponge completely to avoid mold growth. Place it in a well-ventilated area. Avoid leaving sponges in the sink or damp places. Use a sponge holder with drainage holes for faster drying. Dry sponges last longer and stay fresher.
Storage Suggestions
Store sponges away from the sink to reduce moisture. Keep them separate from other cleaning tools. Avoid stacking wet sponges on top of each other. Use a clean container or a hanging rack. Change storage spots regularly to keep the sponge dry. Proper storage reduces bacteria buildup significantly.

Credit: www.yahoo.com
Alternatives To Traditional Sponges
Traditional kitchen sponges can harbor bacteria and wear out quickly. Choosing an alternative can improve hygiene and last longer. Several options offer effective cleaning with easy maintenance. These alternatives reduce waste and help keep your kitchen safer.
Microfiber Cloths
Microfiber cloths clean surfaces with tiny fibers that trap dirt. They need less water and soap than sponges. They dry fast, reducing bacterial growth. These cloths are soft and safe for all kitchen surfaces. Wash them regularly to keep them fresh and effective.
Silicone Sponges
Silicone sponges resist stains and odors. Their non-porous surface stops bacteria from growing. They are easy to clean—just rinse or put in the dishwasher. Silicone sponges last much longer than traditional ones. Their flexible texture scrubs well without scratching cookware.
Natural Fiber Options
Natural fiber sponges come from materials like coconut husks or loofah. They break down naturally and are eco-friendly. These sponges offer gentle scrubbing power and good absorbency. They dry quickly and resist bad smells. Perfect for those who want a green kitchen choice.
Health Implications Of Old Sponges
Kitchen sponges are essential tools, but they can harbor germs. Over time, old sponges become a breeding ground for bacteria. Understanding the health risks is crucial for maintaining a safe kitchen environment.
Bacterial Contamination
Old sponges collect bacteria with each use. Moist environments promote bacterial growth. Common bacteria include E. coli and Salmonella. These can cause illness if not managed.
Cross-contamination Risks
Old sponges spread bacteria across surfaces. Using them on different surfaces increases contamination risks. This can affect food, utensils, and countertops.
Preventing Foodborne Illness
Replacing sponges regularly helps prevent illness. Wash sponges in hot water after each use. Microwave damp sponges for one minute to kill bacteria. Dispose of sponges showing wear or odor.

Credit: www.taste.com.au
Eco-friendly Sponge Disposal
Eco-friendly sponge disposal helps protect the environment. Kitchen sponges often contain synthetic materials that harm landfills. Choosing proper disposal methods reduces pollution. It also supports sustainable living and lowers waste impact. Understanding composting, recycling, and waste reduction is key.
Composting Options
Natural sponges and biodegradable ones can go into compost bins. Cut the sponge into small pieces to speed up decomposition. Avoid composting synthetic or plastic-based sponges. Keep the compost moist and aerated to help break down materials faster. Home composting works well for plant-based sponges.
Recycling Guidelines
Most kitchen sponges are not recyclable due to mixed materials. Some brands offer recycling programs for their sponges. Check local recycling rules before disposing of sponges. Avoid placing sponges in regular recycling bins. Proper recycling prevents contamination and helps waste processing.
Reducing Waste Impact
- Use sponges made from natural or sustainable materials.
- Rinse and dry sponges after use to extend life.
- Repurpose old sponges for cleaning shoes or garden tools.
- Buy reusable or washable alternatives like cloths.
Small changes reduce waste and lower environmental harm. Careful disposal supports a cleaner planet.
Frequently Asked Questions
How Often Should I Replace My Kitchen Sponge?
Replace your kitchen sponge every 1 to 2 weeks to avoid bacteria buildup. Frequent use and moisture make sponges breeding grounds for germs. Regular replacement maintains hygiene and reduces the risk of food contamination.
Can I Sanitize My Kitchen Sponge Instead Of Replacing?
Yes, you can sanitize sponges using microwave or dishwasher methods. However, sanitizing only reduces bacteria temporarily and does not replace regular sponge replacement. For safety, replace sponges regularly even if sanitized.
What Signs Indicate I Need A New Kitchen Sponge?
A sponge with a foul odor, visible mold, or a slimy texture needs replacement. These signs show bacterial growth and poor hygiene. Don’t wait for these signs; change sponges routinely for kitchen safety.
Does Sponge Type Affect Replacement Frequency?
Yes, natural sponges may need replacing more often than synthetic ones. Some sponges resist bacteria better, but all require regular replacement. Always follow the manufacturer’s guidelines for best results.
Conclusion
Kitchen sponges get dirty fast and can hold many germs. Replace them every one to two weeks for best results. A clean sponge helps keep your dishes and kitchen safe. Don’t wait until it smells bad or falls apart. Small habits like changing your sponge often make a big difference.
Keep your kitchen fresh and healthy with this simple step. It’s easy and helps protect your family from bacteria. Remember, a new sponge means a cleaner kitchen every time.