

Adding a dishwasher to your kitchen can change the way you handle daily chores. Imagine finishing your meals without worrying about piles of dirty dishes.
You save time, keep your kitchen tidy, and enjoy more moments doing what you love. But how do you start? This guide will walk you through simple steps to add a dishwasher to your kitchen, even if you’re not a DIY expert.
Ready to make your life easier? Let’s dive in.
Choosing The Right Dishwasher
Choosing the right dishwasher is important for a smooth kitchen upgrade. It affects your daily routine and kitchen space. Picking a dishwasher that fits your needs saves time and energy. Think about size, efficiency, and useful features before buying. These points guide your choice.
Size And Capacity
Measure your kitchen space carefully. Dishwashers come in standard and compact sizes. A standard dishwasher usually fits 12 to 16 place settings. Compact models suit smaller kitchens but hold fewer dishes. Consider how many dishes you wash daily. Choose a size that fits your household and space.
Energy Efficiency
Energy-efficient dishwashers use less water and electricity. Look for models with ENERGY STAR labels. They help reduce utility bills and protect the environment. Some machines have eco-friendly wash cycles. These cycles use less energy but clean well. Saving energy also means less noise and better performance.
Features To Consider
- Adjustable racks for different dish sizes
- Delay start to run during off-peak hours
- Quiet operation for a peaceful kitchen
- Soil sensors that adjust wash time
- Quick wash cycles for light loads
Choose features that match your lifestyle. Simple controls make the dishwasher easy to use. Think about what helps you most in daily cleaning.

Credit: www.espares.co.uk
Preparing Your Kitchen Space
Preparing your kitchen space is essential before installing a dishwasher. It ensures a smooth setup and prevents future issues. Taking time to measure, check utilities, and clear space saves effort later. This preparation creates an organized and efficient area for your new appliance.
Measuring Available Space
Measure the width, height, and depth of the space where the dishwasher will go. Use a tape measure and write down exact numbers. Compare these with the dishwasher’s size to confirm a good fit. Allow extra room for ventilation and plumbing connections. Careful measuring avoids installation problems and damage.
Checking Plumbing And Electrical Access
Locate water supply lines and drainage near the dishwasher spot. Confirm the pipes are in good condition and easy to reach. Check if there is an electrical outlet nearby that matches the dishwasher’s power needs. A dedicated circuit is often required for safety. Proper access to plumbing and power ensures the dishwasher works well.
Clearing The Installation Area
Remove cabinets, drawers, or panels blocking the dishwasher space. Clear out any clutter or debris around the area. Clean the floor and walls to prevent dirt from entering the appliance. Keep tools and materials ready for installation. A clean, open space makes the process faster and safer.
Gathering Necessary Tools And Materials
Before you start installing your new dishwasher, gathering all the necessary tools and materials is crucial. Having everything on hand saves time and prevents frustrating interruptions. You’ll feel more confident and ready to tackle the project smoothly.
Tools Needed
- Adjustable wrench:Essential for tightening water supply connections without damaging fittings.
- Screwdrivers:Both flathead and Phillips types are often required for removing panels and securing brackets.
- Drill with drill bits:Useful for creating holes if your cabinetry lacks pre-drilled openings.
- Level:Ensures your dishwasher sits perfectly horizontal, preventing leaks and poor drainage.
- Tape measure:Helps verify dimensions and clearances before installation.
- Bucket and towels:Handy for catching water during plumbing work and cleaning up spills.
- Utility knife:Needed for cutting pipes or trimming insulation.
Parts And Supplies
- Dishwasher installation kit:Often includes water supply lines, drain hoses, and mounting brackets tailored for dishwashers.
- Teflon tape:Wrap it around threaded connections to prevent leaks.
- Wire nuts and electrical tape:Required if you need to connect the dishwasher to your home's electrical system.
- Shutoff valve:If your current water supply line lacks one, adding a valve gives you control over water flow during maintenance.
- Drain hose adapter:Connects the dishwasher drain hose to your sink drain or garbage disposal.
- Extension cords or conduits:Sometimes necessary if your dishwasher’s power cord doesn’t reach the outlet safely.
Have you checked your kitchen’s current setup for these parts? Noticing what’s missing before you start saves multiple trips to the hardware store. It’s like setting yourself up for success right from the first step.
Disconnecting Old Appliances
Disconnect old appliances carefully before installing a new dishwasher. Ensure all electrical connections are safely removed. This step prevents any potential hazards and makes space for the new installation.
Adding a new dishwasher to your kitchen can simplify daily chores. But first, the old appliances need to be disconnected. This process involves careful steps to ensure safety and efficiency. Below, we break down the steps needed for disconnecting old appliances.
Turning Off Power And Water
Before you start, safety is crucial. Ensure the power supply to the kitchen is off. Locate the circuit breaker and switch it off. This prevents electrical shocks during the process. Next, turn off the water supply. Find the valve under the sink and twist it clockwise. This stops water flow to the dishwasher. Confirm the water is off by turning on the kitchen faucet.
Removing Existing Dishwasher Or Cabinet
Once power and water are off, you can start removing the old appliance. If there’s a dishwasher, open the door and unscrew the mounting brackets. These are usually found on top or sides. Gently slide the dishwasher out of its space. Be cautious of water lines and electrical cables. If a cabinet occupies the space, unscrew it from the wall. Carefully remove it to make room for the new dishwasher.
Installing Water Supply And Drain Lines
Installing water supply and drain lines is a key part of adding a dishwasher to your kitchen. These connections allow water to flow in and waste to flow out safely. Proper setup ensures your dishwasher works well and prevents leaks or water damage.
Connecting Water Supply
Start by turning off the main water valve. Use a flexible water supply line to connect the dishwasher to the hot water valve under the sink. Attach the line securely to avoid leaks. Check the connection for tightness but avoid overtightening, which can cause damage.
Setting Up Drainage
Connect the dishwasher drain hose to the sink drain or garbage disposal. Use a high loop or air gap to prevent dirty water from flowing back into the dishwasher. Secure the hose with a clamp to keep it in place. Make sure the hose is not kinked or bent sharply.
Testing For Leaks
Turn the water supply back on. Run the dishwasher through a short cycle while watching all connections closely. Look for drips or puddles under the sink and around the dishwasher. Tighten any loose connections and replace damaged parts if needed. Confirm no water escapes before finishing the installation.
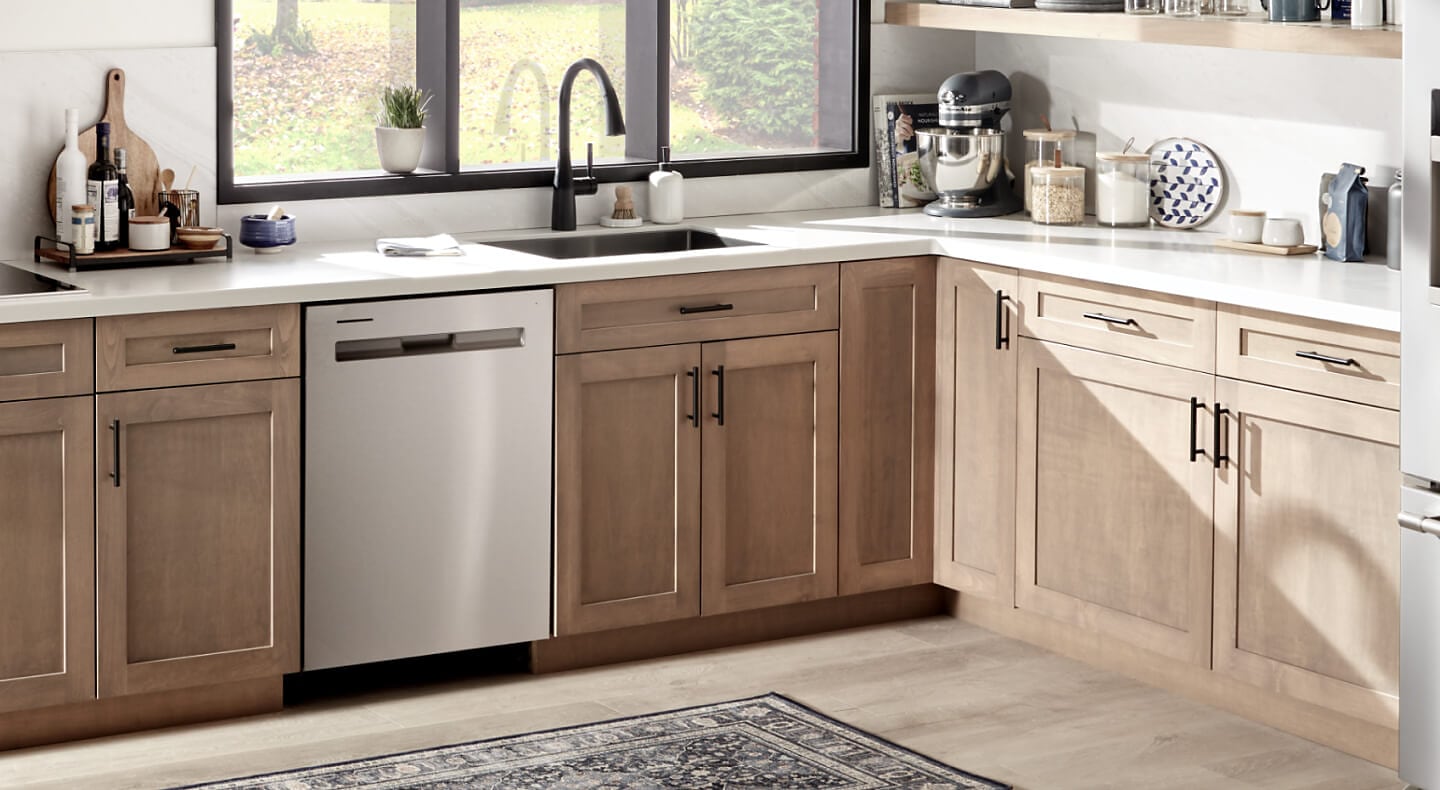
Credit: www.maytag.com
Electrical Hookup
Adding a dishwasher to your kitchen means dealing with the electrical hookup, which is a crucial part of the installation. Without the proper electrical connection, your new appliance won't function safely or efficiently. Let’s break down what you need to know to get your dishwasher wired correctly and meet safety standards.
Wiring The Dishwasher
First, identify the power source. Most dishwashers require a dedicated 120-volt circuit, typically connected to a 15- or 20-amp breaker in your electrical panel.
Check if your dishwasher comes with a power cord or if it needs to be hardwired. Hardwiring involves connecting the wires directly to your home’s electrical system, usually through a junction box beneath the sink.
Make sure to use the correct wire gauge—usually 14-gauge wire for a 15-amp circuit or 12-gauge for a 20-amp circuit. This prevents overheating and potential fire hazards.
Have you inspected your kitchen’s existing wiring? Old or damaged wires may need replacement before hooking up a new dishwasher.
Ensuring Safety Standards
Safety should be your top priority during electrical hookup. Always turn off the power at the breaker before starting any wiring work.
Use a voltage tester to double-check that the circuit is off before touching any wires. This simple step can prevent serious injury.
Follow local electrical codes, which may require a licensed electrician to perform the hookup. Ignoring these rules can lead to failed inspections or voided warranties.
Grounding the dishwasher properly is essential to avoid electrical shocks. Make sure the ground wire is securely connected to the grounding terminal or screw in the junction box.
Have you considered installing a GFCI (Ground Fault Circuit Interrupter) outlet or breaker? It adds an extra layer of protection against electrical faults, especially in wet areas like the kitchen.
Positioning And Securing The Dishwasher
Positioning and securing your new dishwasher correctly is essential for a smooth installation and long-term performance. Taking the time to slide it carefully into place and ensuring it sits level will prevent leaks and operational issues. Let’s look at how you can achieve this with confidence and precision.
Sliding Dishwasher Into Place
Before you move the dishwasher, double-check that all plumbing and electrical connections are ready. Carefully slide the dishwasher into the cabinet opening, keeping an eye on the water supply hose and power cord to avoid kinks or damage.
It helps to have a helper steady the dishwasher from behind while you guide it in front. If you feel resistance, don’t force it—pull back and check for any obstructions or misaligned components. This step ensures your dishwasher fits perfectly without stress on its connections.
Leveling And Anchoring
Once the dishwasher is in place, use a level tool on the top edge to check if it sits evenly. Adjust the dishwasher’s feet by turning them clockwise or counterclockwise until the unit is perfectly level both side-to-side and front-to-back.
Securing the dishwasher prevents it from shifting during operation. Attach mounting brackets to the countertop or cabinetry, following your dishwasher’s instruction manual. This keeps it stable and prevents vibrations that can cause noise or damage over time.
Have you noticed a dishwasher that rocks or isn’t flush with the cabinets before? Leveling and anchoring fix that issue, making your kitchen look seamless and your machine work quietly. Don’t skip this step—it’s a small effort that saves headaches later.
Final Checks And Testing
Before you finish your dishwasher installation, it’s crucial to perform final checks and testing. This step ensures your new appliance runs smoothly and avoids any surprises later. Taking the time now can save you from water damage or electrical issues down the road.
Running Initial Cycle
Start by running the dishwasher empty through a full wash cycle. This helps flush out any debris or installation residue that might be inside. Pay close attention to unusual noises or vibrations during the cycle, as these could signal improper leveling or loose parts.
Make sure to select a normal wash setting to simulate everyday use. This gives you a clear idea of how the dishwasher will perform under typical conditions. If you notice any leaks or smells, stop the cycle immediately and inspect the connections.
Inspecting For Issues
After the initial cycle, carefully check around the dishwasher for any water leaks. Look under the unit and around the water supply hose and drain line. Even a small drip can cause damage over time, so don’t overlook this step.
Test the door seal by closing and opening it several times. It should latch securely without gaps. If the door doesn’t close properly, your dishwasher might not clean effectively or could leak.
Have you noticed any electrical quirks like flickering lights or tripped breakers during the test? These signs point to wiring problems that need immediate attention. Remember, a safe and efficient dishwasher starts with thorough final checks.
Maintenance Tips For Longevity
Keeping your dishwasher in top shape helps it last longer and work better. Regular care stops small issues from turning into big problems. Simple steps can keep it clean and running smoothly every day.
Regular Cleaning
Clean the filter often to avoid clogs. Remove food bits and rinse it under water. Wipe the door edges and seals with a damp cloth. Use a dishwasher cleaner once a month to clear grease and scale. Run the dishwasher empty on a hot cycle with vinegar to remove buildup.
Troubleshooting Common Problems
Check spray arms for blockages if dishes are still dirty. Make sure the dishwasher drains properly after each cycle. Listen for strange noises that may signal a loose part. Reset the machine if it stops working. Refer to the manual for error codes and fixes.
Credit: www.thegritandpolish.com
Frequently Asked Questions
What Tools Are Needed To Install A Dishwasher?
You need a screwdriver, adjustable wrench, drill, plumber’s tape, and a bucket. These tools help connect water, drain, and power safely and securely.
How Do I Connect A Dishwasher To Water Supply?
Turn off the main water valve first. Connect the dishwasher’s water inlet to the hot water line using a flexible hose and plumber’s tape.
Can I Install A Dishwasher Without Professional Help?
Yes, if you have basic plumbing and electrical skills. Follow manufacturer instructions carefully to ensure safe and correct installation.
Where Should A Dishwasher Be Placed In The Kitchen?
Place it near the sink and existing plumbing. This location simplifies water hookups and drainage connections.
Conclusion
Adding a dishwasher can save time and effort in your kitchen. It makes cleaning dishes faster and easier. Planning the installation carefully helps avoid problems later. Choose the right model that fits your space and needs. Connect water and power safely for best results.
With some simple steps, your kitchen becomes more functional. Enjoy more free time and less mess. A dishwasher is a smart addition for any home.