
Your kitchen sink soap dispenser is one of those small but essential tools that you use every day. Over time, it can get clogged, sticky, or just plain dirty, making it frustrating to use.
But don’t worry—cleaning it is easier than you think. You’ll discover simple, effective steps to get your soap dispenser working like new again. Keep reading, and you’ll save time, avoid messes, and enjoy a smoother kitchen routine.
Gather Cleaning Supplies
Gathering the right cleaning supplies before you start on your kitchen sink soap dispenser makes the task quicker and less frustrating. Having everything at hand means you won’t stop midway to search for a missing item, which can break your cleaning flow. Think about what you really need to get the job done efficiently and safely.
Essential Tools
Start with a few basic tools that you probably already have around the house. A soft sponge or cloth is crucial to avoid scratching the dispenser’s surface. You’ll also want a small brush, like an old toothbrush, to reach tight spots and crevices where soap residue builds up.
Additionally, keep a bowl or container nearby to soak removable parts if possible. Paper towels or a microfiber cloth are great for drying and buffing the dispenser after cleaning. Having a pair of rubber gloves can protect your hands, especially if you’re using stronger cleaning agents.
Recommended Cleaning Agents
Choosing the right cleaning agents is key to removing soap scum without damaging the dispenser. Mild dish soap mixed with warm water works well for regular cleaning and is gentle on most materials. If you notice stubborn buildup, a mixture of equal parts white vinegar and water can help dissolve residue effectively.
For metal dispensers, avoid harsh chemicals that might tarnish or corrode the finish. Baking soda is a fantastic gentle abrasive when combined with water, perfect for scrubbing without scratching. Do you have any favorite homemade cleaning solutions that have surprised you with their effectiveness?
Disassemble The Soap Dispenser
Disassembling your kitchen sink soap dispenser is the key to a thorough clean. Taking it apart helps you reach all the hidden spots where soap residue and grime build up. This process also makes it easier to unclog and maintain the dispenser, ensuring it works smoothly every time you use it.
Remove The Pump
Start by gently twisting the pump mechanism counterclockwise. It should unscrew easily without much force. If it feels stuck, try wiggling it slightly while turning to avoid breaking the pump.
Once removed, inspect the pump for any soap clogs or dried residue. You might notice soap crust around the nozzle or inside the pump tube. Cleaning these parts separately will prevent future blockages.
Detach The Bottle
Next, focus on the soap bottle underneath the sink. Locate the point where the bottle connects to the sink or countertop, usually secured with a nut or threaded connector. Unscrew this carefully to free the bottle.
Removing the bottle allows you to rinse it out completely, getting rid of old soap and buildup. Don’t forget to check the bottle’s opening and threads for any sticky soap deposits that could affect reassembly.
Clean The Pump Mechanism
Remove the pump from the dispenser and soak it in warm, soapy water. Use a small brush to clear out any soap buildup inside the mechanism. Rinse thoroughly before reassembling to keep the pump working smoothly.
Cleaning the pump mechanism of your kitchen sink soap dispenser is essential for maintaining smooth operation and hygiene. Over time, soap residue and clogs can hinder the dispenser's functionality. By dedicating a few minutes to clean the pump mechanism, you can ensure your dispenser works efficiently and prevent any unwanted blockages. Here's a simple guide to help you get started.
Soak In Warm Soapy Water
Start by removing the pump mechanism from the soap dispenser. Fill a bowl with warm water and add a few drops of dish soap. Place the pump in the soapy water, allowing it to soak for about 10-15 minutes. This soaking process helps to loosen any stubborn soap residue or grime. After soaking, gently pump the mechanism while it's submerged. This action will help dislodge any soap particles caught inside. If you’re like me, you’ll find this step surprisingly satisfying as you watch the soap and grime dissolve away.
Clear Clogs And Residue
Once the pump has soaked, inspect it for any visible clogs. Use a thin brush or a toothpick to clear out any remaining residue from the pump's nozzle or tube. Ensure that you don’t apply too much pressure, as this could damage the pump. Rinse the pump thoroughly under running water to wash away any loosened debris. Give it a few more pumps under the water to ensure that all the soap and residue have been cleared. Consider doing this step regularly to maintain your dispenser in top condition. Cleaning your kitchen sink soap dispenser's pump mechanism not only enhances its performance but also prolongs its life. When was the last time you gave your soap dispenser a thorough cleaning? Investing a little time now can save you from inconvenience later.

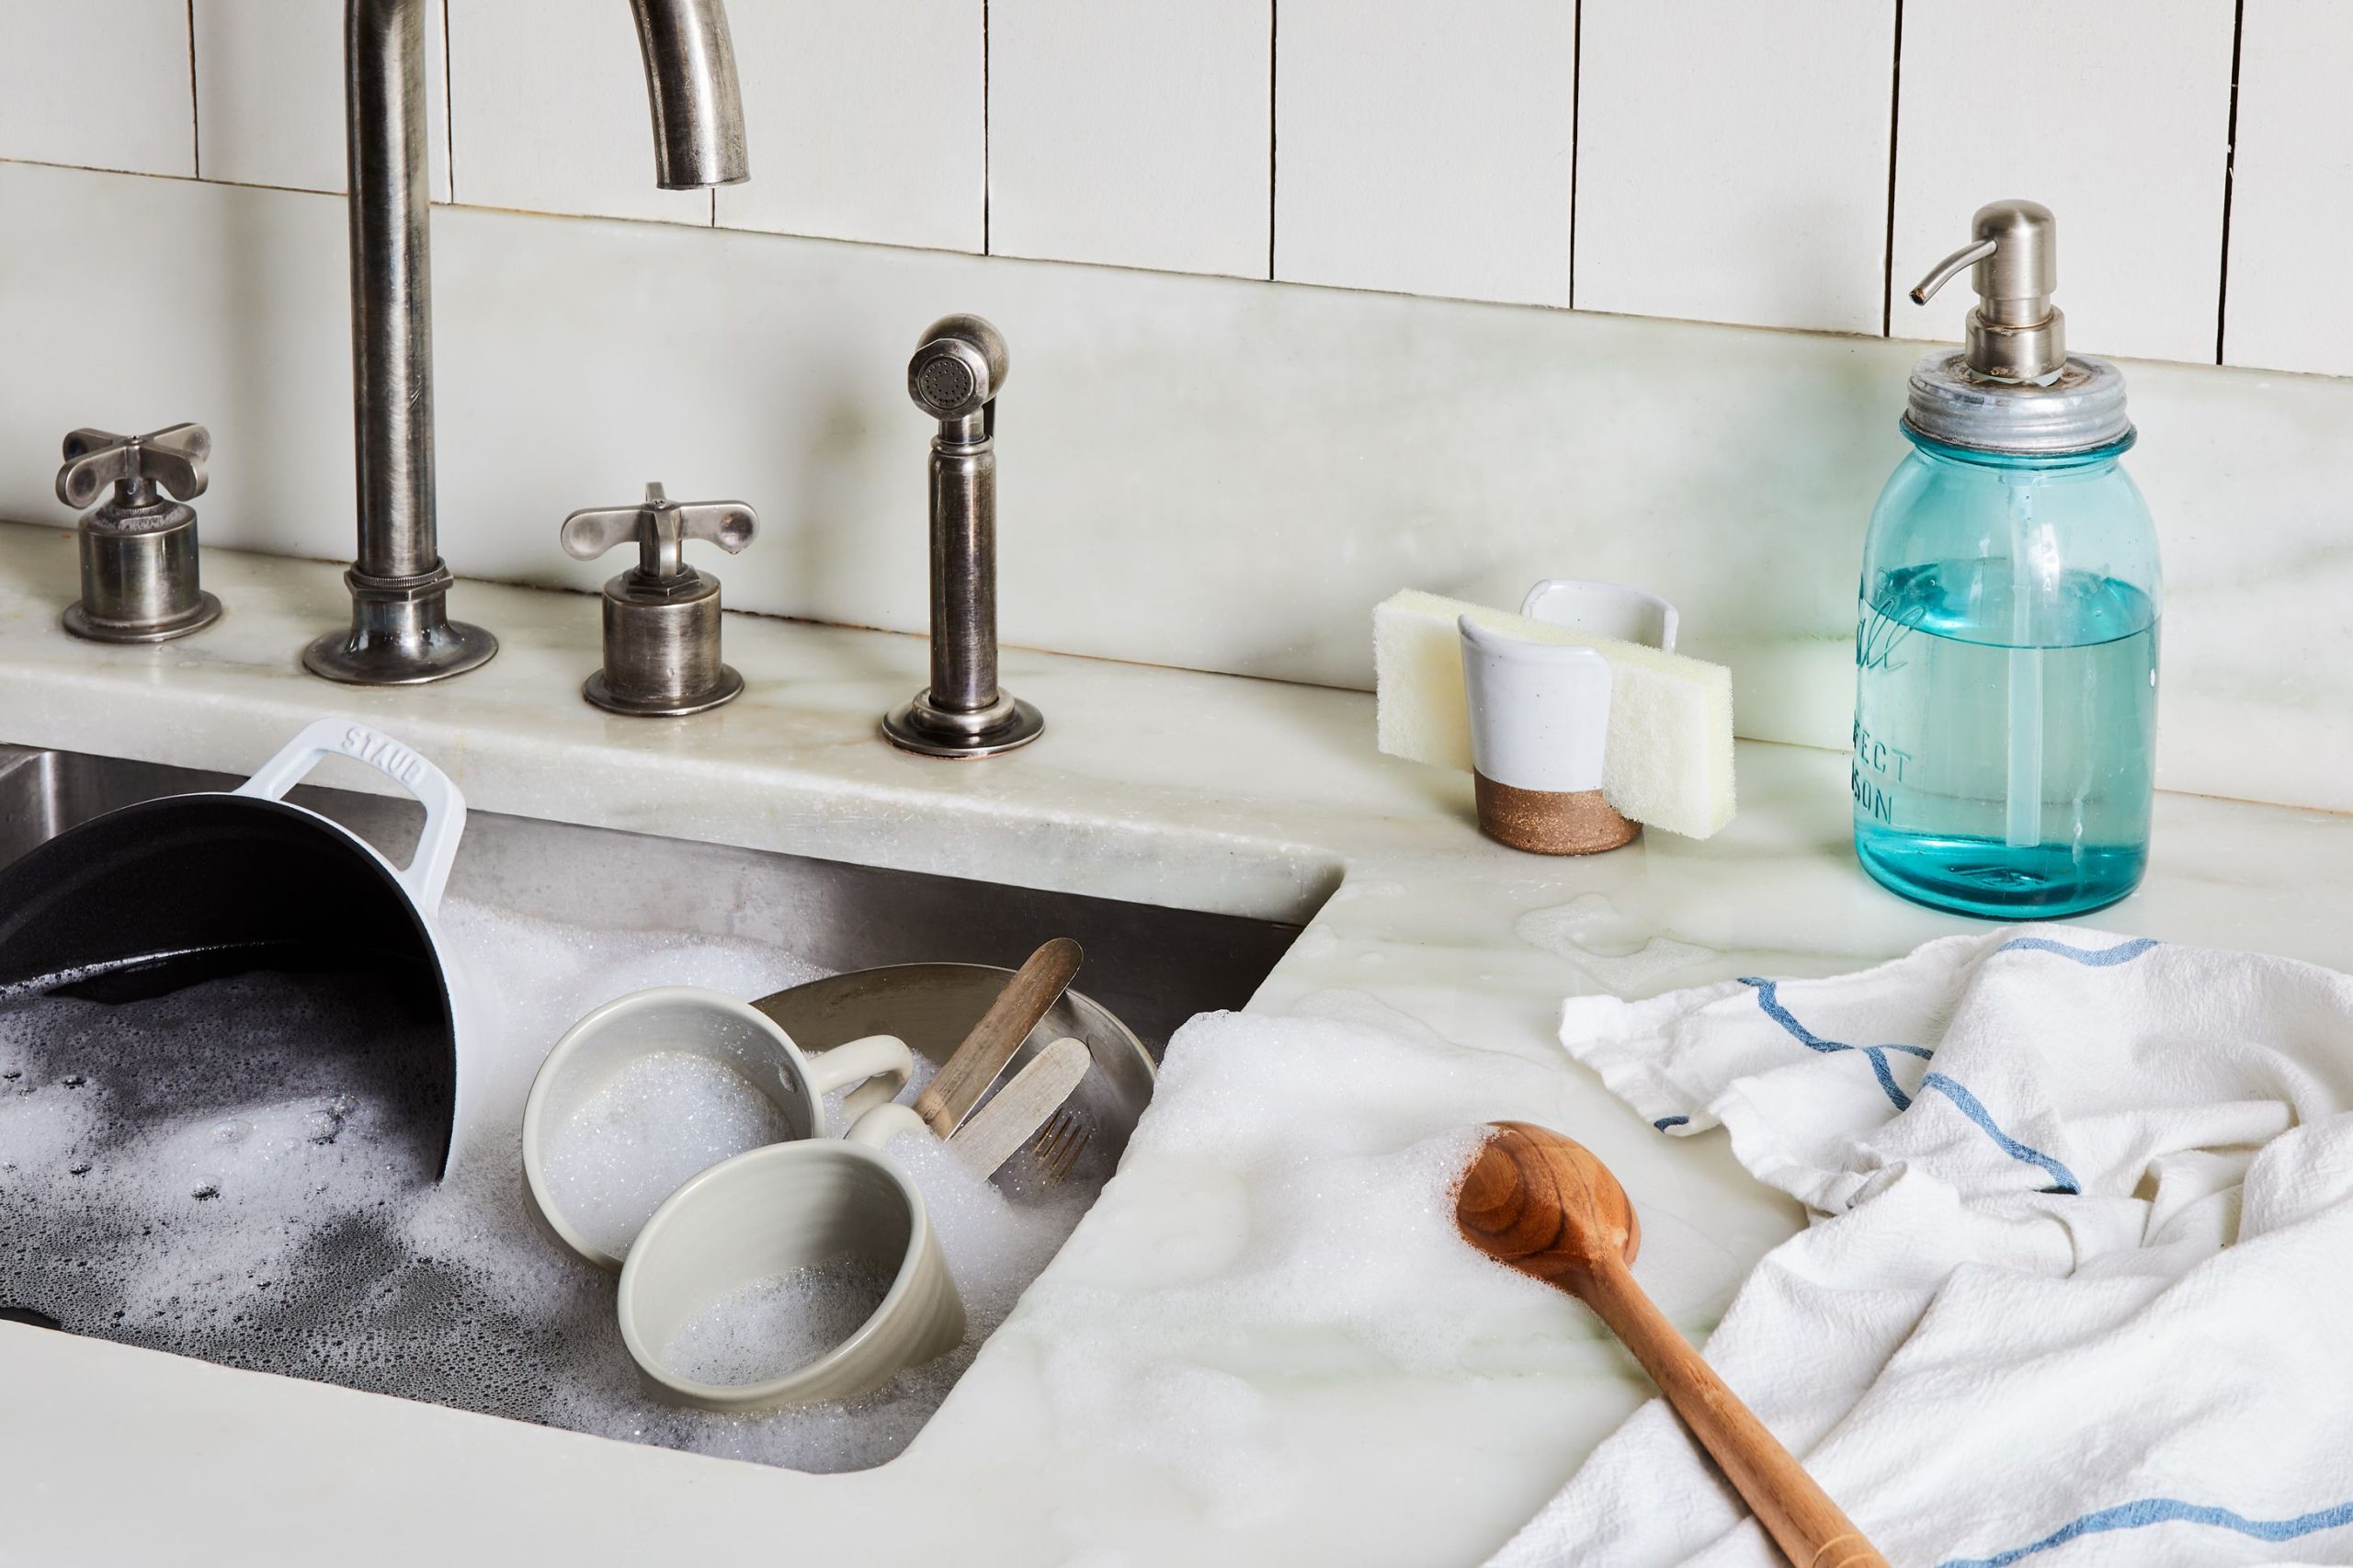
Credit: food52.com
Clean The Soap Bottle
Cleaning the soap bottle is an essential part of maintaining your kitchen sink soap dispenser. Over time, soap residue and grime can build up inside the bottle, affecting the dispenser’s performance and hygiene. Taking a few minutes to clean it properly will keep your soap fresh and your dispenser working smoothly.
Rinse Thoroughly
Start by removing the soap bottle from the dispenser. Empty any remaining soap and rinse the bottle under warm water. Make sure to flush out all the old soap, especially if it has thickened or turned sticky.
Pay special attention to the bottle neck and opening where soap tends to accumulate. Rinsing thoroughly helps prevent clogs and keeps the soap flowing freely when you use the dispenser next time.
Scrub Inside Surfaces
After rinsing, use a small bottle brush or an old toothbrush to scrub the inside surfaces of the soap bottle. Focus on areas where soap buildup is noticeable or hard to reach.
If you spot stubborn residue, add a few drops of dish soap with warm water and scrub gently. This extra step breaks down dried soap and removes any hidden grime that simple rinsing can miss.
Sanitize The Dispenser
Sanitizing your kitchen sink soap dispenser removes germs and keeps it safe to use. Regular cleaning prevents bacteria buildup and foul odors. A clean dispenser also works better and lasts longer.
Use Vinegar Or Bleach Solution
Fill a small bowl with white vinegar or a bleach solution. For bleach, mix one tablespoon of bleach with one cup of water. Remove the soap dispenser pump from the sink.
Soak the pump and dispenser parts in the solution for 10-15 minutes. Vinegar helps dissolve soap scum, while bleach kills germs. Use a soft brush to scrub stubborn spots gently. Avoid harsh scrubbing to prevent damage.
Rinse And Dry Properly
Rinse all parts under warm running water to remove all cleaning solution. Make sure no vinegar or bleach remains. Use a clean cloth or paper towel to dry every part fully.
Let the parts air dry for a few minutes before reassembling. This prevents water buildup and mold growth inside the dispenser. Put the dispenser back in place once dry and clean.
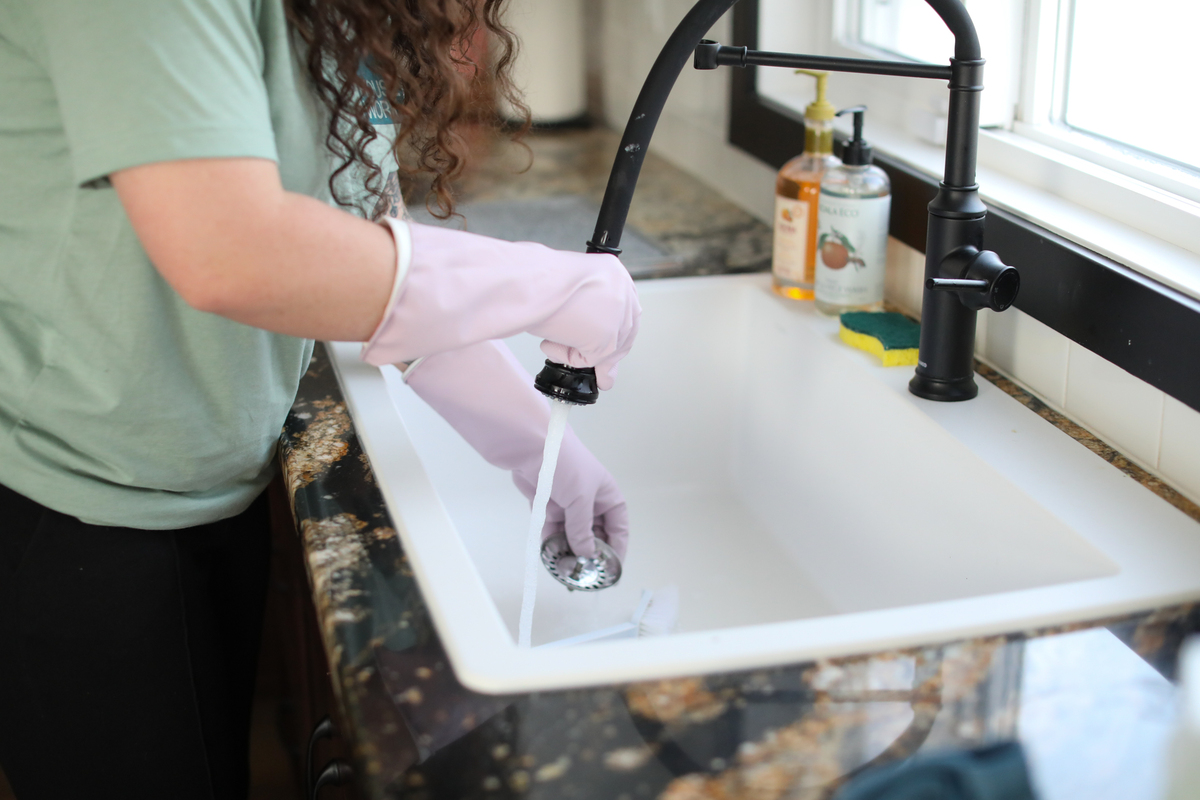
:max_bytes(150000):strip_icc()/SPR-how-pro-cleaners-clean-a-sink-11781060-recirc-d43f366f6fda4e2aa23983aa321c6efa.jpg)
Credit: www.thespruce.com
Reassemble And Test
After cleaning your kitchen sink soap dispenser, it is time to put everything back. Reassembling the parts carefully ensures the dispenser works well again. Testing it confirms the cleaning was effective and no parts are loose or stuck.
Reattach Components
Start by fitting the pump back onto the soap container. Make sure the tube is securely connected inside the bottle. Screw the pump head tightly but do not overtighten. Attach the dispenser body firmly to the sink. Check all connections to avoid leaks.
Check For Smooth Operation
Press the pump several times to test the soap flow. The dispenser should pump soap easily without sticking. If it feels stiff or stuck, loosen and reattach the pump. Observe if soap flows steadily without sputtering. Repeat pressing until the dispenser works smoothly.
Prevent Future Buildup
Preventing future buildup in your kitchen sink soap dispenser saves you time and frustration. Regular care keeps it working smoothly and looking clean. It also stops clogs and sticky messes before they start.
Regular Cleaning Schedule
Set a simple routine to clean your soap dispenser every one to two weeks. This small habit keeps soap residue from hardening inside the pump. You don’t need special tools—just warm water and a little vinegar do the trick.
Try rinsing the dispenser with warm water after each refill. If you notice soap starting to clog the nozzle, soak it briefly in vinegar to break down buildup. This regular attention prevents stubborn blockages and keeps your dispenser pumping freely.
Avoid Thick Or Expired Soaps
Thick or old soap causes buildup faster than liquid soap with a lighter consistency. Check the soap bottle’s expiration date before refilling. Using fresh soap reduces residue inside the dispenser and cuts down on clogs.
Also, avoid soaps with heavy moisturizers or additives that can gum up your pump. If your soap is thick, try diluting it slightly with water before pouring it in. Have you noticed how some soaps leave more mess? Switching to a thinner formula might save you cleaning headaches.
Credit: www.housework.com
Frequently Asked Questions
How Often Should I Clean My Kitchen Sink Soap Dispenser?
Clean your kitchen sink soap dispenser every two weeks. Regular cleaning prevents clogs and bacteria buildup. It keeps the dispenser functioning smoothly and hygienic for daily use.
What Household Items Clean Soap Dispensers Effectively?
Use warm water, mild dish soap, and vinegar to clean soap dispensers. These items remove soap residue and disinfect without damaging the dispenser’s parts. Avoid harsh chemicals to maintain dispenser longevity.
How Do I Unclog A Kitchen Sink Soap Dispenser?
To unclog, remove the dispenser pump and soak it in warm vinegar for 15 minutes. Use a toothpick to clear blocked nozzles. Rinse thoroughly before reassembling to ensure smooth soap flow.
Can I Use Bleach To Clean My Soap Dispenser?
Avoid bleach as it can damage the dispenser’s material. Instead, opt for vinegar or mild soap solutions for safe and effective cleaning. This approach prolongs dispenser life and maintains hygiene.
Conclusion
Cleaning your kitchen sink soap dispenser keeps it working well. Regular cleaning stops clogs and removes dirt buildup. Use simple tools like vinegar and warm water for best results. Take time to rinse and dry all parts fully. A clean dispenser helps your kitchen stay fresh and neat.
Small efforts now prevent bigger problems later. Keep your sink area tidy with easy maintenance. Your soap dispenser will last longer and stay hygienic. Try these tips and enjoy a cleaner kitchen every day.