
Your kitchen floor mats work hard every day, catching spills, crumbs, and dirt. But when was the last time you gave them a proper clean?
Keeping your mats fresh isn’t just about looks—it helps keep your kitchen safe and hygienic too. If you want to know the easiest, most effective ways to clean your kitchen floor mats without any hassle, you’re in the right place.
Stick with me, and you’ll discover simple tips that save you time and effort while making your kitchen feel brand new. Ready to get started?
Choosing The Right Cleaning Method
Choosing the right cleaning method for kitchen floor mats helps keep them fresh and long-lasting. Different mats need different care. The cleaning method depends on the type and material of the mat. Understanding these factors prevents damage and improves cleanliness.
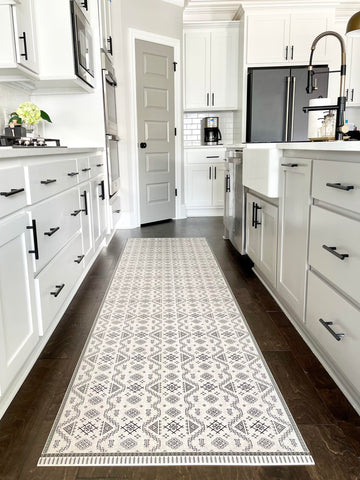
Types Of Kitchen Floor Mats
Kitchen floor mats come in various types. Some are made for comfort, others for safety or decoration. Common types include:
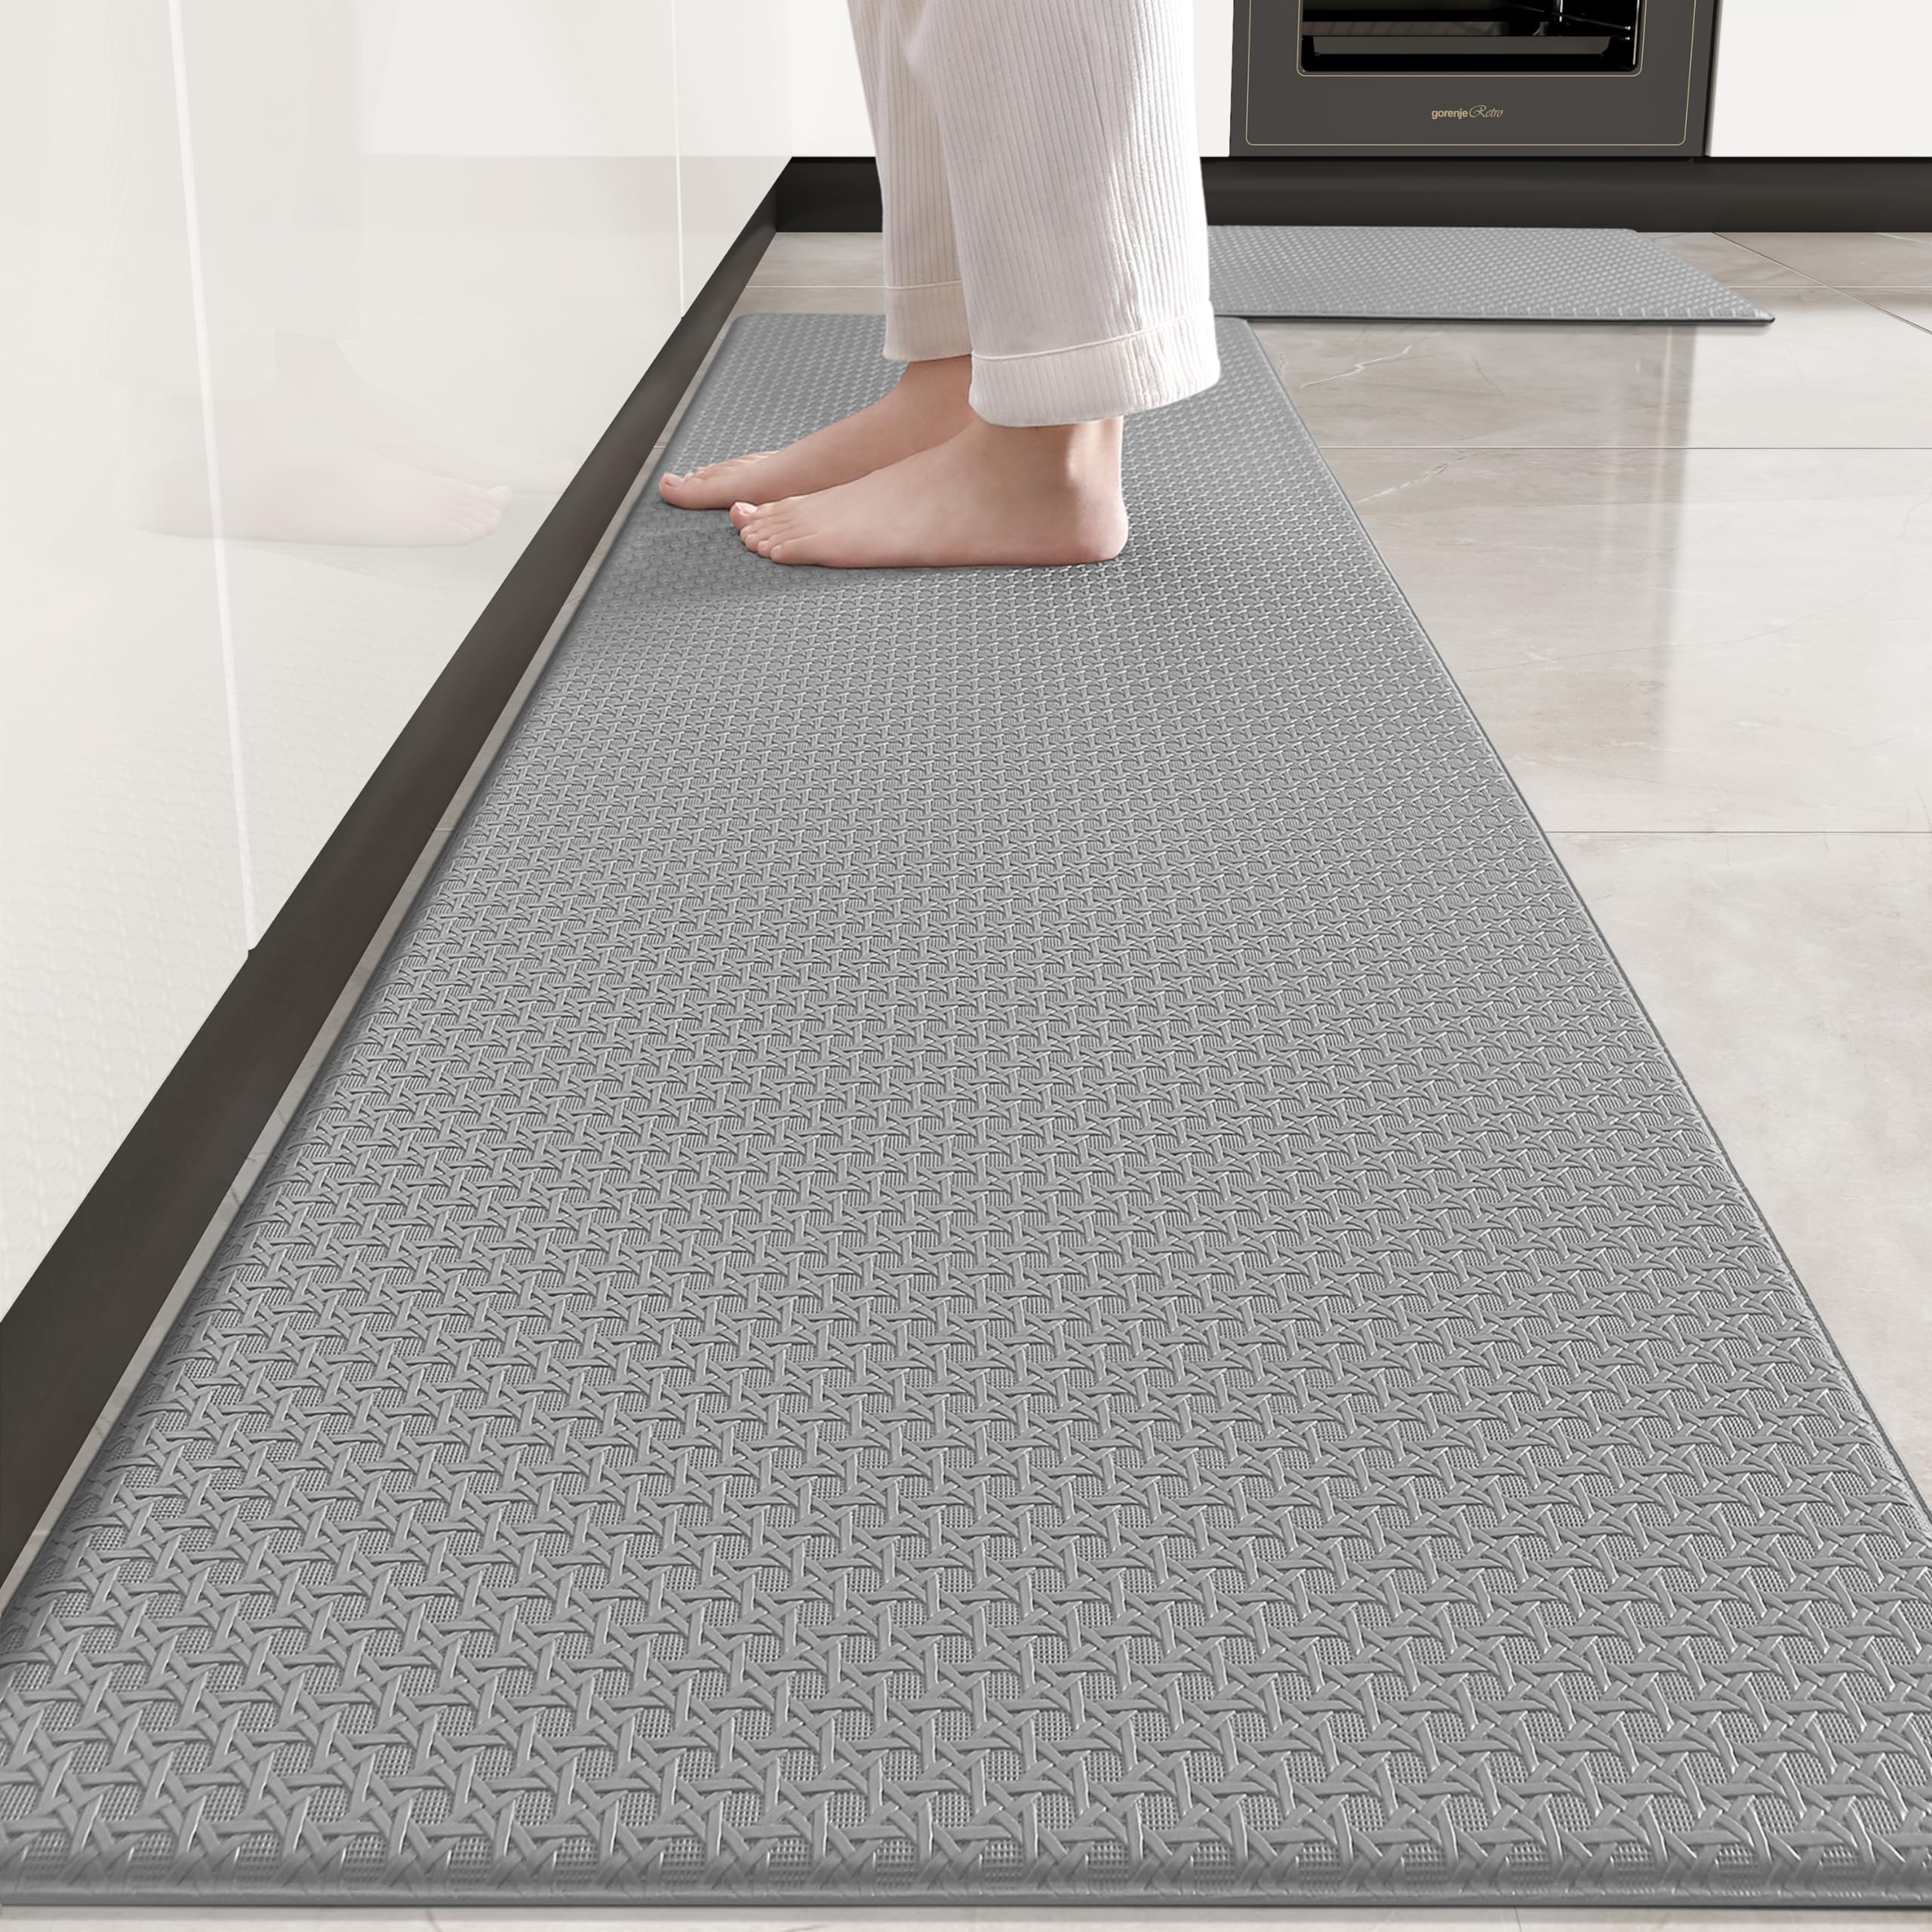
- Anti-fatigue mats that reduce foot strain
- Rubber mats that provide slip resistance
- Fabric or carpet mats that absorb spills
- Gel mats with cushioning support
Each type requires a specific cleaning approach to maintain its function and look.
Materials And Cleaning Compatibility
Materials affect how mats should be cleaned. Here are common materials and their cleaning tips:
| Material | Cleaning Method | Notes |
|---|---|---|
| Rubber | Wipe with soapy water or hose down | Avoid harsh chemicals to prevent cracking |
| Foam | Spot clean with mild detergent | Do not soak to avoid damage |
| Fabric/Carpet | Vacuum and machine wash if allowed | Check label for water temperature limits |
| Gel | Wipe with damp cloth and mild soap | Avoid abrasive scrubbing |
Always check the manufacturer’s instructions before cleaning. Proper cleaning keeps mats safe and extends their life.

Credit: www.amazon.ca
Gathering Cleaning Supplies
Gathering the right cleaning supplies makes the task easier and faster. Preparing everything before you start saves time and effort. Kitchen floor mats need specific tools and solutions to clean well without damage.
Essential Tools
- Broom or vacuum cleaner to remove loose dirt
- Bucket for mixing cleaning solution
- Soft-bristle brush for scrubbing
- Microfiber cloth or sponge for wiping
- Rubber gloves to protect your hands
- Old towels or rags for drying
Recommended Cleaning Solutions
- Mild dish soap mixed with warm water
- White vinegar diluted with water for deodorizing
- Baking soda paste for tough stains
- Commercial carpet or floor mat cleaners (check labels)
- Enzyme-based cleaners for mats with organic stains
Pre-cleaning Preparation
Remove loose dirt and crumbs by shaking or vacuuming the kitchen floor mats. Check the care label for washing instructions before cleaning. Clear the area to prevent slipping and damage during the cleaning process.
Pre-Cleaning Preparation Before diving into the cleaning process, setting the stage with the right pre-cleaning steps can make a world of difference. Effective preparation not only ensures a thorough clean but also extends the life of your kitchen floor mats. Let's explore some essential pre-cleaning steps to get you started.
Removing Loose Dirt And Debris
Begin by shaking your mats outside to dislodge any loose dirt and crumbs. If they’re too large or heavy, a quick vacuum can do the trick. This step prevents dirt from embedding deeper during the wash. Use a soft-bristle brush to sweep off stubborn debris. Pay attention to the corners and crevices where dirt tends to hide. Wouldn't you want to start with a clean slate before adding any cleaning solutions?
Spot Testing Cleaning Agents
Before applying any cleaning solution, it's wise to perform a spot test. This ensures the cleaner won't damage or discolor your mats. Dab a small amount on an inconspicuous area and wait a few minutes. Observe any changes in color or texture. If no adverse effects occur, you’re good to go. Isn't it better to be safe than sorry when it comes to preserving the look of your mats? Keep these steps in mind, and you're on your way to a spotless kitchen floor mat. Ready to tackle the next stage of the cleaning process?
Step-by-step Cleaning Process
Cleaning kitchen floor mats keeps your cooking area fresh and safe. Dirt, spills, and grease build up quickly on mats. Regular cleaning stops germs and bad smells. Follow clear steps to clean mats well and make them last longer.
Hand Washing Techniques
Start by shaking or vacuuming the mat to remove loose dirt. Fill a bucket with warm water and mild detergent. Use a soft brush or cloth to scrub the mat gently. Focus on stained and greasy areas. Rinse the mat with clean water to remove soap. Squeeze out excess water carefully without twisting. Lay the mat flat on a clean surface before drying.
Machine Washing Guidelines
Check the mat’s label for washing instructions. Use a gentle cycle with cold or warm water. Add a small amount of mild detergent. Avoid bleach or harsh chemicals that can damage the mat. Wash mats separately to prevent damage. Use a mesh laundry bag for small or delicate mats. Remove the mat promptly after washing to prevent wrinkles.
Drying Tips For Best Results
Air dry mats flat or hang them over a railing. Avoid direct sunlight to prevent fading or warping. Do not use a dryer unless the label allows it. Turn the mat over during drying to speed up the process. Ensure the mat is completely dry before placing it back on the floor. Proper drying prevents mold and bad odors.
Maintaining Freshness Between Deep Cleans
Keeping your kitchen floor mats fresh between deep cleans is essential for a healthy and inviting cooking space. Dirt and spills happen daily, but regular care can stop grime from settling in. This way, your mats stay clean longer, and you spend less time scrubbing.
Regular Sweeping And Spot Cleaning
Make it a habit to sweep or vacuum your kitchen mats every few days. This removes loose dirt and crumbs before they get ground in. Pay attention to corners and edges where debris often hides.
If you spill something, don’t wait to clean it up. Use a damp cloth or sponge with mild soap to spot clean immediately. This prevents stains from setting and keeps your mats looking fresh.
Using Deodorizers And Protectants
Have you noticed a lingering odor despite cleaning? Sprinkle baking soda on your mats and leave it for 15 minutes before vacuuming. Baking soda naturally absorbs smells without harsh chemicals.
Consider using a fabric protectant spray designed for mats. It creates a barrier against stains and moisture, making future cleaning easier. Just make sure the product is safe for your mat’s material.

Credit: www.amazon.ca
Troubleshooting Common Issues
Kitchen floor mats face daily wear and tear. Dirt, spills, and heavy use can cause issues. Knowing how to troubleshoot common problems helps keep mats clean and fresh. This section covers removing stains, dealing with odors, and fixing minor damages.
Removing Stubborn Stains
Stains on mats need prompt action. Start by blotting spills with a clean cloth. Avoid rubbing, which spreads stains. Use a mild detergent mixed with warm water for cleaning. Apply the solution with a soft brush to gently scrub the stain.
For tough stains, try a baking soda paste. Mix baking soda with water until it forms a thick paste. Apply it on the stain and let it sit for 15 minutes. Then, scrub lightly and rinse with water. Repeat if necessary.
Dealing With Odors
Kitchen mats can trap odors from food and moisture. Sprinkle baking soda evenly over the mat surface. Let it sit for several hours or overnight. Baking soda absorbs bad smells naturally. Vacuum the mat thoroughly to remove all baking soda.
Another option is to air out mats outside on a sunny day. Sunlight helps kill bacteria and freshens the mat. Avoid harsh chemicals that can damage the mat’s material or leave strong scents.
Repairing Minor Damages
Small tears or loose edges can worsen over time. Use fabric glue or a strong adhesive for quick fixes. Clean the area before applying glue to ensure better bonding. Press the edges together and hold until dry.
If the mat has frayed corners, trim loose threads carefully. For mats with rubber backing, check for peeling. Use a rubber adhesive to reattach any loose parts. Regular checks prevent small issues from becoming bigger problems.
Credit: infrakraft.com
Frequently Asked Questions
How Often Should I Clean Kitchen Floor Mats?
Clean kitchen floor mats at least once a week to remove dirt and bacteria. Frequent cleaning prevents buildup and maintains hygiene. If mats are heavily soiled, clean more often for best results.
What Is The Best Method To Clean Kitchen Floor Mats?
Vacuum mats first, then wash with warm water and mild detergent. Scrub gently to remove stains. Rinse thoroughly and air dry completely before placing back.
Can I Use A Washing Machine For Kitchen Floor Mats?
Yes, many fabric mats are machine washable. Use a gentle cycle with cold water and mild detergent. Avoid using bleach or harsh chemicals to preserve mat quality.
How Do I Remove Stubborn Stains From Kitchen Mats?
Apply a mixture of baking soda and water on stains. Let it sit for 15 minutes, then scrub gently. Rinse with warm water and air dry for best results.
Conclusion
Cleaning kitchen floor mats helps keep your kitchen fresh and safe. Regular washing removes dirt, spills, and germs. Use simple tools like soap, water, and a brush for best results. Dry mats completely before putting them back to avoid mold.
Clean mats also last longer and look better. Taking a few minutes each week makes a big difference. A clean kitchen mat means a cleaner home. Easy steps, great results. Try these tips and enjoy a tidy kitchen floor every day.