
Your kitchen sponge works hard every day, soaking up spills and scrubbing away messes. But have you ever stopped to think about how clean your sponge really is?
If you’re like most people, the answer might surprise you. A dirty sponge can harbor harmful bacteria that put your health at risk. Don’t worry—cleaning your kitchen sponge is easier than you think. Keep reading, and you’ll discover simple, effective ways to refresh your sponge and keep your kitchen safer and cleaner.
Why Clean Your Kitchen Sponge
Cleaning your kitchen sponge is essential for maintaining a healthy kitchen. Sponges soak up food particles and moisture, creating a perfect place for bacteria to grow. A dirty sponge can spread germs on dishes, counters, and utensils.
Regularly cleaning your sponge helps reduce harmful bacteria. It keeps your kitchen safer and your food cleaner. It also extends the life of your sponge, saving money over time.
Health Risks Of Dirty Sponges
Dirty sponges can carry many harmful germs. These germs can cause stomach bugs, food poisoning, and infections. Using a dirty sponge spreads these germs easily across kitchen surfaces.
People with weak immune systems, children, and older adults are more at risk. Dirty sponges can lead to serious health problems if not cleaned properly.
How Sponges Harbor Germs
Sponges hold moisture and food bits inside their holes. This creates an ideal environment for bacteria to grow quickly. Bacteria multiply every few minutes in a damp sponge.
Common germs found in sponges include E. coli and Salmonella. These bacteria can cause severe illness if they contaminate food or hands.
Sponges also trap dirt and grease, which protect germs from cleaning. Without proper cleaning, sponges become a breeding ground for harmful microbes.
:max_bytes(150000):strip_icc()/hydrogen-peroxide-uses-home-4174809-05-3c126f03778d46f4858d75c2780429a9.jpg)
Credit: www.thespruce.com
Signs Your Sponge Needs Cleaning
Recognizing when your kitchen sponge needs cleaning is crucial for maintaining a healthy and odor-free kitchen. A dirty sponge not only spreads germs but also reduces its effectiveness for cleaning tasks. Paying attention to certain signs can help you decide the right time to refresh or replace your sponge.
Unpleasant Odors
Have you noticed a sour or musty smell coming from your sponge? This is a clear sign that bacteria and mold have started to build up. If your sponge smells bad even after rinsing, it’s time to clean it thoroughly or swap it out.
Don’t ignore odors thinking they’ll go away on their own. A smelly sponge can transfer unpleasant scents to your dishes and countertops, making your kitchen less inviting.
Visible Stains And Wear
Look closely at your sponge—are there dark spots, discoloration, or frayed edges? These visual cues indicate that dirt and grime have settled deep inside. A sponge with visible stains is less effective at cleaning and may harbor harmful bacteria.
Worn-out sponges can tear easily, spreading bits of sponge around your kitchen instead of cleaning. If you see these signs, it’s a practical reminder to clean the sponge or replace it for better hygiene.
Methods To Clean Kitchen Sponges
Microwaving a damp sponge kills many germs quickly. Soaking it in vinegar or bleach helps remove bacteria and odors. Regular cleaning keeps your kitchen sponge fresh and safe to use.
Cleaning kitchen sponges is essential for a germ-free kitchen. Sponges can harbor bacteria if not cleaned regularly. Let's explore some effective methods to keep your kitchen sponge clean.
Microwave Cleaning Technique
Place a wet sponge in the microwave. Heat it on high for one minute. Ensure the sponge is wet to avoid fire risk. Microwaving kills bacteria and germs efficiently. Allow it to cool before use.
Dishwasher Cleaning Method
Place your sponge in the dishwasher's top rack. Run it through a regular wash cycle. The hot water and detergent will sanitize the sponge. This method is convenient for regular cleaning.
Boiling Water Approach
Boil water in a pot. Submerge the sponge for five minutes. Boiling kills bacteria and germs effectively. Use tongs to remove the sponge and let it cool.
Using Vinegar And Baking Soda
Soak the sponge in a bowl of vinegar for five minutes. Sprinkle baking soda on the sponge. Rinse thoroughly with warm water. This natural method deodorizes and cleans the sponge.

Credit: www.walmart.com
Step-by-step Sponge Cleaning Guide
Keeping your kitchen sponge clean is vital for a healthy kitchen. This guide helps you clean your sponge effectively. Follow each part carefully to remove germs and odors. A clean sponge lasts longer and keeps your dishes safe.
Preparing The Sponge
First, rinse the sponge under warm water. Squeeze it several times to remove loose food and dirt. Avoid using sponges that are very old or falling apart. Trim rough edges to make cleaning easier.
Applying Cleaning Method
Choose a cleaning method that suits your needs. Here are common options:
- Microwave: Wet the sponge and heat it for one minute. This kills most bacteria.
- Dishwasher: Place the sponge in the top rack. Run a hot cycle.
- Bleach solution: Soak the sponge in a mix of 1 tablespoon bleach and 1 quart water for 5 minutes.
- Vinegar soak: Use full-strength vinegar to soak the sponge for 5 minutes.
Always rinse the sponge well after any cleaning method.
Drying And Storing Properly
Squeeze out all excess water after cleaning. Leave the sponge in a dry, open area to air dry. Avoid storing the sponge in a damp sink or container. Proper drying slows bacterial growth and odor buildup. Replace the sponge regularly for best results.
Tips To Extend Sponge Lifespan
Extending the life of your kitchen sponge saves money and reduces waste. Following simple habits keeps your sponge cleaner and fresher longer. These tips help you maintain your sponge’s quality daily.
Regular Cleaning Schedule
Clean your sponge often to stop germs from growing. Rinse it well after each use and squeeze out water. Soak the sponge in a mixture of water and vinegar or microwave it damp for one minute to kill bacteria. Repeat this cleaning step every few days.
Proper Sponge Usage
Use different sponges for dishes and countertops to avoid cross-contamination. Avoid scrubbing tough stains with the same sponge used for delicate surfaces. Let your sponge dry completely between uses by placing it in a well-ventilated area.
When To Replace Your Sponge
Look for signs like bad smell, discoloration, or crumbling texture. Replace your sponge at least every two weeks or sooner if it looks worn out. Keeping an old sponge can spread bacteria and cause health risks.

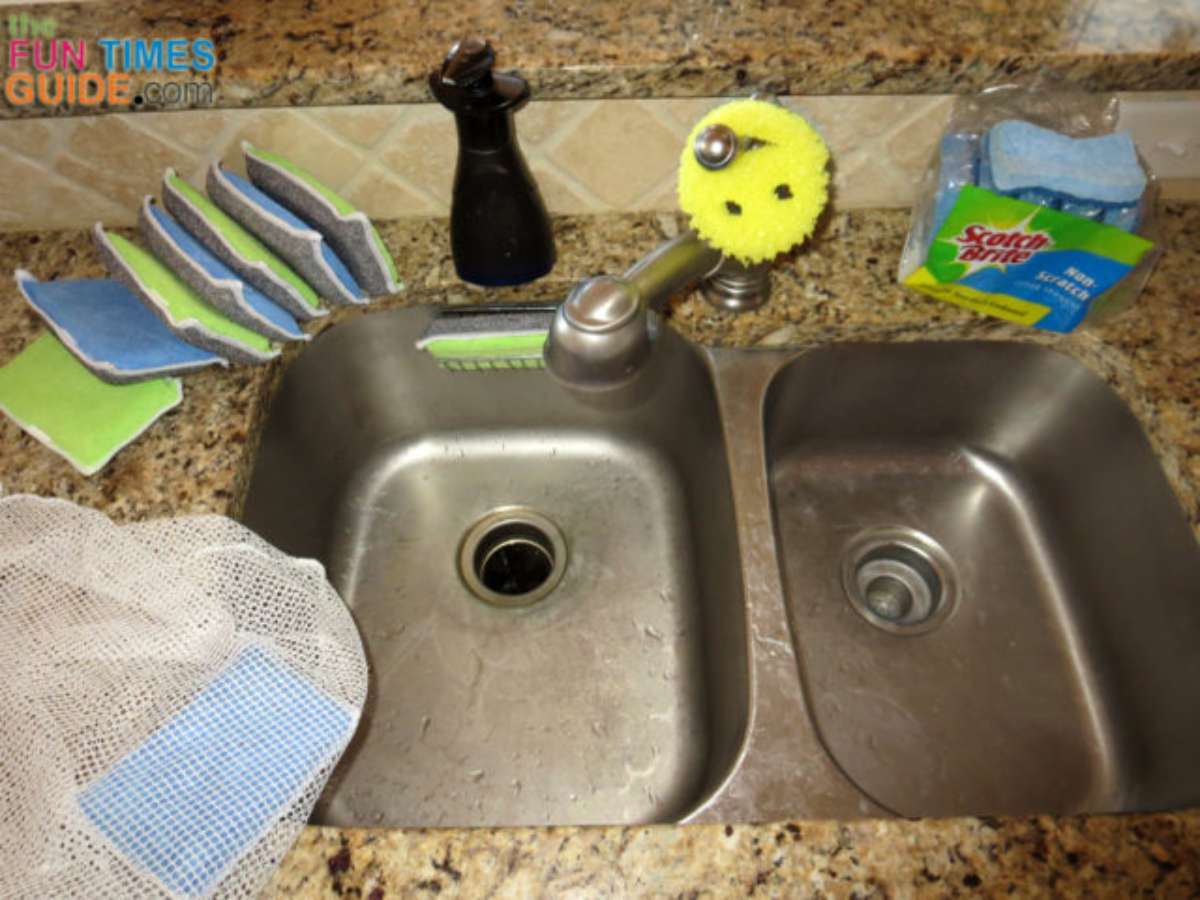
Credit: household-tips.thefuntimesguide.com
Frequently Asked Questions
How Often Should I Clean My Kitchen Sponge?
You should clean your kitchen sponge daily to prevent bacteria buildup. Regular cleaning extends its usability and keeps your kitchen hygienic.
What Is The Best Way To Sanitize A Sponge?
Microwave your damp sponge for 1-2 minutes or soak it in bleach solution. Both methods effectively kill germs and bacteria.
Can I Clean My Sponge In The Dishwasher?
Yes, placing your sponge in the dishwasher’s top rack with a hot cycle sanitizes it well. This method is convenient and effective.
How Do I Remove Bad Odors From A Kitchen Sponge?
Soak the sponge in a mixture of vinegar and water for 5 minutes. This helps neutralize odors and freshen the sponge naturally.
Conclusion
Cleaning your kitchen sponge keeps it fresh and safe to use. Regular cleaning stops germs from growing. Try simple methods like microwaving or soaking in vinegar. Replace your sponge often to avoid bad smells and bacteria. A clean sponge helps keep your kitchen healthy.
Small habits make a big difference in kitchen hygiene. Keep your sponge clean, and your dishes will shine. Easy steps save time and protect your family’s health. Don’t let a dirty sponge spread germs around. Clean well, stay safe, and enjoy a tidy kitchen.