
Are your rubber gloves looking grimy or smelling unpleasant after kitchen use? Keeping your gloves clean is easier than you think, and it can protect your hands while making your gloves last longer.
In this guide, you’ll discover simple, effective ways to clean your rubber kitchen gloves quickly. Imagine slipping on fresh, odor-free gloves every time you cook or wash dishes—that’s exactly what you’ll get by following these easy steps. Ready to give your gloves a fresh start?
Let’s dive in!

Credit: www.walmart.com
Choosing The Right Gloves
Choosing the right rubber gloves for your kitchen tasks is more important than you might think. The right gloves protect your hands, improve your grip, and last longer, saving you money and hassle. Understanding the different types and materials can help you pick gloves that fit your specific needs.
Types Of Rubber Gloves
There are several types of rubber gloves available, each designed for different kitchen tasks. Dishwashing glovesare usually longer and thicker to protect from hot water and detergents.
Disposable glovesare thinner and great for quick tasks like handling raw meat or vegetables. Heavy-duty gloves work well for scrubbing tough stains or cleaning ovens.
Think about what you do most in the kitchen. Do you need protection from heat, chemicals, or just a better grip? Your answer will guide you to the right type.
Material Benefits
Rubber gloves come in different materials, each with unique benefits. Latex glovesare flexible and provide excellent comfort and fit but may cause allergies for some people.
Nitrile glovesare a great alternative; they resist punctures and chemicals better than latex. Vinyl glovesare more affordable and work well for light tasks but are less durable.
Choosing the right material can prevent irritation and make kitchen chores easier. Have you ever had gloves that tore too quickly or felt uncomfortable? The material might be why.
When To Replace Gloves
Knowing when to replace your rubber gloves can save your hands from harm. If you notice cracks, holes, or thinning areas, it’s time to get a new pair.
Gloves that lose their elasticity or develop a strong odor should also be replaced immediately. Regularly inspecting your gloves keeps you safe and ensures better hygiene in the kitchen.
How often do you check your gloves before use? Making it a habit can prevent unexpected messes or injuries.
Daily Cleaning Routine
Keeping rubber kitchen gloves clean daily helps them last longer. It also keeps your hands safe and hygienic. A simple routine after each use can prevent dirt and germs buildup. Follow easy steps to maintain your gloves fresh and ready.
Rinsing After Use
Rinse gloves under warm water right after use. This removes food particles and loose dirt. Avoid hot water, which can damage the rubber. Hold the gloves inside out to rinse both sides well. Make sure to clean the fingers and palm thoroughly.
Mild Soap Solutions
Use a mild soap or dish detergent to wash gloves gently. Avoid harsh chemicals that weaken rubber. Mix soap with warm water in a bowl or sink. Soak the gloves for a few minutes. Rub softly to remove grease and stains. Rinse thoroughly to remove all soap residue.
Drying Techniques
Dry gloves properly to prevent mold and odors. Shake off excess water and pat dry with a clean towel. Turn gloves inside out and let them air dry completely. Avoid direct sunlight or heat sources that cause cracking. Store gloves in a cool, dry place until next use.
Removing Stubborn Stains
Stubborn stains on your rubber kitchen gloves can be frustrating. They often resist simple washing, leaving your gloves looking worn and dirty. But you don’t have to toss them out just yet. There are easy and effective ways to bring back that fresh, clean look by targeting those tough spots.
Using Baking Soda Paste
Baking soda is a gentle abrasive that works wonders on stains without damaging the rubber. Mix baking soda with a little water to make a thick paste. Apply it directly to the stained areas and gently scrub with a soft brush or cloth.
Let the paste sit for about 10 minutes to break down the grime. Then rinse thoroughly with warm water. You’ll often find the stains lift right off with minimal effort. Have you tried this simple trick before? It’s surprising how effective it can be!
Vinegar Soak Method
White vinegar is another fantastic natural cleaner that can dissolve stubborn stains and odors. Fill a bowl with equal parts vinegar and warm water, then soak your gloves for 15-20 minutes.
The acid in vinegar breaks down tough residues without harming the gloves. After soaking, rinse well and wipe dry. This method is especially useful if your gloves have absorbed strong smells along with the stains. Does your kitchen have a vinegar bottle yet? It might just become your new best friend.
Avoiding Harsh Chemicals
It might be tempting to reach for bleach or strong detergents when dealing with tough stains. However, these can degrade the rubber, causing cracks and reducing the lifespan of your gloves.
Stick to mild, natural cleaners instead. If you ever feel unsure about a product, test it on a small area first. Protecting your gloves means you won’t have to replace them as often, saving you money and effort in the long run.

Credit: workglovesdepot.com
Deep Cleaning Methods
Clean rubber gloves by washing them with warm, soapy water to remove dirt and grease. Rinse thoroughly and air dry to keep them fresh and safe for kitchen use.
Cleaning rubber gloves thoroughly is crucial for kitchen hygiene. Over time, gloves accumulate dirt, grime, and bacteria. Deep cleaning keeps them fresh and safe for use. Here are some effective methods to deep clean rubber gloves.
Boiling Water Technique
Boiling water is a simple way to sanitize gloves. - Fill a pot with water. - Bring the water to a boil. - Submerge the gloves in the water for 5 minutes. - Remove and let them cool before using. This method kills germs and loosens dirt.
Disinfecting With Bleach
Bleach is a strong disinfectant for cleaning gloves. - Mix one part bleach with ten parts water. - Soak the gloves in this solution for 10 minutes. - Rinse thoroughly with cold water. - Dry them completely before storage. Ensure proper ventilation during this process.
Using Dishwasher Safely
The dishwasher can also clean rubber gloves effectively. - Place gloves on the top rack. - Use a regular dishwashing cycle. - Avoid high heat settings. - Let them air dry after washing. This method cleans and sanitizes efficiently.
Proper Storage Tips
Proper storage is essential to keep your rubber kitchen gloves in good condition. It extends their life and maintains their flexibility. Storing gloves correctly prevents damage and odors. Follow these simple tips for the best results.
Avoiding Moisture Build-up
Moisture causes rubber gloves to deteriorate quickly. Always dry gloves completely before storing. Leave them open or hang them upside down to air dry. Avoid storing gloves in damp places like under the sink. Use a dry, ventilated area to keep gloves fresh and dry.
Storing Away From Sunlight
Sunlight breaks down rubber material, causing cracks and fading. Store gloves in a dark cabinet or drawer. Avoid windowsills or areas with direct light. Keep gloves in opaque containers or bags to block light. This helps maintain their color and strength.
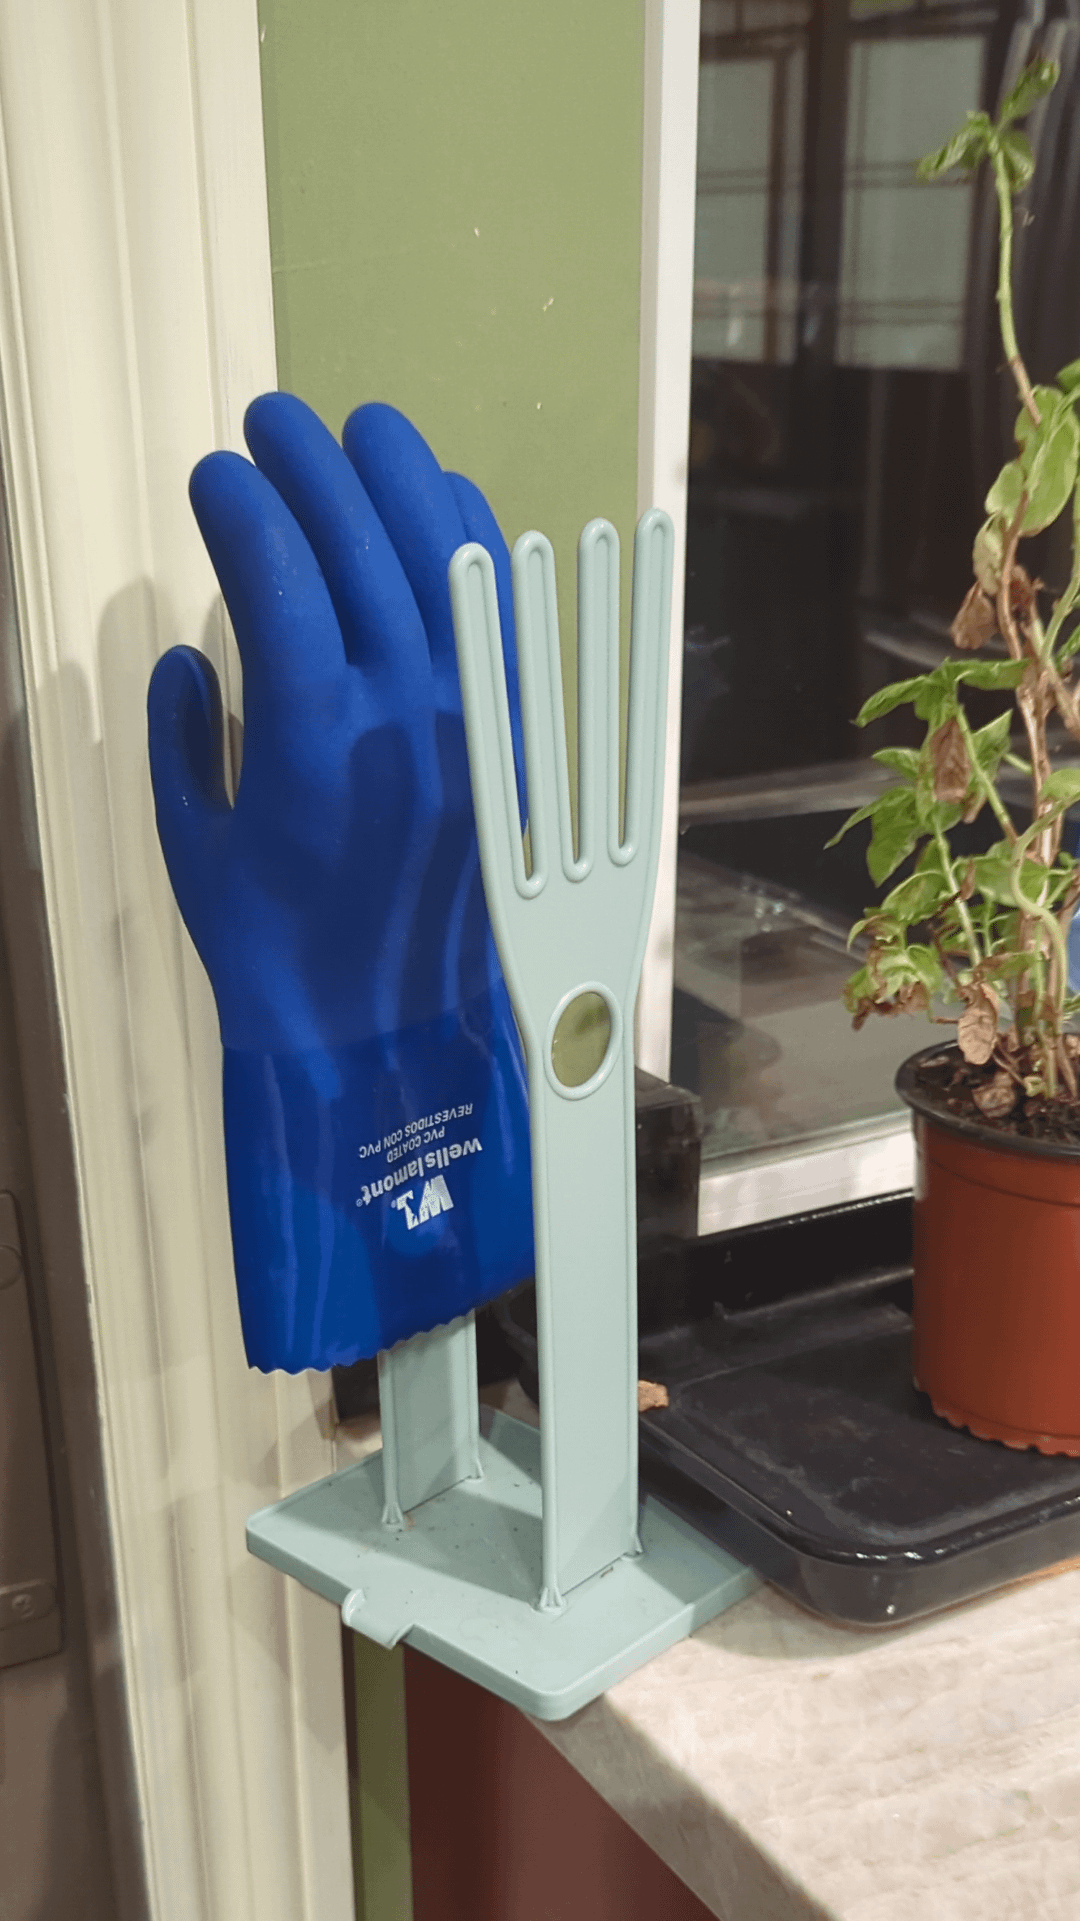
Keeping Gloves Shaped
Rubber gloves can lose shape if folded or crushed. Store them flat or gently rolled. Use glove holders or hangers to keep their form. Proper shape prevents cracks and makes gloves easy to wear. Maintain the gloves’ shape for comfort and durability.
Common Mistakes To Avoid
Cleaning rubber kitchen gloves might seem simple, but certain mistakes can reduce their lifespan or cause damage. Avoiding these common errors helps keep your gloves effective and hygienic. Have you ever ruined a good pair of gloves by doing something that seemed harmless at the time?
Using Abrasive Cleaners
Abrasive cleaners can scratch and wear down the rubber material quickly. Harsh scrubbing with rough sponges or powders strips away the protective layer, making gloves prone to cracking. Instead, use mild soap and a soft cloth or sponge to gently clean your gloves without causing damage.
Ignoring Drying Steps
Leaving your gloves wet or stuffing them away while damp invites mold and bacteria growth inside. Moisture trapped inside the gloves can also weaken the rubber over time. Make sure to dry your gloves thoroughly by turning them inside out and letting them air dry completely before storing.
Mixing Gloves With Other Laundry
Throwing rubber gloves in with your regular laundry exposes them to harsh detergents and high heat. These conditions can warp the gloves or cause them to lose flexibility. Wash gloves separately by hand, and avoid using the dryer—air drying is always safer for rubber items.

Credit: www.youtube.com
Frequently Asked Questions
How Often Should I Clean Rubber Kitchen Gloves?
Clean rubber kitchen gloves after every use to prevent bacteria buildup. Frequent cleaning keeps gloves hygienic and extends their lifespan.
What Is The Best Way To Clean Rubber Gloves?
Use warm water and mild soap to wash gloves inside and out. Rinse thoroughly and air dry to maintain glove quality.
Can I Use Bleach To Clean Rubber Gloves?
Avoid bleach as it can damage the rubber material. Opt for gentle soap or vinegar solutions for safe cleaning.
How Do I Dry Rubber Gloves Properly?
Turn gloves inside out and hang them in a well-ventilated area. Avoid direct sunlight or heat sources to prevent cracking.
Conclusion
Cleaning rubber kitchen gloves keeps them safe and lasts longer. Use warm water and mild soap to wash them gently. Rinse well to remove all dirt and soap. Dry gloves completely before storing to avoid smells and damage. Regular cleaning stops germs from growing on gloves.
Taking care of gloves saves money and keeps hands healthy. Simple steps make cleaning quick and easy. Keep your gloves fresh and ready for every kitchen task.