
Your kitchen sponge works hard every day, soaking up spills and scrubbing away grime. But have you noticed a bad smell coming from it?
That odor means your sponge is full of bacteria, and using it can spread germs around your kitchen. Don’t worry—cleaning your smelly kitchen sponge is easier than you think. In this post, you’ll discover simple, effective ways to freshen up your sponge and keep your kitchen cleaner and healthier.
Keep reading to learn how to say goodbye to that nasty smell for good.
Why Kitchen Sponges Smell
Kitchen sponges often develop unpleasant odors after some use. This smell comes from hidden problems inside the sponge. Understanding why sponges smell helps to keep your kitchen fresh and clean.
Bacteria And Mold Growth
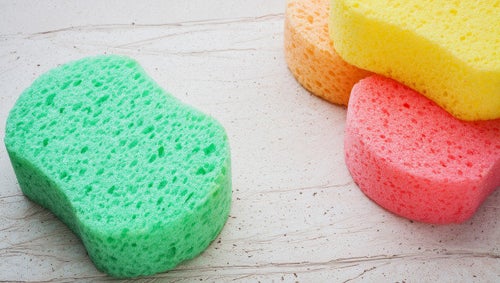
Sponges stay wet for long periods, making a perfect place for bacteria and mold. These tiny organisms grow fast in damp, dark spots. They feed on leftover food and moisture inside the sponge. Their waste and smell cause the bad odor you notice.
Food Residue Build-up
Small pieces of food get stuck in sponge holes after washing dishes. These bits rot and attract more bacteria. Over time, the sponge becomes a smelly trap full of decayed food. This build-up is a main cause of the foul smell.
Credit: www.familyhandyman.com
Signs Of A Smelly Sponge
Recognizing the signs of a smelly kitchen sponge helps keep your kitchen clean and safe. Sponges often trap food particles and moisture, creating a perfect spot for bacteria. Knowing when your sponge smells bad can prevent the spread of germs.
Foul Odor Detection
A strong, unpleasant smell is the most obvious sign of a smelly sponge. The odor may be sour, musty, or even rotten. This smell usually means bacteria and mold are growing inside the sponge. If you notice this smell, it is time to clean or replace your sponge immediately.
Visible Dirt And Discoloration
Check your sponge for dark spots or stains. These marks often mean food particles and grime are stuck deep inside. A sponge that looks worn out or discolored is likely full of bacteria. Even if it does not smell bad yet, visible dirt is a warning sign to clean it soon.
Simple Daily Cleaning Tips
Keeping your kitchen sponge fresh doesn’t have to be a chore. Simple daily habits can make a big difference in cutting down odors and bacteria buildup. These easy actions fit naturally into your routine and help extend the life of your sponge.
Rinsing And Squeezing
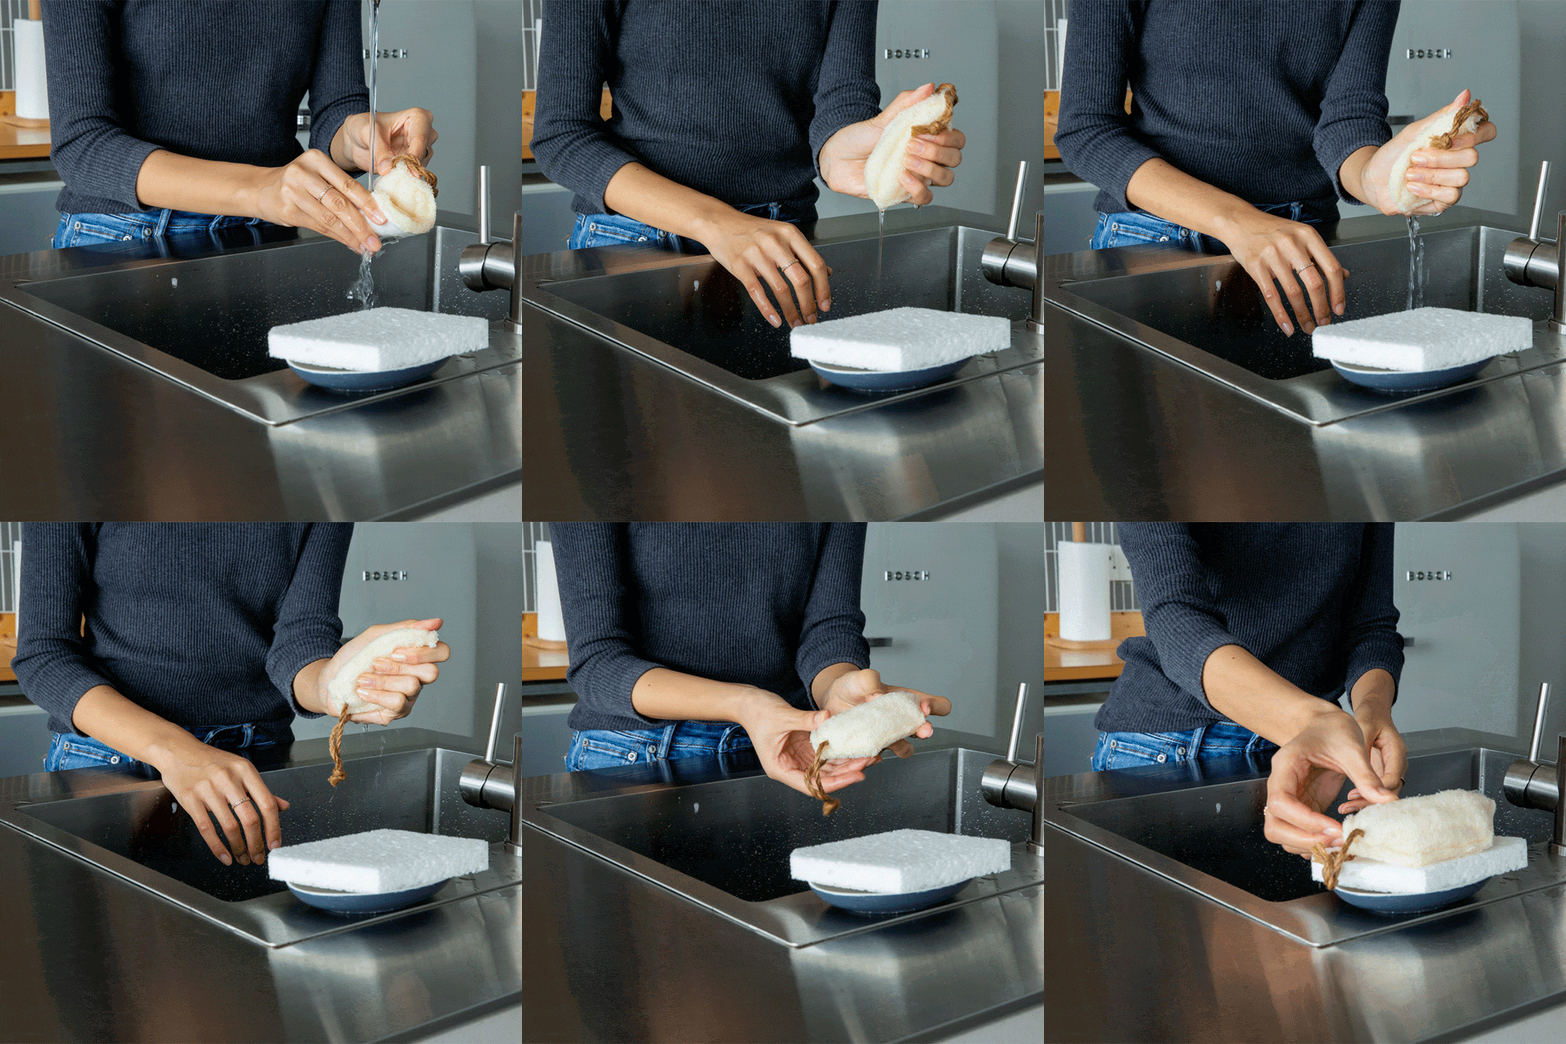
Right after using your sponge, rinse it thoroughly under hot water. This removes leftover food particles and soap, which are the main causes of bad smells.
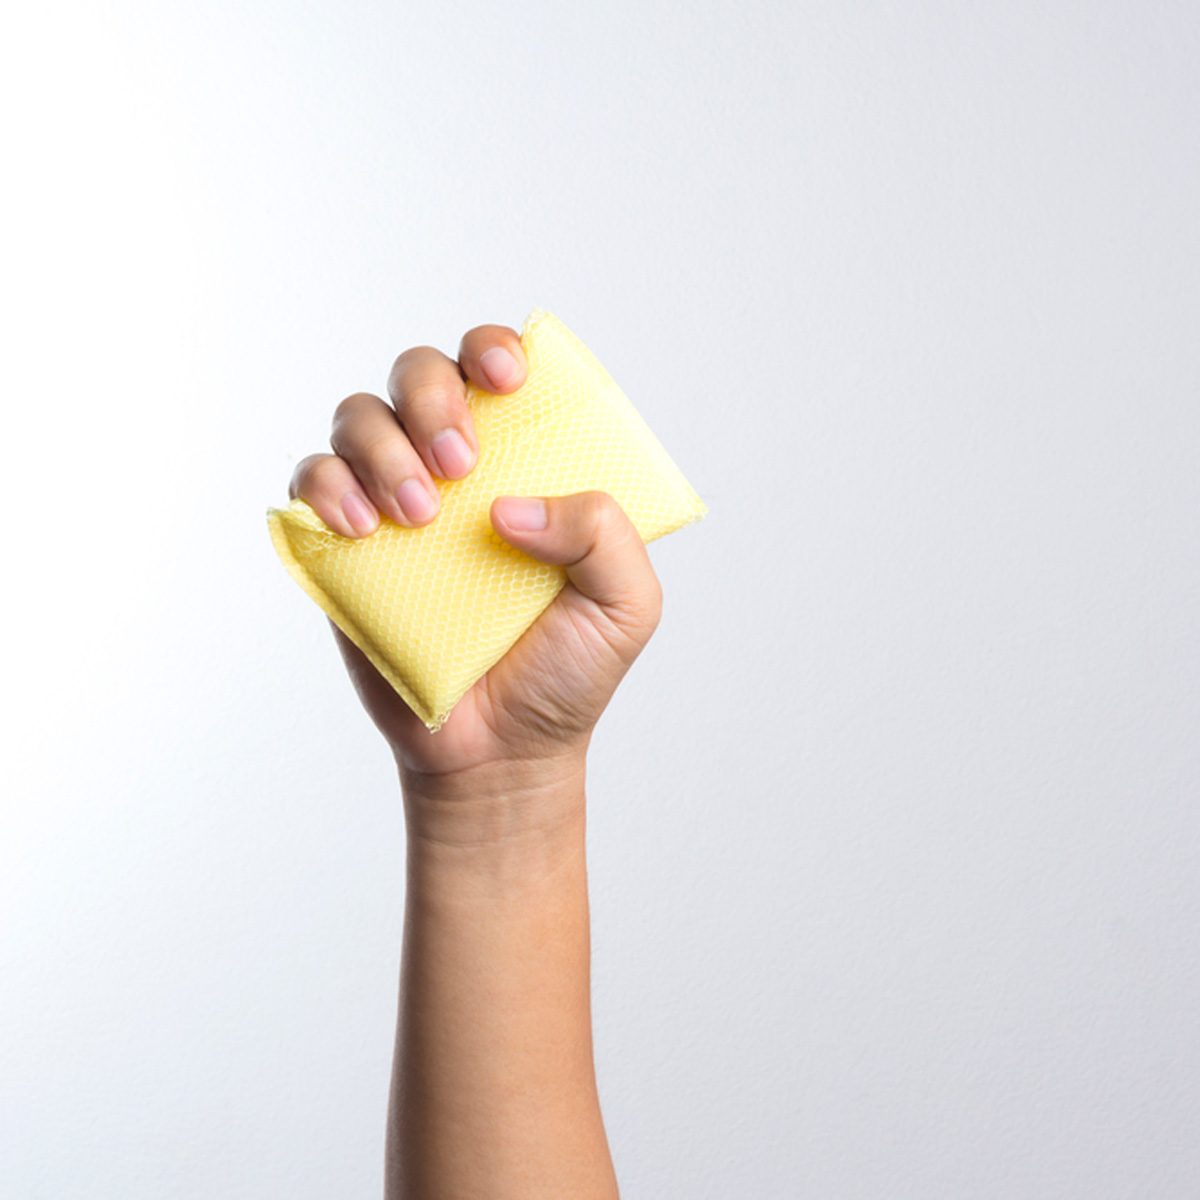
Next, squeeze out as much water as you can. A dripping sponge becomes a breeding ground for bacteria. You’ll notice your sponge stays fresher when it’s as dry as possible between uses.
Regular Drying Methods
Where you leave your sponge matters. Avoid tossing it into a sink or a damp corner. Instead, place your sponge somewhere it can air dry completely.
- Use a sponge holder with good drainage
- Set it on a wire rack or a dish rack away from moisture
- Turn it over occasionally to expose all sides to air
Have you ever thought about how much water your sponge actually holds after use? Drying it well can reduce odors dramatically, saving you money on replacements and keeping your kitchen smelling fresh.
Credit: www.huffpost.com
Microwave Cleaning Method
Microwave cleaning method is an effective way to clean smelly kitchen sponges. Dampen the sponge, place it in the microwave, and heat for two minutes. This process kills bacteria and eliminates odors, leaving sponges fresh and ready for use.
Cleaning your smelly kitchen sponge doesn't have to be a daunting task. The microwave cleaning method is a quick and effective way to tackle those nasty odors. This method not only saves you money by extending the life of your sponge but also ensures that it’s free of harmful bacteria. Before you know it, your sponge will smell fresh and be ready to take on more cleaning challenges.
Preparation Steps
Before microwaving your sponge, ensure it’s completely wet. A dry sponge can catch fire in the microwave, which is the last thing anyone wants in their kitchen. Simply soak the sponge in water, giving it a good squeeze to make sure it’s saturated but not dripping. Check your sponge for any metallic components. If it has any metal parts, refrain from using this method as metal can cause sparks.
Microwaving Duration And Safety
Place your sponge in the microwave, setting it on a microwave-safe dish to avoid any mess. Heat the sponge for about 1 to 2 minutes, depending on your microwave’s power setting. Stay close by to monitor the sponge through the microwave window. This is crucial for safety, as it ensures you can quickly stop the microwave if anything seems off. Once the time is up, let the sponge cool inside the microwave for a few minutes to avoid burns. Remove it carefully, and enjoy using a fresh-smelling sponge once again. Have you ever considered how much bacteria could be lingering on your sponge? This simple method can help put your mind at ease. Give it a try and notice the difference it makes!
Dishwasher Cleaning Method
The dishwasher cleaning method is a simple and effective way to refresh your smelly kitchen sponges without harsh chemicals. It uses the high heat and strong water jets of your dishwasher to kill bacteria and remove odor. This method saves you time and ensures your sponge is thoroughly cleaned for your next use.
Loading Tips
Place your sponge on the top rack of the dishwasher where it won’t block the spray arms. Avoid crowding it with heavy dishes to ensure water reaches every part. You can also secure the sponge inside a dishwasher-safe mesh bag to keep it from moving around during the cycle.
Have you ever noticed a sponge stuck under a plate after a wash? That’s a sign to arrange your items more carefully next time.
Best Settings To Use
Choose the hottest water setting available, usually labeled as “sanitize” or “heavy duty.” High temperatures are key to killing the bacteria causing the bad smell. Skip any drying cycle that uses cool air, as it might leave moisture that encourages bacteria growth.
Running your dishwasher on a regular cycle with the right settings can keep your sponges fresh for much longer. How often do you run your dishwasher with sponges inside? Try it once a week and notice the difference.
Using Vinegar And Baking Soda
Using vinegar and baking soda is a natural and effective way to clean smelly kitchen sponges. These common household ingredients help remove odors and kill bacteria. The process is simple and does not require harsh chemicals. Vinegar’s acidity breaks down grime, while baking soda acts as a gentle scrub and deodorizer.
Soaking Process
Start by filling a bowl with hot water. Add one cup of vinegar to the water. Place the sponge in the mixture and let it soak for about 5 minutes. After soaking, sprinkle baking soda on the sponge. You will see bubbling as the baking soda reacts with vinegar. Scrub the sponge gently to remove dirt and buildup. Rinse the sponge well under running water. Wring out excess water and let it air dry.
Deodorizing Effects
Vinegar neutralizes bad smells by killing odor-causing bacteria. Baking soda absorbs lingering smells and leaves the sponge fresh. The combination removes grease and food particles trapped in the sponge. Regular cleaning with vinegar and baking soda keeps your sponge smelling clean longer. It also reduces the risk of spreading germs in the kitchen. This method is safe and budget-friendly for everyday use.
Hydrogen Peroxide Treatment
Hydrogen peroxide is a powerful yet gentle solution that can tackle the unpleasant odors trapped in your kitchen sponges. It not only cleans but also kills bacteria effectively, making your sponge safer to use. This treatment is simple and can refresh your sponge without harsh chemicals.
Application Steps
- Pour enough hydrogen peroxide (3% solution) into a small bowl to fully soak your sponge.
- Submerge the sponge completely and let it sit for 10-15 minutes.
- After soaking, squeeze the sponge several times while still submerged to release trapped dirt and odor.
- Rinse the sponge thoroughly under warm running water to remove any residue.
- Allow the sponge to dry completely before using it again to prevent new bacteria growth.
Disinfection Benefits
Hydrogen peroxide breaks down into water and oxygen, which means it leaves no toxic residue behind. It effectively kills a wide range of bacteria and mold that cause bad smells in sponges. Using it regularly can extend the life of your sponge and keep your kitchen more hygienic.
Have you ever noticed that your sponge smells musty even after washing? This method can often solve that problem without needing to replace your sponge every week. Would you try this simple treatment before tossing out your next smelly sponge?
When To Replace Your Sponge
Knowing when to replace your kitchen sponge is key to keeping your kitchen clean and fresh. Sponges absorb food particles and moisture, which can lead to bad smells and bacteria growth. Regularly changing your sponge stops germs from spreading and keeps your kitchen safe.
Sponges do not last forever. Using them too long can cause health risks. Pay attention to signs that show your sponge needs replacing. Choosing the right sponge also helps maintain hygiene and cleaning efficiency.
Signs It’s Time
- Persistent bad smell even after cleaning.
- Visible mold or dark spots on the sponge.
- Sponge feels slimy or breaks apart easily.
- Stains that do not wash out.
- After two weeks of daily use, replace it.
Choosing New Sponges
- Select sponges with antimicrobial properties.
- Pick sponges that dry quickly to prevent bacteria.
- Consider natural materials like cellulose for better hygiene.
- Choose the right size for your cleaning tasks.
- Replace sponges regularly, even if they seem clean.
Preventing Sponge Odors
Preventing sponge odors keeps your kitchen fresh and clean. Smelly sponges often result from trapped moisture and food particles. Avoiding this starts with good habits. A dry and clean sponge lasts longer and smells better.
Proper Storage
Store sponges where air can circulate freely. Avoid leaving them in a damp sink or closed containers. Use a sponge holder that drains water away. Hang sponges or place them on a rack to dry quickly.
Keep sponges separate from other cleaning tools. This reduces cross-contamination and odor build-up. Change the sponge’s spot regularly to prevent mold growth.
Regular Maintenance Routine
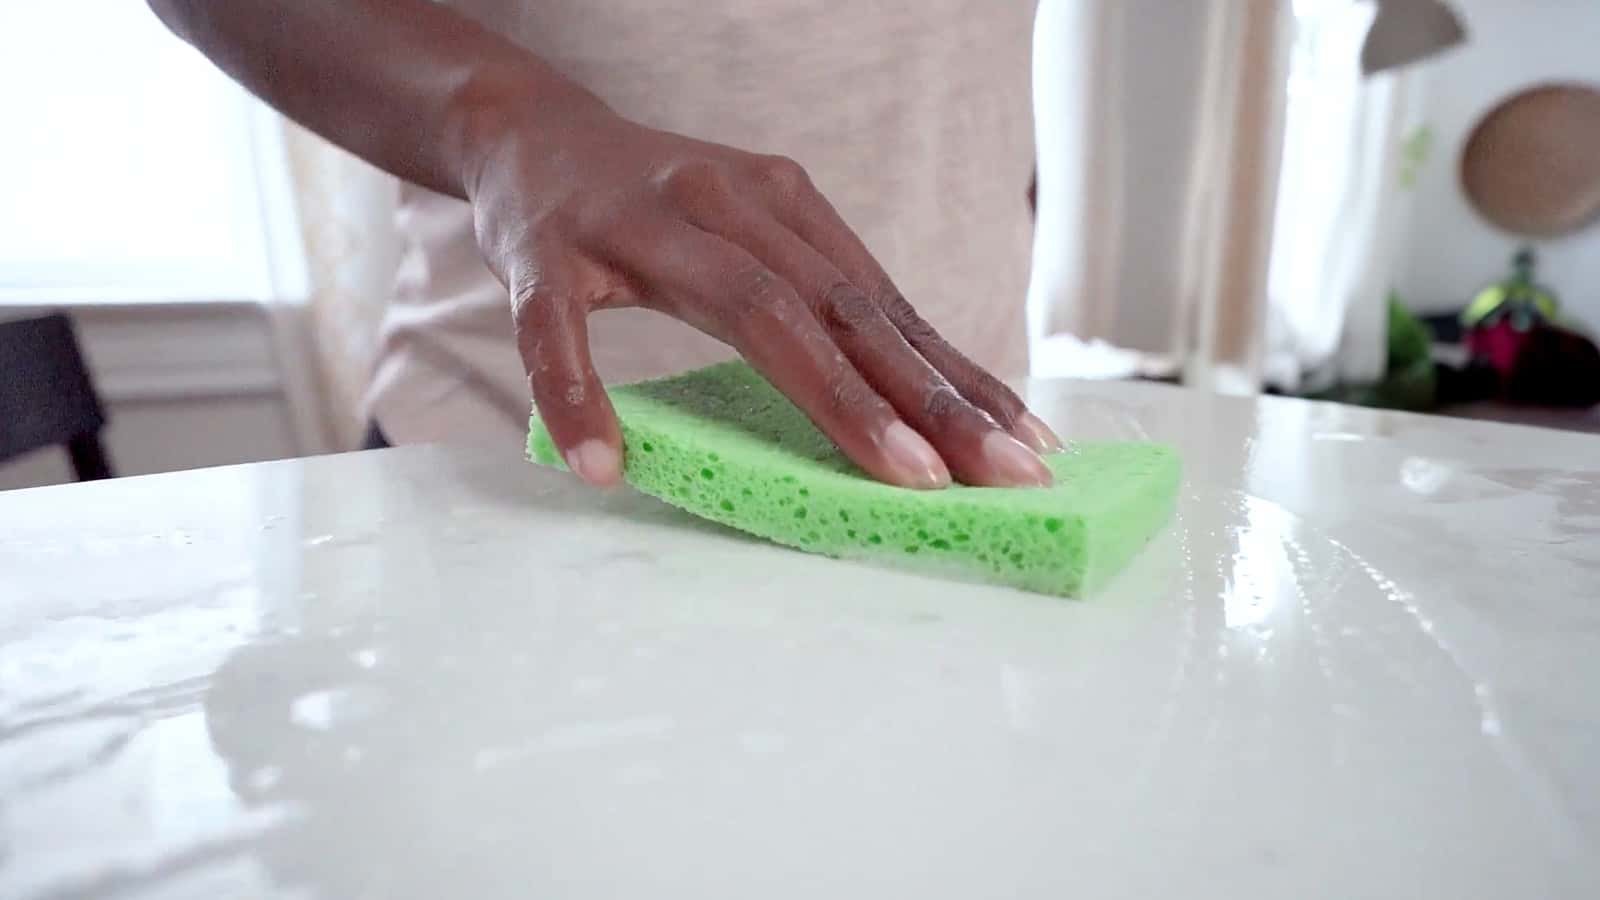
Clean sponges often to stop bad smells. Rinse thoroughly after each use to remove food bits. Squeeze out excess water to help drying.
- Microwave wet sponges for one minute to kill germs.
- Soak sponges in vinegar or bleach solutions occasionally.
- Replace sponges every one to two weeks.
A simple routine keeps your sponge fresh and safe. Clean sponges help maintain a healthier kitchen environment.
Credit: www.pinesol.com
Frequently Asked Questions
How Often Should I Clean Kitchen Sponges?
You should clean kitchen sponges daily to prevent bacteria buildup. Regular cleaning keeps sponges odor-free and hygienic. Replace sponges every 1-2 weeks for best results.
What Is The Best Way To Deodorize Kitchen Sponges?
Microwave damp sponges for 1-2 minutes to kill bacteria and remove odors. Alternatively, soak sponges in vinegar or bleach solution for 5 minutes.
Can I Use The Dishwasher To Clean Sponges?
Yes, placing sponges on the top rack of a dishwasher with a heated dry cycle kills germs and removes smells effectively.
Is Boiling Sponges Safe And Effective For Cleaning?
Boiling sponges for 5 minutes kills most bacteria and eliminates odors. Ensure sponges are fully submerged and cooled before use.
Conclusion
Cleaning smelly kitchen sponges keeps your kitchen fresh and safe. Regular cleaning stops bacteria and bad odors. Use simple methods like soaking in vinegar or microwaving wet sponges. Replace sponges often to avoid buildup of germs. A clean sponge helps you cook and clean better.
Small efforts make a big difference in kitchen hygiene. Keep your kitchen sponge fresh with these easy steps. Your home will smell nicer and stay healthier.