
Your kitchen sponge is one of the dirtiest items in your home, but cleaning it doesn’t have to be a hassle. What if you could kill germs and freshen your sponge in just a minute, using something you already have?
You’re about to discover a simple, quick, and effective way to clean your kitchen sponge in the microwave. Keep reading, and learn how this easy trick can make your kitchen safer and your sponge last longer.
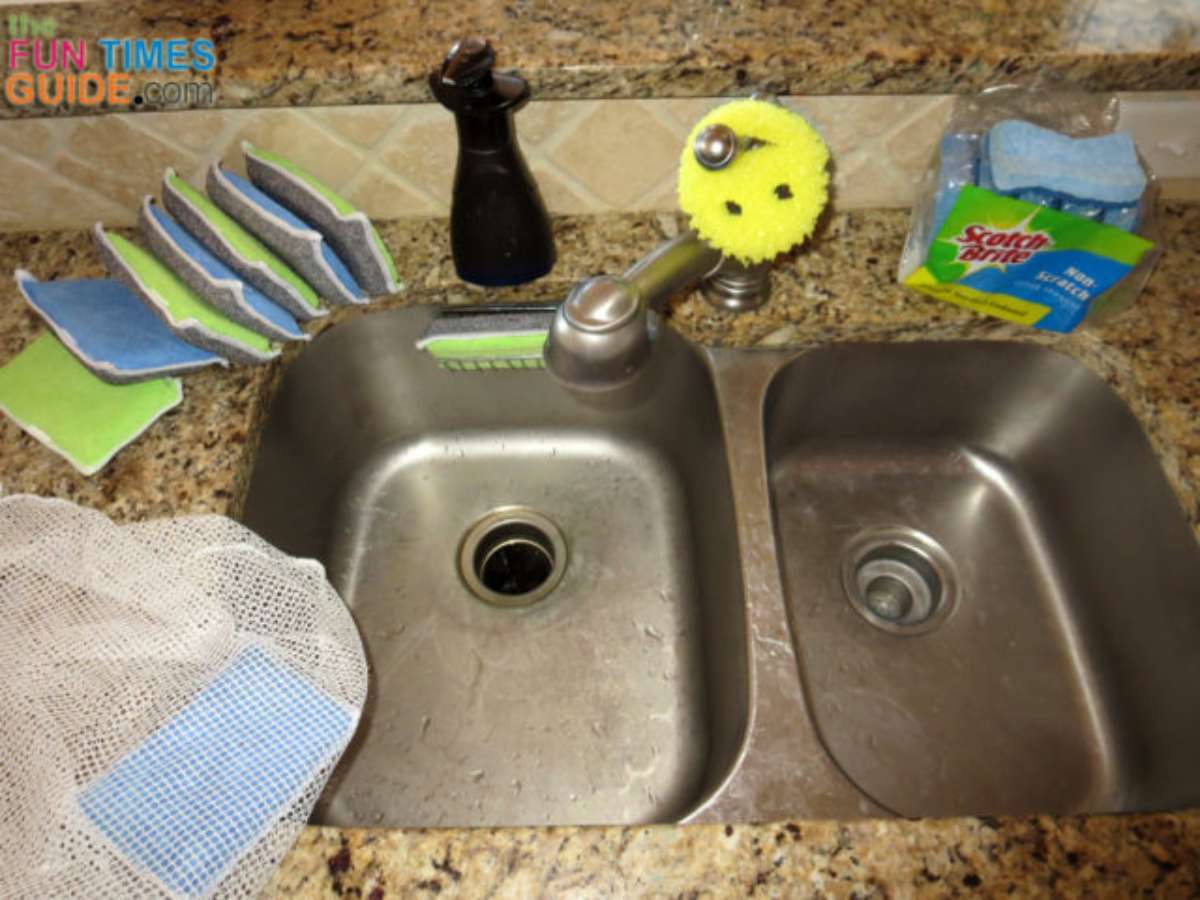
Credit: tidyhere.com
Why Clean Your Sponge
Cleaning your kitchen sponge is important for a healthy home. Sponges trap food particles and moisture. These conditions help germs grow fast. Regular cleaning stops bad smells and keeps your kitchen safe.
Bacteria Growth Risks
Sponges are a perfect place for bacteria. They hold moisture and food bits. Bacteria like Salmonella and E. coli can live there. These germs can cause sickness. Cleaning the sponge kills most bacteria. It lowers the risk of spreading germs on dishes and surfaces.
Extending Sponge Life
Cleaning your sponge often helps it last longer. A clean sponge stays fresh and strong. Dirt and germs break down sponge material fast. Microwave cleaning removes hidden dirt inside. This keeps the sponge useful for many uses. It saves money because you buy fewer sponges.

Credit: household-tips.thefuntimesguide.com
Preparing Your Sponge
Preparing your kitchen sponge before microwaving is crucial for effective cleaning and safety. A sponge filled with food bits or too dry can cause uneven heating or even sparks. Taking a few simple steps ensures your sponge gets thoroughly sanitized without damage.
Remove Food Residue
Start by checking your sponge for any leftover food particles. Rinse it under warm water while gently squeezing to flush out debris trapped inside. If you see stubborn bits, use your fingers or a small brush to dislodge them.
Keeping your sponge free from food scraps helps prevent bacteria buildup and reduces unpleasant odors. Have you ever noticed your sponge smelling worse after microwaving? That’s often because food residue was still inside, creating a breeding ground for germs.
Wet Sponge Properly
Before placing your sponge in the microwave, make sure it’s thoroughly wet. A dry sponge can catch fire or burn quickly. Soak it completely and squeeze out excess water just enough to keep it damp.
Microwaving a wet sponge allows steam to kill bacteria effectively. If your sponge isn’t wet enough, you risk damaging it and your microwave. Do you usually remember to wet your sponge before microwaving, or does it slip your mind?
Microwave Cleaning Method
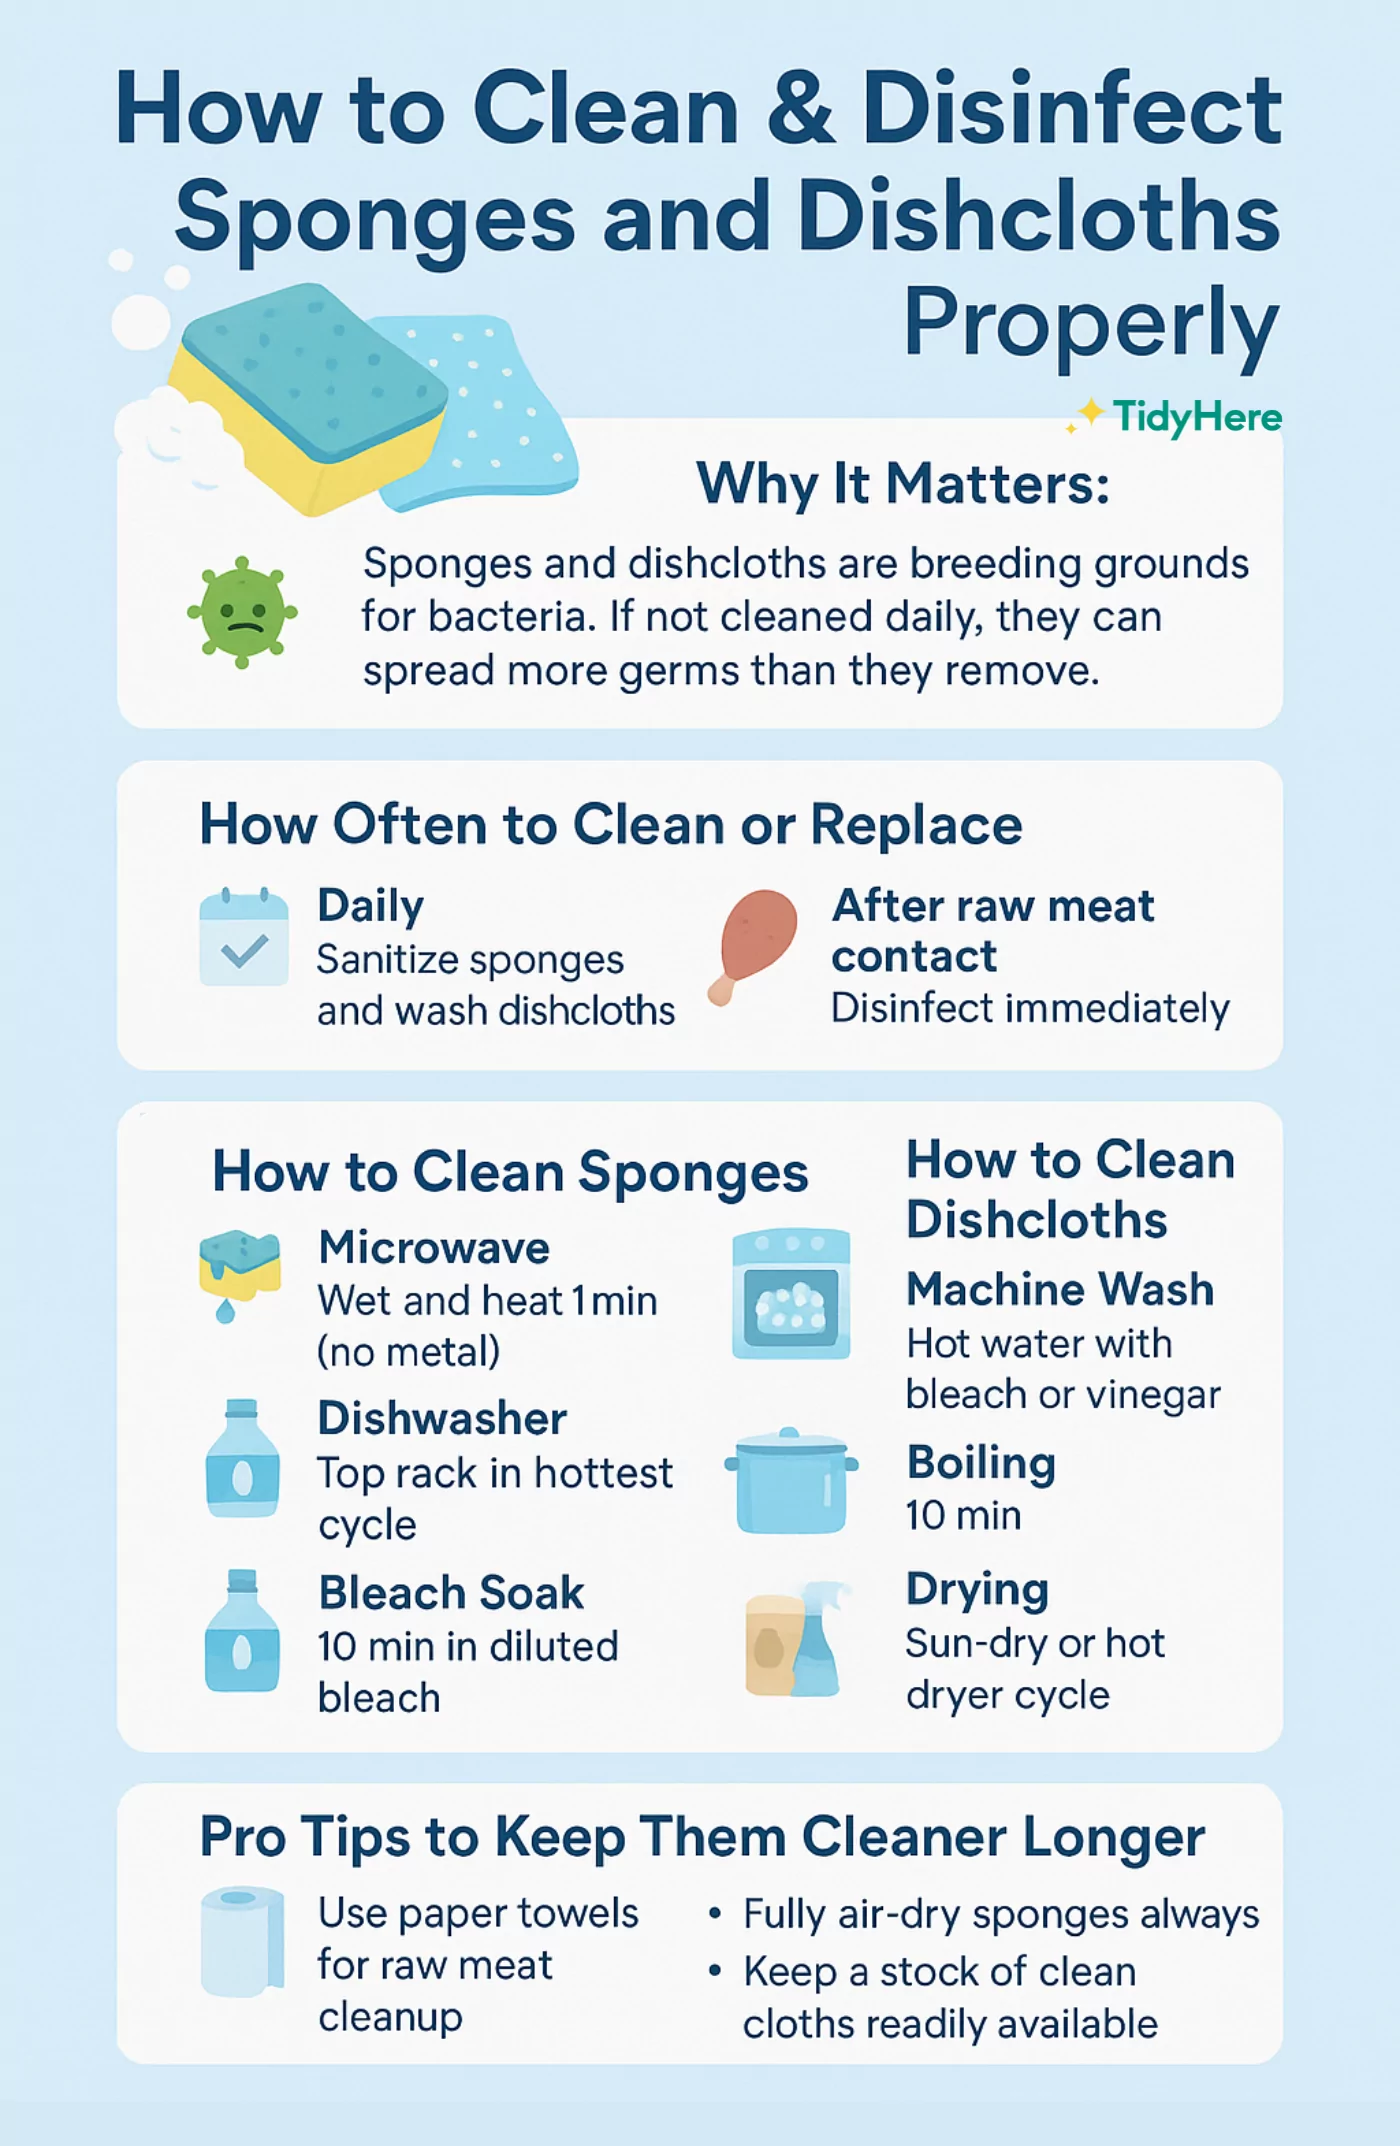
Cleaning your kitchen sponge is essential to prevent bacteria build-up. The microwave cleaning method is quick and effective. It uses heat to kill germs and freshen your sponge. This method requires minimal effort and time.
Set Microwave Time
Start by soaking the sponge in water. A wet sponge prevents fire risk. Place the sponge on a microwave-safe plate. Set the microwave for 1-2 minutes. The exact time depends on your microwave’s power. Higher wattage may need less time. Make sure the sponge is steaming hot. This ensures bacteria are killed.
Safety Precautions
Be careful when removing the sponge. It will be extremely hot. Use tongs or a cloth to avoid burns. Let it cool before handling. Check the sponge for any metal parts. Metal can cause sparks in the microwave. Avoid sponges with scrubber sides containing metal. Never leave the microwave unattended during cleaning.
Alternative Cleaning Techniques
Besides microwaving, other simple ways clean kitchen sponges effectively. These alternative techniques use common household items or appliances. They help remove germs, odors, and food residues without chemicals.
Using Vinegar Or Lemon
Vinegar and lemon offer natural cleaning power. Both have antibacterial properties and fresh scents. To clean, soak the sponge in a cup of vinegar or lemon juice for five minutes. Rinse well under warm water after soaking. This method kills many bacteria and reduces bad smells. It also softens the sponge for longer use.
Dishwasher Cleaning
Running sponges through the dishwasher is easy and effective. Place the sponge on the top rack away from sharp utensils. Use a regular dishwashing cycle with hot water. The heat and detergent kill germs and loosen dirt inside the sponge. This method suits people who clean dishes daily and want a quick solution. Make sure the sponge is dishwasher safe before trying this method.
When To Replace Your Sponge
Knowing when to replace your kitchen sponge is just as important as cleaning it regularly. Even with frequent microwaving, sponges can harbor bacteria and lose their effectiveness over time. Paying attention to key signs and understanding how often to swap it out helps keep your kitchen hygienic and your cleaning routine efficient.
Signs Of Wear
Watch for changes in texture and appearance. If your sponge starts to tear, crumble, or feels slimy, it’s time to say goodbye. A foul or persistent odor that doesn’t go away after cleaning is another red flag.
Have you noticed your sponge no longer cleans as well as it used to? That’s a clear sign it’s worn out. Even if it looks okay, a sponge can still harbor harmful bacteria once it’s past its prime.
Frequency Recommendations
Experts suggest replacing your kitchen sponge every one to two weeks, depending on use. If you use it heavily or for multiple tasks, consider changing it more often.
Microwaving your sponge after use can extend its life by killing bacteria, but it doesn’t eliminate the need for replacement. Think about your cleaning habits and how often your sponge gets wet and dirty—that impacts how quickly it breaks down.
Could changing your sponge more frequently improve your kitchen’s cleanliness? Try tracking how long your sponge lasts and notice any changes in how well it cleans or smells over time.

Credit: tidyhere.com
Frequently Asked Questions
How Long Should I Microwave A Kitchen Sponge?
Microwave your damp kitchen sponge for 1 to 2 minutes. This duration kills most bacteria effectively. Always ensure the sponge is wet to avoid fire risks.
Can Microwaving A Sponge Remove All Germs?
Microwaving kills many bacteria but not all. It reduces germs significantly but doesn’t sterilize completely. Replace sponges regularly for best hygiene.
Is It Safe To Microwave Any Kitchen Sponge?
Only microwave sponges without metal or plastic parts. Use wet sponges only to prevent fires. Check manufacturer guidelines before microwaving.
How Often Should I Clean My Kitchen Sponge This Way?
Clean your sponge in the microwave 2-3 times a week. This keeps bacteria levels low and extends sponge life. Regular cleaning is essential for hygiene.
Conclusion
Cleaning your kitchen sponge in the microwave is quick and simple. It kills many germs and keeps your sponge fresh longer. Make sure the sponge is wet before microwaving. Only heat it for a short time to avoid damage. Repeat this cleaning often to stay safe.
A clean sponge helps keep your kitchen healthy. Try this easy step and notice the difference. Your kitchen will feel cleaner and safer every day.