
Have you ever looked up at your upper kitchen cabinets and noticed the unfinished or worn bottom edges? This small detail can make your entire kitchen feel less polished and put-together.
But don’t worry—covering the bottom of your upper cabinets is easier than you think. With a few simple steps and the right materials, you can transform this overlooked space into a sleek, stylish feature that elevates your whole kitchen. Ready to see how you can give your cabinets that perfect finishing touch?
Keep reading, and you’ll discover practical tips that anyone can follow—no special skills needed.
Reasons To Cover Cabinet Bottoms
Covering the bottom of your upper kitchen cabinets is more than just a finishing touch. It serves practical purposes that can improve both the look and durability of your kitchen. Understanding why you might want to cover these surfaces helps you choose the best materials and methods for your space.
Hide Unsightly Surfaces
Have you ever noticed the rough or unfinished bottoms of your upper cabinets? These areas can show stains, scratches, or uneven wood grain that distract from your kitchen’s overall appeal. Covering them creates a clean, seamless look that helps your kitchen feel more polished and cared for.
Imagine guests glancing up and seeing a smooth, finished surface instead of chipped paint or exposed screws. That small detail can make a big difference in how your kitchen feels. Plus, covering cabinet bottoms lets you match or contrast materials for added visual interest.
Protect From Damage
The underside of cabinets is vulnerable to moisture, grease, and accidental bumps. Over time, this exposure can cause warping, peeling, or discoloration. Adding a protective cover shields these surfaces and extends the life of your cabinets.
If you cook often, you know how splatters and steam can affect nearby surfaces. A well-chosen covering can resist water and stains, making cleanup easier. Think about the long-term savings in repair and maintenance by taking this simple step.
Enhance Kitchen Style
Your kitchen’s style isn’t just about the big pieces—it’s in the details. Covering the cabinet bottoms gives you another chance to express your taste and creativity. Whether you choose wood veneer, beadboard, or even LED lighting strips, this area can become a subtle style statement.
Have you considered how lighting under cabinets adds warmth and functionality? Covering the bottoms properly can create a perfect base for installing lights that highlight your countertops and backsplash. It’s a small change that can elevate the entire room’s vibe.

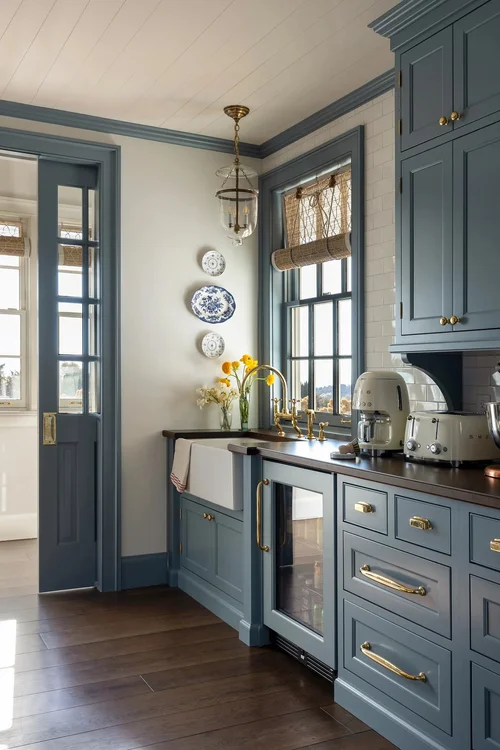
Credit: www.reddit.com
Materials For Covering Cabinet Bottoms
Choosing the right material to cover the bottom of your upper kitchen cabinets can dramatically change the look and feel of your kitchen. The material you pick needs to be both functional and visually appealing since it’s a detail that can either blend in or stand out. Whether you want something subtle or a bold accent, there are plenty of options that fit different styles and budgets.
Think about your kitchen’s overall design and how much effort you want to put into installation and maintenance. Some materials offer quick fixes, while others provide long-term durability and elegance. What kind of vibe do you want to create every time you look up at your cabinets?
Wood Trim Options
Wood trim is a classic choice for covering the bottom of upper cabinets. It offers warmth and can be stained or painted to match your existing cabinetry perfectly. If you want a seamless look, wood trim can be cut to size and easily attached with nails or adhesive.
Consider hardwoods like oak or maple for durability, or softer woods like pine for budget-friendly projects. Wood also allows for customization—you can add grooves, bevels, or even paint patterns to elevate the design. How much personality do you want your cabinet detailing to show?
Decorative Molding
Decorative molding adds an elegant touch to your cabinet bottoms without overwhelming the space. Crown molding, beadboard, or rope molding are popular choices that can create a subtle shadow line and add depth. These moldings can be painted white for a clean look or stained to complement wood finishes.
Installation is straightforward, and you can find pre-cut molding at most home improvement stores. Decorative molding not only covers the cabinet bottom but also hides imperfections, making your kitchen look polished. Have you noticed how small design details change the kitchen’s overall atmosphere?
Vinyl And Contact Paper
If you’re after a quick and affordable update, vinyl and contact paper can work well to cover cabinet bottoms. They come in a wide range of colors, patterns, and textures, including faux wood and metallic finishes. Plus, they’re easy to cut and apply without special tools.
This option is perfect for renters or anyone who likes to refresh their kitchen look often. Keep in mind, though, vinyl may not be as durable as wood or molding and can peel over time. Would you prefer a temporary fix or a lasting upgrade?
Metal And Tile Accents
Metal strips or small tile pieces can add an unexpected, modern flair to your cabinet bottoms. Stainless steel or copper strips bring an industrial edge, while mosaic tiles can introduce color and texture. These materials are highly durable and easy to clean, ideal for busy kitchens.
Installing metal or tile accents might take more time and tools, but the unique look can be worth the effort. Have you ever thought about mixing materials to create a truly custom kitchen detail?
Simple Diy Cover Ideas
Covering the bottom of your upper kitchen cabinets doesn’t have to be complicated or expensive. Simple DIY ideas can transform that overlooked space into a stylish feature. With just a little effort and creativity, you can add personality and function to your kitchen.
Peel-and-stick Solutions
Peel-and-stick covers are perfect if you want a quick and mess-free update. These adhesive options come in various materials like vinyl, wallpaper, or decorative panels. They’re easy to cut to size and apply, making them ideal for beginners.
Think about patterns or textures that complement your kitchen’s style. You could choose a marble-look sticker for a luxe feel or a wood grain for warmth. Plus, they’re removable, so you can change your design whenever you want.
Paint And Stain Techniques
Painting or staining the bottom of your cabinets allows you to match or contrast your kitchen decor. Use painter’s tape to create clean lines and avoid drips. A semi-gloss paint works well because it’s easy to wipe clean.
Staining wood panels is another great option if you want a natural look. It can bring out the wood’s grain and add depth to the space. Have you tried using chalk paint for a matte, vintage effect? It’s surprisingly easy and adds character.
Adding Led Strip Lighting
Installing LED strip lights under your upper cabinets is both practical and decorative. It brightens up your countertop workspace while highlighting the cabinet edges. You can choose from warm or cool light tones to set the mood.
LED strips are energy-efficient and come with adhesive backing for simple installation. Consider adding a dimmer switch to control brightness based on your needs. Have you noticed how lighting changes the whole vibe of a kitchen?
Creative Design Approaches
Creative design approaches can transform the often-overlooked bottom of upper kitchen cabinets into a stunning focal point. Whether you're looking to add a personal touch or elevate your kitchen's aesthetic, there are several creative ways to achieve this. Consider using different materials, textures, and colors to add depth and interest.
Using Fabric Or Wallpaper
Adding fabric or wallpaper to the bottom of your upper kitchen cabinets can create a soft and inviting look. You can choose a pattern that complements your kitchen's color scheme or something bold to make a statement. This approach is also budget-friendly and easy to change when you're ready for a new look.
Incorporating Open Shelving
Open shelving offers a practical and stylish way to utilize the space beneath your cabinets. Install shelves for displaying beautiful dishes, cookbooks, or decorative items. This not only makes your kitchen more functional but also adds character and charm.
Mixing Textures And Colors
Mixing textures and colors at the cabinet bottoms can create a dynamic and engaging visual effect. Consider using reclaimed wood, painted finishes, or metal accents. The key is to balance these elements to achieve a cohesive and harmonious look.
Tools And Supplies Needed
Covering the bottom of upper kitchen cabinets needs the right tools and supplies. Choosing proper equipment makes the job easier and results neater. This section lists the essential items for a smooth project.
Basic Hand Tools
- Screwdriver: For tightening screws and assembling parts.
- Hammer: Useful for small nails and adjustments.
- Utility Knife: Cuts materials like vinyl or tape cleanly.
- Putty Knife: Helps smooth out adhesives or filler.
- Clamps: Hold pieces in place while glue dries.
Adhesives And Fasteners
- Wood Glue: Bonds wood pieces firmly and lasts long.
- Construction Adhesive: For strong, multi-surface attachment.
- Finishing Nails: Small nails that keep covers secure.
- Double-Sided Tape: Temporary hold during installation.
Measuring And Cutting Tools
- Tape Measure: Measures lengths accurately for cuts.
- Combination Square: Ensures right angles and straight lines.
- Handsaw or Jigsaw: Cuts wood or laminate materials.
- Sandpaper: Smooths edges after cutting for a clean finish.
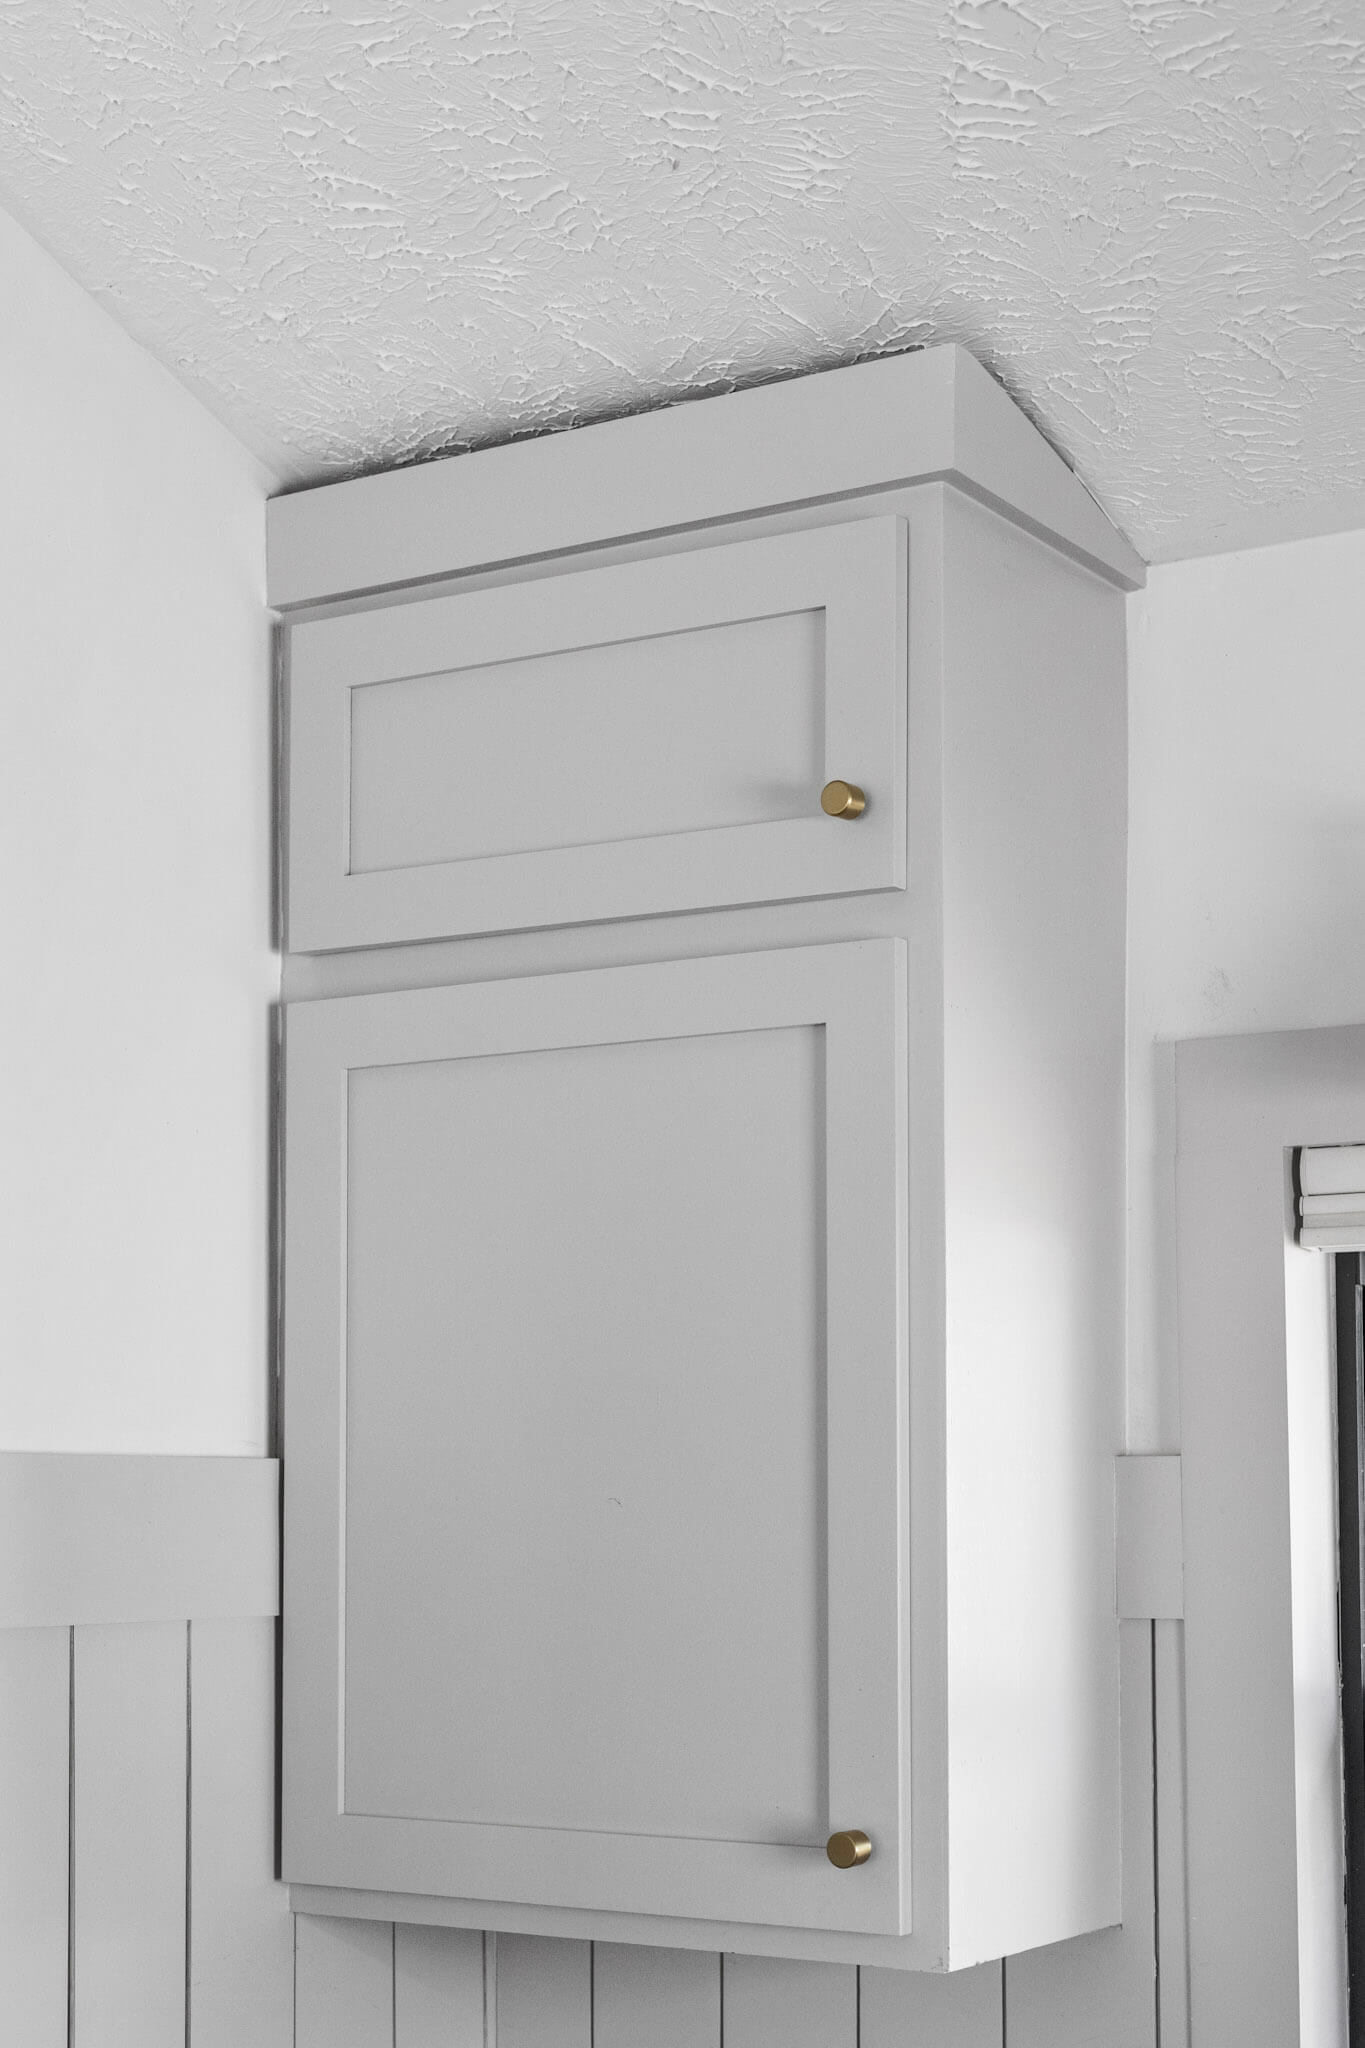
Credit: crystelmontenegrohome.com
Step-by-step Installation Tips
Covering the bottom of your upper kitchen cabinets can dramatically improve the overall look and protect the surfaces from dust and grease. Getting the installation right is key to a neat and durable finish. Here’s a clear, actionable guide to help you install cabinet bottom covers smoothly and confidently.
Preparing The Surface
Start by cleaning the bottom of your upper cabinets thoroughly. Use a mild cleaner to remove grease, dust, or any residues that might prevent the cover from sticking properly.
Check for any damages or uneven spots. Sand down rough areas gently to create a smooth, flat surface for the cover.
Have you noticed how a clean surface makes the whole process easier? It prevents bubbles and ensures the cover lays flat without peeling later.
Measuring And Cutting Materials
Measure the length and width of the cabinet bottoms accurately using a tape measure. Double-check your numbers before cutting to avoid costly mistakes.
Choose your cover material—whether it’s vinyl, wood veneer, or metal strips—and mark the measurements carefully on the back.
Cut with a sharp utility knife or fine-toothed saw for clean edges. Taking your time here makes the installation look professional and tight.
Securing Covers Firmly
Use strong adhesive or mounting tape suitable for your cover material and cabinet surface. Apply evenly to avoid lumps or peeling.
If you prefer extra security, small finishing nails or screws can help, but be careful not to damage the cabinet structure.
Press the cover firmly and hold it in place for a few minutes. Consider using clamps or weights for larger sections while the adhesive sets.
How confident do you feel about the finish when you see the cover firmly attached without any gaps or wrinkles?
Maintenance And Care Advice
Maintaining and caring for the bottom of your upper kitchen cabinets is key to keeping your kitchen looking fresh and functional. Regular attention helps prevent wear and tear that can quickly turn into costly repairs. Let’s dive into practical ways you can clean, repair, and update this often overlooked area.
Cleaning Techniques
Dust and grease can build up quickly under your upper cabinets, especially near cooking areas. Use a mild detergent mixed with warm water and a soft cloth to gently wipe down the surfaces. Avoid harsh chemicals that might damage finishes or coverings.
For stubborn spots, a baking soda paste works wonders without scratching. Spray a little vinegar solution on tough grease, let it sit for a few minutes, then wipe clean. Remember to dry the area thoroughly to prevent moisture damage.
Repairing Damage
Small chips or scratches don’t have to be permanent eyesores. Wood filler or touch-up markers matched to your cabinet color can blend imperfections seamlessly. If you notice peeling paint or laminate, peel back loose edges carefully and reattach using wood glue or adhesive tape designed for cabinetry.
Have you checked for loose screws or mounting hardware? Tightening these can stop rattling and sagging before it worsens. If water damage appears, address leaks immediately and consider replacing damaged sections to avoid mold growth.
Refreshing Styles Over Time
Your kitchen style can evolve without a full renovation. Applying a fresh coat of paint or new decorative molding under the cabinets can add character and brighten the space. Adding LED strip lights not only updates the look but also improves task lighting.
Switching out old covers or panels for modern materials like stainless steel or glass can instantly transform the kitchen’s vibe. What simple upgrade can you try today to make your kitchen feel brand new?
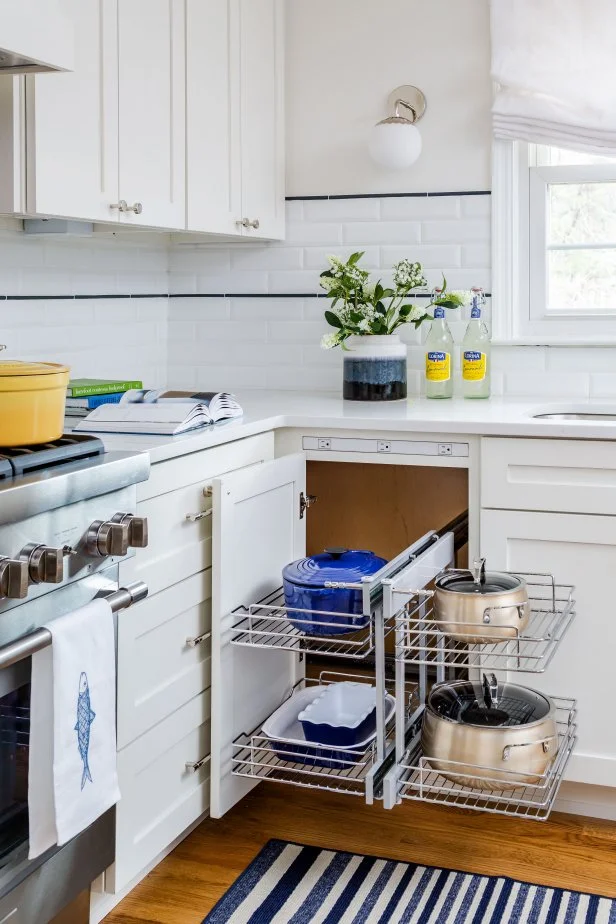
Credit: www.hgtv.com
Frequently Asked Questions
How Do I Cover The Bottom Of Upper Kitchen Cabinets?
You can use decorative molding, beadboard panels, or LED strip lights. These options enhance aesthetics and protect surfaces. Choose materials that match your kitchen style and are easy to clean. Proper installation ensures durability and a polished look.
What Materials Work Best For Covering Cabinet Bottoms?
Wood trim, PVC panels, and metal strips are popular choices. Wood offers a classic look, PVC resists moisture, and metal adds modern flair. Select materials based on durability, style, and ease of maintenance for your kitchen environment.
Can Led Lights Be Installed Under Upper Cabinets?
Yes, LED strip lights are ideal for under-cabinet lighting. They improve visibility and add ambiance. Installation is straightforward and energy-efficient. Choose waterproof and dimmable options for versatility and safety in kitchen spaces.
Is Covering Cabinet Bottoms Beneficial For Kitchen Maintenance?
Covering cabinet bottoms protects against dust, grease, and spills. It simplifies cleaning and prevents damage. This small upgrade extends cabinet life and maintains a tidy kitchen appearance. Regular upkeep ensures lasting benefits.
Conclusion
Covering the bottom of upper kitchen cabinets improves your kitchen’s look. It hides wires, marks, and dirt easily. You can use wood, paint, or light strips for a neat finish. Choose materials that match your kitchen style and budget. Small changes make a big difference in the room.
Take your time and enjoy the process. A clean, finished cabinet bottom adds value and comfort to your home. Simple steps lead to a fresh, organized kitchen space.