
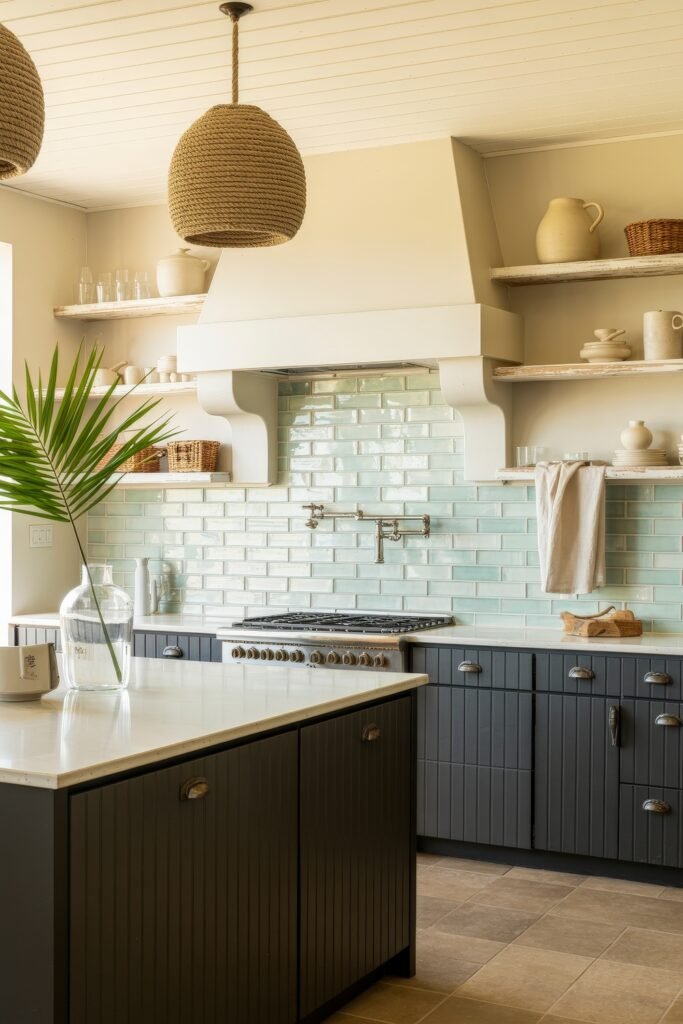
Are your grooved kitchen cabinets making your space look outdated or busy? You’re not alone—many homeowners struggle with how to update these tricky surfaces.
But what if you could transform your cabinets without expensive replacements or complicated renovations? You’ll discover simple, effective ways to cover those grooves and give your kitchen a fresh, modern look. Keep reading, and you’ll find easy solutions that save you time, money, and frustration.
Your dream kitchen makeover starts here.

Credit: www.yahoo.com
Materials Needed
Covering grooved kitchen cabinets requires specific materials to ensure a smooth and lasting finish. The right tools and products make the job easier and help you avoid common pitfalls like uneven paint or peeling. Before you start, gather everything you need so you can work confidently and efficiently.
Essential Tools
- Sanding block or electric sander:Smooths out grooves and rough surfaces for better paint adhesion.
- Putty knife:Fills in deep grooves and imperfections with wood filler or putty.
- Wood filler or wood putty:Essential to level out grooves before painting.
- Paintbrushes:Use angled brushes for grooves and detail work.
- Foam rollers:Provide a smooth finish on flat surfaces.
- Tack cloth:Removes dust after sanding to keep surfaces clean.
- Painter’s tape:Protects edges and hardware from unwanted paint.
Recommended Paint Types
Choosing the right paint affects both the look and durability of your cabinets. For grooved kitchen cabinets, use paint that offers good coverage and adhesion.
- Latex paint:Easy to clean and dries quickly. Look for a semi-gloss or satin finish for kitchen cabinets.
- Chalk paint:Works well on textured surfaces, but needs a protective sealant.
- Oil-based paint:Durable and smooth, but takes longer to dry and requires stronger solvents for cleanup.
What finish will suit your kitchen’s style best—matte for a modern look or semi-gloss for easy cleaning?
Primer And Sealants
Primer is your foundation. It helps paint stick better and prevents stains or knots from bleeding through the topcoat.
- Stain-blocking primer:Ideal if your cabinets have water damage or dark wood grain.
- Bonding primer:Designed for slick or previously painted surfaces, enhancing paint adhesion.
Sealants protect your work from moisture and wear. Use a clear polyurethane or polycrylic topcoat for durability.
Have you considered how a quality primer and sealant can extend the life of your cabinet makeover?
Preparing Cabinets
Preparing your grooved kitchen cabinets properly sets the foundation for a smooth, professional-looking finish. Skipping or rushing this step can lead to uneven paint, peeling, or visible imperfections. Taking time to clean, sand, and protect your cabinets ensures the best results and durability.
Cleaning And Sanding
Start by removing any dirt, grease, or grime from your cabinets using a mild detergent and warm water. A clean surface helps paint or filler stick better.
Once dry, sand the cabinet surfaces lightly with fine-grit sandpaper. Focus on smoothing out rough edges around the grooves without damaging the surrounding wood. Sanding also helps to dull glossy finishes, allowing new paint to adhere more effectively.
Filling Grooves
If you want to cover the grooves completely, filling them is essential. Use a high-quality wood filler or putty that matches your cabinet material.
Apply the filler with a putty knife, pressing firmly to fill every groove. Don’t worry about perfection at this stage; you will sand it smooth later. Have you considered how filling grooves might actually save you time painting multiple coats?
Taping And Masking
Protecting adjacent areas is key before you start painting. Use painter’s tape to mask off edges, hardware, and any parts you don’t want painted.
Be precise with the tape placement—press it down firmly to prevent paint bleed. Masking saves you the hassle of cleaning up mistakes and keeps your kitchen looking sharp.
Choosing Covering Methods
Choosing the right method to cover grooved kitchen cabinets depends on your style and skill level. Each technique offers a unique finish and requires different tools. Understanding these options helps you pick the best way to transform your cabinets smoothly.
Painting Over Grooves
Painting is a simple and cost-effective way to cover grooves. Use a primer to seal the surface first. This step helps the paint stick better and last longer. Choose a thick paint to fill small grooves and create a smooth look. Sand lightly between coats for a clean finish. Painting allows you to change the cabinet color easily.
Applying Veneer Or Laminate
Veneers and laminates provide a fresh, modern surface for your cabinets. These materials cover grooves completely, hiding any imperfections. They come in various colors and textures, giving you many design choices. Applying veneer or laminate requires precise cutting and strong adhesive. This method gives a durable and professional look.
Using Wood Filler
Wood filler is perfect for filling deep grooves before painting or staining. It smooths out uneven surfaces and creates a flat base. Apply the filler with a putty knife, pressing it into the grooves. Let it dry fully, then sand until smooth. Wood filler prepares cabinets for a flawless finish without changing the structure.
Step-by-step Painting
Painting grooved kitchen cabinets can transform your space. A step-by-step approach ensures a smooth, lasting finish. Follow these steps to achieve a professional look without hiring a pro.
Applying Primer
Start by cleaning your cabinets thoroughly. Remove dust and grease using a mild detergent. Allow the surfaces to dry completely. Use painter’s tape to protect areas you don't want to paint.
Apply a quality primer using a brush or roller. Choose a primer suitable for wood surfaces. This helps in covering any grooves effectively. Let the primer dry completely before moving on to the next step.
Multiple Paint Coats
Once the primer is dry, apply the first coat of paint. Use a brush for detailed areas and a roller for flat surfaces. Choose a paint finish that suits your kitchen style, like satin or semi-gloss.
Allow the first coat to dry completely. Apply a second coat for a richer color and smooth finish. Ensure each coat is thin to avoid drips. Light sanding between coats can enhance the smoothness.
Finishing Touches
Inspect your cabinets for any missed spots or uneven areas. Touch up these areas with a small brush. Remove painter’s tape carefully to avoid peeling the paint.
Consider applying a clear protective topcoat for added durability. This keeps your cabinets looking new and fresh for longer. Reattach any hardware and enjoy your beautifully updated kitchen.
Alternative Covering Techniques
Alternative covering techniques offer fresh ways to update grooved kitchen cabinets. They help hide grooves and add style without heavy work. These options work well for DIY projects and can fit different budgets. Choose a method that suits your kitchen’s look and your skill level.
Installing Beadboard Panels
Beadboard panels create a charming, classic look on cabinet doors. They fit right over grooved surfaces, hiding the grooves completely. These panels come in various materials like wood or MDF, and you can paint or stain them.
Installation is simple. Cut panels to size, apply adhesive, and press firmly onto cabinet doors. Use finishing nails for extra hold. Beadboard adds texture and depth without complicated carpentry.
Using Decorative Molding
Decorative molding transforms plain cabinet doors with elegant frames and shapes. It covers grooves and adds architectural interest. Choose from styles like crown, rope, or flat molding depending on your taste.
Attach molding strips around or inside the cabinet door frames using wood glue or nails. Sand and paint the molding to match or contrast with your cabinets. This technique works well to create a custom, high-end feel.
Adding Wallpaper Or Contact Paper
Wallpaper and contact paper offer a quick, affordable way to cover grooves. They come in many patterns, colors, and textures, perfect for a fresh, unique look. Choose thick, durable types for kitchen use.
Clean the cabinet surface well. Cut wallpaper or contact paper to fit the door size. Smooth out air bubbles with a squeegee or credit card. This method is easy to change if you want a new design later.
Credit: www.familyhandyman.com
Maintaining Transformed Cabinets
Maintaining transformed grooved kitchen cabinets keeps them looking fresh and new for years. Proper care protects your investment and preserves the beauty of the finish. Small daily habits and regular attention make a big difference. Follow simple steps to ensure your cabinets stay attractive and durable.
Cleaning Tips
Use a soft cloth or sponge with mild soap and warm water. Avoid harsh chemicals that damage paint or wood. Wipe spills quickly to prevent stains and water damage. Dry surfaces completely after cleaning to avoid moisture buildup. Clean grooves gently with a soft brush or toothbrush to remove dust and dirt.
Touch-up Strategies
Keep extra paint or stain for small repairs. Match the color carefully to blend touch-ups seamlessly. Lightly sand damaged areas before applying paint for better adhesion. Use a fine brush to fill in scratches or chips. Allow touch-ups to dry fully before using the cabinets again.
Long-term Care
Inspect cabinets regularly for signs of wear or damage. Tighten loose hinges and handles to keep doors aligned. Avoid excessive weight on cabinet doors to prevent warping. Use liners inside cabinets to protect surfaces from spills. Maintain a stable kitchen environment by controlling humidity and temperature.

Credit: fancyhouse-design.com
Frequently Asked Questions
How Do I Prepare Grooved Cabinets For Painting?
Clean grooves thoroughly to remove grease and dust. Sand edges lightly for better paint adhesion. Use a primer suitable for wood surfaces to ensure an even finish.
What Type Of Paint Works Best On Grooved Cabinets?
Use high-quality acrylic or enamel paint for durability. These paints resist chipping and provide a smooth finish. Choose semi-gloss or satin for easy cleaning.
Can I Fill Grooves Before Painting Cabinets?
Yes, use wood filler or caulk to fill grooves. Smooth the surface with sandpaper after drying. This creates a flat surface for a sleek look.
How Do I Avoid Paint Buildup In Cabinet Grooves?
Apply thin paint coats with a small brush. Remove excess paint from grooves promptly. Use a fine artist’s brush for precision and avoid drips.
Conclusion
Covering grooved kitchen cabinets can refresh your kitchen’s look quickly. Choose the right materials and tools for the best results. Simple steps like sanding, filling, and painting work well. Take your time to ensure a smooth finish. This project can boost your kitchen’s style without a full remodel.
Enjoy the process and the new look of your cabinets. Small changes can make a big difference in your space. Keep your kitchen fresh and inviting with easy updates.