
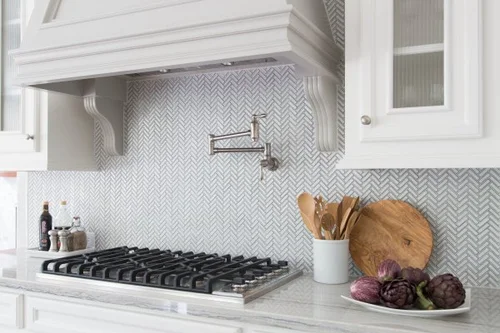
Your kitchen backsplash can completely change the look of your cooking space. But what if yours is outdated, stained, or just doesn’t match your style anymore?
You don’t have to tear down walls or spend a fortune to fix it. There are simple, effective ways to cover your kitchen backsplash that can refresh your entire kitchen quickly. In this guide, you’ll discover easy tips and tricks to transform your backsplash without the hassle.
Keep reading, and you’ll find solutions that fit your budget and your taste perfectly.
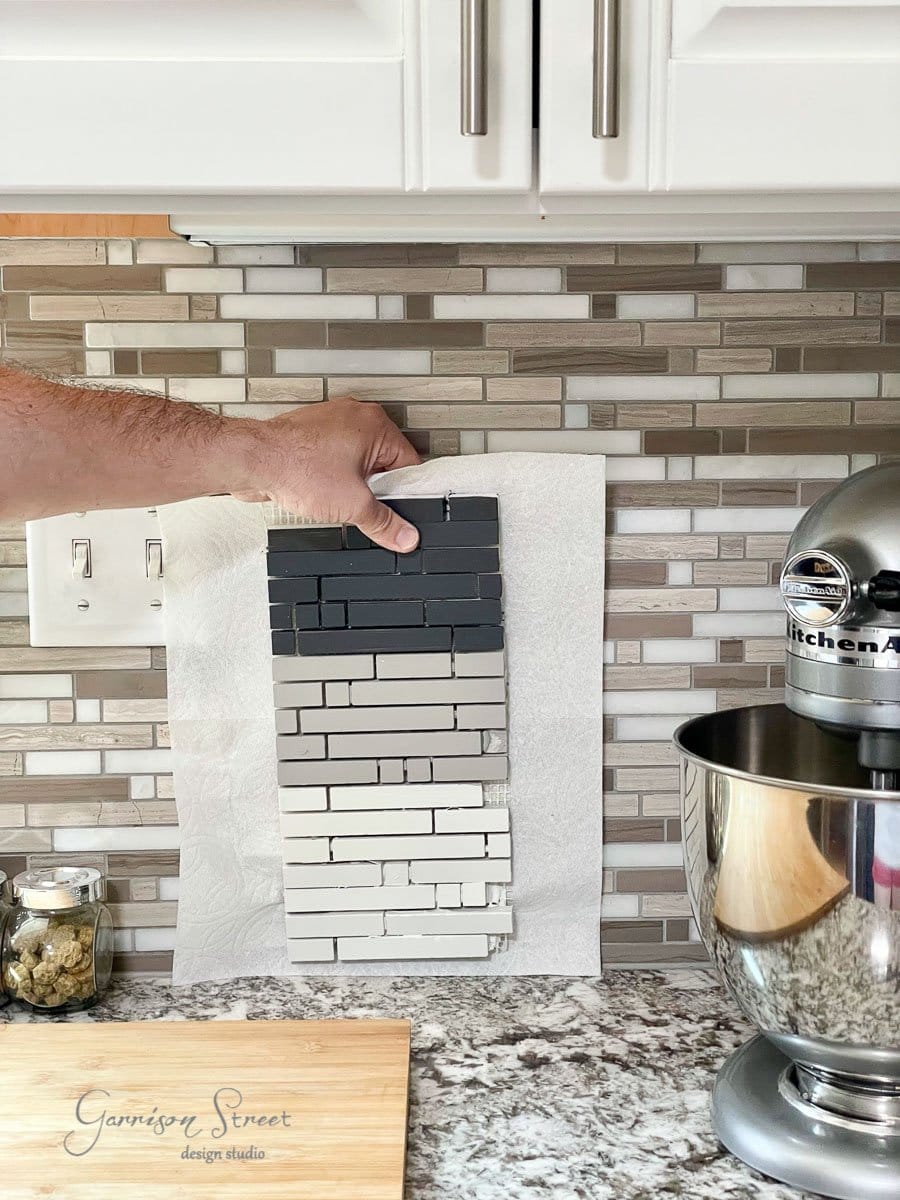
Credit: garrisonstreetdesignstudio.com
Choosing The Right Material
Choosing the right material for your kitchen backsplash affects both style and function. It must handle heat, moisture, and stains well. The right choice makes cleaning easier and enhances your kitchen’s look. Consider durability, maintenance, and design when selecting a material.
Tiles And Their Varieties
Tiles are the most common backsplash material. They come in many shapes, sizes, and colors. Ceramic tiles are affordable and easy to clean. Porcelain tiles are harder and resist stains better. Subway tiles offer a classic, simple look. Mosaic tiles create patterns with small pieces. Choose grout color to match or contrast with tiles.
Glass And Mirror Options
Glass backsplashes add shine and make kitchens look bigger. They are smooth and easy to wipe clean. Mirrors reflect light, brightening the space. Tempered glass is strong and heat resistant. Colored or frosted glass adds style. These options suit modern and sleek kitchen designs.
Metal Backsplash Choices
Metal backsplashes provide a contemporary and industrial feel. Stainless steel is popular in professional kitchens. It handles heat and stains well. Copper and tin offer warmer tones and unique textures. Metals can dent or scratch, so handle with care. They are easy to clean with the right products.
Peel-and-stick Solutions
Peel-and-stick backsplashes are great for quick updates. They are easy to install without tools or grout. Vinyl and laminate versions mimic tile, metal, or glass looks. These options are budget-friendly and removable. Ideal for renters or temporary changes. Clean surfaces before application for best results.
Preparing The Surface
Preparing the surface is the first and most important step before covering your kitchen backsplash. A clean, smooth wall helps the new backsplash stick better and last longer. Take time to prepare well for a neat and durable finish.
Cleaning And Drying Walls
Start by wiping down the walls to remove grease, dust, and dirt. Use warm water with mild soap and a soft cloth. Avoid harsh chemicals that can damage the wall surface. After cleaning, let the walls dry completely. Moisture can prevent adhesives from sticking properly.
Removing Old Backsplash
Carefully take off any old backsplash material. Use a putty knife or scraper to lift tiles or panels. Work slowly to avoid damaging the wall underneath. Remove all nails, screws, and adhesive residues. A clean base makes installation easier and ensures better results.
Repairing Wall Imperfections
Check the wall for holes, cracks, or uneven spots. Fill holes and cracks with spackle or wall filler. Smooth the surface with sandpaper once dry. Fixing imperfections creates a flat surface for the new backsplash. This step prevents bumps and loose tiles later on.
Installation Techniques
Installing a kitchen backsplash can seem daunting, but understanding the right techniques makes the process smoother and more rewarding. The key lies in choosing the right installation method based on your materials and skills. Let’s break down effective ways to get your backsplash looking flawless and professional.
Using Adhesive For Tiles
Adhesive is a popular choice when working with ceramic or glass tiles. Before applying, ensure your wall is clean and dry to help the adhesive stick properly.
Spread the adhesive evenly with a notched trowel, pressing each tile firmly into place. You’ll want to keep consistent spacing between tiles for grout lines—tile spacers are a simple tool that helps with this.
Have you checked if your adhesive is suitable for wet areas? This small step can save you from peeling tiles later on.
Applying Peel-and-stick Backsplash
Peel-and-stick backsplashes are a great option if you want a quick and less messy installation. Make sure the surface is completely smooth and free of grease before peeling off the backing.
Align the tiles carefully before sticking them down, as repositioning can weaken the adhesive. Applying firm pressure with a roller or even a clean cloth ensures the tiles stick well and last longer.
Is your wall uneven? Some peel-and-stick tiles work better on flat surfaces, so choose your product accordingly.
Grouting And Sealing Tips
Grouting fills the gaps between tiles, but it needs the right technique to avoid mess and uneven surfaces. Use a rubber float to spread grout diagonally across the tiles, pressing it firmly into the joints.
Wipe off excess grout quickly with a damp sponge before it hardens. This prevents haze on your tiles and keeps the backsplash looking clean.
Once dry, sealing the grout protects it from stains and moisture. Don’t skip this step if you want your backsplash to stay fresh and easy to clean over time.
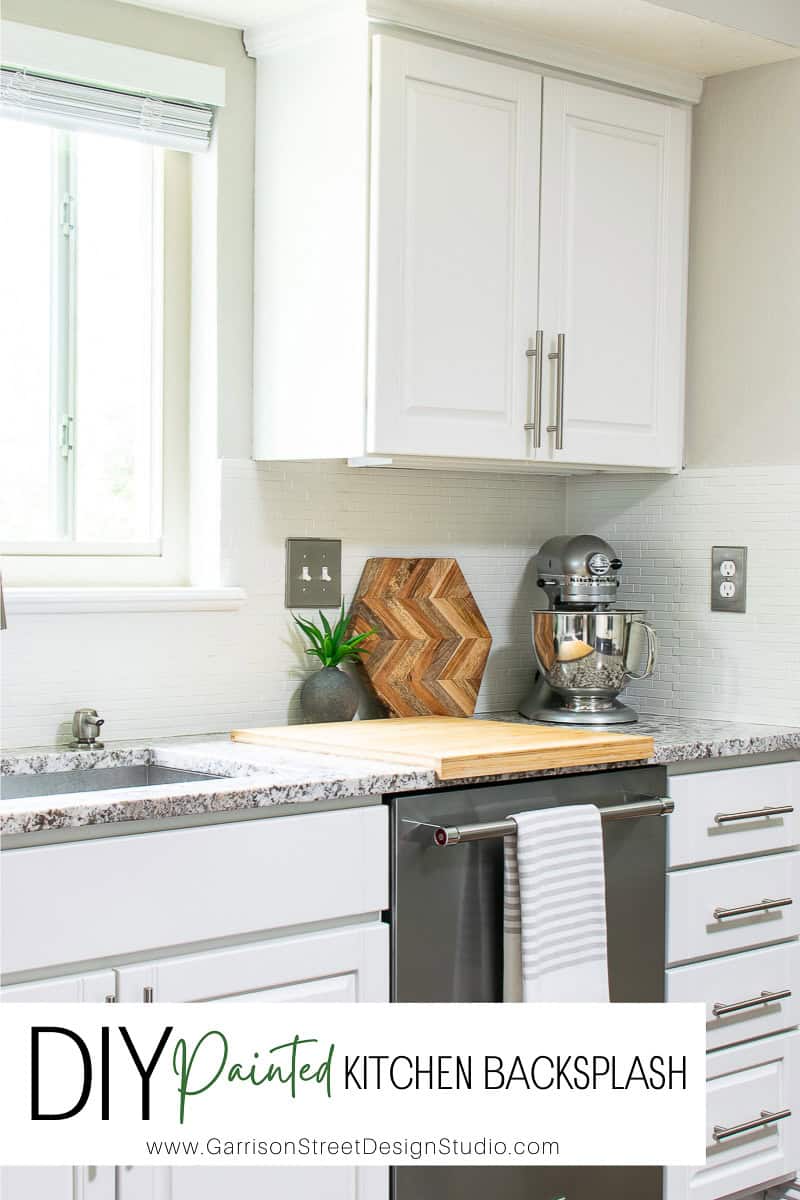
Credit: garrisonstreetdesignstudio.com
Creative Design Ideas
Looking to breathe new life into your kitchen? A creative backsplash design can transform your cooking space from drab to fab. With a few imaginative tweaks, you can craft a visually stunning centerpiece that reflects your style. Let's dive into some innovative design ideas that will make your kitchen backsplash a standout feature.
Mixing Patterns And Colors
Why settle for one pattern when you can mix multiple? Combining different patterns and colors can create a dynamic look that draws the eye. Think about pairing bold geometric tiles with softer floral designs for contrast. The key is to balance them so that the overall look isn’t overwhelming. Consider using a neutral base to allow the vibrant colors and patterns to pop.
Incorporating Accent Strips
Accent strips can add a touch of elegance and personality to your backsplash. These narrow strips of contrasting tiles can break up monotonous patterns and introduce an exciting element. Imagine a row of metallic tiles cutting through a field of subway tiles. The gleam catches the light and adds a luxurious feel. Position them strategically at eye level to make a striking visual impact.
Using Open Shelves With Backsplash
Open shelves can seamlessly integrate with your backsplash, offering both style and storage. By choosing a backsplash design that complements your kitchen accessories, you create a cohesive look. Imagine storing colorful spices or artisanal dishes on open shelves against a vibrant tile backdrop. This setup not only showcases your personality but also makes items easily accessible. Do you have a favorite dish or bowl you’d love to display? Let your backsplash be the perfect canvas.
Maintenance And Care
Keeping your kitchen backsplash looking fresh and new requires a bit of regular maintenance and care. How you clean, protect, and repair it depends largely on the material you chose. Understanding these differences helps you save time and avoid costly damage.
Cleaning Different Materials
Each backsplash material calls for a specific cleaning approach. For example, ceramic tiles respond well to a mild soap solution and a soft cloth. Avoid abrasive cleaners that can scratch the surface.
Glass backsplashes shine best with a mixture of water and vinegar, wiped gently to prevent streaks. Natural stone, like marble or granite, needs pH-neutral cleaners to keep its finish intact. Always test a small area first to ensure the cleaner won’t cause discoloration.
Preventing Mold And Stains
Moisture is the enemy of any backsplash, especially in the kitchen. Wipe down the backsplash regularly to remove splashes and spills before they set in. Ventilation also plays a key role—do you keep your kitchen windows or exhaust fans on during cooking?
Sealant is a powerful tool for stone or grout backsplashes. Applying a quality sealant creates a barrier against moisture and stains. Remember to reseal according to the product's instructions, usually once a year.
Repairing Minor Damages
Small chips and cracks don’t have to ruin your backsplash. For ceramic or porcelain tiles, you can use a color-matched epoxy or filler to patch minor damage. Sand it lightly once dry to blend it with the tile surface.
Loose tiles can be fixed with a strong adhesive designed for kitchen use. If grout cracks or crumbles, removing the damaged grout and applying fresh grout keeps the backsplash secure and prevents water damage. Have you tried fixing a chipped tile yourself? It’s easier than you might think and saves money on professional repairs.

Credit: www.create-enjoy.com
Frequently Asked Questions
What Materials Work Best For Kitchen Backsplash Covering?
Popular materials include ceramic tiles, glass, stainless steel, and natural stone. Each offers durability, easy cleaning, and aesthetic appeal. Choose based on your kitchen style and budget.
How Do I Prepare The Wall Before Installing A Backsplash?
Clean the wall thoroughly to remove grease and dirt. Repair any holes or uneven surfaces. A smooth, dry wall ensures better adhesion and a professional finish.
Can I Install A Kitchen Backsplash Myself Easily?
Yes, many backsplashes are DIY-friendly with proper tools and instructions. Simple materials like peel-and-stick tiles require minimal experience. More complex designs may need professional help.
What Is The Best Adhesive For Kitchen Backsplash Tiles?
Thin-set mortar is ideal for ceramic and stone tiles. For peel-and-stick tiles, use manufacturer-recommended adhesives. Proper adhesive ensures tiles stay secure and last longer.
Conclusion
Covering your kitchen backsplash can change your space quickly. Choose materials that fit your style and budget. Measure well and prepare the surface carefully. Take your time to apply tiles or panels evenly. Clean up any mess right after finishing.
Small steps lead to big improvements. Enjoy your fresh and neat kitchen look every day. Simple updates bring a new feel to your home. Try it yourself and see the difference.