
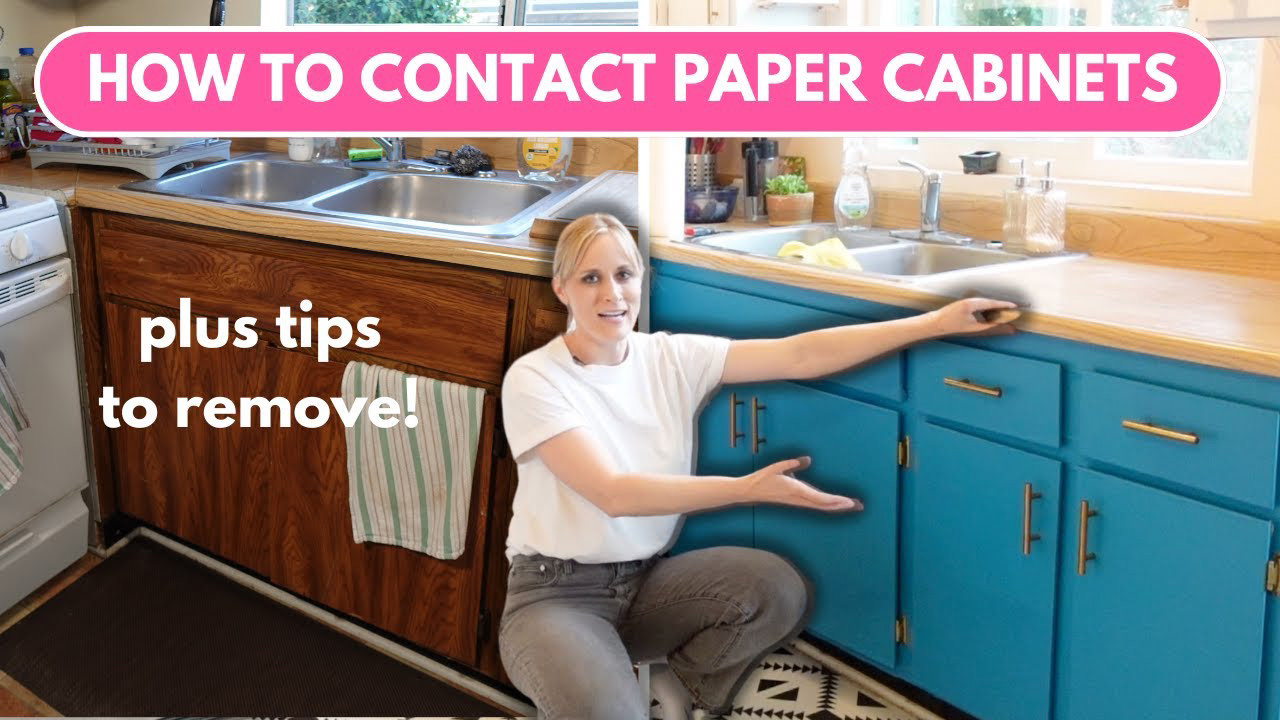
Are your kitchen cabinets looking outdated or worn out? You don’t need to spend a fortune on a full remodel to give them a fresh, new look.
Covering your cabinets with contact paper is a simple and affordable way to transform your kitchen instantly. Imagine turning your old cabinets into stylish focal points with just a few easy steps—and no mess! In this guide, you’ll discover how to choose the right contact paper, prepare your cabinets, and apply it like a pro.
Ready to see your kitchen in a whole new light? Let’s get started!
Choosing The Right Contact Paper
Choosing the right contact paper is crucial for a successful kitchen cabinet makeover. The right choice not only enhances the look but also ensures durability and ease of application. Knowing what options are available and how to measure and select the perfect pattern can save you from frustration and extra costs.
Types Of Contact Paper
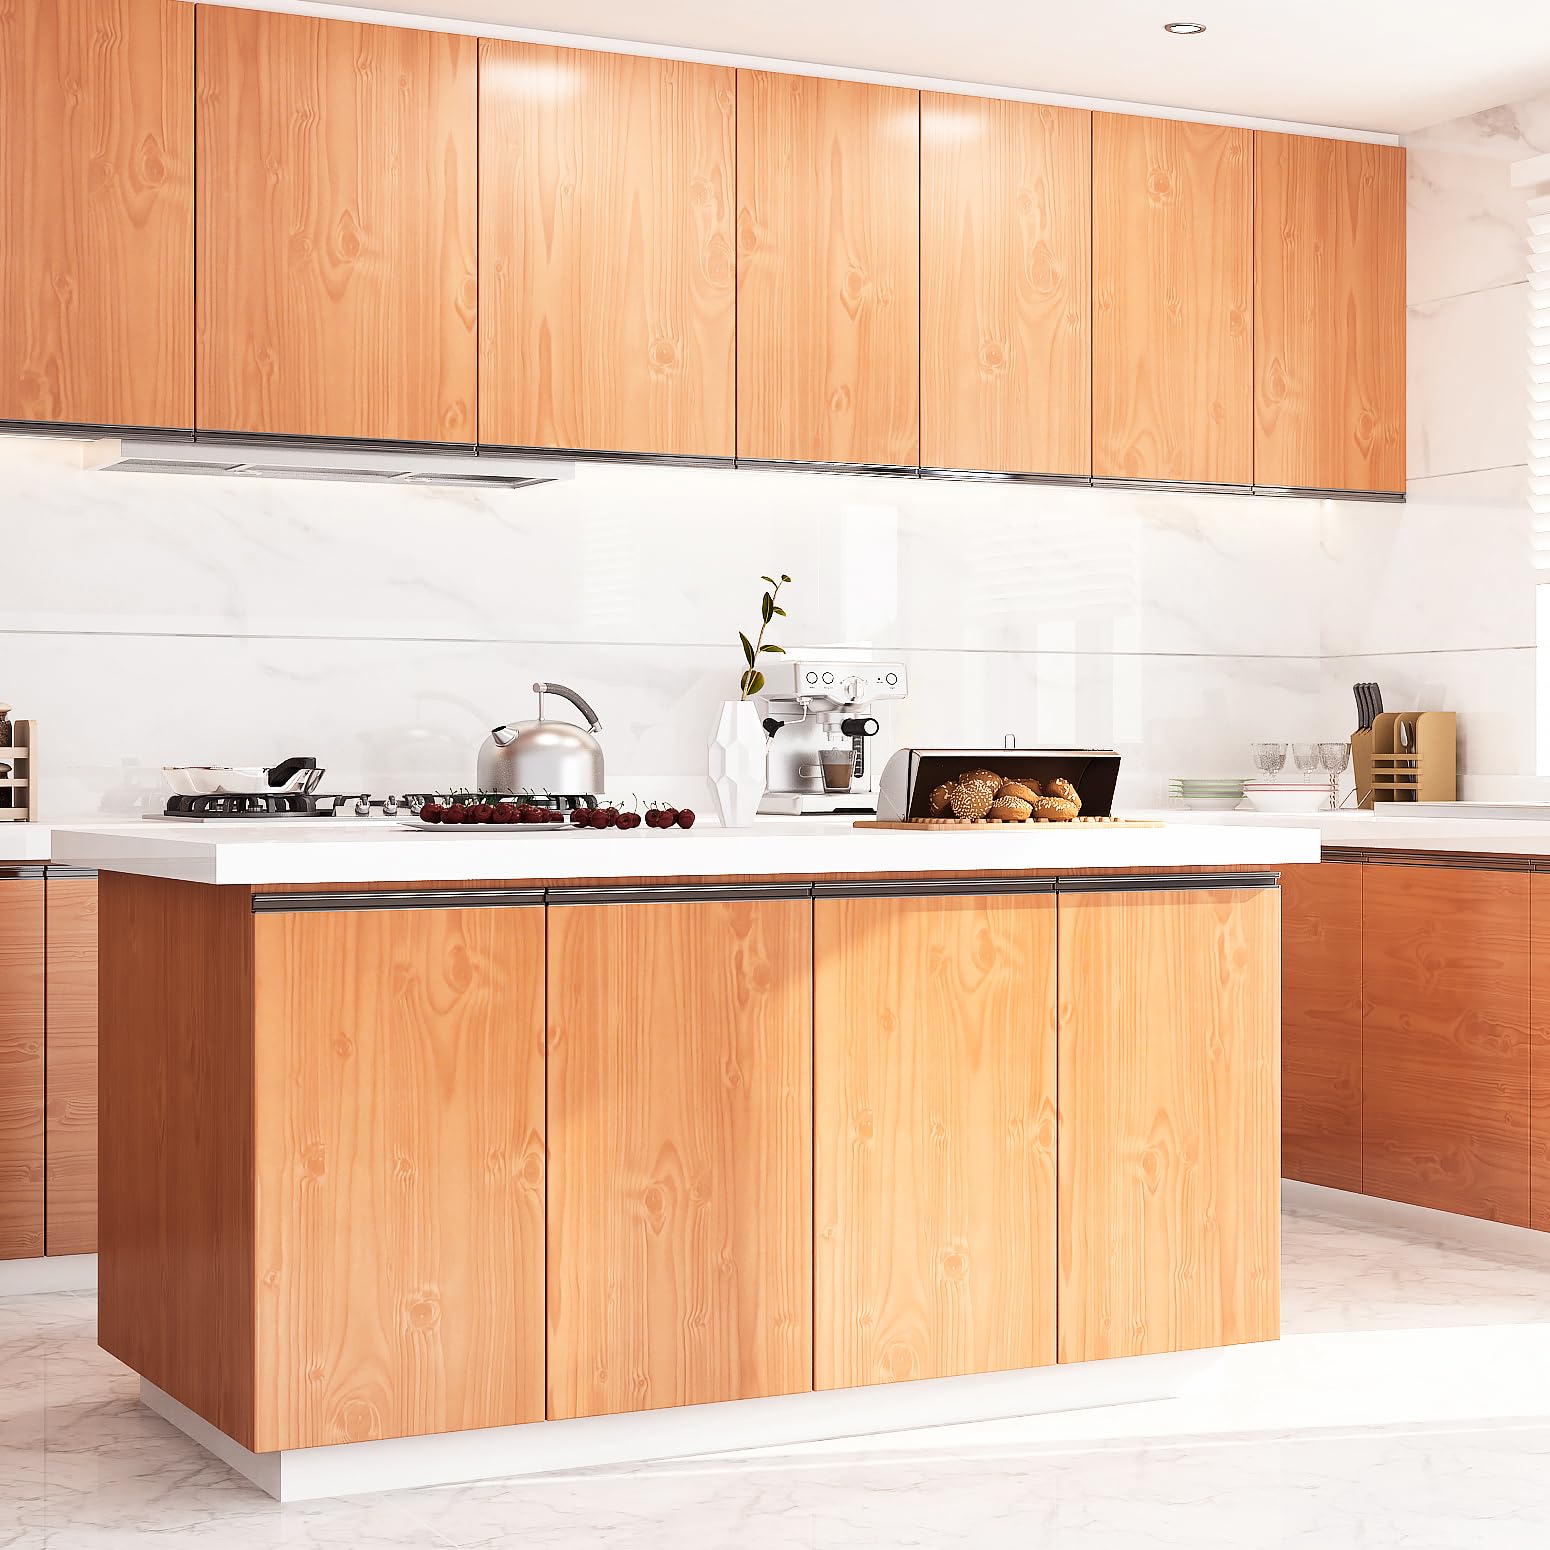
Contact paper comes in various materials and finishes. Vinyl is the most popular choice because it's waterproof and easy to clean, making it ideal for kitchens.
- Matte finishes hide fingerprints well but might be less shiny.
- Glossy finishes give a sleek look but can show smudges easily.
- Textured papers mimic wood, stone, or tile, adding a realistic touch.
Think about how much wear and tear your cabinets get and choose a type that fits your lifestyle. Would you prefer something that looks natural or a bold, modern finish?
Measuring Your Cabinets
Accurate measurements prevent waste and frustration. Use a tape measure to get the height and width of each cabinet door and drawer front.
Write down the dimensions and add a small extra margin (about 1-2 inches) to make trimming easier. Measure twice to avoid mistakes because cutting too small means buying more paper.
Have you ever started a project only to realize you’re short on materials halfway through? Taking your time with measurements can save you that hassle.
Selecting Patterns And Colors
Patterns and colors set the mood of your kitchen. Light colors can make a small kitchen feel bigger, while darker tones add sophistication.
Consider your existing countertop, backsplash, and appliances when choosing your design. If your kitchen is already busy, opt for subtle patterns to avoid clashing.
- Stripes and geometric shapes add a modern vibe.
- Floral or vintage prints bring a cozy, traditional feel.
- Solid colors are versatile and timeless.
Ask yourself: Do you want your cabinets to stand out or blend in? Your choice will guide the entire look of your kitchen makeover.
Preparing Cabinets For Application
Preparing your kitchen cabinets before applying contact paper is essential for a smooth finish. Proper preparation helps the contact paper stick better and last longer. It also prevents bubbles and peeling later on. Follow these steps carefully to get your cabinets ready.
Cleaning The Surface
Start by cleaning the cabinet surface thoroughly. Use warm water and mild soap to remove grease and dirt. Wipe with a clean cloth and let it dry completely. Avoid harsh chemicals that might damage the cabinet finish.
Removing Hardware
Remove all knobs, handles, and hinges from the cabinet doors and drawers. This makes it easier to apply contact paper evenly. Keep the hardware safe in a small container so you don’t lose any pieces.
Sanding And Smoothing
Lightly sand the cabinet surface with fine-grit sandpaper. This step smooths out bumps and rough areas. Sanding also helps the contact paper stick better. After sanding, wipe away any dust with a damp cloth and let it dry.
Cutting And Applying Contact Paper
Measure your cabinet doors carefully before cutting contact paper to size. Peel the backing slowly and smooth the paper onto the surface, avoiding bubbles for a neat finish. Use a plastic card to press down edges firmly.
Cutting and applying contact paper to kitchen cabinets can transform your space. It's a budget-friendly way to refresh tired cabinets. Follow these steps for a smooth finish.
Cutting To Size
Measure each cabinet door accurately. Use a measuring tape for precision. Mark the dimensions on the contact paper with a pencil. Cut along the lines with sharp scissors or a utility knife. Ensure the paper is slightly larger than the door. This allows for adjustments and clean edges.
Peeling And Sticking Techniques
Start peeling the backing from one corner of the contact paper. Align the top edge with the cabinet door. Press firmly as you go to prevent misalignment. Use a credit card or a smoothing tool to press the paper down. Work slowly to maintain control and precision.
Avoiding Bubbles And Wrinkles
Use a smoothing tool to push out air bubbles. Start from the center and move outward. This technique keeps the surface smooth and even. If wrinkles occur, gently peel back the paper. Reapply with the smoothing tool. Take your time for the best results.

Credit: www.msn.com
Finishing Touches
Finishing touches can make or break the look of your contact paper-covered kitchen cabinets. This final stage ensures your hard work stays intact and looks polished. Paying close attention here will help your cabinets stand out and last longer.
Trimming Excess Paper
After applying the contact paper, carefully trim any extra edges with a sharp utility knife or scissors. Take your time to avoid cutting into the cabinet surface or leaving jagged edges. Clean, precise cuts give your cabinets a professional and neat appearance.
Try using a metal ruler as a guide to keep your cuts straight. Have you noticed how small imperfections can draw attention? Avoid them by trimming patiently and rechecking your work from different angles.
Reinstalling Hardware
Remove any hardware before covering your cabinets, but don’t forget to put it back afterward. Reattaching knobs and handles not only restores functionality but also enhances the overall look. Make sure screws are tightened properly to avoid loose fittings.
If your hardware looks outdated, consider swapping it for something fresh before reinstalling. Changing just the knobs can dramatically update your kitchen style without extra cost or effort. What kind of hardware would best match your new cabinet design?
Sealing Edges For Durability
Seal the edges of your contact paper with clear waterproof tape or a thin layer of clear adhesive to protect against peeling. This step is crucial, especially around high-use areas like cabinet doors and drawers. Sealing prevents moisture from getting underneath and extends the lifespan of your project.
Don’t rush this part—apply the seal evenly and press firmly along all edges. Have you considered how a small investment in sealing can save you from frequent touch-ups later on?
Maintenance Tips
Maintaining your kitchen cabinets covered with contact paper is key to keeping them looking fresh and stylish. Simple care and quick fixes can extend the life of the paper and preserve your kitchen’s charm. Here are some practical tips to help you keep your contact paper in top shape.
Cleaning Contact Paper
Cleaning contact paper is easier than you might think. Use a soft cloth or sponge dampened with warm, soapy water to gently wipe the surface. Avoid abrasive scrubbers; they can scratch or peel the paper.
For stubborn stains, try a mixture of water and a small amount of vinegar. Test it first on a hidden spot to make sure it doesn't damage the finish. After cleaning, dry the surface with a soft towel to prevent moisture buildup.
Repairing Small Damages
If you notice small tears or bubbles, don’t panic. Smooth out bubbles by gently pressing them with a credit card or your fingers, starting from the edge and moving inward. For tiny tears, clear tape on the backside can hold the paper together discreetly.
You can also trim loose edges with scissors and carefully re-stick them down. Keeping a small roll of matching contact paper on hand helps when you need to patch bigger damaged areas. Have you ever fixed a tear and felt like a DIY pro?
When To Replace Contact Paper
Contact paper doesn’t last forever, especially in a busy kitchen. Replace it when you see large peeling areas, deep scratches, or when stains don’t come off no matter how hard you clean. If the paper has yellowed or lost its adhesive power, it’s time for a fresh layer.
Replacing contact paper gives your kitchen an instant update without a full renovation. How long has your contact paper lasted, and what signs made you decide to swap it out?

Credit: dundeedeco.com
Credit: www.amazon.ca
Frequently Asked Questions
How Do I Prepare Cabinets Before Applying Contact Paper?
Clean cabinets thoroughly to remove grease and dirt. Sand surfaces lightly for better adhesion. Ensure cabinets are dry before applying contact paper.
Can Contact Paper Be Removed Without Damaging Cabinets?
Yes, contact paper can be peeled off carefully. Use heat from a hairdryer to loosen adhesive. Remove slowly to avoid surface damage.
What Tools Are Needed To Cover Cabinets With Contact Paper?
You need contact paper, scissors, a squeegee, and a utility knife. A measuring tape helps for precise cuts. These tools ensure smooth and clean application.
How Long Does Contact Paper Last On Kitchen Cabinets?
Contact paper typically lasts 3 to 5 years. Durability depends on quality and kitchen conditions. Avoid excessive moisture to extend its lifespan.
Conclusion
Covering kitchen cabinets with contact paper is simple and affordable. It gives your kitchen a fresh look without major work. Choose a design you like and measure carefully. Take your time to apply the paper smoothly. Small bubbles can be fixed with a pin.
This project suits anyone wanting quick kitchen updates. Enjoy your new cabinets and the extra style they bring. Try different patterns to match your home. A little effort can change your kitchen’s feel completely.